Last Updated on 03/31/2026 by thecleaningninjas.com
Let’s be honest: our kitchen gadgets are the unsung heroes of our daily lives. From the air fryer that crisps your midnight snacks to the coffee maker that literally brings you back to life every morning, these small appliances do a lot of heavy lifting. But because they’re "small," they often get overlooked during the weekly cleaning routine.
Over time, crumbs accumulate, grease hardens, and mineral deposits turn your high-end espresso machine into a sluggish shadow of its former self. At The Cleaning Ninjas Inc, we believe that a clean home isn't just about the floors and countertops: it's about the tools that fuel your lifestyle.
Welcome to the Ninja Maintenance Guide. We’re going to walk you through how to achieve "Small Appliance Zen" using green, eco-friendly solutions that are safe for your family and your gadgets.
The Ninja Philosophy: Why Deep Clean Small Appliances?
You might think a quick wipe-down of the exterior is enough, but true "Ninja-Clean" goes deeper. There are three main reasons to keep your gadgets in top shape:
- Performance: A descaled coffee maker brews hotter and faster. A clean air fryer circulates air better for maximum crunch.
- Longevity: Grime and mineral buildup cause motors to overheat and parts to wear out prematurely. Regular maintenance saves you money in the long run.
- Health & Flavor: Old grease can go rancid, and stagnant water in reservoirs can harbor bacteria. Plus, your toast shouldn't taste like last month’s burnt crust.
Before we dive into the specifics, remember the Golden Rule of Ninja Cleaning: Always unplug your appliance before you start. Water and electricity are a dangerous combination, and we want your kitchen to stay a "Zen zone," not a hazard zone.
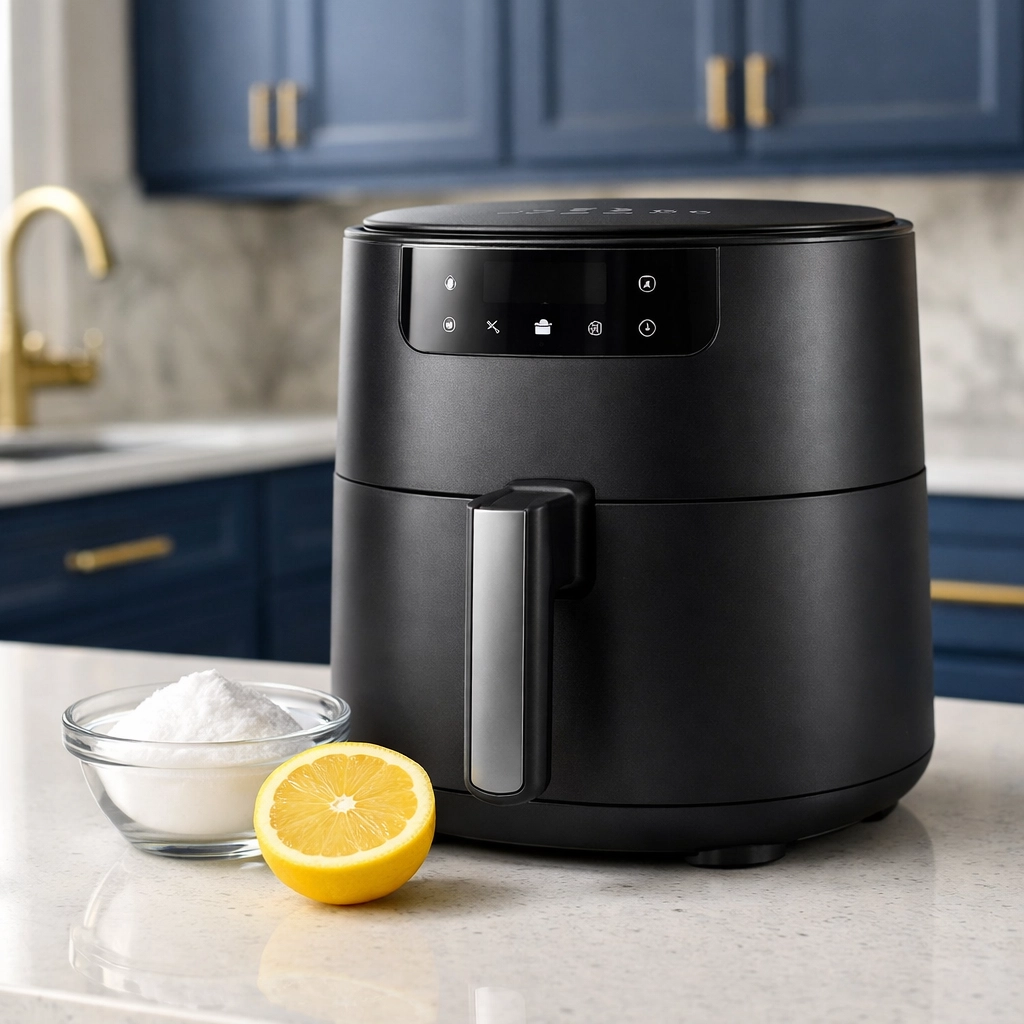
The Air Fryer: Taming the Grease Dragon
The air fryer has taken the world by storm, but it is a magnet for baked-on grease and stray crumbs. If yours is starting to smoke or smell like old oil, it’s time for a deep clean.
The Green Method:
Instead of reaching for harsh degreasers, use the power of steam and baking soda.
- The Soak: After the basket has cooled, soak it in warm water with a squirt of eco-friendly dish soap.
- The Baking Soda Paste: For stubborn, crusty bits on the bottom of the basket, mix baking soda and a little water to create a paste. Apply it to the spots, let it sit for 20 minutes, and scrub with a soft-bristled brush.
- The Heating Element: This is the part everyone forgets. Carefully flip the (unplugged!) unit over. Use a damp cloth or a soft sponge to wipe the heating coil. If there’s stuck-on food, use a soft brush to gently dislodge it.
- The Exterior: Use a microfiber cloth and a 50/50 mix of water and white vinegar to keep the outside looking sleek and smudge-free.
The Coffee Maker: Descaling for the Perfect Brew
If your coffee is starting to taste bitter or the machine is taking forever to drip, you likely have mineral buildup (scale) from your water.
The Ninja Descaling Hack:
You don’t need expensive "descaling solutions." Plain old white distilled vinegar is the secret weapon here.
- The Vinegar Cycle: Fill the water reservoir with a 50/50 mix of water and white vinegar. Run a brew cycle halfway, then turn the machine off.
- The "Zen" Pause: Let the solution sit in the machine for about 30 minutes. This gives the vinegar time to break down the calcium and lime deposits inside the internal tubes.
- The Flush: Finish the brew cycle, then run two or three cycles of plain, cold water to ensure all the vinegar taste is gone.
- The Carafe: If your glass carafe has brown stains, add a handful of crushed ice, a tablespoon of water, and some coarse salt. Swirl it around vigorously: the salt and ice act as a gentle abrasive to scrub away the stains without scratching the glass.
For more tips on how we handle specialized cleaning tasks, check out our process.
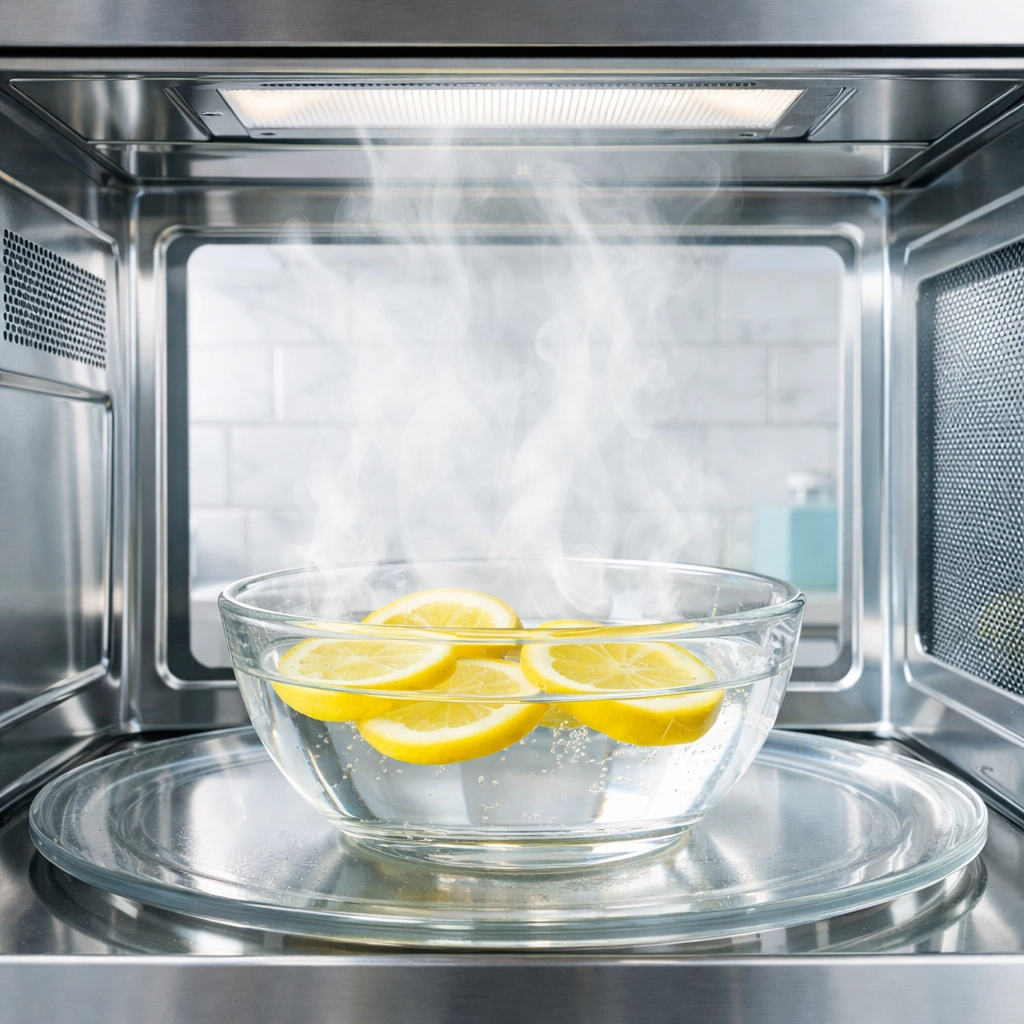
The Microwave: The "Exploding Burrito" Recovery
We’ve all been there. You thought the lid was on tight, but now the interior of your microwave looks like a Jackson Pollock painting made of tomato sauce. Don't scrub for hours: use the Ninja Steam Method.
The Lemon Steam Hack:
- The Setup: Place a microwave-safe bowl filled with one cup of water and two tablespoons of lemon juice (or lemon slices) inside.
- The Steam: Microwave on high for 3–5 minutes, or until the water is boiling and the window is foggy.
- The Wait: Let it sit for 5 minutes without opening the door. The steam will loosen all the stuck-on food.
- The Wipe: Open the door and simply wipe away the grime with a cloth. It should slide right off!
The Toaster: Eliminating the Crumb Fire Hazard
Toasters are often the most neglected appliance in the kitchen. Not only do old crumbs smell bad when they burn, but they can actually pose a fire risk if they accumulate too much.
The Ninja Shake-Down:
- The Crumb Tray: Most modern toasters have a removable tray at the bottom. Pull it out, dump the crumbs, and wash it with warm soapy water. Make sure it's 100% dry before sliding it back in.
- The Inversion: Take the toaster over your sink or trash can, turn it upside down, and give it a good (but gentle) shake. You’ll be surprised at how much is hiding in there.
- The Detailed Clean: Use a clean pastry brush or a soft paintbrush to reach into the slots and brush crumbs off the heating wires. Never use a metal fork or knife inside a toaster, even if it’s unplugged: you could damage the delicate heating elements.
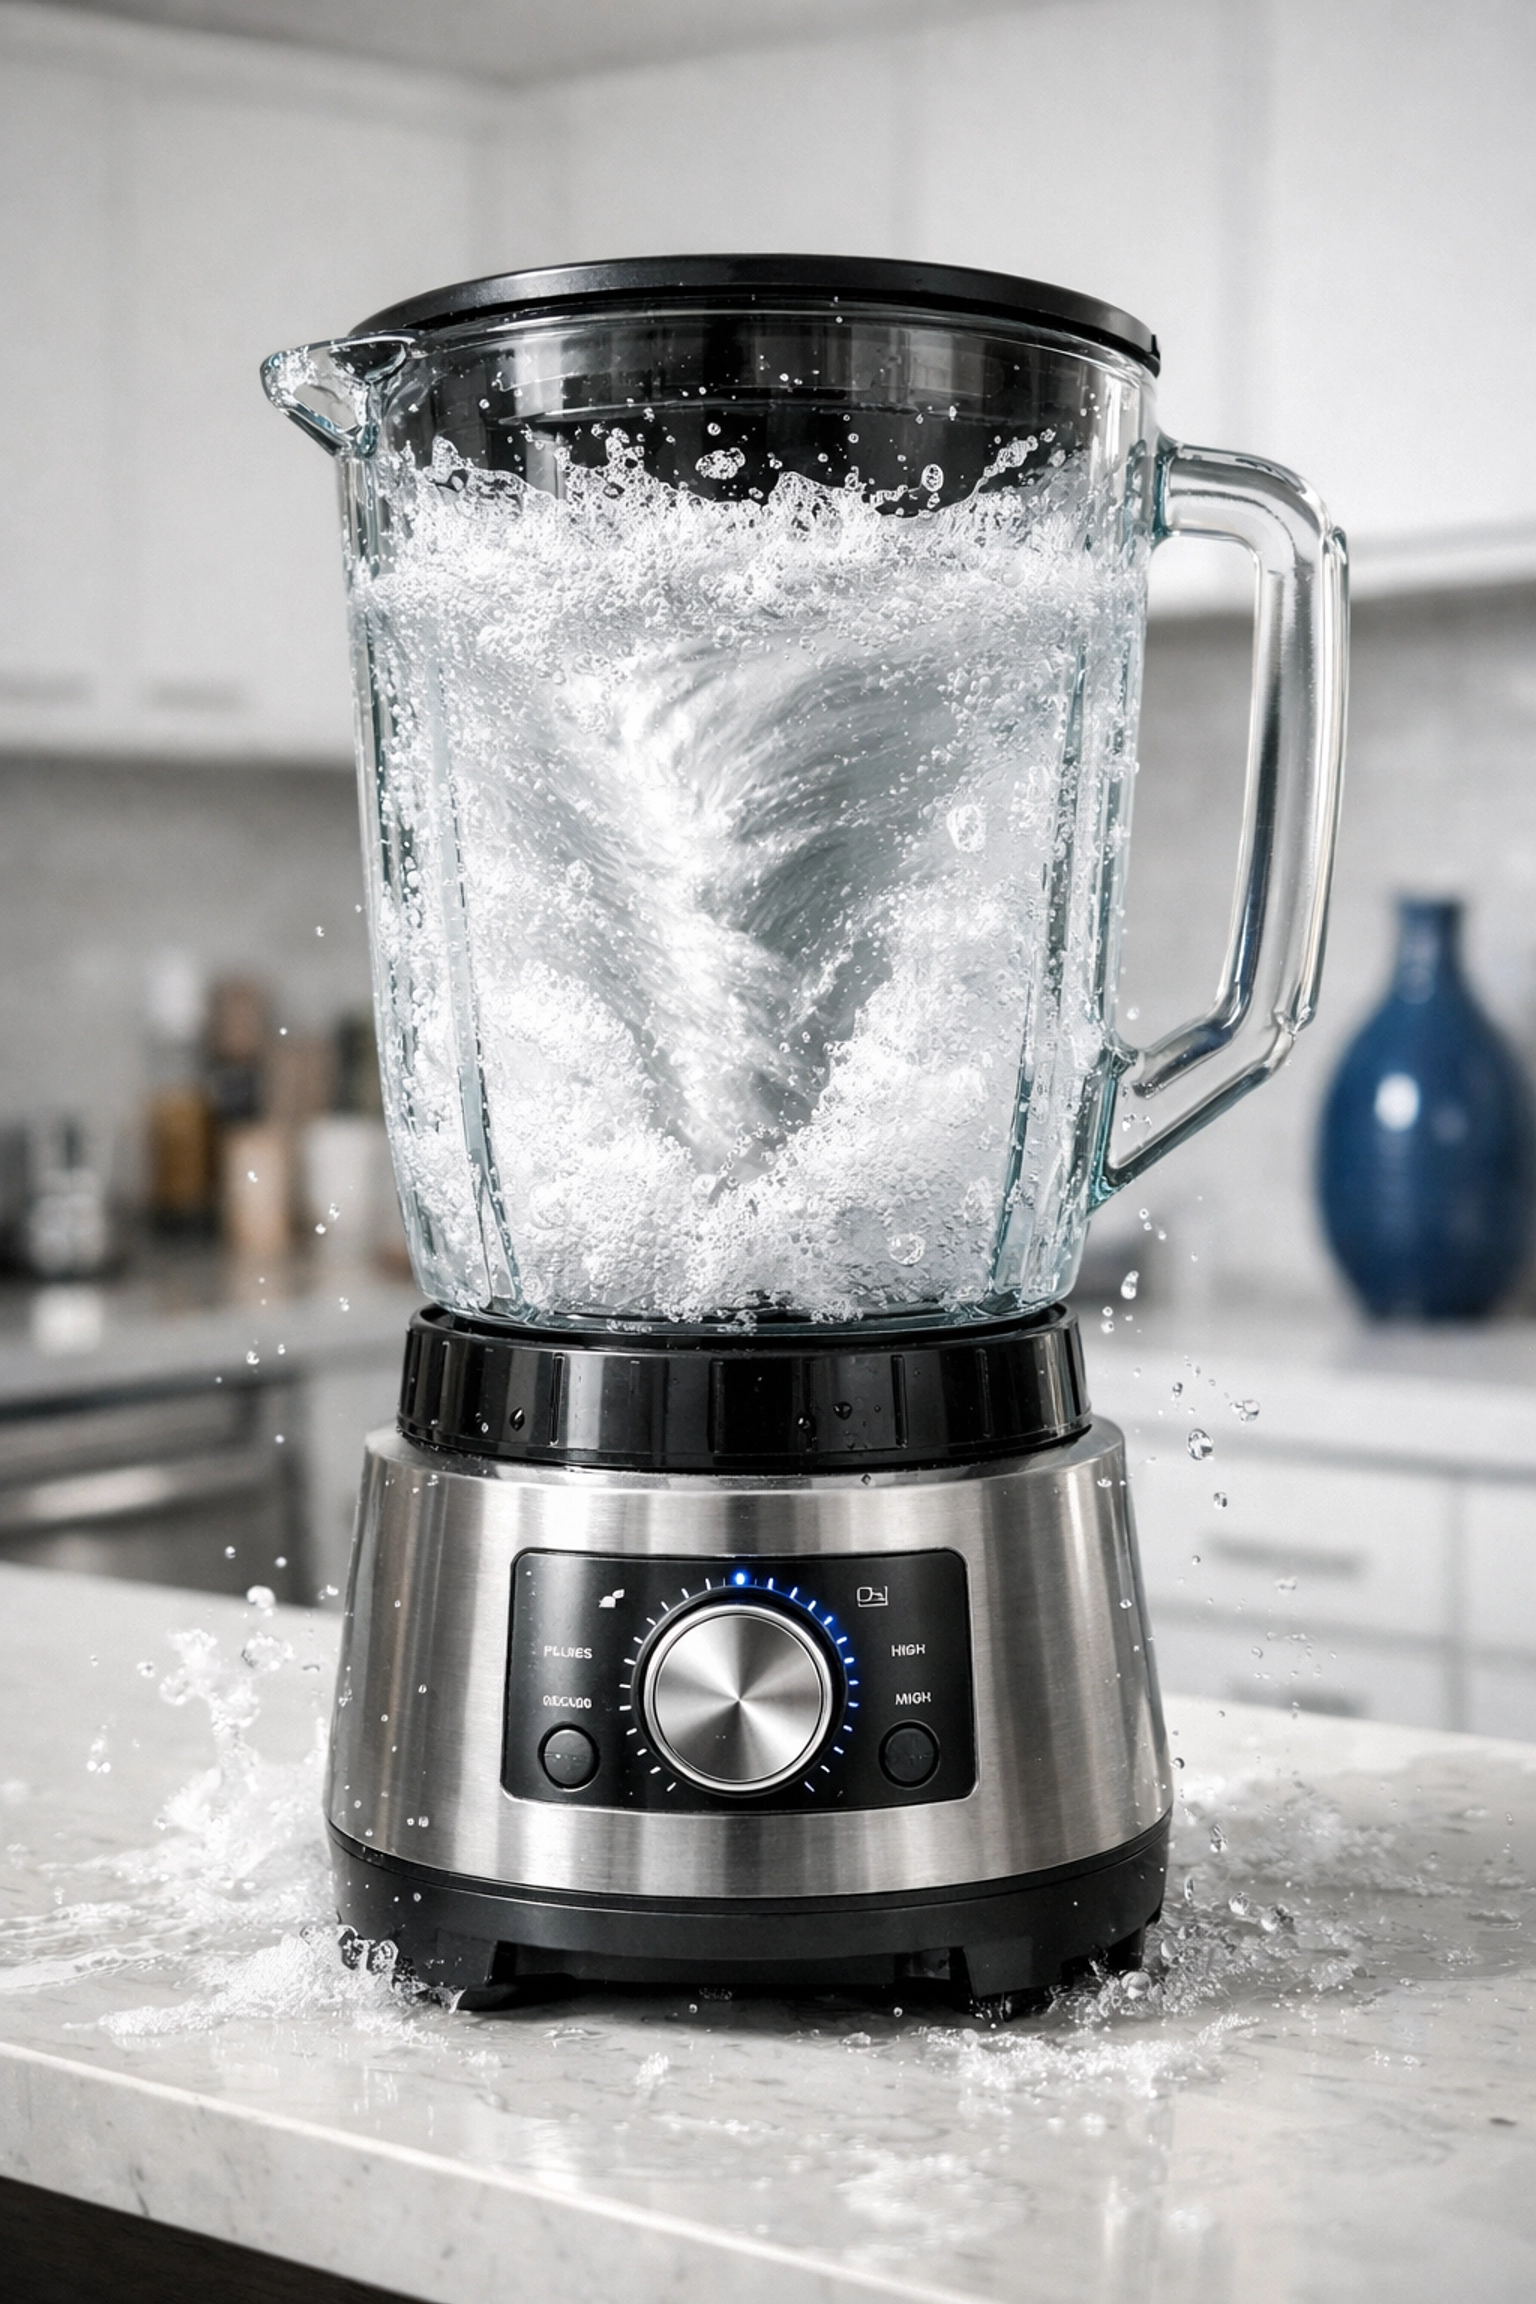
Blenders and Food Processors: The Self-Cleaning Trick
Blenders are tricky because those blades are sharp and food loves to hide in the gaskets at the bottom.
The 60-Second Clean:
- The Blend: Fill the blender pitcher halfway with warm water and add one drop of dish soap.
- The Pulse: Put the lid on and run the blender on high for 30–60 seconds. The vortex will clean under the blades better than any sponge could.
- The Deep Dive: Once a month, disassemble the base and soak the rubber gasket in vinegar to prevent mold and odors.
Keeping the Shine: Stainless Steel & Exteriors
Once the insides are clean, you want the outsides to sparkle. For stainless steel appliances, the "Ninja Secret" is to always wipe with the grain of the metal. Use a microfiber cloth with a tiny bit of olive oil or a specialized eco-friendly stainless steel spray to remove fingerprints and add a protective glow.
If you’re feeling overwhelmed by the state of your kitchen or the rest of your home, remember that you don’t have to do it all alone. Our residential cleaning services are designed to take the stress off your shoulders so you can enjoy your home rather than just cleaning it.
The Ninja Maintenance Schedule
To keep that "Small Appliance Zen" going year-round, try following this simple schedule:
- Daily: Wipe down exteriors and empty toaster crumb trays.
- Weekly: Clean the microwave using the lemon steam method and wash blender gaskets.
- Monthly: Descale your coffee maker and deep-clean the air fryer basket/heating element.
- Quarterly: Inspect cords for fraying and do a "deep shake" of all crumb-collecting gadgets.

Final Thoughts: A Zen Kitchen is a Happy Kitchen
When your gadgets are clean, cooking feels less like a chore and more like a craft. You’ll notice the difference in the taste of your coffee, the texture of your food, and the overall "vibe" of your kitchen.
At The Cleaning Ninjas Inc, we’re obsessed with the details that make a house feel like a home. Whether you're looking for more tips in our FAQ or you're ready to bring in the pros for a full-home refresh, we’re here to help you maintain your sanctuary.
Stay stealthy, stay clean, and enjoy your gadgets! 🥷✨
Ready for a home that feels as fresh as your newly-cleaned coffee maker? Explore our Commercial Cleaning tips & services and see how the Ninjas can transform your space.