Ever feel like you’re playing a high-stakes game of Tetris just to find a jar of peanut butter? Or perhaps you’ve discovered a can of cranberry sauce in the back of your cabinet that expired during a previous presidential administration? We’ve all been there. The pantry and the refrigerator are the hardest-working areas of your kitchen, but they are also the fastest to fall into chaos.
At The Cleaning Ninjas Inc, we believe that a clean home isn’t just about sparkling floors: it’s about the mental clarity that comes from knowing exactly where your snacks are. Reclaiming your food storage space isn't just a chore; it’s a mission. In this guide, we’re going to walk you through a full ninja-style strike on your pantry and fridge to bring you back to a state of "Pantry Peace."
Phase 1: The Reconnaissance (Empty and Sort)
You can’t organize what you can’t see. To truly deep clean, you have to commit to the "Great Emptying." This means every single box, jar, and half-eaten bag of chips needs to come out. Clear off your kitchen island or dining room table: this is your staging area.
As you unload, create three distinct zones:
- The Keep Zone: Items you use regularly that are still within their "best by" dates.
- The Toss Zone: Anything expired, stale, or those mysterious containers of leftovers in the fridge that have started growing their own ecosystems.
- The Donate Zone: Unopened, non-perishable items that are still good but you know your family isn't going to eat. If you bought that spicy seaweed snack on a whim six months ago and it’s still sitting there, let it go to someone who will appreciate it.
Ninja Tip: Check your expiration dates carefully. "Best by" is often a suggestion for quality, but "Use by" is a hard deadline for safety, especially in the fridge. When in doubt, throw it out.
Phase 2: The Tactical Clean
Now that your shelves are bare, you’ll probably notice a graveyard of crumbs, sticky rings from honey bottles, and maybe a few stray sprinkles. This is where the deep cleaning really happens.
Vacuum First
Before you reach for a wet cloth, grab your vacuum with the hose attachment. Vacuuming the shelves first prevents you from just pushing wet crumbs into the corners. It’s much more efficient to suck up the dry debris before introducing moisture. Get into those tight crevices where flour and sugar love to hide.
Scrub the Grime
For standard wire or laminate shelves, warm soapy water is your best friend. However, if you’re dealing with stubborn, sticky residues: looking at you, maple syrup: white vinegar is the ninja’s secret weapon. A 50/50 mix of water and vinegar cuts through grease and sugar without leaving behind harsh chemical smells that could soak into your food.
If you have wooden shelves, be gentle. Use a damp (not soaking) microfiber cloth and dry them immediately to prevent warping. For more detailed cleaning tips, you can always check out our full library of ninja secrets.
Don't Forget the Walls and Floor
While the shelves are empty, wipe down the walls of the pantry and the floor. Dust bunnies love the dark corners of a food closet. Once everything is scrubbed, leave the door open for a bit to ensure every surface is bone-dry before you start restocking. Moisture is the enemy of freshness!
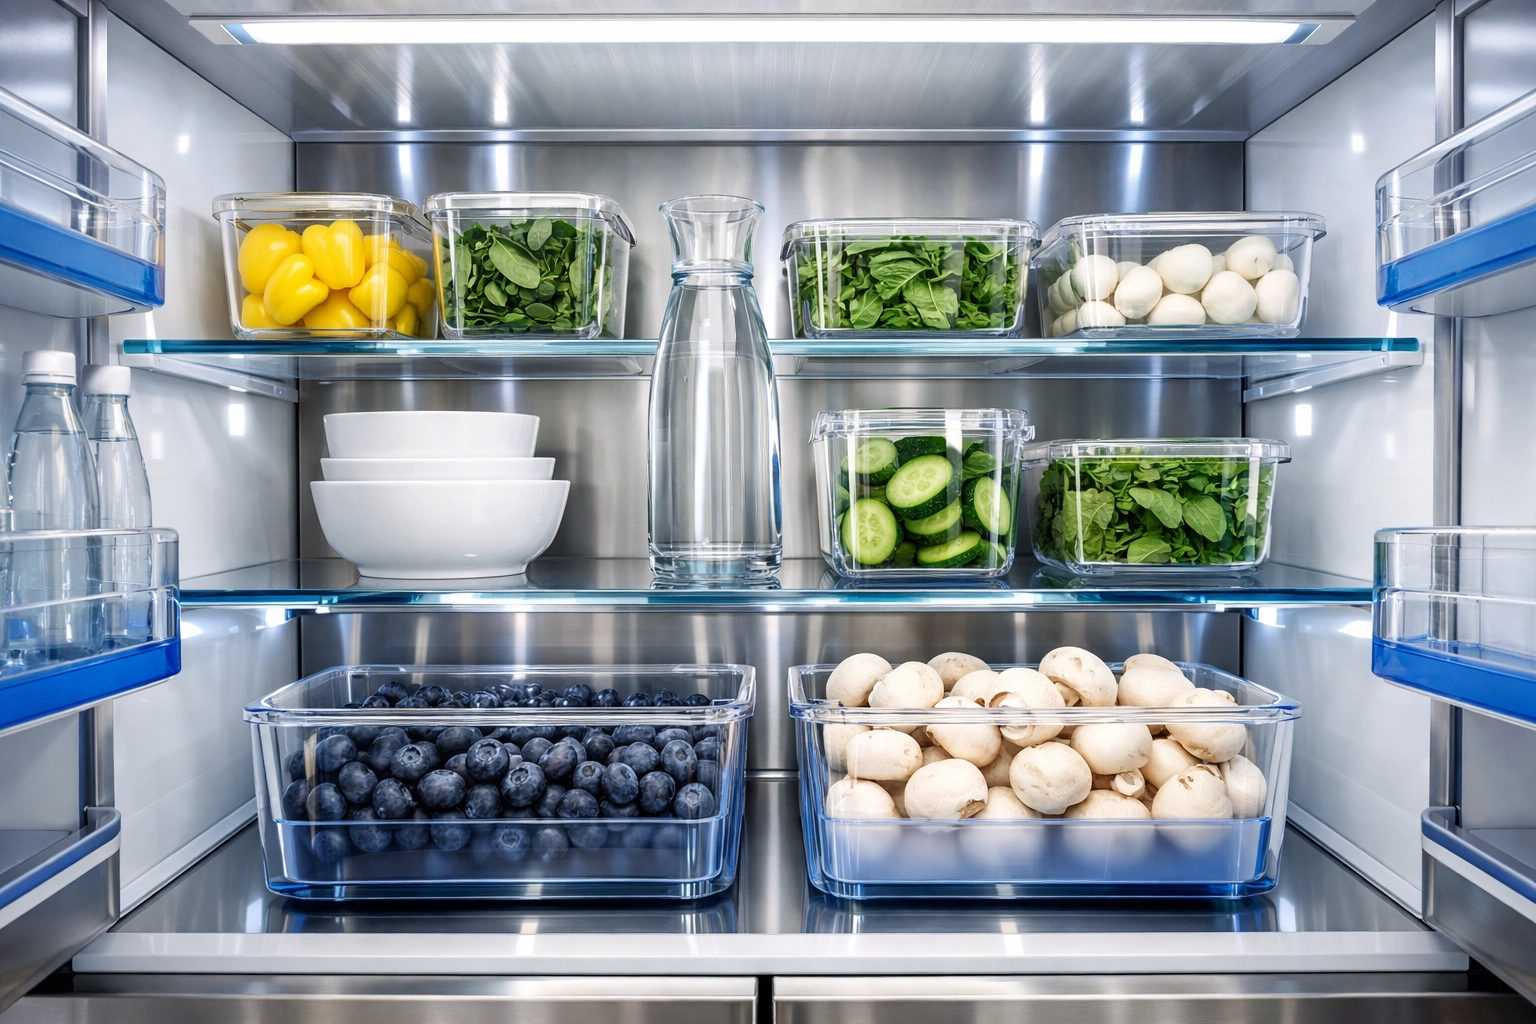
Phase 3: The Fridge Strike
The refrigerator requires a slightly different set of tactics. Since it’s a cold environment, spills can harden and odors can linger.
- Remove the Components: Most modern fridges have removable drawers and shelves. Take them out and wash them in the sink with warm, soapy water.
- The Seal Check: Take a damp cloth and wipe down the rubber gasket around the door. This is a prime spot for crumbs and mold to hide, and a dirty seal can prevent your fridge from closing tightly, wasting energy.
- Deodorize: Once the surfaces are clean, place a fresh box of baking soda in the back. It’s a classic move for a reason: it works.
If this sounds like a lot of work, remember that a professional house cleaning service can handle these deep-dive tasks for you, letting you focus on the fun part: the organization.
Phase 4: Ninja Organization Strategies
Now that your space is pristine, it’s time to put it back together with a strategy. Organization isn't just about making things look pretty for social media; it’s about functionality.
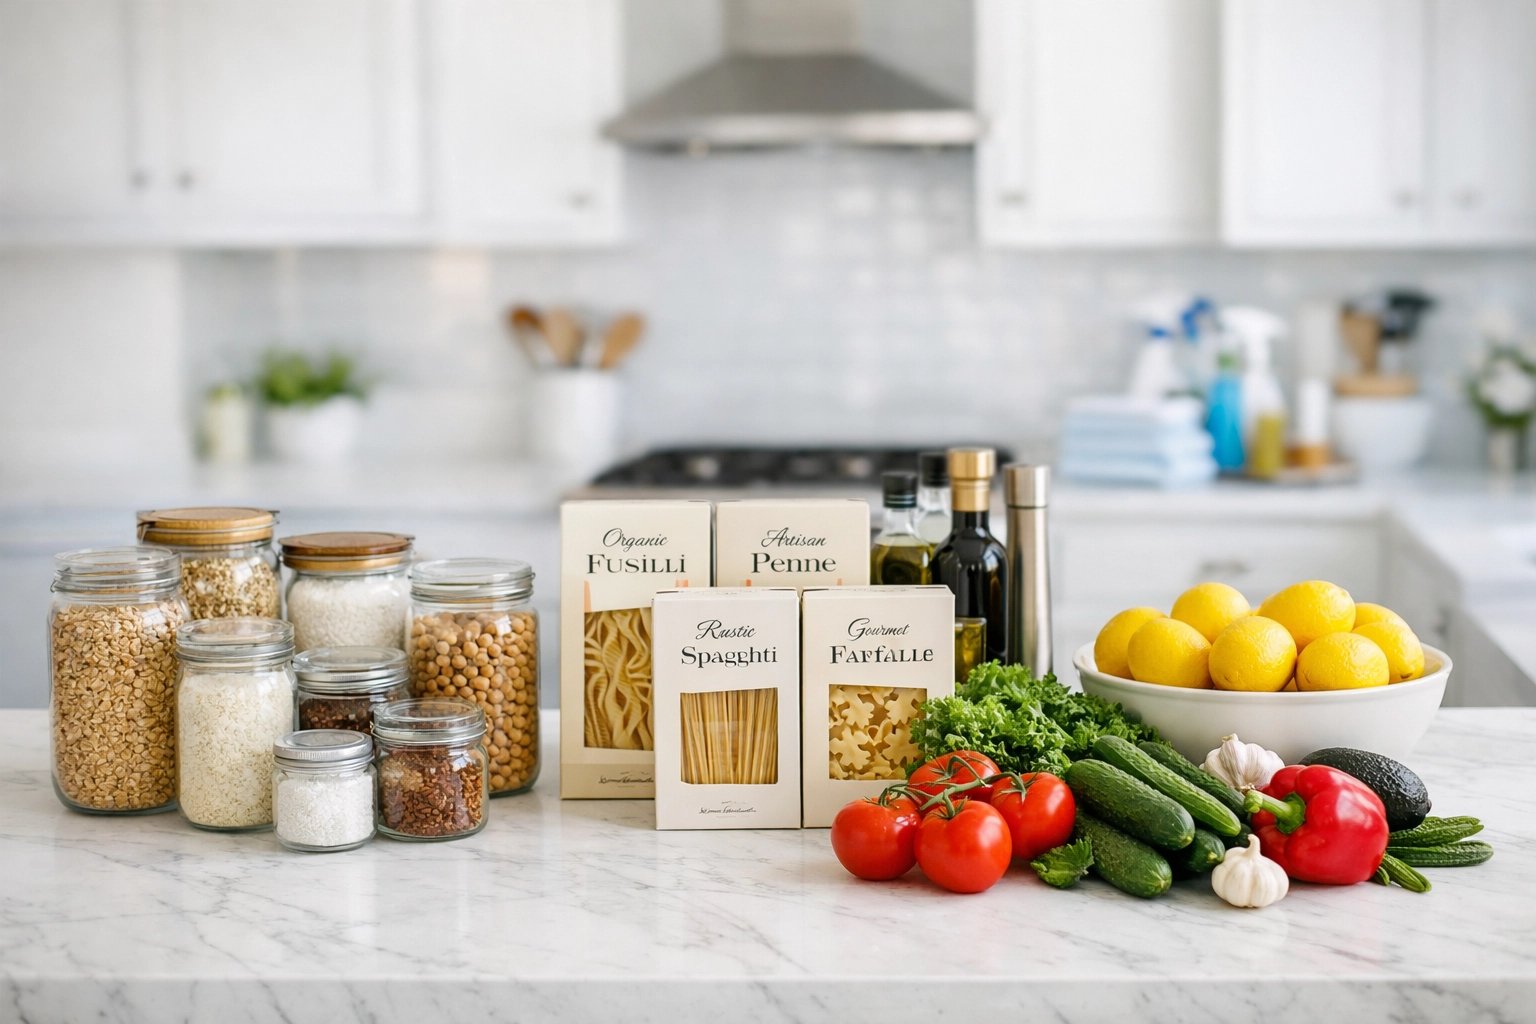
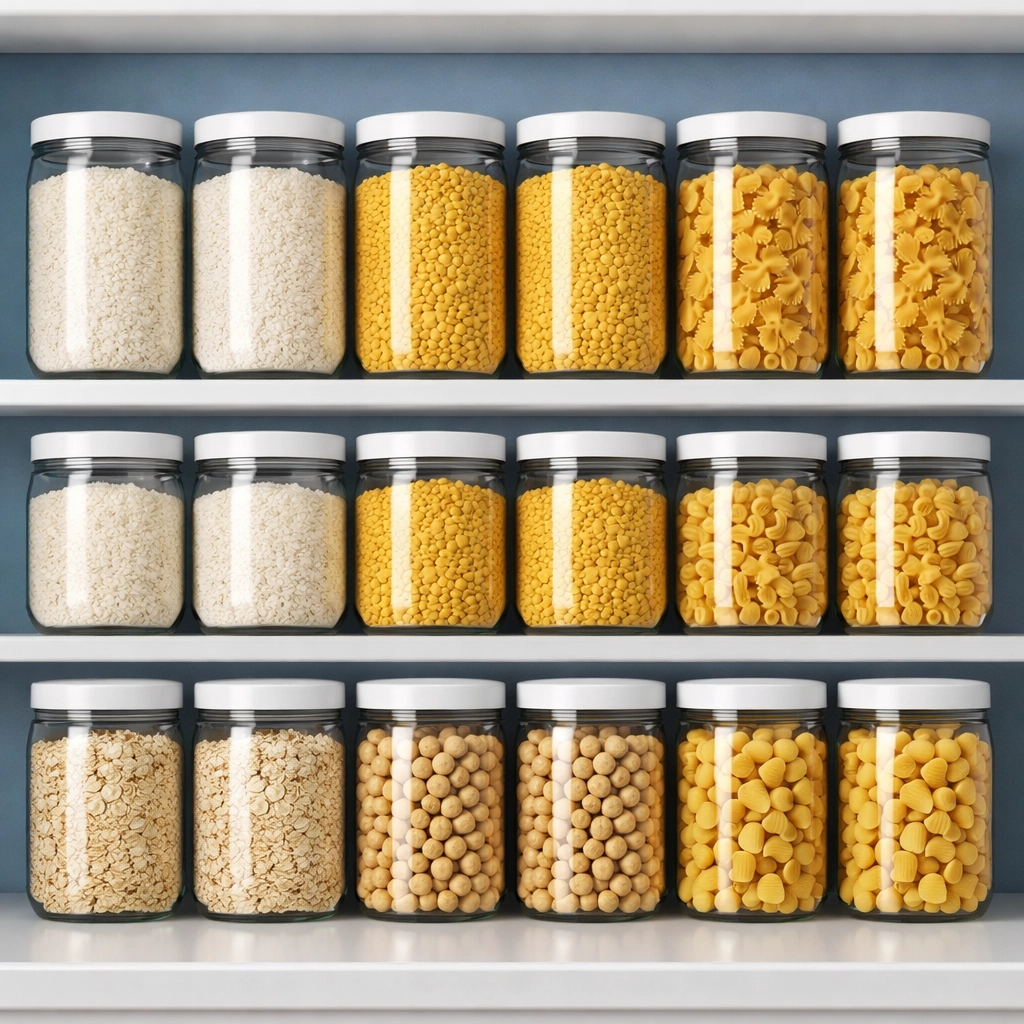
Container Consolidation
The original packaging for many foods is bulky and inefficient. Transferring items like flour, sugar, cereal, and pasta into clear, airtight containers does three things:
- It keeps food fresher for longer.
- It prevents pests (like those annoying pantry moths).
- It allows you to see exactly how much you have left at a single glance.
The Zoning System
Think of your pantry like a grocery store. Group like-items together in "zones."
- The Baking Zone: Flour, sugar, baking soda, and chocolate chips.
- The Breakfast Zone: Cereal, oatmeal, and pancake mix.
- The Snack Zone: Keep this at eye level for the kids (or hide it on the top shelf if you don’t want them raiding it!).
- The Dinner Prep Zone: Pasta, rice, and canned sauces.
Strategic Placement
Use the "prime real estate" rule. Items you use every single day should be between waist and eye level. Heavy items, like gallon jugs of vinegar or bulk bags of rice, should go on the bottom shelf for safety. Infrequently used items, like that giant turkey roaster or holiday-themed cookie cutters, can go on the very top.
Phase 5: The FIFO Method and Maintenance
A ninja’s work is never truly done. To keep your pantry from sliding back into chaos, you need to implement the FIFO method: First In, First Out.
When you come home from the grocery store, don't just shove the new cans in front. Move the older cans to the front and put the new ones in the back. This ensures you’re using your inventory before it expires, saving you money and reducing waste.
Labels are Your Friends
If you’ve moved things into clear containers, use labels. Not only does it look sharp, but it also prevents the classic "is this salt or sugar?" disaster during your Saturday morning baking session. You don't need a fancy label maker: masking tape and a sharpie work just as well for a "rustic ninja" look.
The 5-Minute Reset
Once a week, perhaps right before you go grocery shopping, do a 5-minute pantry reset. Straighten the rows, check for anything that needs to be tossed, and make your shopping list based on what you actually need.
Why Pantry Peace Matters
We see it all the time at The Cleaning Ninjas Inc: a cluttered home leads to a cluttered mind. When your kitchen is organized, cooking becomes less of a chore and more of a joy. You save money by not buying duplicates, and you eat healthier because you can actually see the nutritious ingredients you have on hand.
Whether you are looking for a one-time deep clean to get things started or want to set up a regular schedule to keep your whole home in top shape, our services are designed to give you back your time and your peace of mind.
Reclaiming your pantry is a big job, but breaking it down into these tactical phases makes it manageable. So, put on your favorite playlist, grab those microfiber cloths, and get ready to transform your food storage from a chaotic mess into a ninja-approved sanctuary.
If you’re ready to see what a professional touch can do for your home, learn more about us and our mission to bring cleanliness and calm to every household we touch. Happy cleaning!