Last Updated on 03/31/2026 by thecleaningninjas.com
House Cleaning
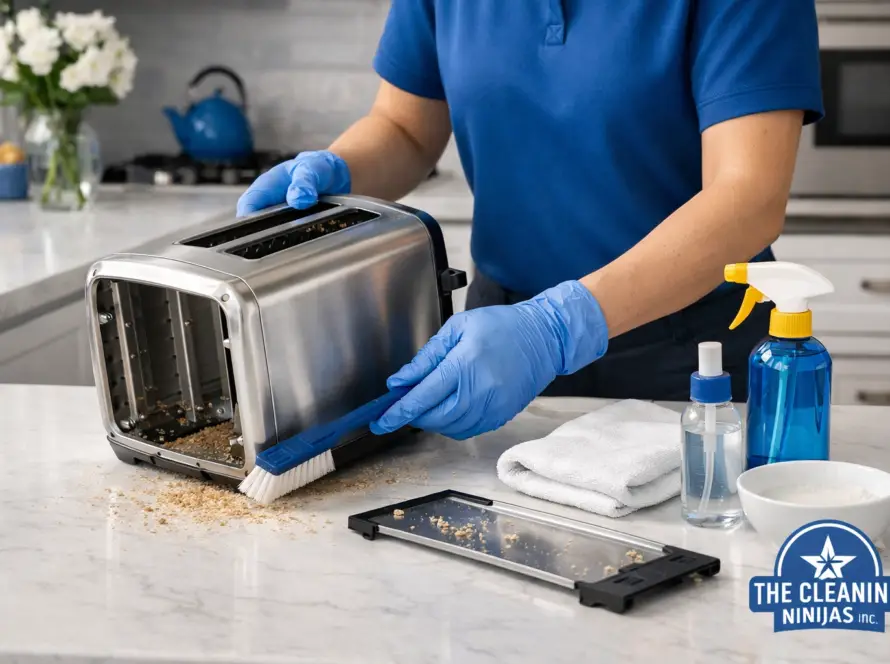
Let’s be honest for a second: how many times have you started cleaning the bathroom, only to realize the glass cleaner is under the kitchen sink? You walk to the kitchen, grab the spray, walk back, and then realize you forgot the microfiber cloths. By the time you’ve actually finished scrubbing the mirror, you’ve basically completed a 5K run around your own house.
At The Cleaning Ninjas Inc, we’re all about efficiency. Our team doesn't just clean; we move with purpose. One of the biggest secrets to our "ninja speed" isn't just fast hands, it’s the humble cleaning caddy.
If you’re tired of feeling like you’re hiking through your hallways every Saturday morning, it’s time to rethink how you store and carry your supplies. Organizing a professional-grade cleaning caddy can literally save you miles of walking every week. Here is how to build yours like a pro.
The "Scattered Supply" Syndrome
Most homeowners suffer from what we call "Scattered Supply Syndrome." You have a bottle of bleach in the laundry room, some wood polish in the hallway closet, and a mountain of half-used sponges stuffed into a dark corner under the sink.
When your tools are spread out, cleaning becomes a massive mental chore. You have to hunt for your gear before you can even start. A caddy solves this by centralizing your "war chest." When everything you need is in one hand, you don’t have an excuse to procrastinate. You just grab the handle and go.
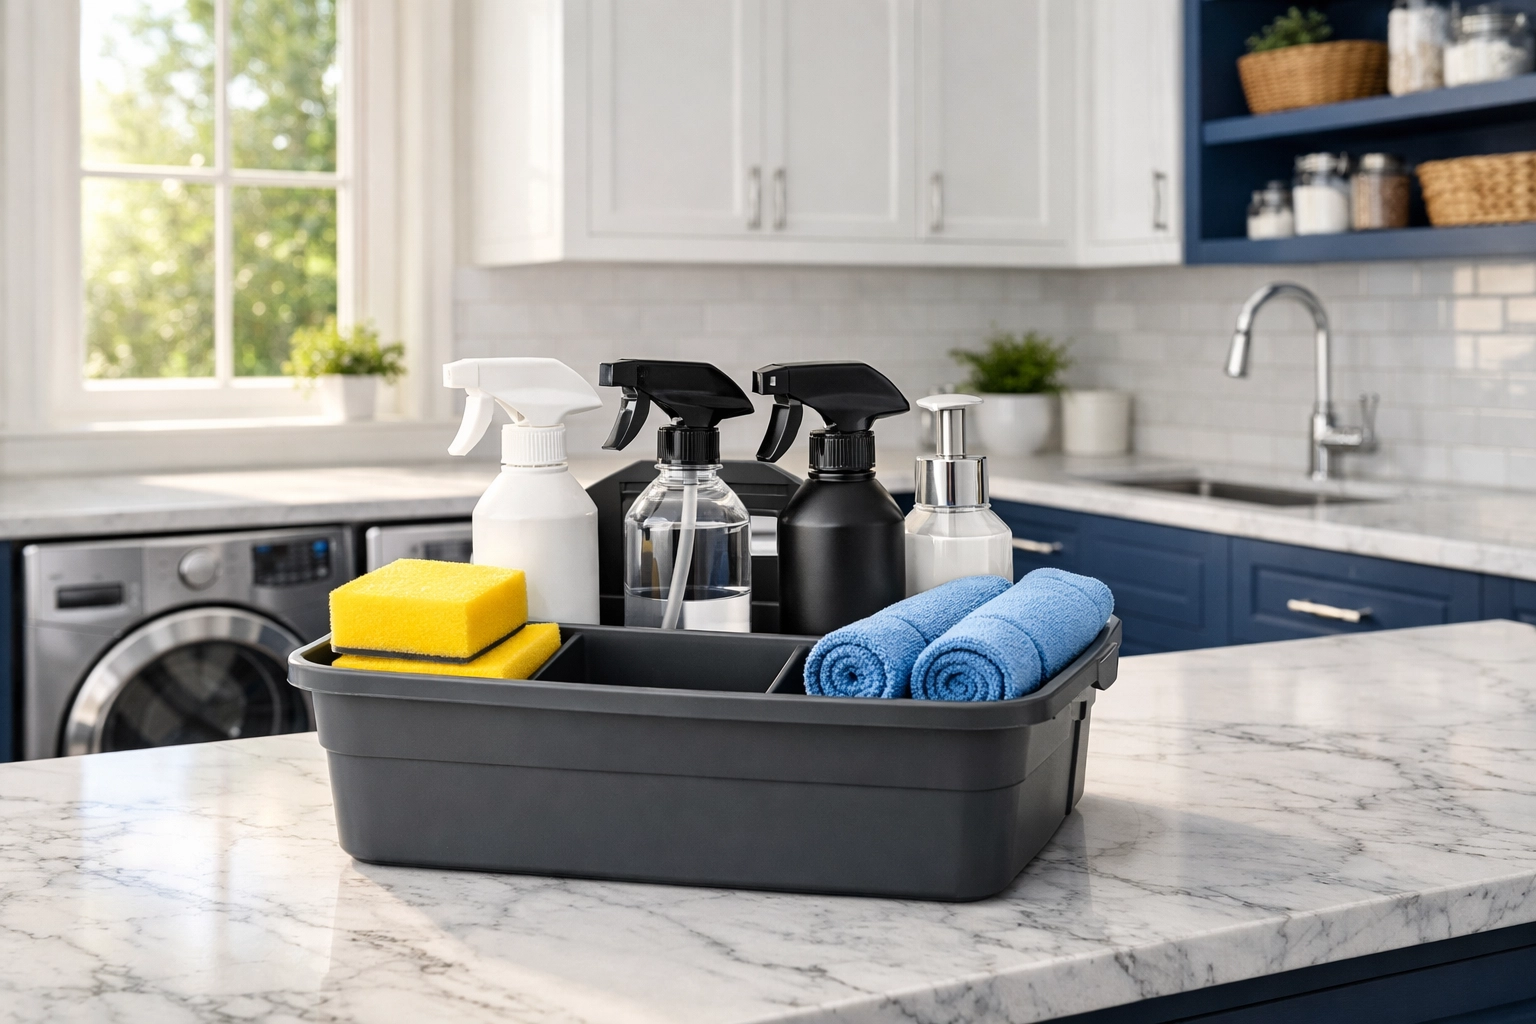
Choosing Your Vessel: The Anatomy of a Perfect Caddy
Before you start tossing bottles into a bucket, you need the right container. Not all caddies are created equal. Here is what you should look for:
- A Sturdy Handle: This sounds obvious, but you’ll be carrying a lot of liquid weight. A cheap, flimsy plastic handle will dig into your hand. Look for something ergonomic or padded.
- Dividers: You don't want your bottles clanking around and tipping over. Dividers keep your sprays upright and your cloths dry.
- Portability: It should be small enough to fit under a sink or on a shelf but large enough to hold about 4–6 bottles plus rags.
- Easy to Clean: Your caddy will get sticky eventually. Choose a plastic or metal version that you can spray down and wipe out easily.
If you have a multi-story home, we actually recommend having a dedicated caddy for each floor. This is a game-changer. Keeping a "Bathroom Caddy" upstairs and a "General Caddy" downstairs means you never have to navigate the stairs with a handful of chemicals.
The Ninja Essentials: What Stays in the Caddy?
To keep your caddy light and effective, you need to curate your supplies. You don't need twenty different cleaners. In fact, most pros only use a handful of high-quality products. Here’s what we suggest for your primary caddy in our Cleaning Tips guide:
- All-Purpose Cleaner: Your bread and butter. Look for a pH-neutral cleaner that works on everything from countertops to baseboards.
- Glass Cleaner: For mirrors, windows, and chrome fixtures.
- Disinfectant Spray: Essential for high-touch areas like light switches and door handles.
- Microfiber Cloths: Forget paper towels. Microfiber is eco-friendly, picks up more dust, and leaves a streak-free finish.
- A Small Scrub Brush: Perfect for grout lines or stubborn spots on the floor.
- An Old Toothbrush: For those tiny crevices around faucets and drains.
- Trash Liners: Keep a roll of small bags at the bottom of the caddy so you can empty small bins as you go.
Strategy: The "Zone" Approach
One of the best ways to maximize your efficiency is to customize your caddy based on the room you’re tackling. At The Cleaning Ninjas Inc, we often organize our kits by "zones."
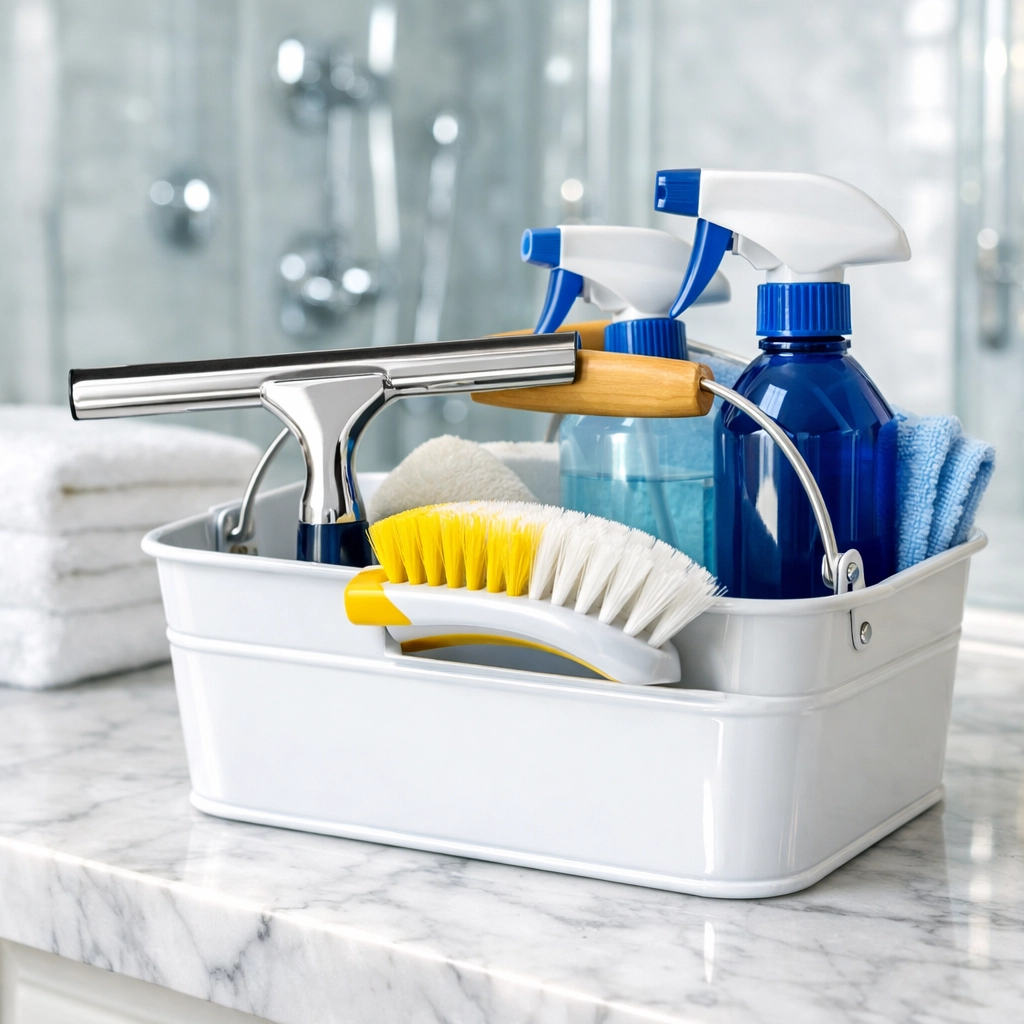
The Bathroom Caddy
Bathrooms require specialized tools. If you’re making a dedicated bathroom caddy, make sure to include:
- A toilet bowl cleaner and brush.
- A heavy-duty soap scum remover or a vinegar-based solution for glass shower doors.
- A squeegee (this is the secret to keeping glass doors clear between deep cleans!).
- A tile brush.
The Kitchen Caddy
Kitchens are all about grease. Your kitchen-specific kit should feature:
- A degreaser for the stove hood and backsplash.
- Stainless steel polish (if you have those appliances).
- Baking soda (great for scrubbing sinks without scratching).
- Fresh sponges.
How to Pack Your Caddy for Maximum Speed
There is actually a "right" way to pack your caddy.
- Heaviest in the Center: Place your heaviest bottles near the handle to keep the weight balanced. This makes it easier to carry without straining your wrist.
- Dry Cloths on One Side: Keep your clean microfiber cloths in one section, away from any leaky spray bottles.
- The "Wet" Pocket: If your caddy has an outer pocket or a specific corner, use that for your damp or used cloths so they don’t contaminate your clean supplies.
- Spray Bottle Trigger Position: Turn your spray bottles so the triggers face outward. This allows you to grab a bottle and spray in one fluid motion without having to adjust your grip.
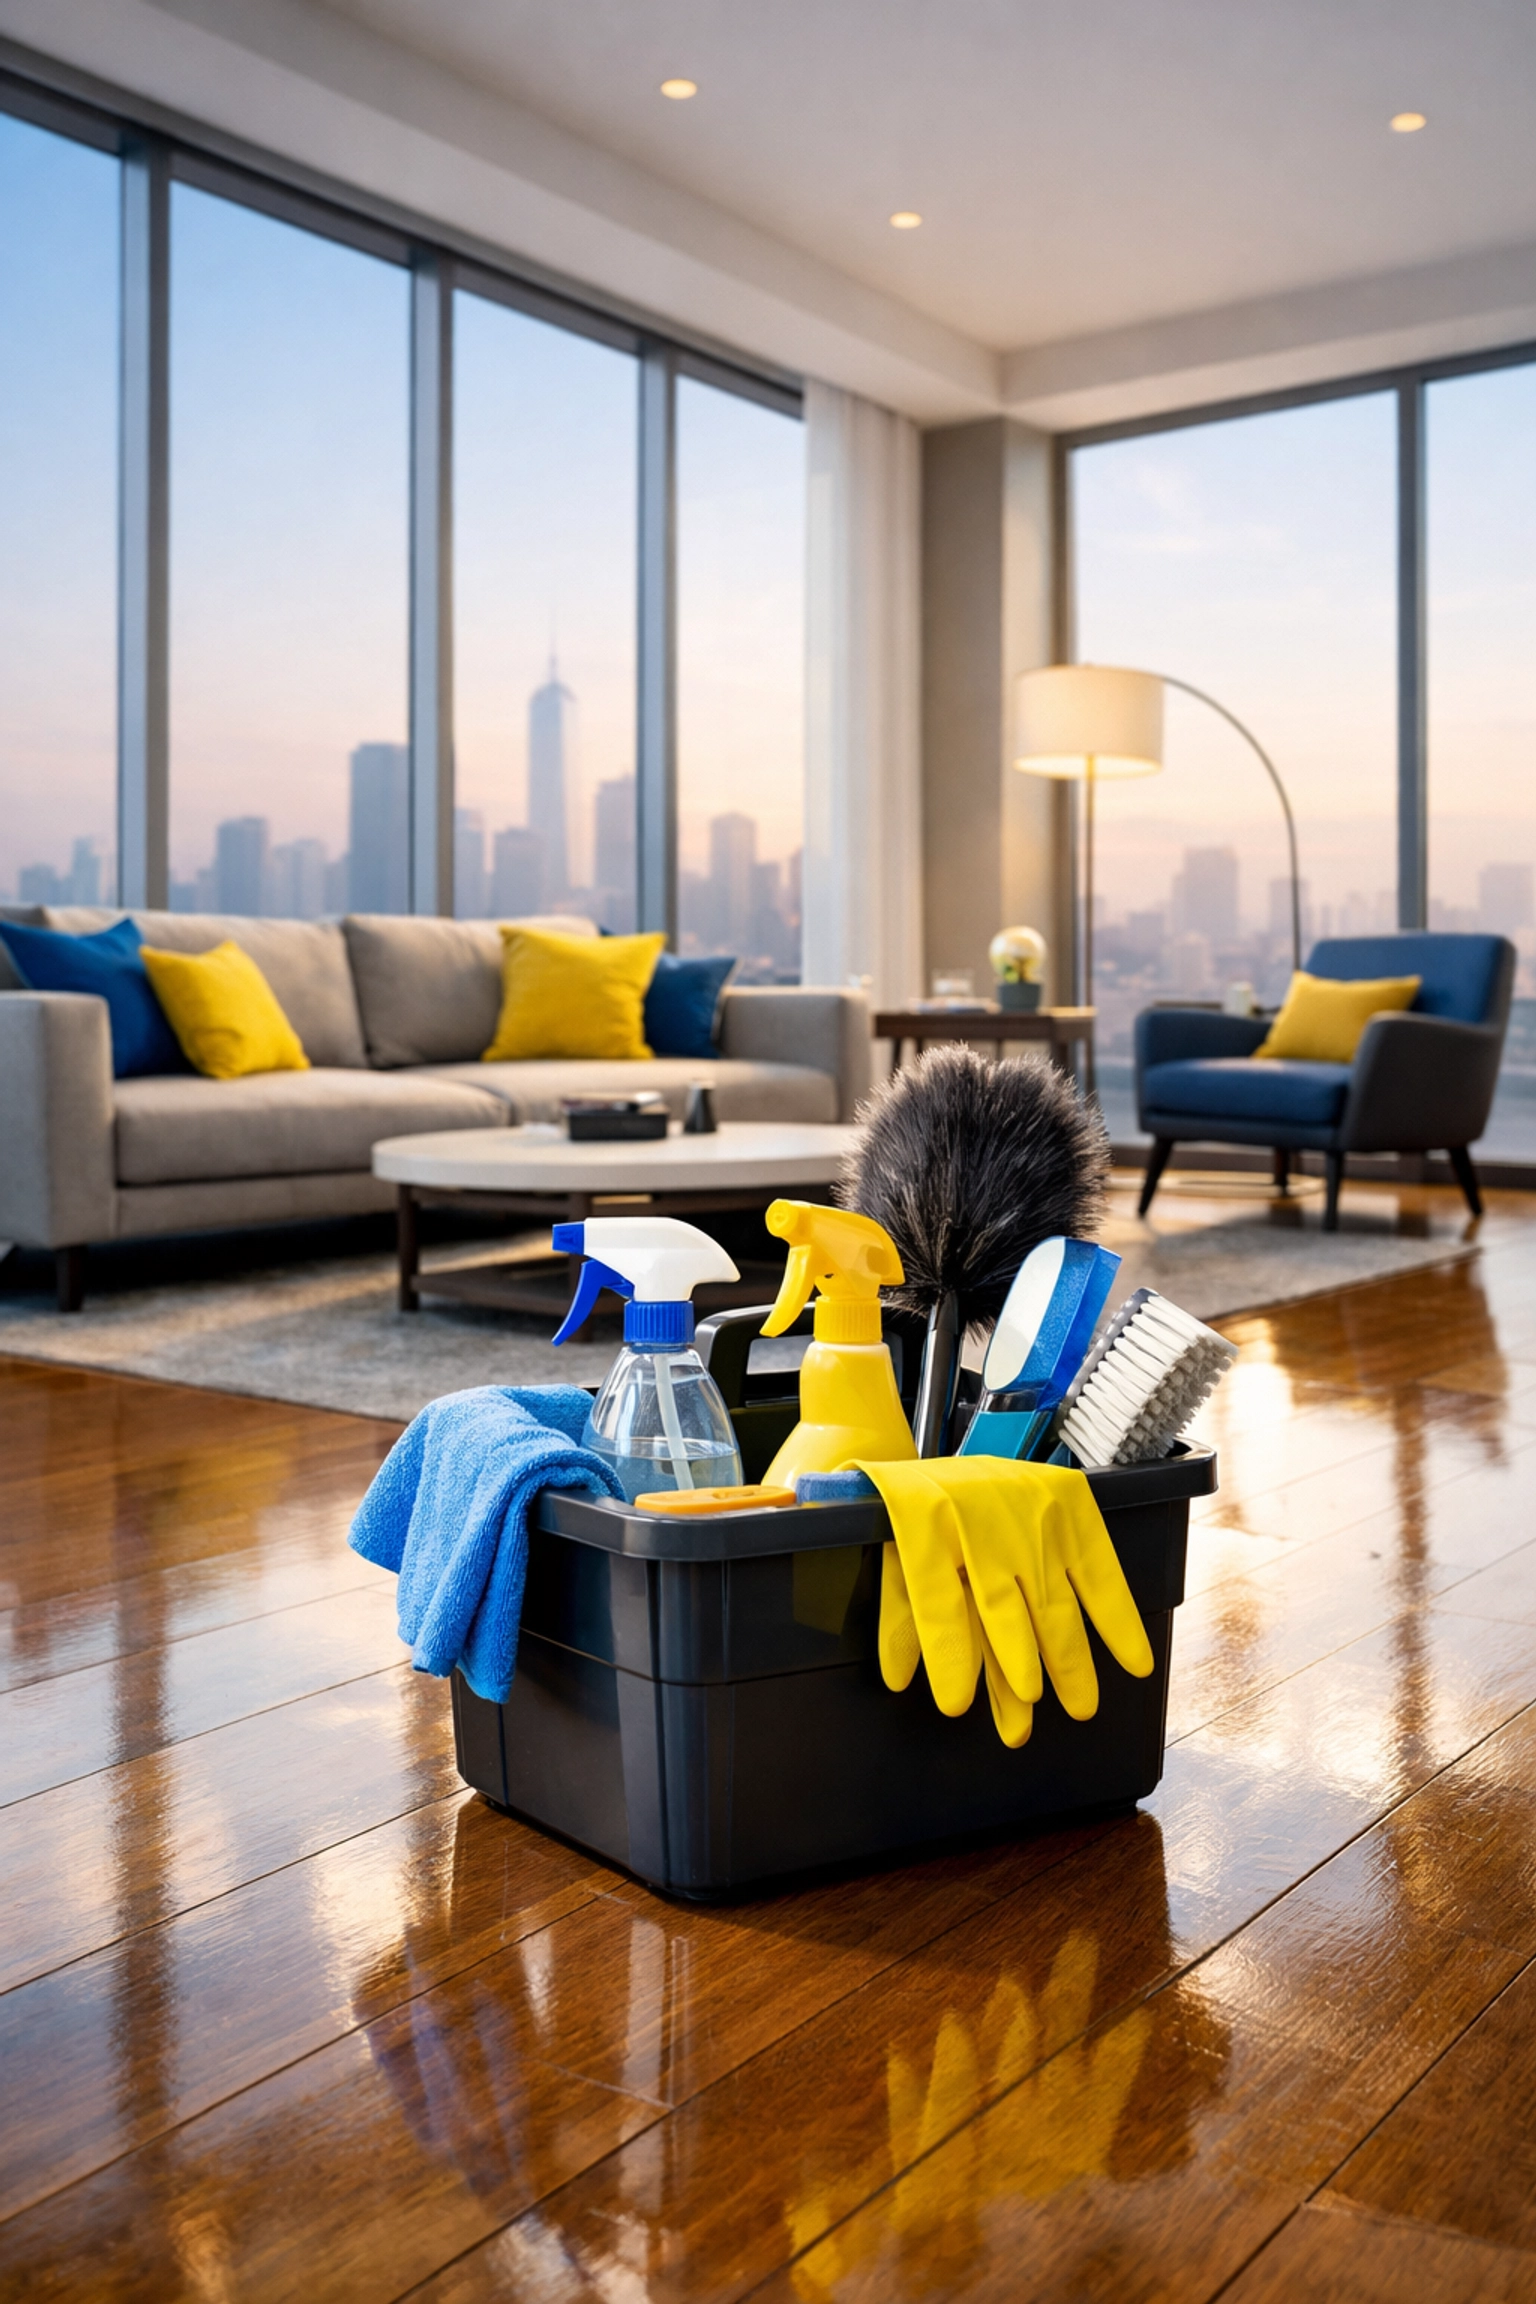
The "Ninja Flow": Efficiency in Motion
Once your caddy is packed, it’s all about the "Ninja Flow." When you enter a room, set your caddy down in a central spot, usually on a rug or a towel to protect the flooring. From that one spot, you should be able to reach almost everything in the room.
Clean from Top to Bottom and Left to Right. As you finish a surface, your caddy is right there for you to swap tools. You aren't walking back to the hallway or downstairs. This focus allows you to enter a "flow state" where the cleaning happens almost automatically.
If you find that you're still feeling overwhelmed by the sheer volume of tasks, you can always check out our services to see how a professional team can take the load off your shoulders. We’ve spent years perfecting these systems so you don’t have to.
Maintenance: Clean Your Caddy!
It sounds ironic, but a dirty cleaning caddy is a major buzzkill. Once a month, take everything out of your caddy. Throw the microfiber cloths in the wash (no fabric softener, please!), wipe down the bottles, and wash the caddy itself with warm soapy water.
Refill any bottles that are running low. There is nothing worse than getting halfway through a window and realizing your glass cleaner is empty. Being prepared is 90% of the battle.
Why This Matters for Your Sanity
Organizing your supplies isn't just about saving time; it's about reducing the "friction" of starting. When you know your caddy is ready to go, the mental hurdle of cleaning disappears. You aren't "going to clean the house"; you’re just "grabbing the caddy."
It turns a three-hour ordeal into a series of quick, manageable wins. You’ll find more tips like this on our blog, where we share the professional secrets we use every day on the job.
Ready to Level Up?
Building a cleaning caddy is the first step toward reclaiming your weekends. By cutting out those extra miles of walking, you’ll finish faster, feel less tired, and actually enjoy the results of your hard work.
If you’d rather spend your time doing literally anything else, The Cleaning Ninjas Inc is here to help. We bring our own professional-grade caddies, expert techniques, and a friendly attitude to every home we visit.
Now, go grab a container, round up those stray bottles, and start your journey to becoming a home-cleaning ninja! 🥷✨