Last Updated on 03/31/2026 by thecleaningninjas.com
Ever hopped into the shower, ready for a refreshing blast of water to wake you up, only to be met with a pathetic, uneven drizzle? Or maybe you have those rogue streams of water shooting off at weird angles, hitting the bathroom wall instead of you? If that sounds familiar, you aren’t alone. At The Cleaning Ninjas Inc, we see this all the time. Over time, mineral deposits from your water supply: especially if you live in an area with hard water: clump together and clog up the tiny holes in your shower head.
The good news? You don’t need a plumber, and you definitely don’t need to go out and buy a brand-new fixture. In fact, you probably already have everything you need in your kitchen pantry to fix it. Today, we’re sharing a classic "Ninja Tip" for removing that stubborn buildup using eco-friendly, non-toxic methods that are safe for your home and the planet.
Why Your Shower Head Gets "The Crunches"
Before we dive into the fix, let’s talk about the "why." Most water contains minerals like calcium, magnesium, and silica. When the water evaporates or sits in the nozzle after you turn the shower off, these minerals stay behind. Over weeks and months, they harden into what we call limescale or "buildup."
If you ignore it, the buildup can eventually become so thick that it restricts water flow entirely, which puts extra pressure on your pipes and just makes for a really frustrating shower experience. This is why incorporating a quick check of your fixtures into your weekly house cleaning routine is such a game-changer. It’s much easier to prevent the "crunch" than it is to chip it away after a year of neglect.
The Ninja’s Secret Weapon: White Vinegar
When it comes to eco-friendly cleaning, distilled white vinegar is the undisputed heavyweight champion. It’s acidic enough to dissolve those tough mineral deposits but gentle enough that it won't ruin your finishes (if used correctly). Plus, it’s incredibly cheap and completely non-toxic, which is a huge priority for us here at The Cleaning Ninjas Inc.
While there are plenty of harsh, foamy chemical sprays at the store that promise to melt away lime and rust, they often come with fumes that aren’t great to breathe in a small, enclosed shower stall. We prefer the natural route every single time.
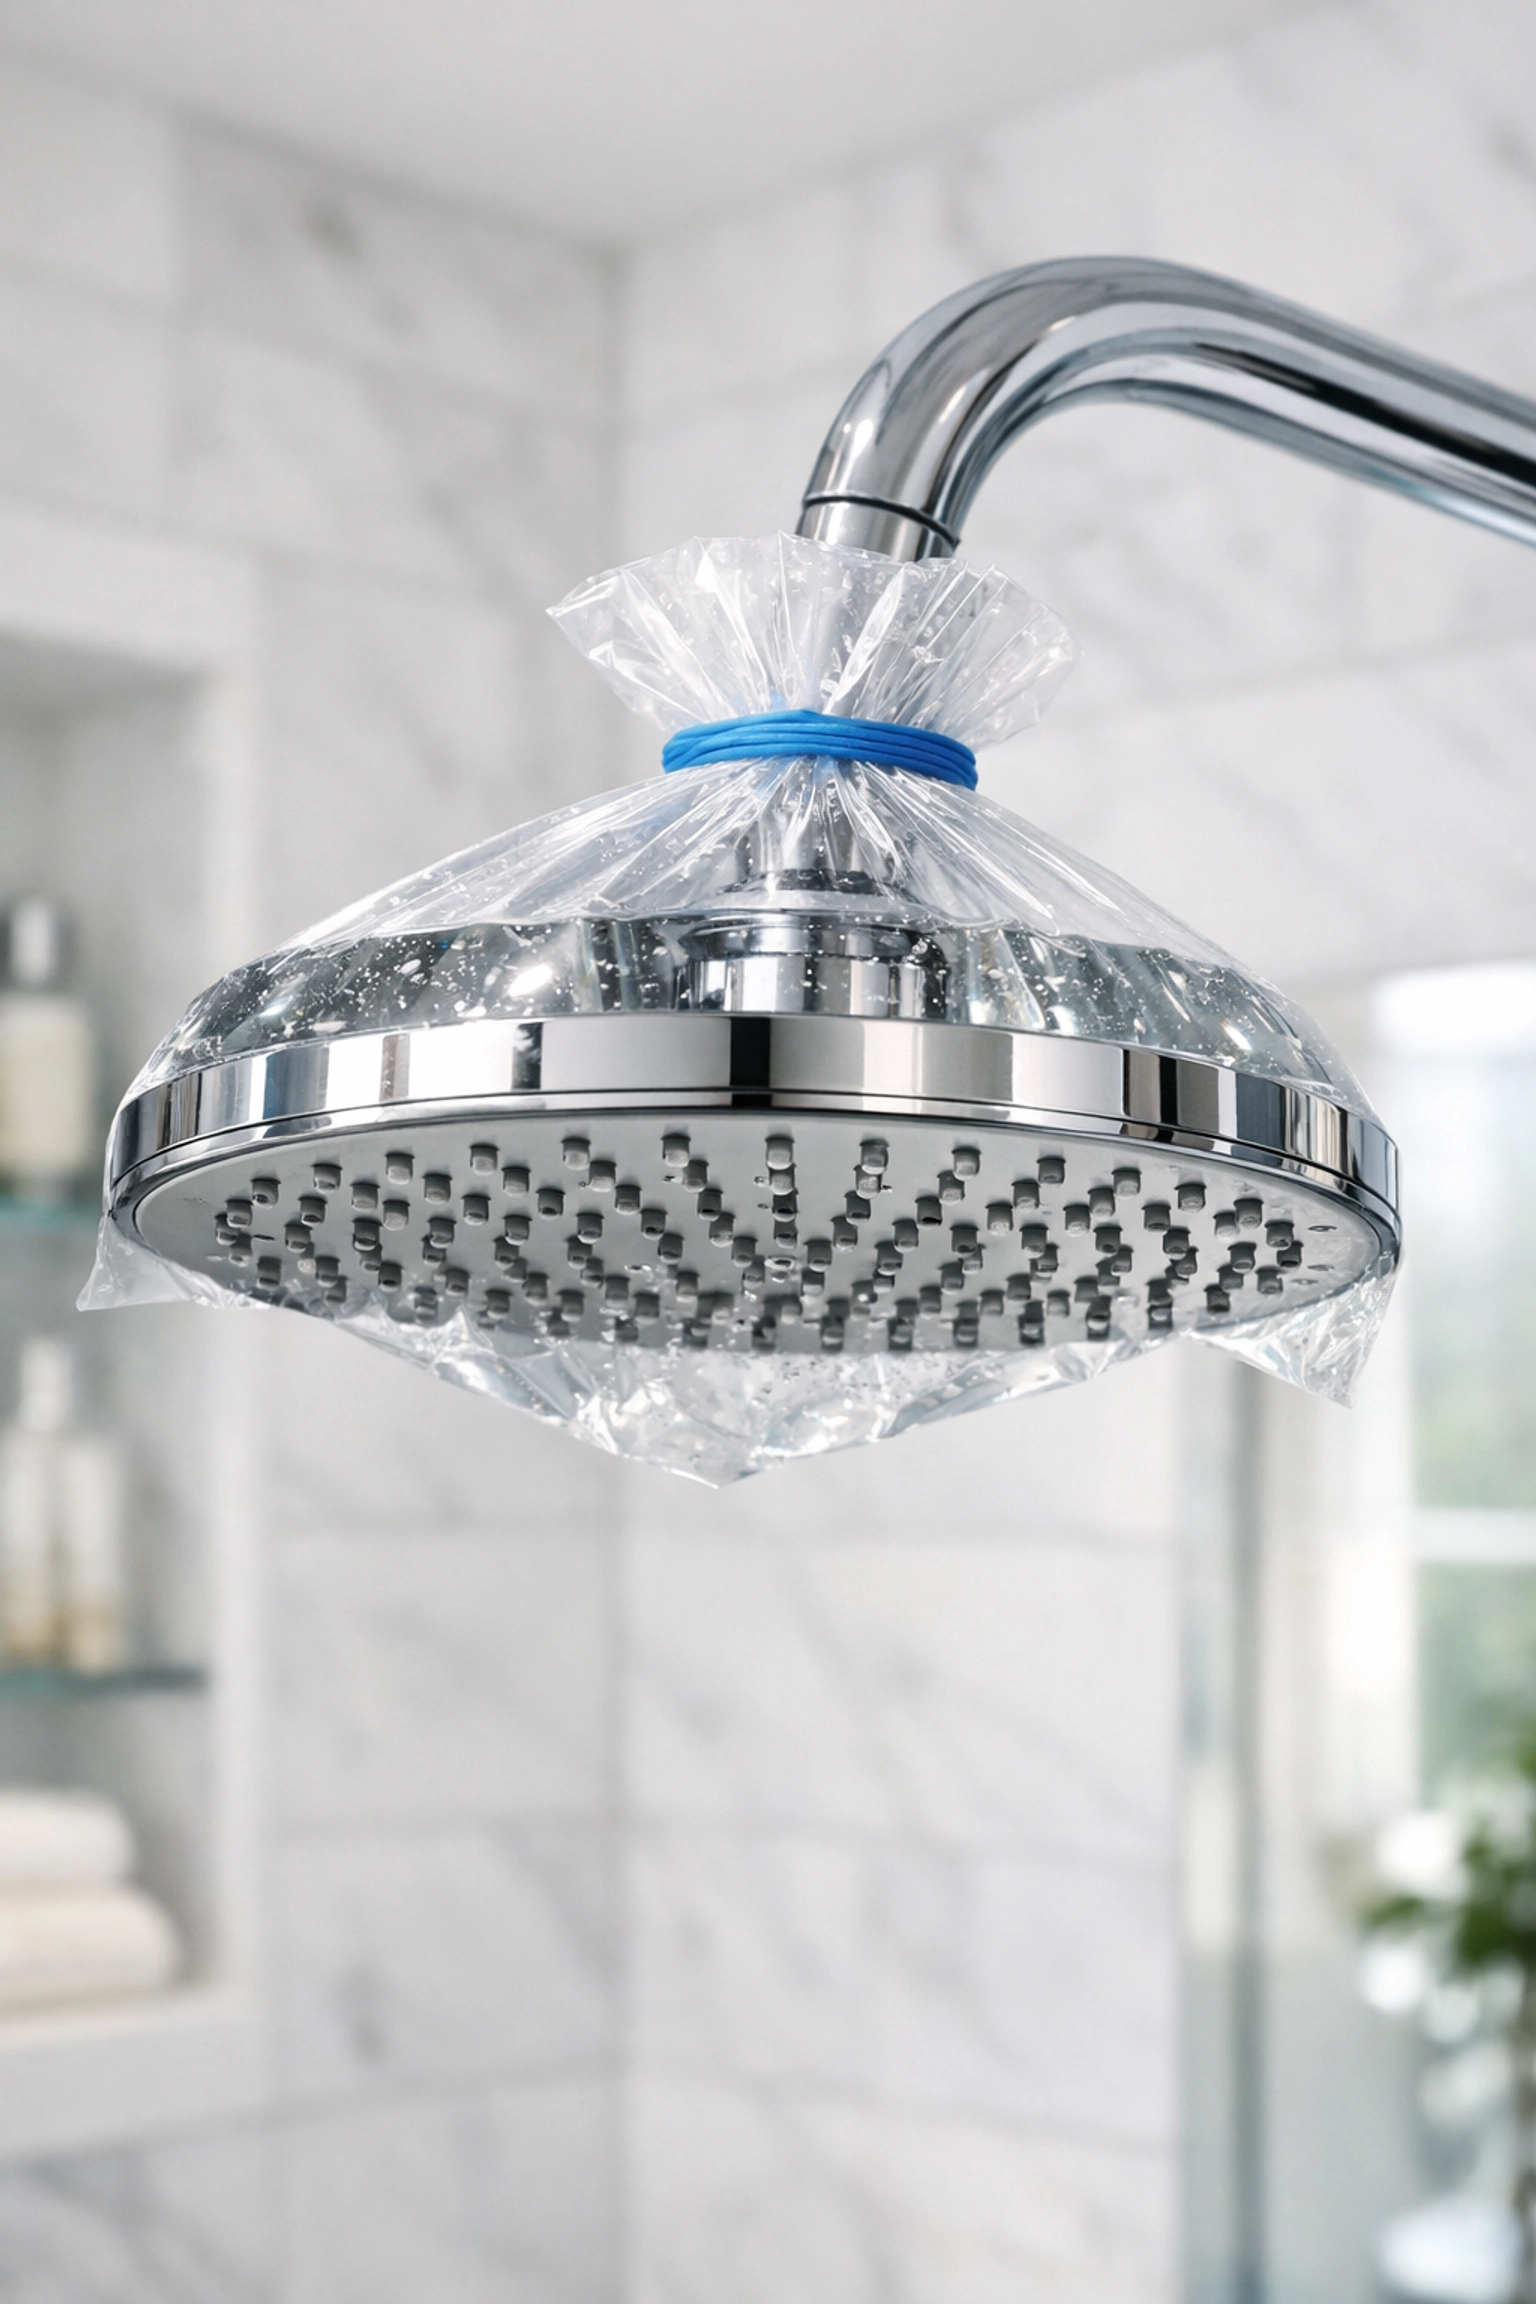
Method 1: The "No-Tools-Required" Soaking Trick
This is our favorite method because it’s almost entirely hands-off. It’s perfect for those who want professional results without having to take the whole shower head apart.
What You’ll Need:
- A sturdy plastic bag (like a gallon-sized freezer bag).
- A strong rubber band or a piece of string.
- Distilled white vinegar.
- An old toothbrush (optional, for finishing touches).
Step-by-Step Instructions:
- Prep the Bag: Pour about a cup or two of white vinegar into your plastic bag. You don't need to fill it to the brim; you just need enough to completely submerge the face of the shower head.
- The Submerge: Carefully slide the bag over the shower head until the nozzles are fully immersed in the vinegar.
- Secure It: Use your rubber band or string to tie the bag tightly around the neck of the shower arm. Make sure it’s secure so it doesn’t slip off mid-soak!
- The Wait: Let it sit for at least 30 to 60 minutes. If your buildup is particularly thick or has been there for years, feel free to leave it overnight. You’ll actually see little bubbles forming: that’s the vinegar working its magic and eating away at the calcium.
- Rinse and Run: Remove the bag (carefully, so you don't get vinegar in your eyes!) and pour the used vinegar down the drain. Turn on the hot water and let the shower run for a minute or two. This flushes out any loosened minerals that might still be sitting inside the nozzles.
Method 2: The Deep Scrub (For Handhelds and Stubborn Spots)
If you have a handheld shower head, or if the soaking method didn’t quite get everything, you might need to get a little more "hands-on."
What You’ll Need:
- A small bowl.
- White vinegar.
- Baking soda (the "scrubbing" booster).
- A soft-bristled brush or an old toothbrush.
The Process:
Mix equal parts vinegar and water in your bowl, and add about a tablespoon of baking soda. It’s going to fizz: don’t panic, that’s just the reaction that helps lift the grime. Dip your brush into the paste and work it into the individual spray holes. Use a circular motion to really get the bristles inside the nozzles.
This is a great task to add to a bi weekly house cleaning schedule. By giving the nozzles a quick brush every two weeks, you ensure that the minerals never have a chance to harden into that "concrete" state that requires a 12-hour soak.
A Note on Special Finishes
While vinegar is a miracle worker for chrome and most stainless steel fixtures, you have to be careful with specialty finishes like oil-rubbed bronze or gold-plated fixtures. The acid in vinegar can sometimes damage these delicate coatings if left on too long.
If you have a high-end or specialty finish, we recommend a much shorter soak (no more than 15-20 minutes) and testing a small, inconspicuous spot first. After soaking, make sure to rinse the fixture thoroughly with plain water and buff it dry with a soft microfiber cloth to ensure no acidic residue stays on the surface.
Preventative Maintenance: Stay Ahead of the Grime
At The Cleaning Ninjas Inc, we’re big believers in the idea that "a little bit often" is better than "a lot once in a while." To keep your shower head looking brand new and flowing perfectly, try these maintenance tips:
- The Weekly Flush: Once a week, turn your shower to the hottest setting and let it run for three minutes without you in it. The high heat helps keep the internal minerals from settling.
- The Squeegee Method: After you finish your shower, give the shower head a quick wipe with your towel or a squeegee. Removing the standing water means there’s no water left to evaporate and leave minerals behind.
- Water Softeners: If you find that you’re constantly fighting limescale on your shower heads, faucets, and even your dishes, you might want to look into a whole-home water softener. It’s a bit of an investment, but it saves your plumbing (and your skin!) in the long run.
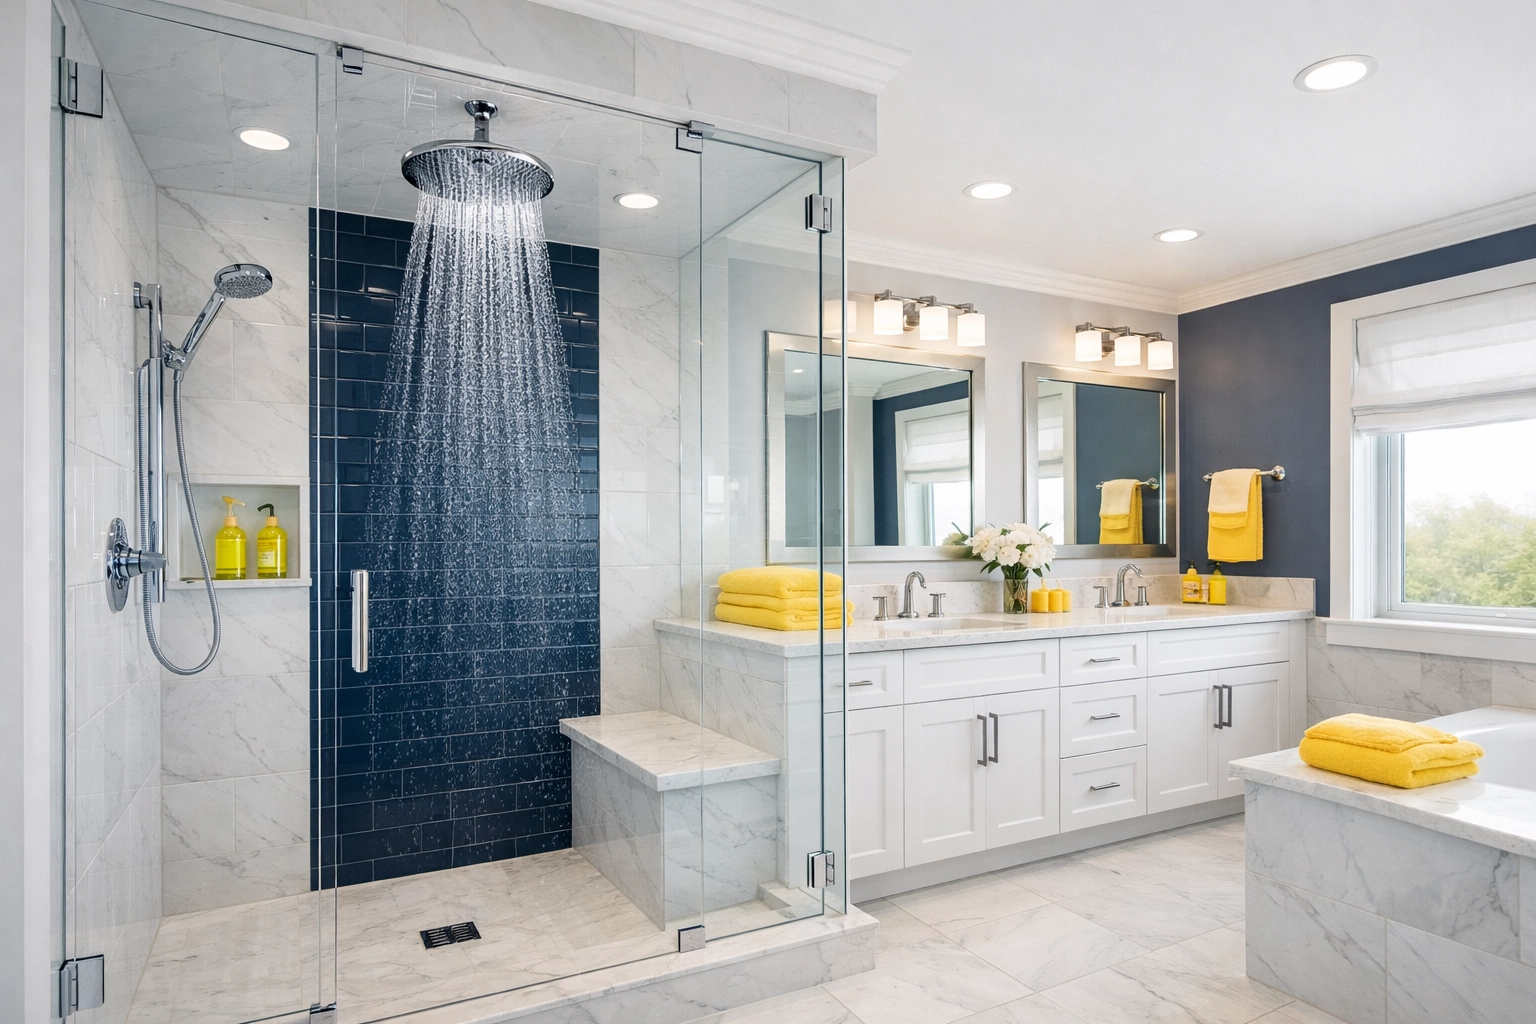
Why Clean Fixtures Matter
It might seem like a small detail, but a clean shower head is about more than just water pressure. Clogged nozzles can actually trap bacteria and mold. Because the inside of a shower head is dark and damp, it’s the perfect breeding ground for biofilm. When you turn the water on, those particles can be aerosolized, and you end up breathing them in.
Keeping your bathroom fixtures clean is a vital part of maintaining a healthy home environment. Whether it's through your own weekly house cleaning efforts or by hiring a professional team, focusing on these "hidden" areas makes a massive difference in the air quality and hygiene of your space.
Let the Ninjas Handle the Deep Stuff
We get it: life is busy. Between work, family, and trying to find a moment of peace, cleaning the shower head with a bag of vinegar might be the last thing on your to-do list. That’s where we come in!
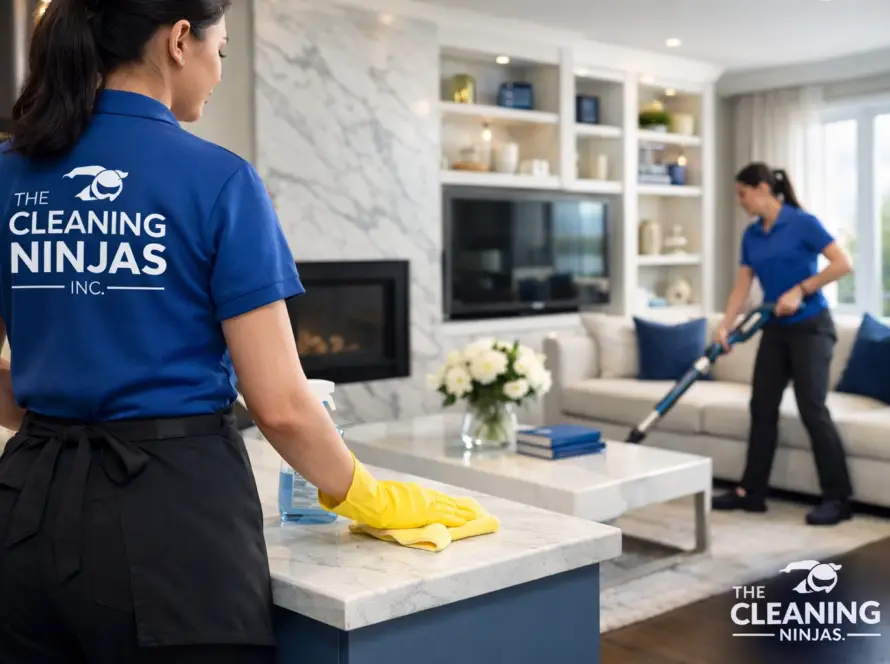
Our team at The Cleaning Ninjas Inc specializes in the details that most people miss. From those mineral-crusted shower heads to the dust on top of the fridge, we treat every home with the "Ninja" level of precision. Whether you are looking for a one-time deep clean or a consistent bi weekly house cleaning service to keep your home in tip-top shape, we’ve got your back.
Check out our services to see how we can help you reclaim your time and enjoy a sparkling clean home without the stress. You can also learn more about us and our commitment to eco-friendly, high-quality cleaning standards.
Final Thoughts
Removing buildup from your shower head is one of the most satisfying "quick wins" in home maintenance. It takes almost no effort, costs pennies, and the results are immediate. The next time you step into the shower, you’ll enjoy a perfect, steady stream of water: exactly the way it was meant to be.
Stay tuned for more "Cleaning Ninjas Tips" where we break down the best ways to keep your home shining using simple, smart, and safe techniques! Happy cleaning!