Category: House Cleaning
Let’s talk about the unsung hero of your bathroom. No, it’s not the scented candle that smells like "Midnight Rain" or that fluffy bathmat you love. We’re talking about the little plastic box in your ceiling that hums while you shower: the exhaust fan.
If you’ve ever stepped out of the shower only to find your mirror looking like a scene from a horror movie and the walls literally sweating, your fan is crying for help. A poorly functioning bathroom fan isn't just an annoyance; it’s an open invitation for mold and mildew to throw a housewarming party in your drywall.
At The Cleaning Ninjas Inc, we’re all about those stealthy improvements that make your home feel fresh without a total renovation. Today, we're diving into the "Ninja Way" of fixing your bathroom fan to improve airflow, reduce noise, and keep your bathroom from becoming a tropical rainforest.
Why Airflow Actually Matters
Before we get our hands dirty, let’s look at the "why." Your bathroom fan has one primary mission: to move moist, humid air out of the room and replace it with dry air. When that airflow is restricted, moisture lingers.
Lingering moisture leads to:
- Peeling wallpaper or bubbling paint.
- That musty "old towel" smell that never seems to go away.
- The dreaded black spots (mold) on your ceiling.
- Rusty fixtures.
Improving your airflow isn't just about clear mirrors; it’s about protecting the structural integrity of your home. Plus, a clean, efficient fan is much quieter. If your current fan sounds like a lawnmower, it’s definitely time for a "Ninja Fix."
Step 1: The Deep Clean (The Ninja Quick-Strike)
Most of the time, your fan isn't broken; it’s just choked. Dust and lint are the natural enemies of airflow. Over time, the blades and the motor housing get coated in a thick layer of grey fuzz, which makes the motor work harder and move less air.
The Process:
- Safety First: Flip the light switch to the "off" position. If you’re planning on touching any wires later, go ahead and hit the circuit breaker.
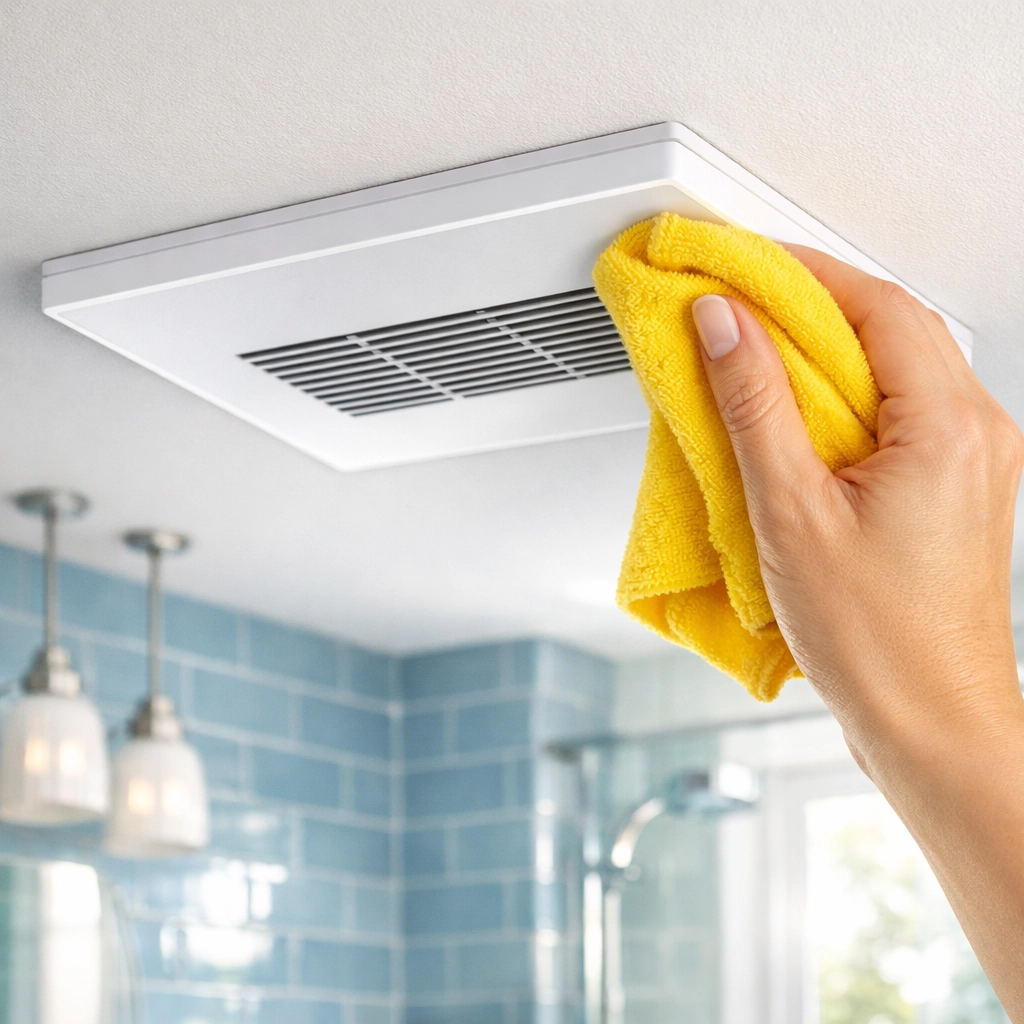
- Remove the Grille: Most covers are held in by tension springs. Pull the cover down gently, squeeze the metal springs, and it should pop right out.
- The Bath for the Grille: Take that plastic cover to the sink and give it a good scrub with warm, soapy water.
- Vacuum the Interior: Use your vacuum’s brush attachment to suck out the dust bunnies from the motor and the housing.
- The Detailed Wipe: Use a damp microfiber cloth to wipe down the fan blades. Be gentle: you don’t want to bend them out of shape, or you’ll end up with a fan that wobbles and rattles.
Step 2: The Paper Test
How do you know if your fan is actually doing its job? It’s time for the classic Ninja "Paper Test." Take a single square of toilet paper and hold it up to the fan grille while it’s running.
- The Win: If the fan sucks the paper up and holds it against the grille, your suction is decent.
- The Fail: If the paper falls to the floor, you have an airflow issue.
If you’ve cleaned the fan and it still fails the paper test, the problem might be deeper: either an undersized motor or a blockage in the ductwork leading outside.
Step 3: Troubleshooting the Ductwork
If the fan is spinning fast but nothing is happening, your ductwork might be the culprit. We often see fans that vent directly into the attic. Ninja Pro-Tip: Never vent your bathroom fan into your attic. You’re just moving the moisture from your bathroom to your insulation and roof rafters, which is a recipe for a very expensive mold disaster.
Ensure your ductwork is:
- Short and Straight: The longer the vent pipe, the harder the fan has to work.
- Insulated: If you live in a cold climate, uninsulated ducts can cause moisture to condense inside the pipe and drip back down into your fan.
- Clear of Obstructions: Sometimes birds or wasps decide that your exterior vent cap is a great place for a nest. Check the outside of your house to make sure the vent flapper opens freely when the fan is on.
Step 4: Upgrading – Size Matters (CFM and Sones)
If your fan is ancient or simply too small for the room, no amount of cleaning will save it. You need to look at two numbers: CFM and Sones.
Calculating CFM (Cubic Feet per Minute):
CFM measures how much air the fan moves. A general rule of thumb is 1 CFM for every square foot of bathroom space. If your bathroom is 8×10, you need at least an 80 CFM fan.
For those who want to be super precise, multiply your bathroom's total cubic footage (Length x Width x Height) by 0.13. That’ll give you the ideal rating for eight full air exchanges per hour.
Understanding Sones (Noise Level):
- 4.0 Sones: Sounds like a loud conversation or a busy office. (Standard "cheap" fans).
- 1.0 to 2.0 Sones: A quiet hum.
- Under 1.0 Sone: Practically silent. You might actually forget it's on!
If you’re tired of the noise, upgrading to a "Ultra-Quiet" model is one of the best cleaning tips we can give for your mental sanity.
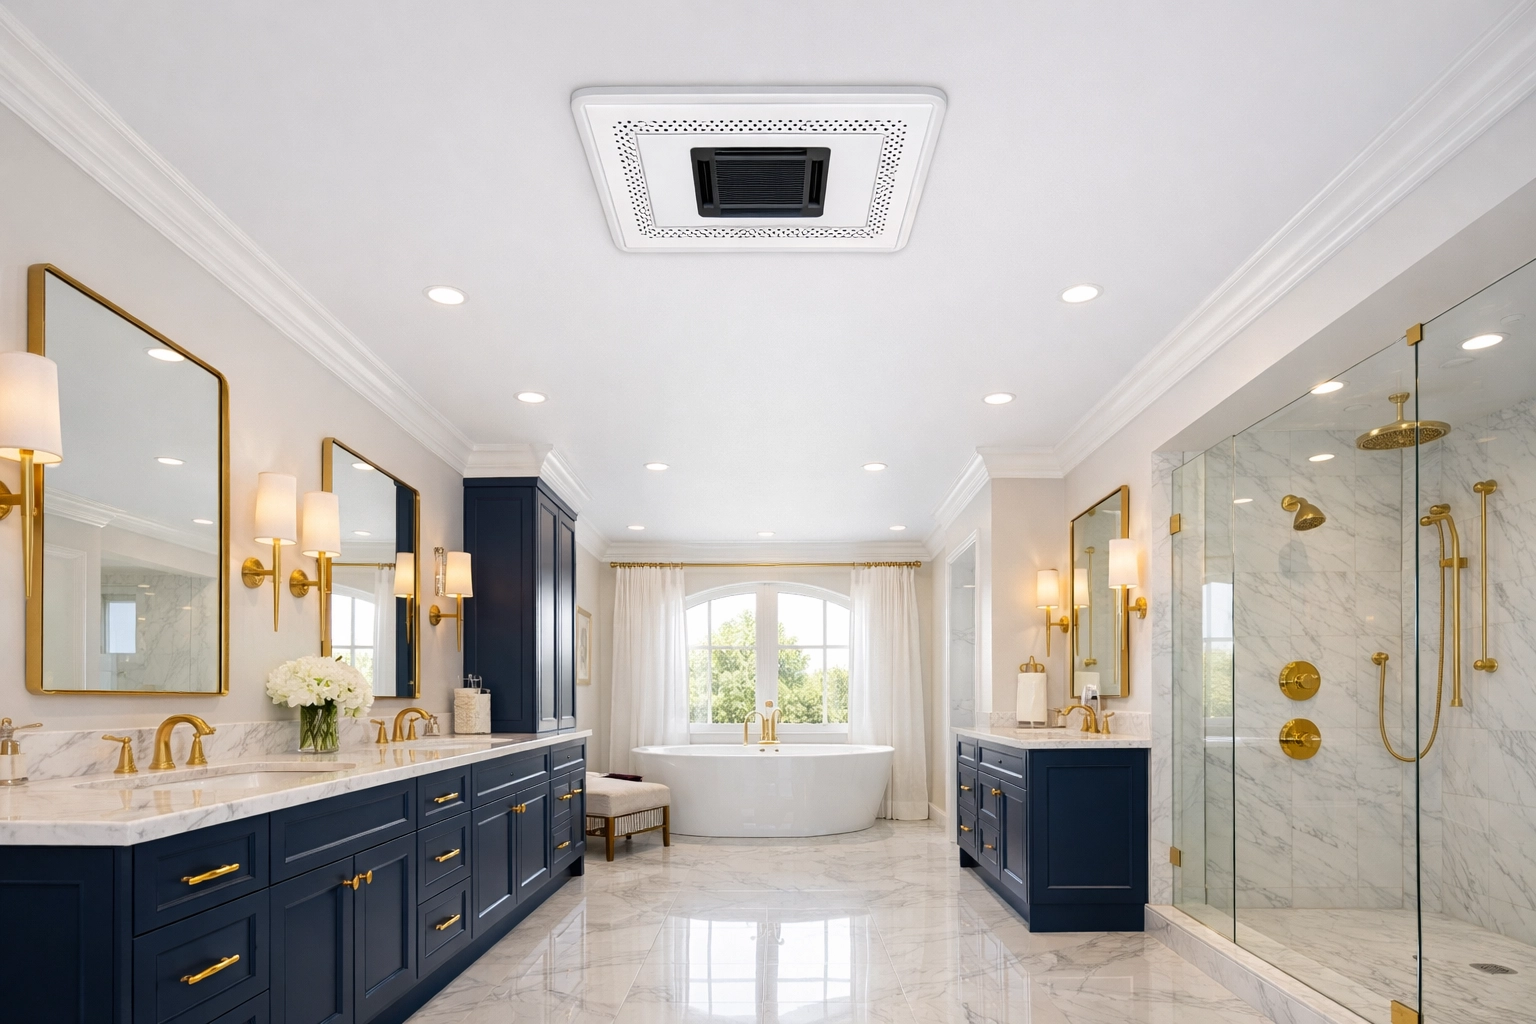
Step 5: The "Easy" Installation
Wait, is "easy installation" a myth? Not anymore. Many modern fans are designed as "roomside" installs. This means you can swap out the old unit entirely from inside the bathroom without having to crawl through the attic and dodge spiders.
The "Ninja" Installation Checklist:
- Cut the Power: Double-check with a voltage tester. Safety isn't just a suggestion; it's the Ninja way.
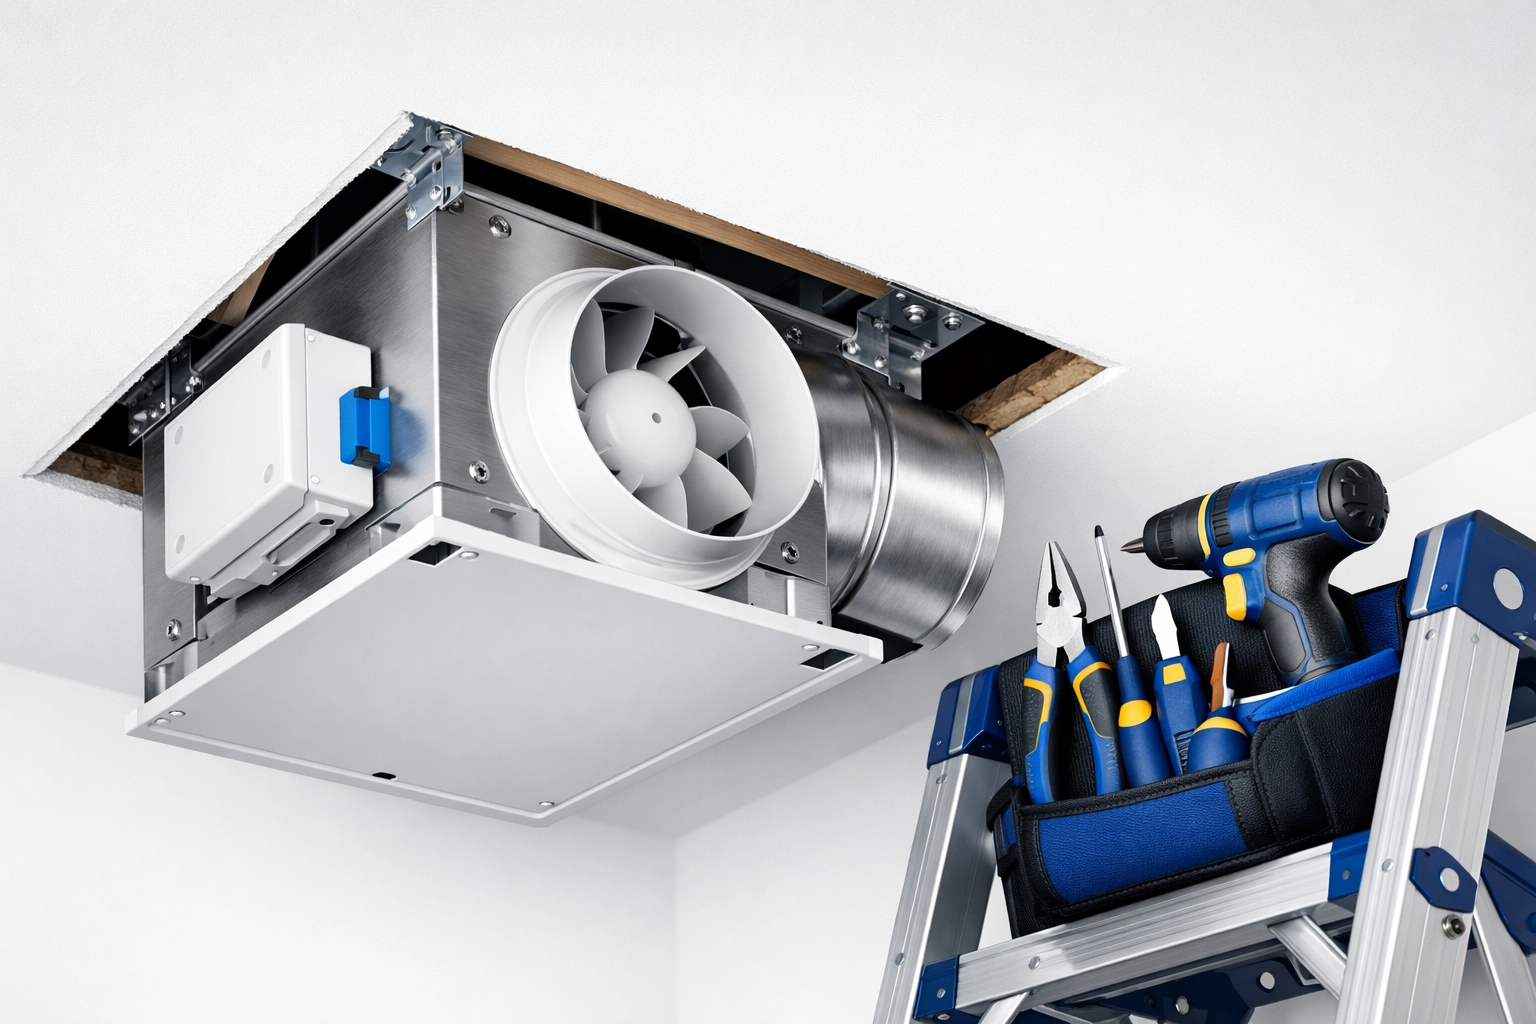
- Disconnect the Old Housing: Unbolt the motor and disconnect the wires (usually a simple plug or a few wire nuts).
- Adjust the Opening: If your new fan is larger, use a drywall saw to widen the hole. Most new fans come with a handy template.
- Connect the Duct: Slide the ductwork onto the new fan's collar and seal it with foil tape (not duct tape: foil tape lasts longer in heat and moisture).
- Wire it Up: Match the colors. Black to black (live), white to white (neutral), and green or bare copper to ground.
- Secure and Seal: Screw the housing into the ceiling joist and use a bit of caulk around the edges of the housing to ensure an airtight seal. This prevents "short-circuiting" the air, where the fan just pulls air from the attic instead of the room.
Step 6: Advanced Ninja Upgrades
If you really want to level up, look into these smart features:
- Humidity Sensors: These fans turn on automatically when they detect a spike in moisture and turn off once the air is dry. It’s perfect for the person in your house who always forgets to flip the switch.
- Motion Sensors: Great for half-baths (powder rooms) where odor control is the main goal.
- LED Nightlights: Some fans come with built-in, dimmable LEDs that provide just enough light for those 2 AM bathroom trips without blinding you.
Maintaining Your Success
Once you’ve fixed your airflow, don't let it slip back into its dusty ways. We recommend a "Ninja Refresh" every six months. Simply pop the cover off, vacuum the motor, and wipe down the grille. It takes five minutes but adds years to the life of the fan.
If you find that even with a perfect fan, your bathroom feels like it needs a professional touch to get back to that "new home" sparkle, the team at The Cleaning Ninjas Inc is here to help. While we don't install the fans for you (we leave the electrical to the sparkies!), we are experts at deep-cleaning the surfaces that those old, dusty fans neglected.
When to Call in the Pros
Sometimes, a fan issue is a symptom of a larger problem. If you see water dripping from the fan itself, or if your ceiling is showing signs of structural damage, it might be time to call a contractor or an HVAC specialist.
But for 90% of homeowners, a good cleaning or a simple motor swap is all it takes to breathe easy again. Improving your airflow is a small weekend project that delivers huge results in comfort and home health.
For more home hacks and ways to keep your sanctuary spotless, check out our full range of services. We’re dedicated to making your life easier, one room at a time.

Final Thoughts
A clear mirror and a fresh-smelling bathroom aren't luxuries: they’re the result of a fan that’s actually doing its job. Take some time this weekend to perform the "Paper Test." Your bathroom walls (and your nose) will thank you.
Stay stealthy, stay clean!