We’ve all been there. You spend your Sunday afternoon meal-prepping a delicious batch of spaghetti bolognese or a vibrant turmeric curry. You pack it away in your favorite clear plastic container, feeling like an absolute organizational pro. But then, Monday lunch rolls around, you wash the container, and, disaster. Your pristine Tupperware is now a permanent shade of "Radioactive Orange."
At The Cleaning Ninjas Inc, we believe that your kitchen gear should look as sharp as your culinary skills. While we specialize in keeping your entire home sparkling through our weekly house cleaning and bi weekly house cleaning routines, we know that the small battles, like the fight against the dreaded tomato stain, matter just as much.
In this guide, we’re sharing our top "Ninja Tips" for preventing and rescuing your plastic containers from stains. Let’s turn those tinted tubs back to crystal clear!
Why Does Plastic Stain So Easily?
Before we dive into the rescue missions, it helps to understand the enemy. Most plastic food containers are made of polypropylene or similar polymers. These materials are "lipophilic," which is just a fancy way of saying they love oil.
When you put oily foods like tomato sauce or pesto into plastic, the pigments (like lycopene in tomatoes) hitch a ride on the fat molecules. When you heat that food in the microwave, the plastic slightly expands, allowing those pigment-heavy oils to dive deep into the pores of the container. Once it cools down, the plastic shrinks back, effectively "trapping" the stain inside.
But don't worry, a Ninja always has a way out.
Ninja Prevention: Stop Stains Before They Start
The most effective cleaning hack is the one you do before the mess happens. If you want to keep your containers looking brand new, try these preventive stealth moves.
The Oil Barrier Trick
This is a game-changer. Before you pour that red sauce into a plastic container, give the inside a very light coating of vegetable oil or cooking spray. Use a paper towel to wipe a thin layer all around the interior surfaces. This creates a microscopic barrier that prevents the food oils from bonding with the plastic. When it’s time to wash, the stain-causing pigments slide right off.
Cool It Down
Heat is the catalyst for staining. If you have the time, let your food cool down to room temperature before putting it into the plastic container. By avoiding the expansion of the plastic while the food is piping hot, you significantly reduce the chance of deep-set discoloration.
The Microwave Splatter Shield
If you must microwave your food in plastic, always place a paper towel over the top. This catches splatters before they hit the sides of the container. However, for the best results, we recommend transferring your leftovers to a glass bowl or ceramic plate before hitting the "Start" button. Glass is non-porous and won't absorb those stubborn pigments.
The Rescue Mission: How to Remove Existing Stains
So, the damage is already done? Your container looks like it’s been through a tomato war? Don't toss it in the trash just yet. These Ninja-approved methods can breathe new life into your plastics.
1. The Baking Soda Power Paste
Baking soda is a staple in any weekly house cleaning kit because it’s a mild abrasive and an amazing deodorizer.
- The Method: Mix two tablespoons of baking soda with one teaspoon of water and a tiny drop of dish soap. You want a thick paste, almost like toothpaste consistency.
- The Action: Rub the paste onto the stained areas and let it sit for at least 15 to 30 minutes.
- The Finish: Scrub with a sponge and rinse with warm water. This works wonders for oily red stains.
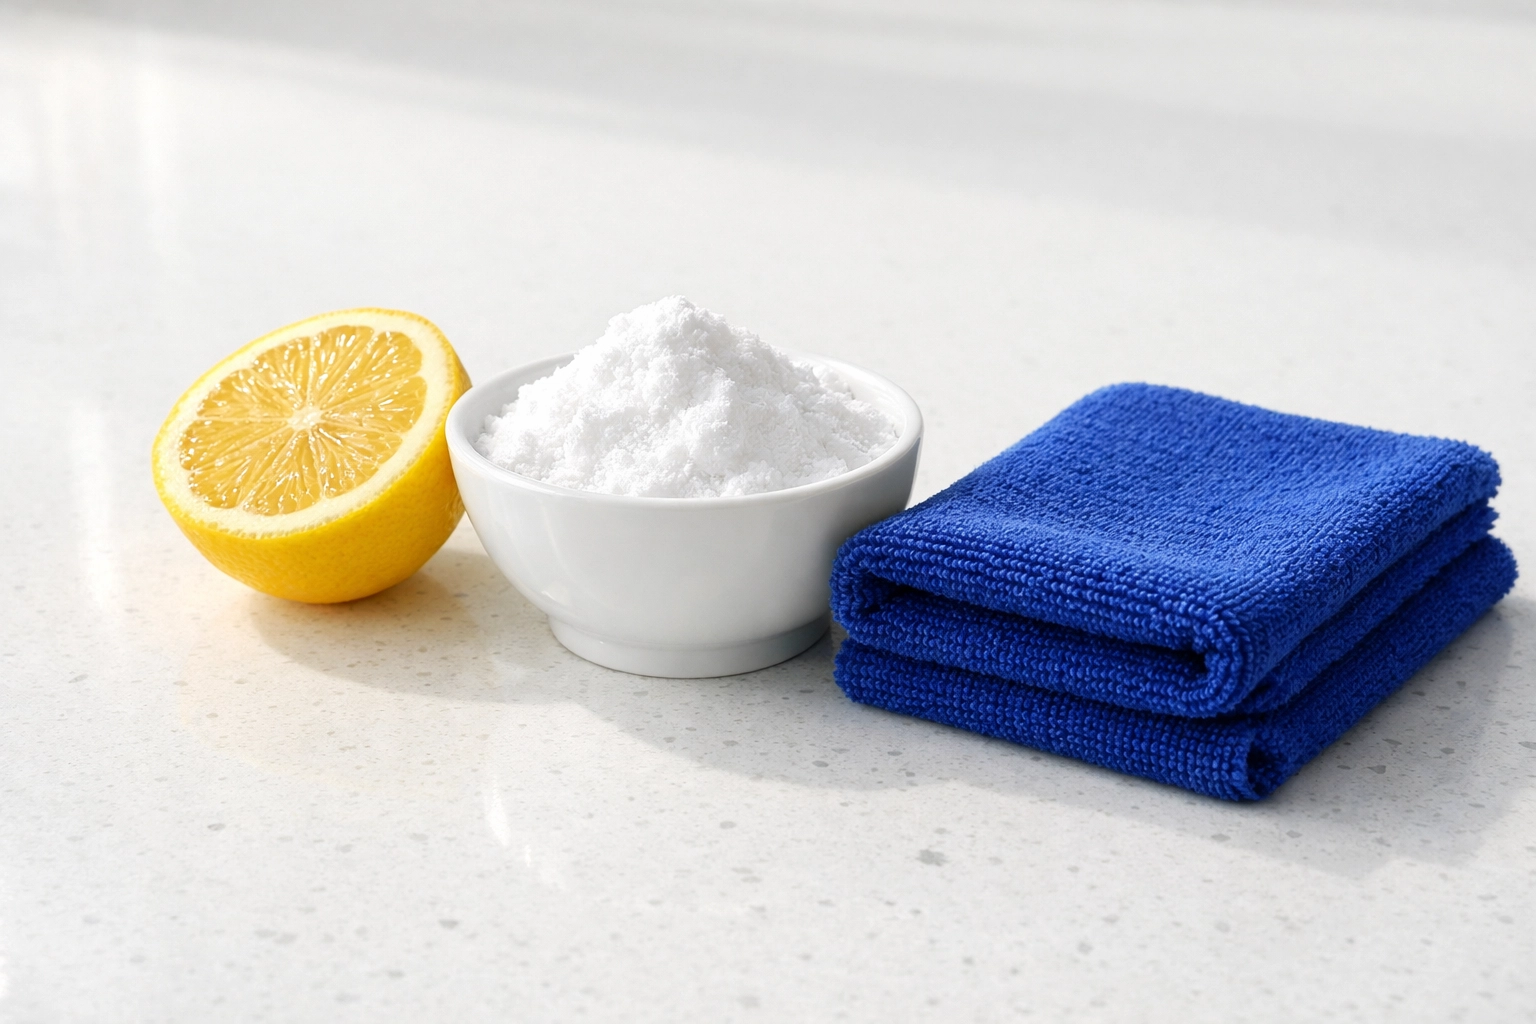
2. The Solar Powered Ninja (Lemon & Sunlight)
This is one of our favorite natural hacks. It feels like magic, but it’s actually just science. Lemon juice is acidic, and UV rays from the sun are natural bleaching agents.
- The Method: Rub a cut lemon over the stains or pour a little lemon juice into the container.
- The Action: Place the container on a sunny windowsill or outside on a porch for a few hours.
- The Finish: Wash as usual. You’ll be shocked at how the sun literally "eats" the pigments out of the plastic.
3. The Sugar Scrub & Ice Cube Hack
This sounds weird, but trust the process. This method uses friction and temperature to break the bond between the stain and the plastic.
- The Method: Pour about ¼ cup of granulated sugar into the bottom of the dry, stained container. Add a squirt of dish soap and 5 or 6 ice cubes.
- The Action: Put the lid on and shake it like you’re making a cocktail for a minute. Then, let it sit for about an hour as the ice melts.
- The Finish: The sugar acts as a gentle exfoliant, while the cold helps "tighten" the plastic to push the oils out. Dump it and wash.
4. The Hand Sanitizer Solution
This is a specialized move for red food dyes and ink stains. Because hand sanitizer is high in alcohol, it acts as a solvent.
- The Method: Squirt enough alcohol-based hand sanitizer to cover the stained area.
- The Action: Let it sit for about 45 minutes.
- The Finish: Wipe it away with a paper towel and wash thoroughly with hot, soapy water.
5. The Turmeric Boss: Hydrogen Peroxide
Turmeric is the final boss of food stains. If you’ve made a yellow curry, you know that dish soap alone won't touch it.
- The Method: Use 3% hydrogen peroxide (the kind in the brown bottle).
- The Action: If the container is heavily stained, fill it with a mixture of half water and half peroxide. Let it soak for 1–2 hours.
- The Finish: For spot treatments, apply peroxide directly with a cotton ball, let sit, then rinse.
Knowing When to Say Goodbye
Even a Ninja knows when to retreat. While these tips work wonders, plastic doesn't last forever. If your containers are warped, heavily scratched, or have a lingering smell that survives a vinegar soak, it might be time to retire them. Scratches in plastic provide the perfect hiding spots for bacteria, which is a big no-no for kitchen hygiene.
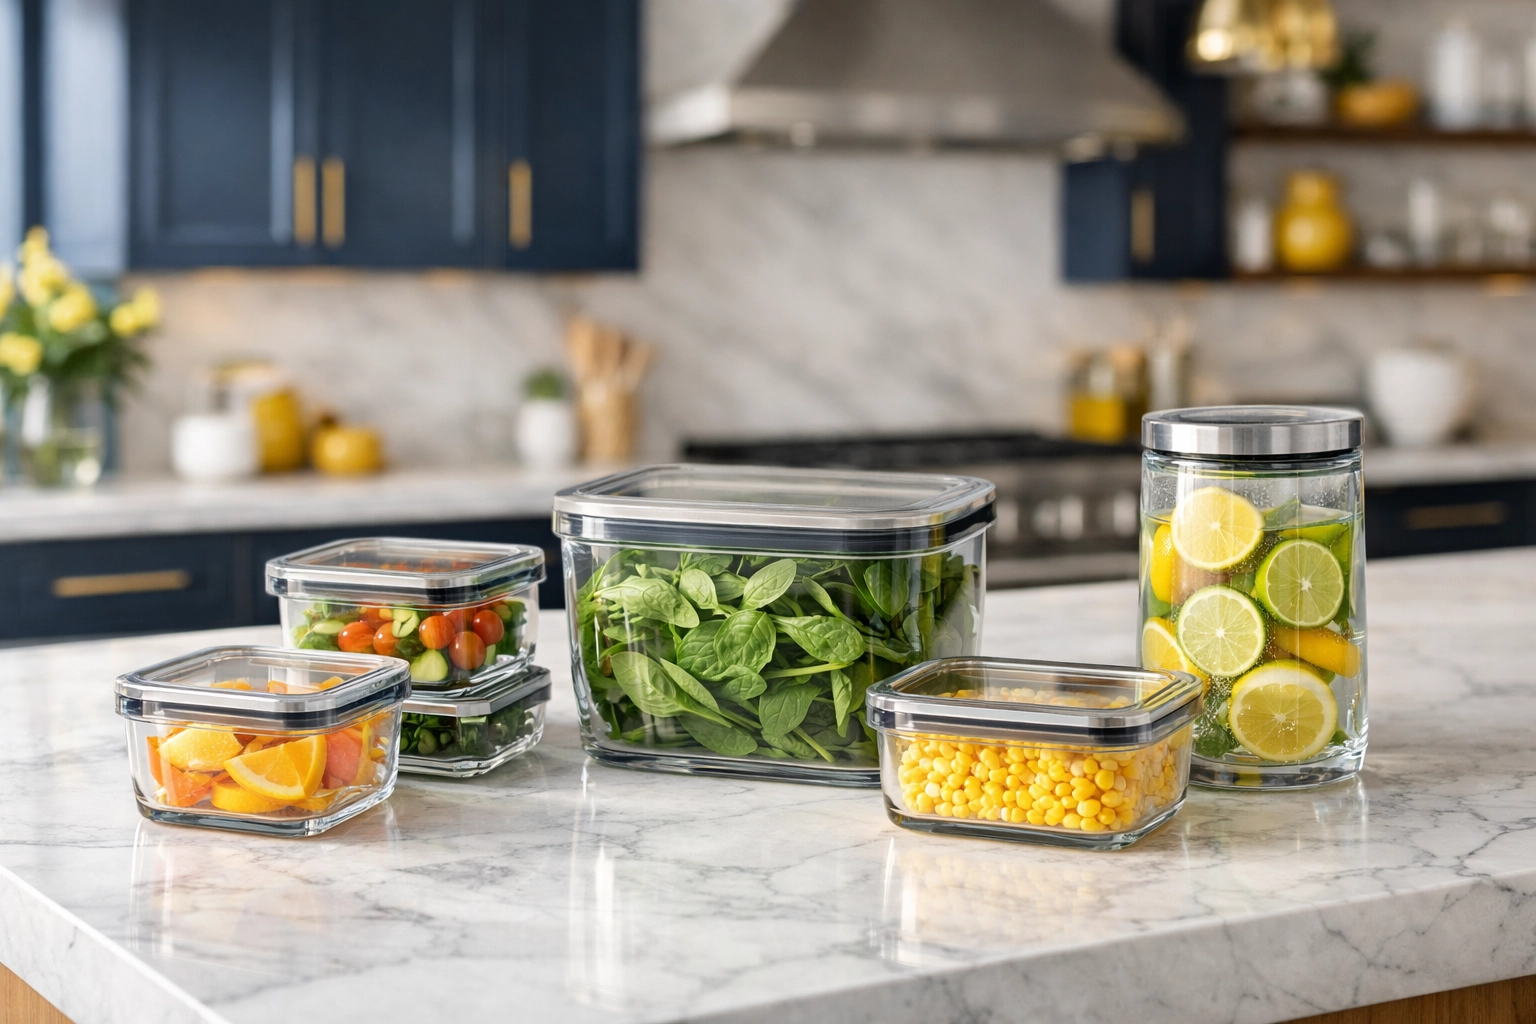
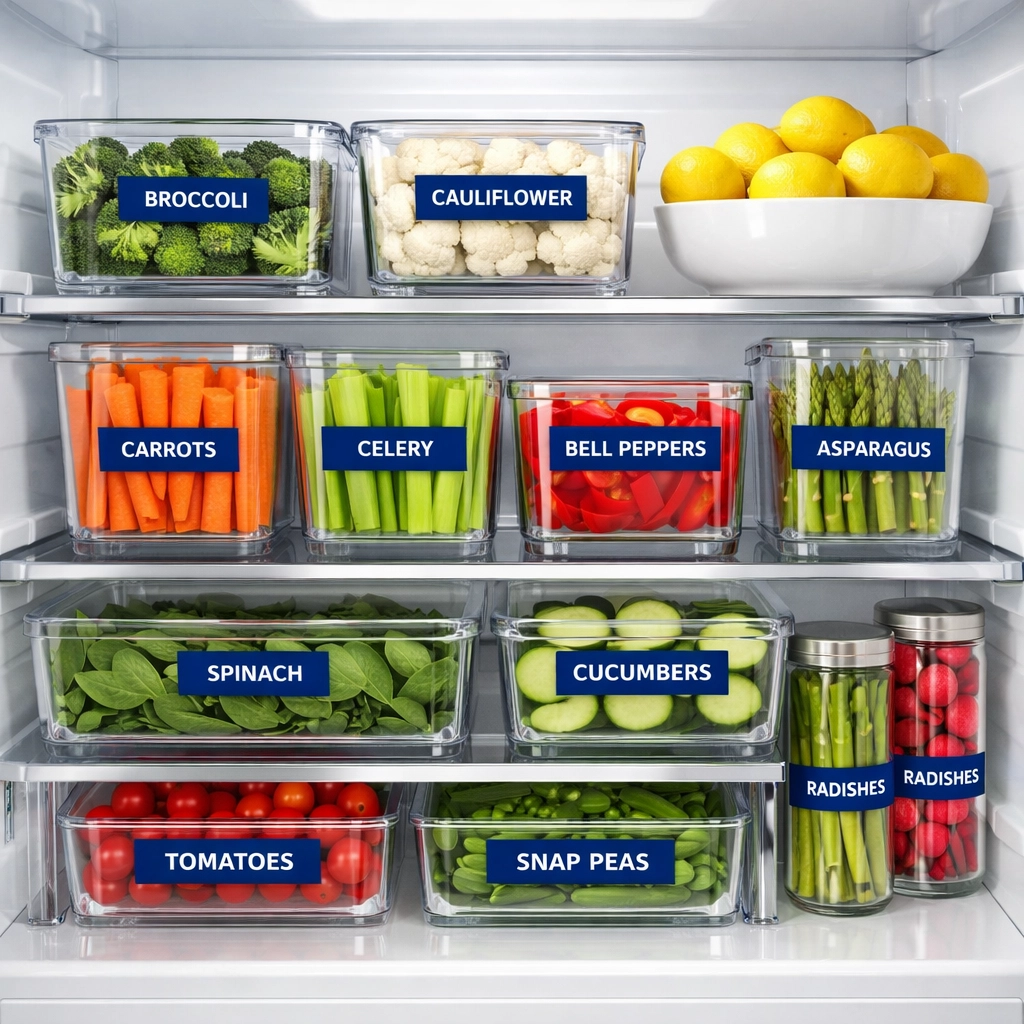
When you do replace them, consider upgrading to glass containers. They are stain-proof, odor-proof, and can go from the freezer to the oven without a worry. Plus, they make your fridge look incredibly organized!
Let the Ninjas Handle the Rest
Maintaining a clean kitchen is a daily battle, and we know your time is valuable. While you're busy tackling those plastic containers or perfecting your next recipe, let us take care of the heavy lifting.
The Cleaning Ninjas Inc provides professional, reliable, and friendly cleaning services tailored to your lifestyle. Whether you need weekly house cleaning to stay on top of the mess or a bi weekly house cleaning to reset your home, our team is ready to swoop in and leave your space spotless.
We pride ourselves on our attention to detail, from the baseboards to the ceiling fans (and yes, we can even help organize that Tupperware cabinet!). You can learn more about us and our mission to bring peace and cleanliness to homes across the area by visiting our blog for more helpful tips.
Final Ninja Thought
A stained container isn't a failure: it’s just proof that you’ve been cooking some seriously flavorful food! With these simple kitchen hacks, you can keep your plastic looking like new without spending a fortune on replacements.
Next time you see that orange glow in your cabinet, don’t stress. Grab the baking soda, find a sunny spot, and channel your inner Ninja.
Happy cleaning! 🥷✨🧼