You’ve spent weeks: maybe even months: living through the noise, the plastic sheeting, and the constant stream of contractors walking through your front door. Finally, the hammer has gone silent. Your Lunenburg home has that beautiful new kitchen, the expanded master suite, or the polished basement you’ve been dreaming of. But as the contractors pack up their tools, you notice something lingering in the air: a thick, fine, gray layer of dust that seems to have claimed every single square inch of your house.
Post-renovation dust isn’t like the normal "I haven't dusted the bookshelf in two weeks" kind of dust. It is a persistent, invasive, and potentially harmful byproduct of construction that requires a strategic, "ninja-style" approach to remove. If you try to tackle it with a standard broom and a basic vacuum, you’ll likely just move it around.
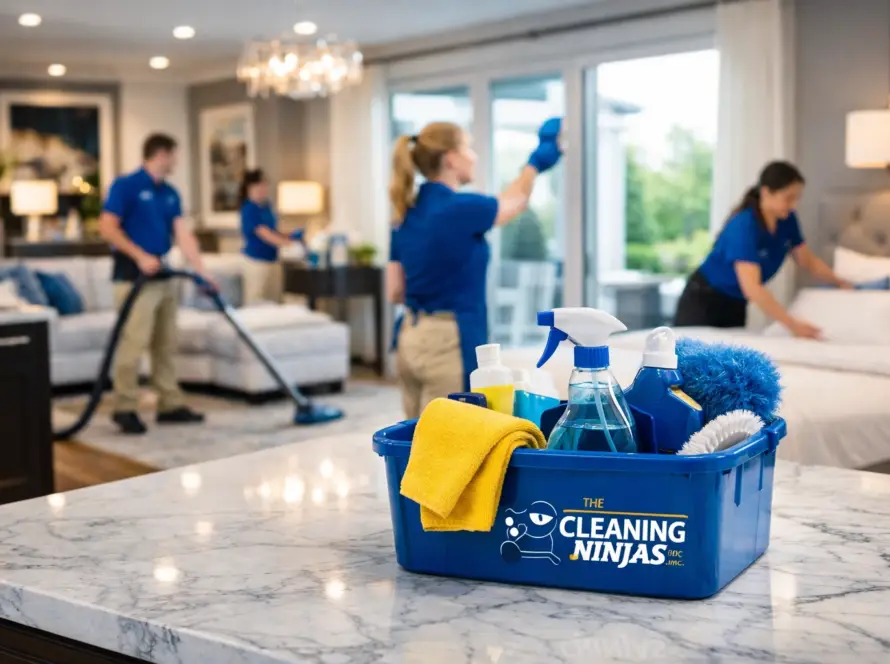
At The Cleaning Ninjas Inc, we’ve seen it all in Lunenburg, from historic renovations near the town center to modern updates in the Whalom district. We know that a "broom-swept" finish from a contractor is just the beginning. To truly enjoy your new space and protect your family’s health, you need a deep, detail-oriented post-construction rescue.
Why Construction Dust is a Different Beast
Before you grab your supplies, it’s important to understand what you’re up against. Construction dust is often composed of drywall particles, silica from masonry, sawdust, and even microscopic metal shards.
Unlike organic household dust, these particles are extremely fine and abrasive. If left on surfaces, they can scratch hardwood floors or damage delicate electronics. More importantly, they are small enough to stay airborne for days, ending up deep in your lungs or settled inside your HVAC system. This is why focusing on air quality and fine detail is non-negotiable. For a broader look at how we handle the unique needs of our local community, check out our comprehensive guide to cleaning in Lunenburg.

The Golden Rule: Top-to-Bottom, Back-to-Front
When we step into a post-renovation site, we follow a strict hierarchy of cleaning. Gravity is your biggest enemy: and your biggest ally: in this process. If you clean the floors first and then wipe down the ceiling fans, you’ve just doubled your workload.
- Ceilings and Walls: Dust clings to vertical surfaces and ceiling textures. Use an extendable duster or a microfiber cloth attached to a pole. In many Lunenburg renovations, especially in older homes, the walls might have a slight texture that traps fine white drywall dust. Wiping them down is essential.
- Light Fixtures and Fans: Fine dust loves to settle on the tops of fan blades and inside recessed lighting canisters.
- The Middle Zone: This includes windowsills, door frames, mantels, and the tops of cabinets.
- The Fine Details: This is where the "rescue" really happens. We’re talking about the inside of drawers, the tracks of sliding doors, and the hinges of your new cabinets.
- The Floors: The final step, once everything else has settled.
The Essential Toolkit for a Dust-Free Home
You can’t fight a ninja-level mess with subpar tools. If you’re DIY-ing your post-renovation cleanup, you’ll need to upgrade your equipment.
HEPA-Filtered Vacuums
This is the most critical piece of the puzzle. A standard household vacuum usually has a filter that is too porous for construction dust. This means the vacuum sucks the dust in and then immediately blows the smallest (and most harmful) particles back out through the exhaust. A vacuum with a True HEPA filter captures 99.97% of particles, ensuring that once the dust is gone, it stays gone.
Microfiber is King
Forget paper towels or old cotton rags. Microfiber cloths are designed to "grab" and hold onto dust rather than just pushing it across the surface. For post-renovation work, we recommend a "damp-dusting" technique. Using a slightly damp (not soaking wet) microfiber cloth helps neutralize the static charge of the dust, making it much easier to pick up.

Focusing on Air Quality
Your home’s air quality takes a major hit during a remodel. Even if the contractors taped off the work area, those fine particles find their way into the ductwork.
- Change Your Filters: This is the very first thing you should do once the project is complete. Your HVAC filter is likely clogged with sawdust and drywall debris. Replace it immediately, and then check it again in 30 days.
- Wipe the Vents: Take the vent covers off and vacuum as far into the duct as you can reach. Wipe the covers down with a damp cloth before putting them back.
- Air Scrubbers: If the dust was particularly heavy, consider running an air purifier with a HEPA filter in the renovated rooms for 48 to 72 hours after the physical cleaning is done.
Room-by-Room: The "Ninja" Checklist
Every room has its own hiding spots for renovation debris. Here’s what we look for when performing our specialized cleaning services.
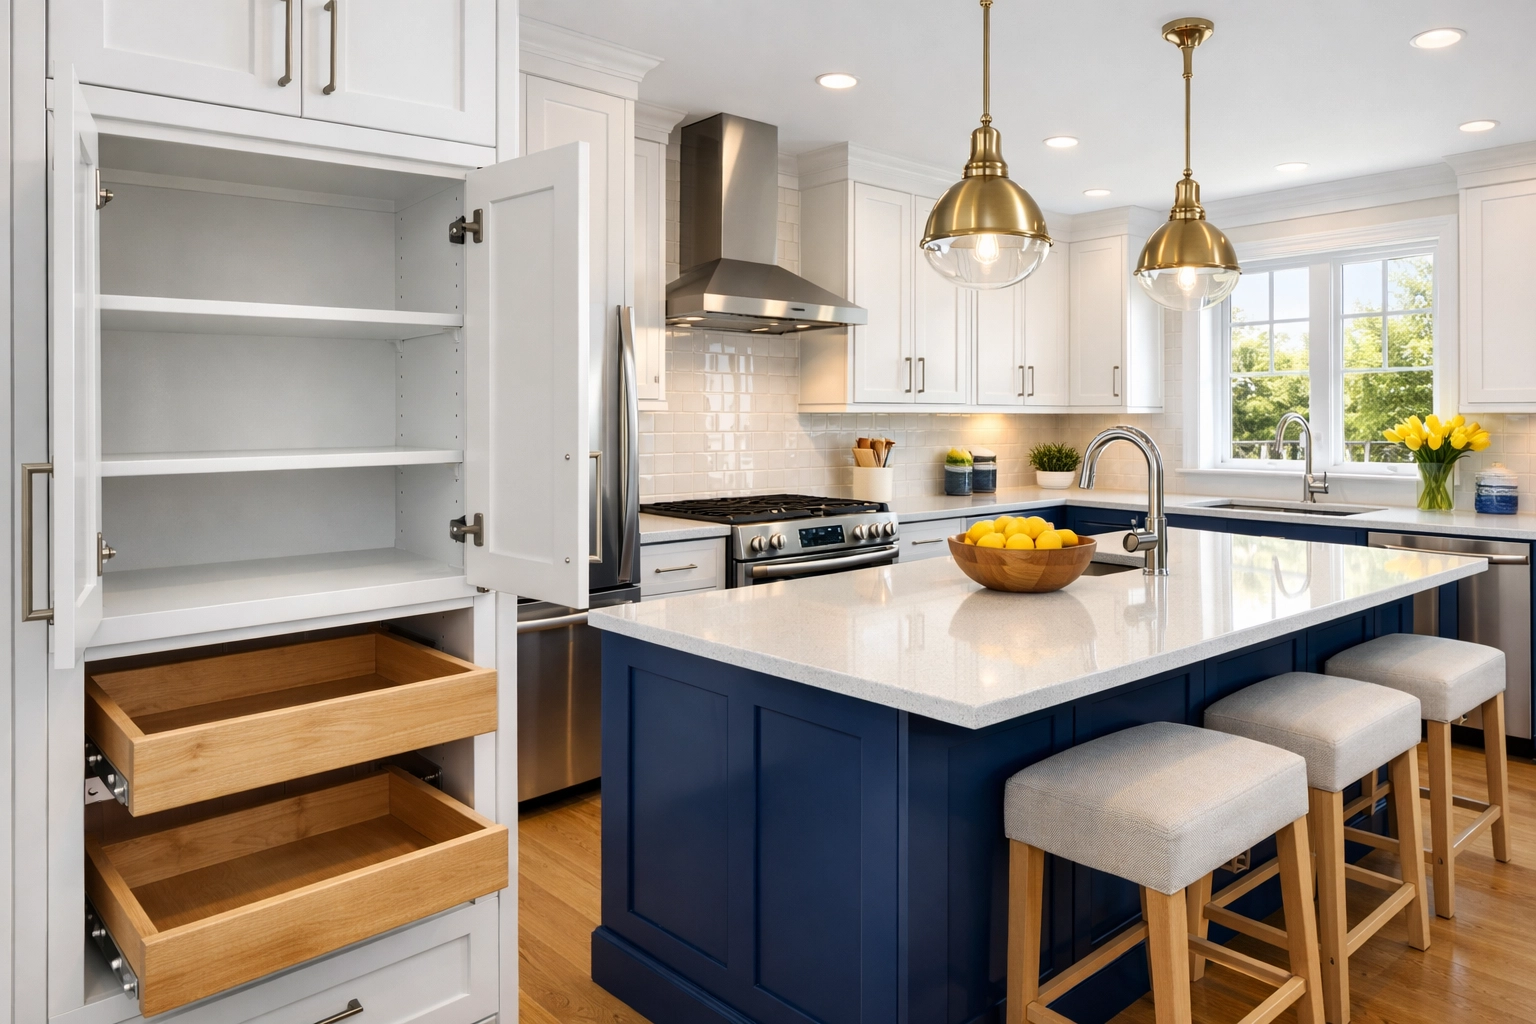
The Kitchen
New cabinets are beautiful, but they are often filled with sawdust from the installation process.
- Remove all drawers and vacuum behind them.
- Wipe down the interior and exterior of all cabinets.
- Clean the tops of upper cabinets (a major dust trap!).
- Polish new appliances to remove any adhesive residue or fingerprints.
Bathrooms
Drywall dust and tile grout residue (haze) are the main culprits here.
- Wipe down all tile surfaces. You may need a specialized grout haze remover if the tile wasn't cleaned perfectly after installation.
- Clean inside the medicine cabinet and vanity.
- Don't forget the "hidden" spots like the top of the shower curtain rod or the light bar above the mirror.
Living and Bedrooms
- Baseboards: These act like little shelves for dust. Use a damp cloth to wipe every inch.
- Closets: Often overlooked, closet shelves and poles need a thorough wiping, or your clothes will end up covered in white powder the moment you hang them up.
Dealing with Stubborn Residues
Beyond the dust, renovations often leave behind "reminders" of the work done. This includes paint splatters on the floor, adhesive from protective plastic, and stickers on new fixtures.
- Adhesive: Use a gentle, oil-based cleaner or a dedicated adhesive remover to get rid of sticky spots. Be careful with finished wood: always test a small, hidden area first.
- Paint Splatters: On hard floors, a plastic scraper can often pop off dried latex paint without damaging the finish. For more stubborn spots, a tiny bit of rubbing alcohol on a cloth can help, but use it sparingly.
When to Bring in The Cleaning Ninjas Inc.
Let’s be honest: post-renovation cleaning is exhausting. After the stress of a remodel, the last thing most Lunenburg homeowners want to do is spend three days on their hands and knees with a microfiber cloth.
That’s where we come in. Our team is trained to see the dust you might miss. We bring the HEPA vacuums, the specialized solutions, and the "ninja" focus required to make your home truly move-in ready. We don't just "wipe down" surfaces; we restore your home to a state of pristine comfort.
If you’re feeling overwhelmed by the mess left behind by your latest home improvement project, we’re here to help. You can learn more about us and our commitment to the Leominster and Lunenburg areas, or go ahead and check out our pricing to find a package that fits your needs.

Final Thoughts: Enjoying Your New Space
A renovation is an investment in your home’s value and your quality of life. Don't let the lingering "ghost" of construction dust dampen the excitement of your new space. By following a systematic top-to-bottom approach, prioritizing air quality, and focusing on the fine details, you can turn a construction site back into a sanctuary.
Whether you tackle the dust yourself or hire a professional team to handle the heavy lifting, the goal is the same: a clean, healthy, and beautiful Lunenburg home. Now, go pour a glass of your favorite drink, sit back, and finally enjoy that new room( you've earned it!)