Moving is a marathon. Between the endless bubble wrap, the mountain of cardboard boxes, and the logistical nightmare of coordinating a truck, your brain is likely fried. But before you hand over those keys and ride off into the sunset of your new home, there is one final boss you have to defeat: the Move-Out Clean.
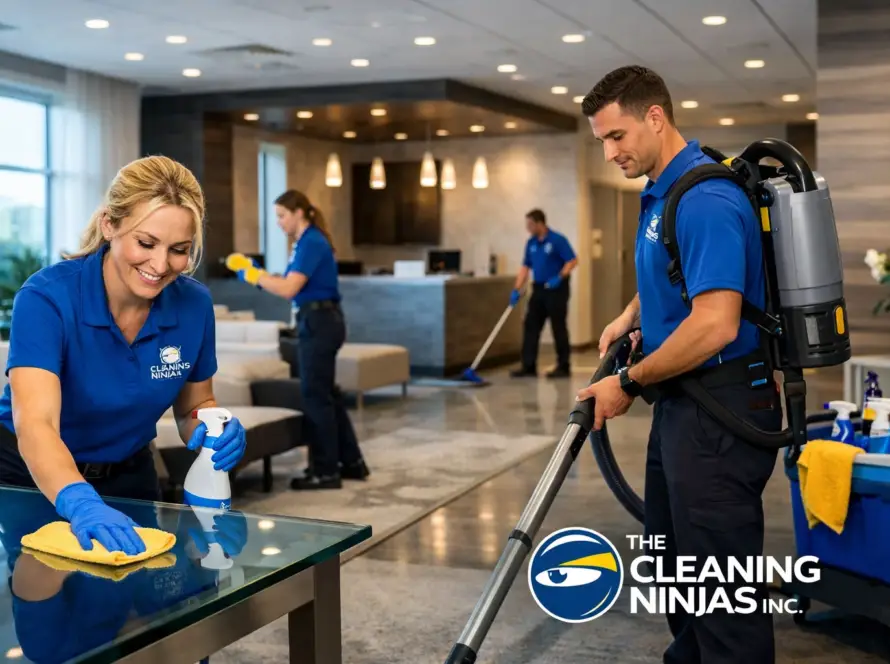
If you’re a renter, this isn’t just about being a "good person", it’s about cold, hard cash. Landlords are notorious for finding the smallest speck of dust and using it as an excuse to chip away at your security deposit. At The Cleaning Ninjas Inc, we’ve seen it all, and we know exactly what property managers are looking for.
To help you get every penny of that deposit back, we’ve put together the ultimate deep clean checklist. Grab your microfiber cloths and your favorite playlist, it’s time to get to work.
Phase 1: The Pre-Game Strategy
Don't just start scrubbing randomly. Ninja-level efficiency requires a plan.
1. Declutter and Pack First
Trying to deep clean around half-packed boxes is a recipe for frustration. You need to see the surfaces to clean them. Get everything out of the house or, at the very least, into a single "staging area" in the center of a room so you can reach the corners and baseboards.
2. Patch the Evidence
Those gallery walls looked great, but the tiny holes left behind won't please your landlord. Walk through every room with a tub of spackle and a putty knife. Fill the holes, let them dry, and do a quick sand. If you have the original paint, do a tiny touch-up.
3. The "Top-to-Bottom" Rule
Always start cleaning from the ceiling and work your way down. Dust falls. If you mop the floors first and then clean the ceiling fan, you’re going to be mopping those floors again.
Phase 2: The Kitchen (The Landlord’s Favorite Inspection Spot)
The kitchen is usually the hardest room to clean because of the "Three Gs": Grease, Grime, and Gunk. Landlords check the kitchen more thoroughly than any other room.
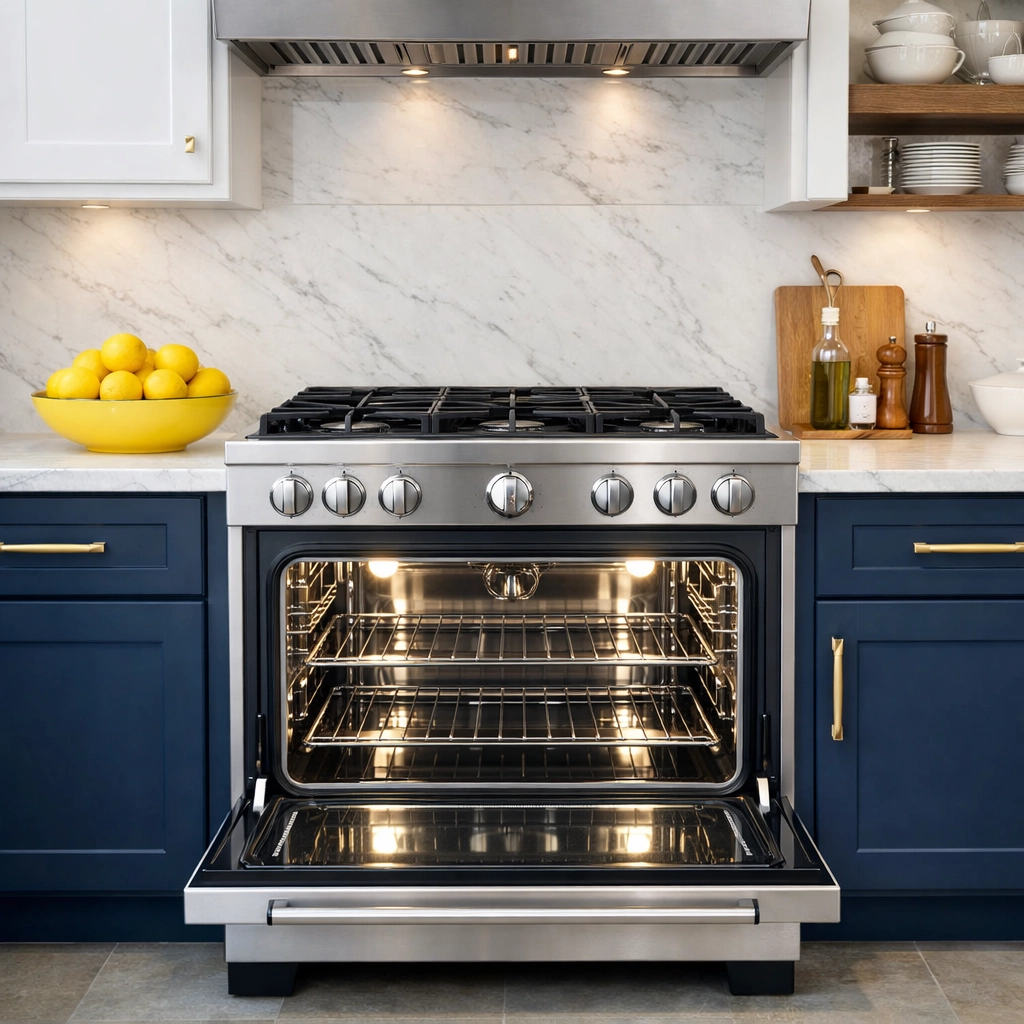
- The Oven: This is the big one. If you use a self-cleaning function, do it a few days before you leave. Otherwise, use an eco-friendly degreaser. Don't forget the racks and the glass door.
- The Refrigerator: Pull it out from the wall. You’ll likely find a treasure trove of dust bunnies and maybe a stray grape from 2022. Vacuum the coils and mop behind it. Inside, remove every shelf and drawer and wash them in warm, soapy water.
- The Dishwasher: Clean the filter (yes, it has a filter!) and wipe down the edges of the door where steam and soap scum build up.
- Cabinets and Drawers: Vacuum out the crumbs from the silverware drawer. Wipe down the inside and outside of every cabinet.
- The Sink and Disposal: Scrub the sink until it shines. Pro tip: Run a few lemon slices or some baking soda through the disposal to kill any lingering "old food" smells.
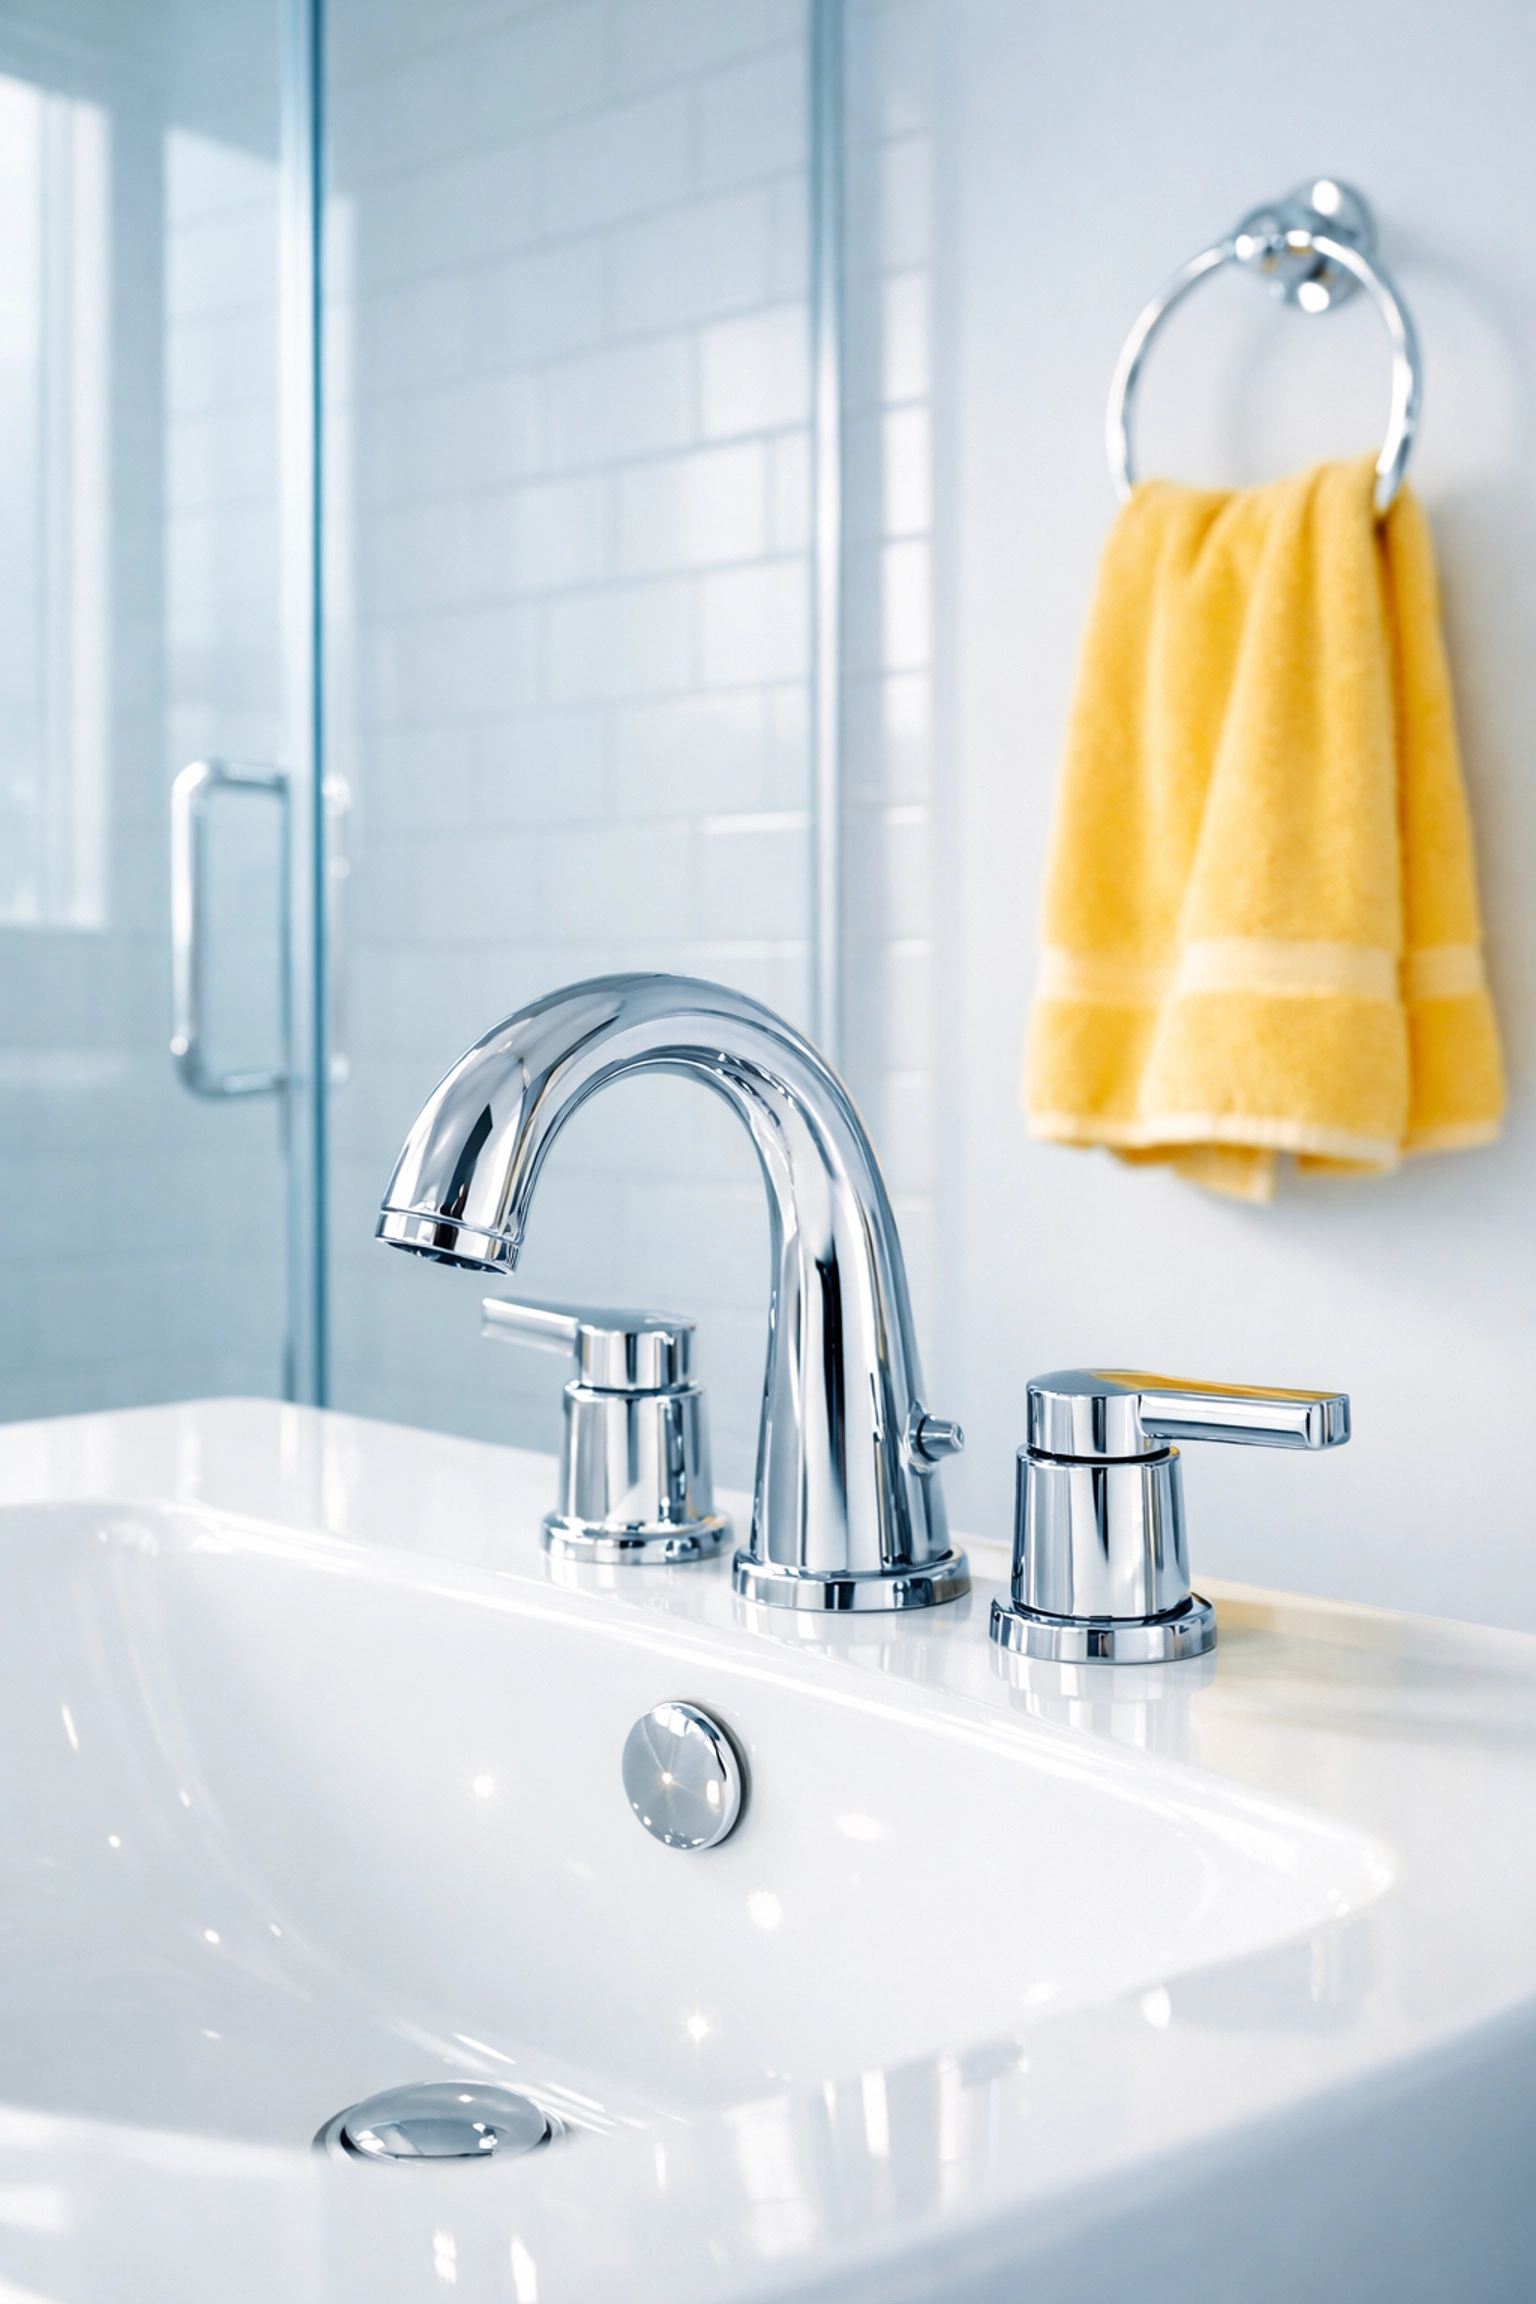
Phase 3: The Bathroom (The Sparkle Factor)
Bathrooms need to be more than just "wiped down": they need to be sanitized and sparkling.
- The Grout: If your white grout has turned orange or gray, it’s time to scrub. A mixture of baking soda and vinegar with a stiff brush can work wonders.
- Soap Scum: Use a heavy-duty (but eco-friendly) bathroom cleaner to remove the film from shower glass and tubs. If you can feel a texture on the glass, it’s not clean yet.
- The Toilet: Clean the entire thing. We’re talking the base, the back, and the floor around it. This is a common spot for inspectors to check with a flashlight.
- The Mirror: Use a streak-free glass cleaner and a microfiber cloth. Check it from different angles to make sure there are no hidden smudges. You can find more of our favorite glass-cleaning hacks in our cleaning tips section.
Phase 4: Living Areas and Bedrooms
These rooms are generally easier, but they require a "close-up" eye for detail.
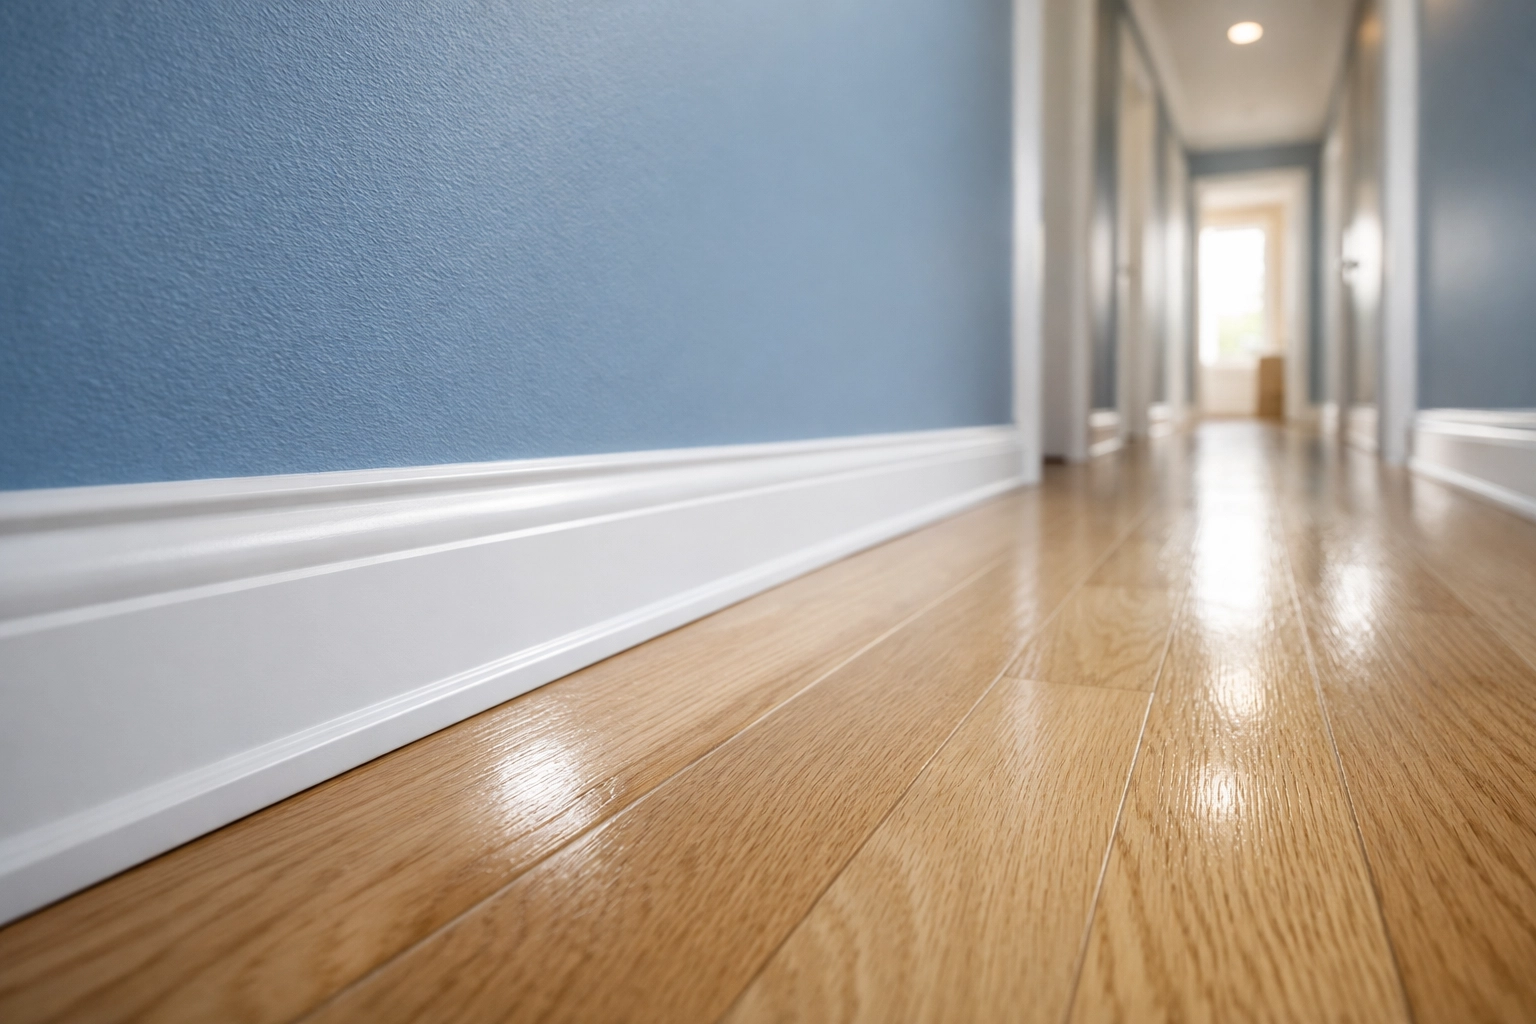
- The Baseboards: This is the most overlooked part of a move-out clean. Over time, baseboards collect a thick layer of dust and scuff marks. Use a damp cloth to wipe them down in every single room. It makes the whole place look brand new.
- Ceiling Fans and Light Fixtures: Dust the blades of the fans. If the light globes are full of dead bugs (it happens to the best of us), take them down, wash them, and put them back.
- Closets: Don't just pull your clothes out. Vacuum the floor, wipe down the shelves, and make sure there are no stray hangers or trash left behind.
- Walls: Check for scuff marks. A "magic" eraser sponge is usually all you need to get rid of shoe marks or furniture rubs.
Phase 5: The Details (The "Deposit Savers")
These are the small things that separate a "okay" clean from a "Ninja" clean.
- Light Switches and Doorknobs: These are high-touch areas. They collect oils from hands and look dingy. A quick wipe with a disinfectant cloth takes ten seconds but makes a huge difference.
- Windows and Tracks: Don’t just clean the glass. Open the window and vacuum out the tracks where dirt and dead bees live. Wipe the windowsills down.
- Vents: Use a vacuum attachment to suck the dust out of the HVAC vents. If they are really dusty, you might need to pop them off and rinse them in the sink.
- The Final Walkthrough: Once the house is empty and clean, walk through one last time. Open every drawer. Look inside the microwave. Check the "hidden" spot behind the laundry door.
Why Professionals Make it Easier
We get it: moving is exhausting. By the time you’ve loaded the last box into the truck, the last thing you want to do is go back and scrub a toilet. That’s where we come in.
At The Cleaning Ninjas Inc, we specialize in move-out cleans that are designed to satisfy even the pickiest landlords. We bring our own supplies, our own expertise, and our "Ninja" focus to ensure every corner of your old home is spotless. Our goal is to make sure you walk away with your deposit in hand and zero stress on your mind.
You can learn more about our team and our commitment to high-quality service on our About Us page. If you’re ready to outsource the hardest part of your move, check out our full range of cleaning services.
The Ultimate Move-Out Checklist (Quick Reference)
If you're DIY-ing it, keep this checklist on your phone as you go:
Kitchen
- Oven (Interior, racks, and glass)
- Stovetop and burners
- Vent hood filter (degrease it!)
- Refrigerator/Freezer (Inside, outside, and behind)
- Dishwasher (Edges and filter)
- Microwave (Inside and out)
- Cabinets and drawers (Vacuumed and wiped)
- Countertops and backsplash
- Sink and fixtures
Bathrooms
- Toilet (Full sanitize)
- Shower/Tub (Remove all soap scum)
- Grout lines
- Mirror (Streak-free)
- Vanity and drawers
- Exhaust fan dusted
General Areas
- Baseboards wiped in all rooms
- Window glass, sills, and tracks
- Ceiling fans and light fixtures
- Light switches and doorknobs
- Walls (Spot clean scuffs)
- Closets and built-in shelving
- All trash removed

Final Thoughts
Moving is a new beginning, and you don’t want to start that journey with the weight of a cleaning bill or a lost deposit hanging over your head. Whether you tackle it yourself or hire the pros at The Cleaning Ninjas Inc, a thorough deep clean is the best way to close the chapter on your old home.
Good luck with the move, and may your new place be as clean as a Ninja’s blade! For more advice on keeping your home in top shape, feel free to browse our blog.