

Let’s be honest: cleaning the oven is the chore we all collectively decide to "save for next weekend" until six months have passed and the smoke detector starts judging our lifestyle choices every time we roast a chicken. We’ve all been there. You peer through that grease-streaked glass, catch a whiff of a burnt pizza roll from 2024, and realize it’s time.
But then comes the second realization: commercial oven cleaners are basically bottled nightmare fuel. You know the ones, the sprays that require you to wear a hazmat suit, open every window in the house, and evacuate your pets to the next county just to avoid the fumes. At The Cleaning Ninjas Inc, we’re all about the "Green Ninja" lifestyle. We believe your home should be clean enough to eat off the floor (well, the counters at least) without smelling like a chemical laboratory.
Today, we’re showing you how to tackle that crusty oven using nothing but simple, non-toxic ingredients you probably already have in your pantry. No fumes, no scorched lungs, just pure ninja-level efficiency.
Why Go Green in the Kitchen?
Before we dive into the "how," let’s talk about the "why." Commercial oven cleaners often contain sodium hydroxide or amphoteric surfactants. In plain English? They are corrosive. If they can melt through baked-on carbonized lasagna, imagine what they’re doing to your skin or your lungs.
By choosing natural alternatives like baking soda and vinegar, you’re creating a safer environment for your family and your pets. Plus, it’s significantly cheaper. A box of baking soda costs less than a fancy latte and can clean your oven ten times over. When we handle our weekly and bi-weekly house cleaning services, we always prioritize methods that keep your home’s air quality fresh and safe.
The Green Ninja’s Secret Weapons
To get started, you don't need a lab coat. You just need the "Big Three" of eco-friendly cleaning:
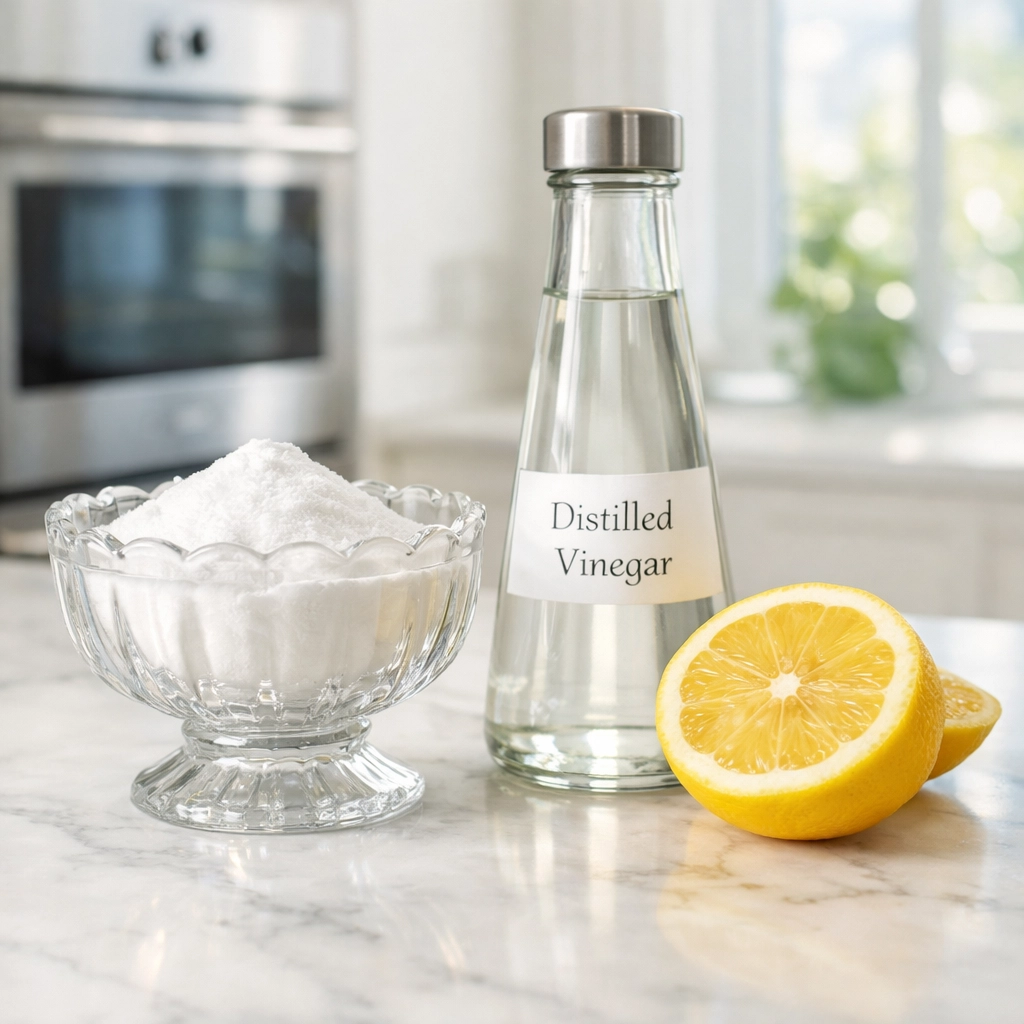
- Baking Soda (Sodium Bicarbonate): This is the heavy lifter. It’s alkaline, which means it’s a pro at breaking down acidic food particles and grease. It’s also a mild abrasive, so it scrubs without scratching your oven’s finish.
- White Vinegar: The closer. When vinegar (an acid) meets baking soda, you get that satisfying fizz. This reaction helps lift loosened grime away from the surface.
- Dish Soap: A little boost of degreasing power never hurts for those extra-stubborn spots.
Method 1: The "Pancake Batter" Light Refresh
If your oven isn't a total disaster zone but is starting to look a little dusty or slightly greasy, this is your go-to move.
The Recipe:
- ½ cup baking soda
- 3 tablespoons water
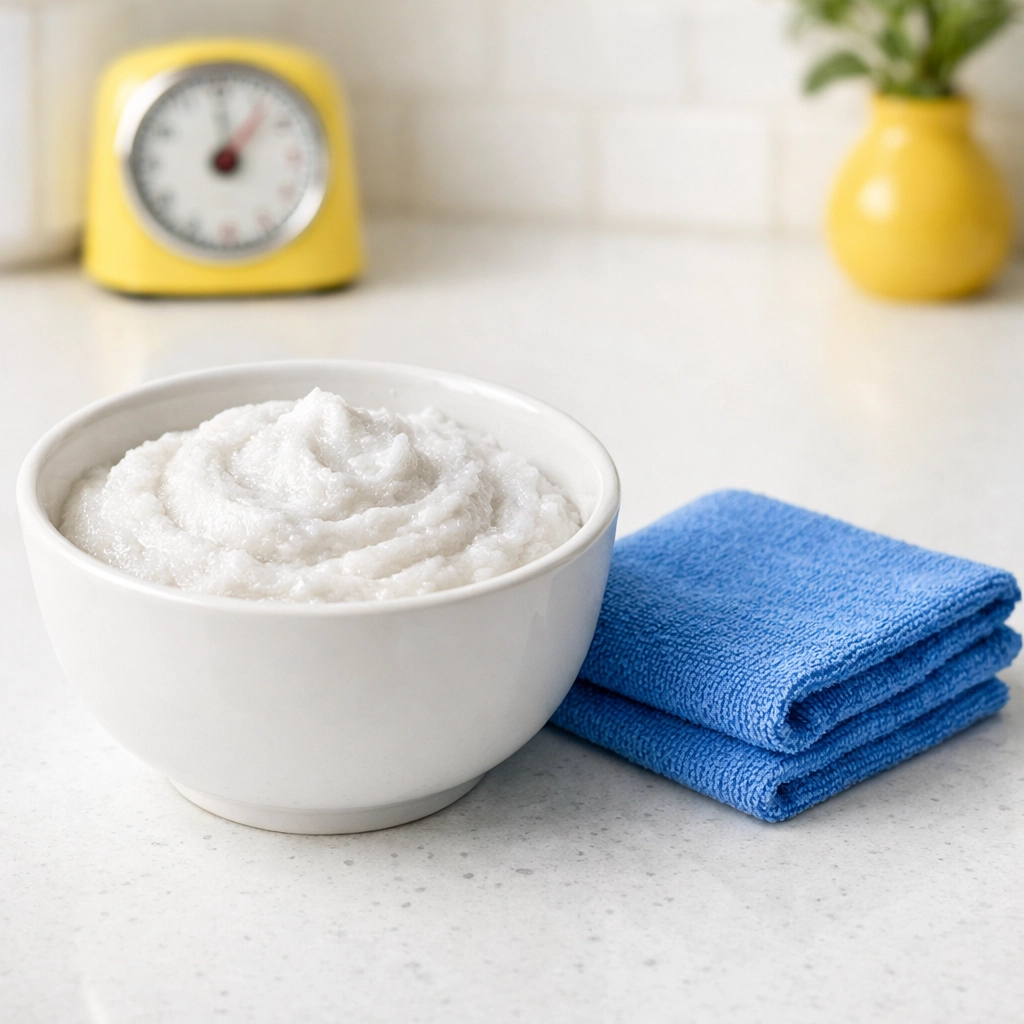
Mix these in a small bowl until you have a paste that looks like pancake batter.
The Ninja Process:
- Prep the Area: Remove the oven racks. (We’ll get to those in a minute). Use a spatula or a dry paper towel to scoop out any loose burnt bits at the bottom.
- Apply the Paste: Using a sponge or even your (gloved) hands, spread the paste all over the interior surfaces of the oven. Focus on the greasy spots. Pro Tip: Avoid the heating elements! They don't need a spa day; they just need to stay dry.
- The Waiting Game: Let it sit for at least 20 minutes. This gives the baking soda time to start its chemical handshake with the grease.
- Wipe Down: Use a damp microfiber cloth or paper towels to wipe the paste away.
- The Final Rinse: Spritz the interior with a 3:1 mixture of water and distilled vinegar to remove any chalky residue.
Method 2: The Deep Clean Overnight Challenge
For the ovens that have seen better days, the ones where the bottom looks like a charcoal painting, you need the heavy-duty Green Ninja approach. This method requires patience, but it’s incredibly effective.
The Recipe:
- 1 ½ cups baking soda
- ½ cup liquid dish soap
- ¼ cup white vinegar
This will create a thick, frothy paste that clings to the walls of the oven like a ninja to a ceiling.
The Ninja Process:
- Coat It Thick: Slather this mixture over the entire interior. Don’t be shy; you want a thick layer.
- The Door Strategy: Don't forget the inside of the oven door! It’s usually the part you look at the most, so it deserves the extra love.
- The Overnight Soak: Close the oven door and walk away. Go watch a movie, sleep, or give us a shout at The Cleaning Ninjas Inc to see how we can help with the rest of your house. Letting the paste sit for 8–12 hours allows the enzymes and alkalinity to do 90% of the work for you.
- The Great Reveal: The next morning, the paste will likely have turned brown. This is good! It means it’s pulling the grease out. Use a damp cloth to wipe it all away. You might need to rinse your cloth several times, stay focused, Ninja!

Don’t Forget the Racks!
While your oven is marinating in baking soda goodness, your racks need attention. They are often the hardest part to clean because of all those individual wires.
The Bathtub Trick:
- Line your bathtub with a couple of old towels (to prevent scratching the tub).
- Place the racks on the towels and fill the tub with very hot water until the racks are submerged.
- Add ½ cup of dish soap and a cup of baking soda to the water.
- Let them soak for at least 4 hours (or overnight).
- In the morning, the gunk should slide right off with a light scrub from a non-scratch sponge. Rinse them well and dry them completely before putting them back in your sparkling oven.
The Glass Door: Your Window to the Soul (of Your Kitchen)
The glass door is notorious for holding onto brown, baked-on stains. If the baking soda paste didn't quite get it crystal clear, try a direct vinegar application.
Spray the glass with straight white vinegar and then sprinkle a little more baking soda on top. Let it fizz and sit for 10 minutes. Use a razor blade scraper (held at a 45-degree angle) very gently to lift off the stubborn carbonized spots. It’s incredibly satisfying and won’t scratch the glass if you’re careful.

Maintenance: The Way of the Ninja
The secret to never having to do a "Heavy-Duty Deep Clean" again is regular maintenance. Here at The Cleaning Ninjas Inc, we often tell our clients that small habits lead to big wins.
- The Spill Drill: If you see something bubble over while you’re baking, sprinkle a little salt on it immediately (while the oven is still hot). Once the oven cools, the salt makes the spill much easier to scrape up.
- Weekly Wipedowns: During our weekly and bi-weekly house cleaning visits, we make sure to give the oven a quick check. A simple 2-minute wipe once a week prevents the "charcoal layer" from ever forming.
- Liners: Consider using a non-stick oven liner on the bottom rack. Just make sure it doesn't block any vents or touch the heating elements.
When to Call in the Ninjas
We get it, life is busy. Between work, family, and trying to have a social life, spending your Saturday night elbow-deep in baking soda paste might not be your idea of a good time. That’s where we come in.
The Cleaning Ninjas Inc specializes in taking the stress out of home maintenance. Whether you need a one-time deep clean to reset your kitchen or you want to join our family of regular clients for weekly or bi-weekly house cleaning, we bring the tools, the "Green Ninja" mindset, and the expertise to make your home shine.
We don't just "clean", we restore. We pay attention to the details that others miss, ensuring your kitchen isn't just visually clean, but a healthy, non-toxic environment for you to cook in.

Final Thoughts
Cleaning your oven doesn't have to be a toxic event. By using the power of science (yay, chemistry!) and a little bit of patience, you can achieve a professional-level clean without the professional-level chemicals. Your lungs, your wallet, and your oven will thank you.
Ready to see what a true Ninja can do for your home? Check out About Us to learn more about our mission and our team. Let’s make your home a "Green Ninja" sanctuary! 🥷🧼


