

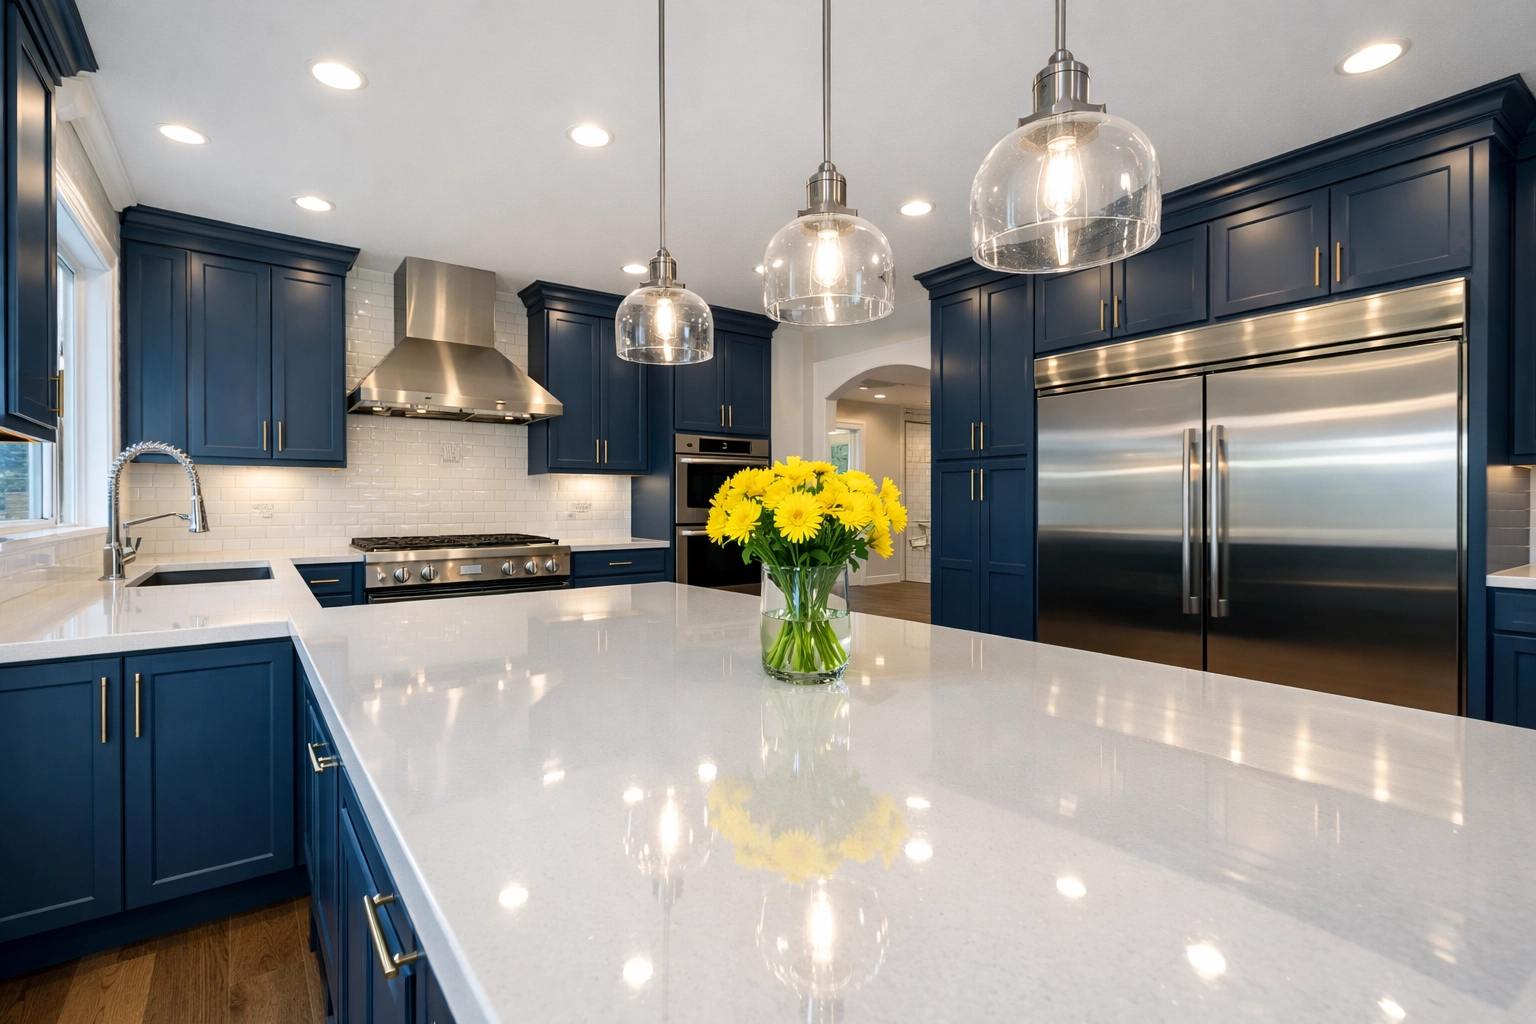
So, you’ve finally finished that big kitchen renovation or had those gorgeous custom built-ins installed. The "New Home" smell is in the air, the paint is dry, and everything looks… well, almost perfect. Then you open a drawer. Creeeeeak. Or you run your hand along the back of a shelf and it comes back covered in a fine, tan powder.
Welcome to the world of post-construction sawdust. At The Cleaning Ninjas Inc, we’ve seen it all. Sawdust is like the uninvited guest that refuses to leave the party. It finds its way into the tiniest crevices, settles on the hinges, and hides in the dark corners of your cabinets where light rarely touches.
Getting rid of it isn't just about a quick wipe-down. It’s about a tactical, "Ninja-style" approach to ensure your brand-new cabinetry stays pristine and your indoor air quality remains high. In this guide, we’re breaking down exactly how to banish sawdust from deep inside your cabinets using methods that are safe for your home, your family, and the planet.
Why Sawdust is Such a Sneaky Enemy
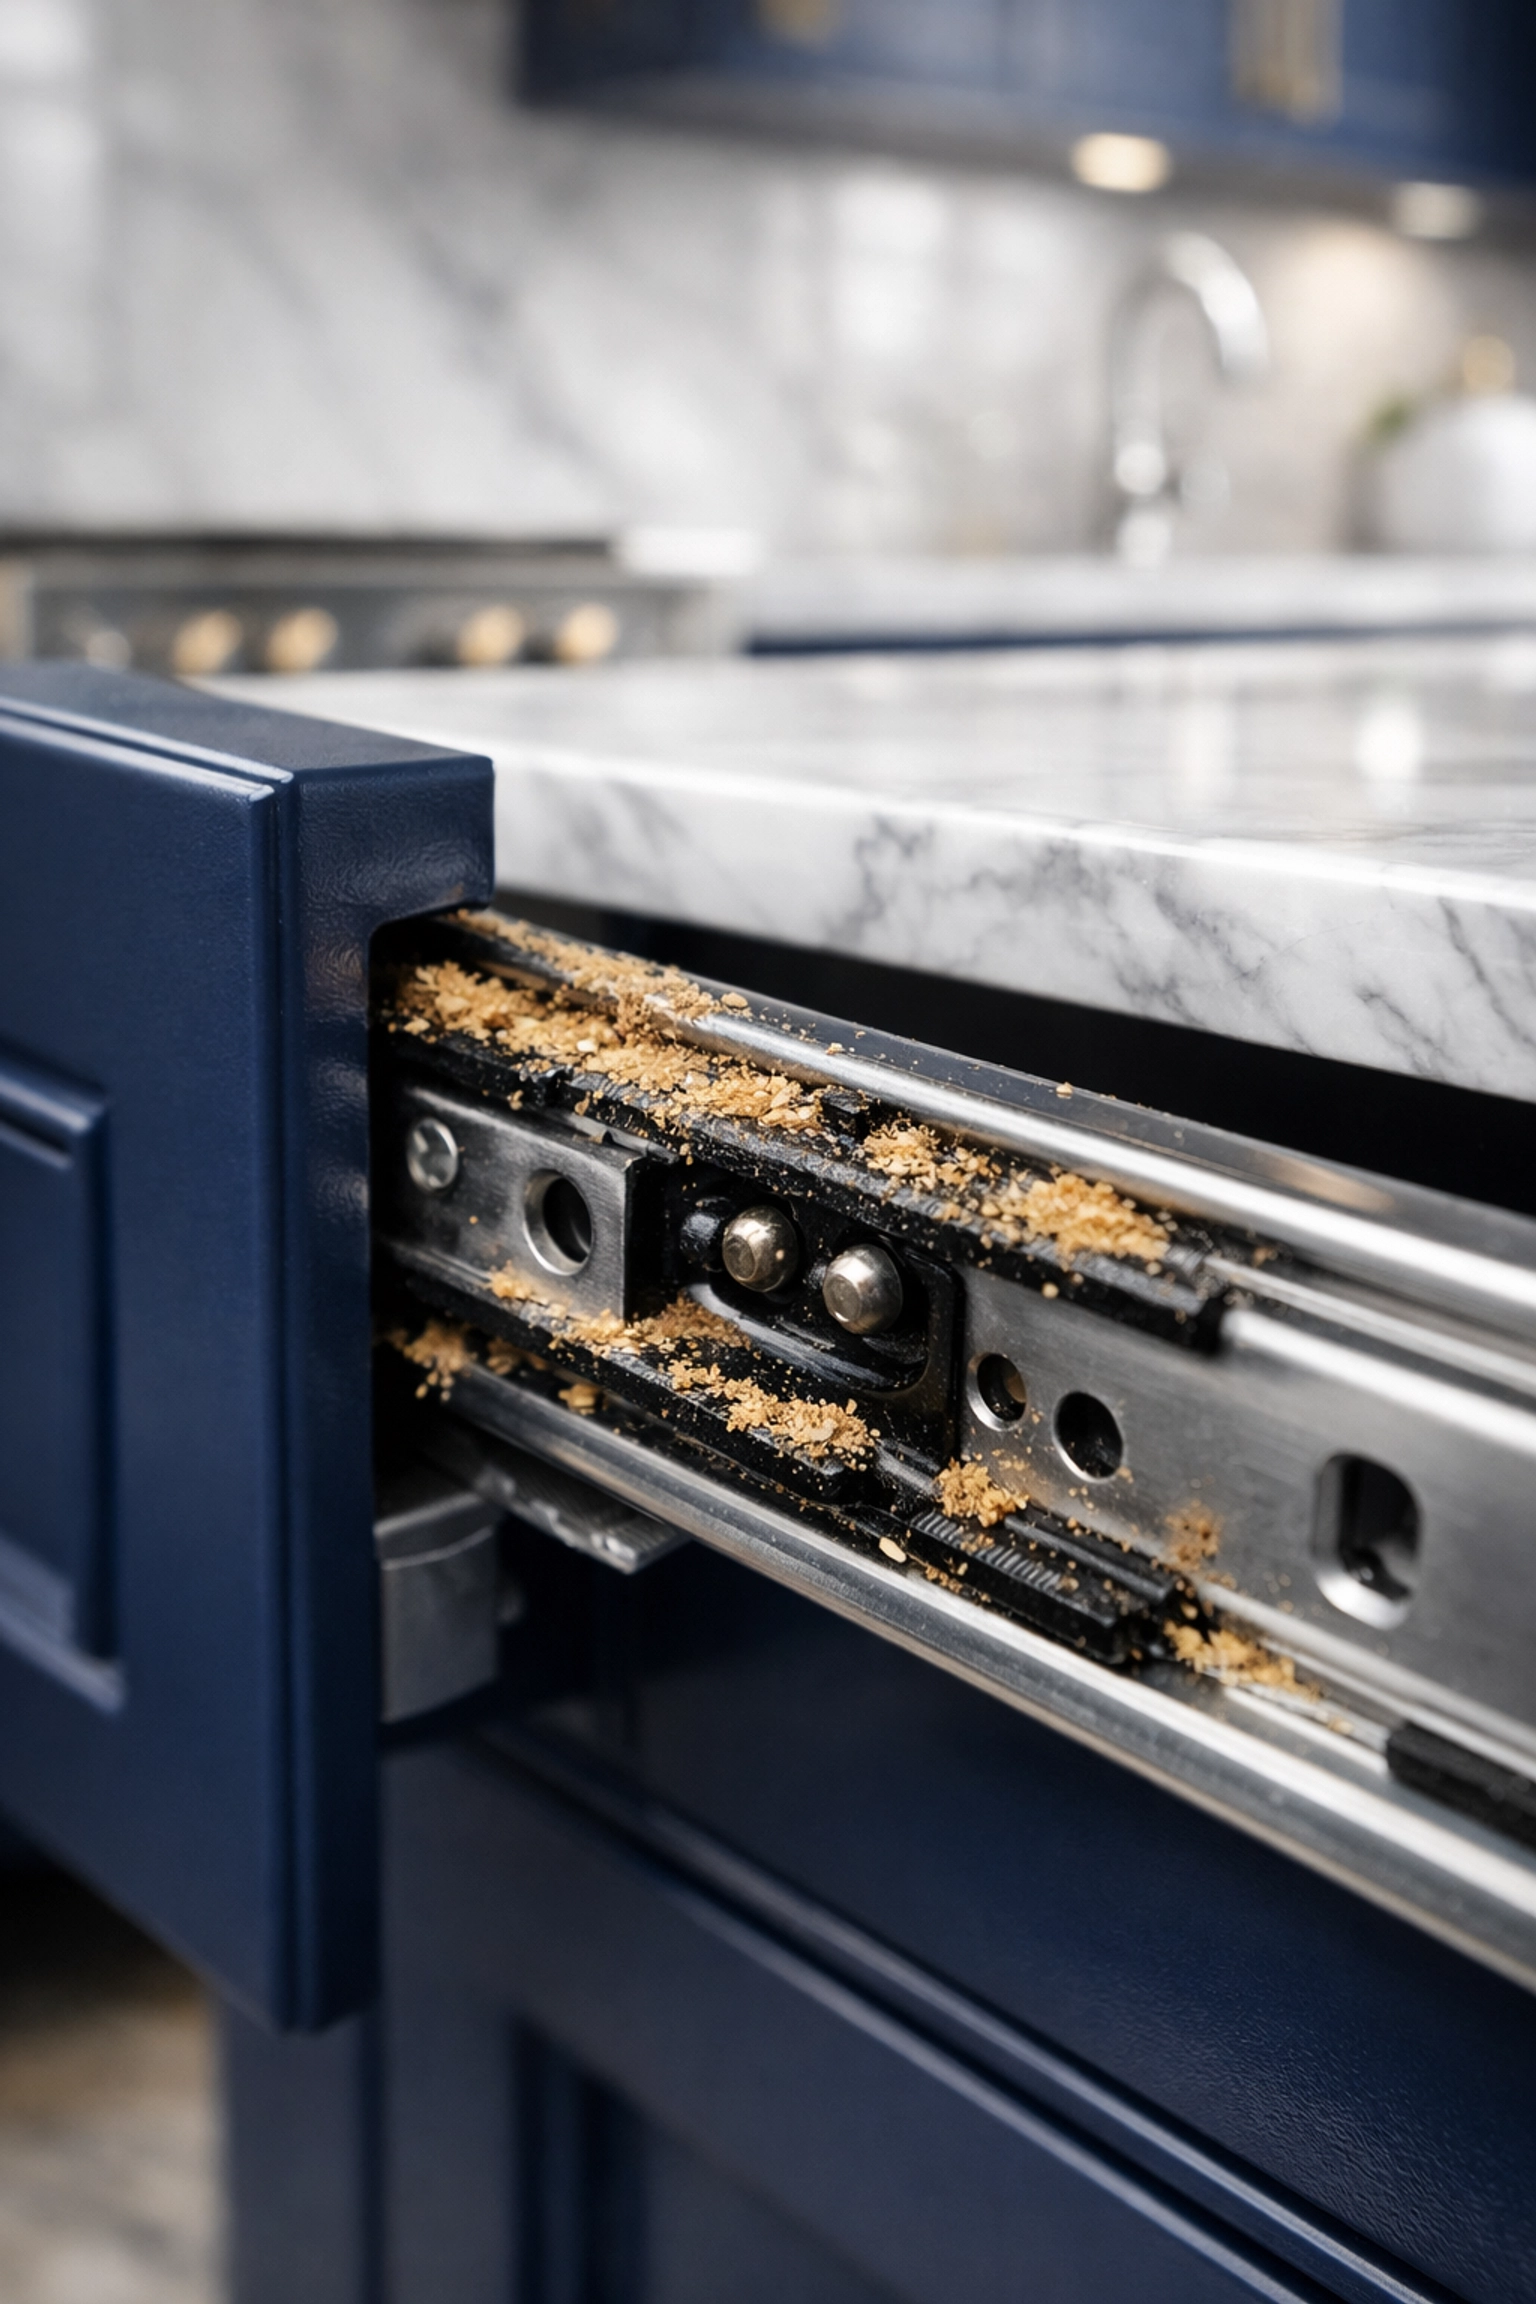
Before we jump into the "how," let's talk about the "why." Sawdust created during construction or installation isn't like regular house dust. It’s heavier, often contains resins or adhesives from manufactured wood (like MDF or plywood), and it’s incredibly abrasive. If left in your drawer slides, it acts like sandpaper, wearing down the mechanism every time you open the drawer.
Moreover, if you have allergies or asthma, that fine dust circulating every time you grab a plate can be a real nightmare. That’s why we emphasize a "Post-Construction Cleaning" mindset: it’s about more than just looking clean; it’s about being truly, microscopically clean.
Step 1: The Great Empty-Out
It sounds obvious, but you’d be surprised how many people try to clean around their dishes. If you’ve just had construction done, everything needs to come out. Even if the cabinets were closed during the sanding phase, that fine dust has a way of drifting through the smallest gaps.
Ninja Tip: Grab a few sturdy bins. As you take items out, give them a quick preliminary wipe with a dry microfiber cloth. This prevents you from moving the dust from the cabinet to your countertops and back again.
Step 2: The High-Power Vacuum Phase
Never start with a wet cloth. If you apply moisture to heavy sawdust, you’ll just create a tan "mud" that gets pushed into the corners and becomes ten times harder to remove.
You need a vacuum with a HEPA filter. At The Cleaning Ninjas Inc, we swear by HEPA because it ensures that the tiny particles you suck up don't just blow right back out the exhaust and into your face.
- The Crevice Tool is Your Best Friend: Use the narrow attachment to go along the "seams" of the cabinet box. Pay extra attention to the very back where the backboard meets the sides.
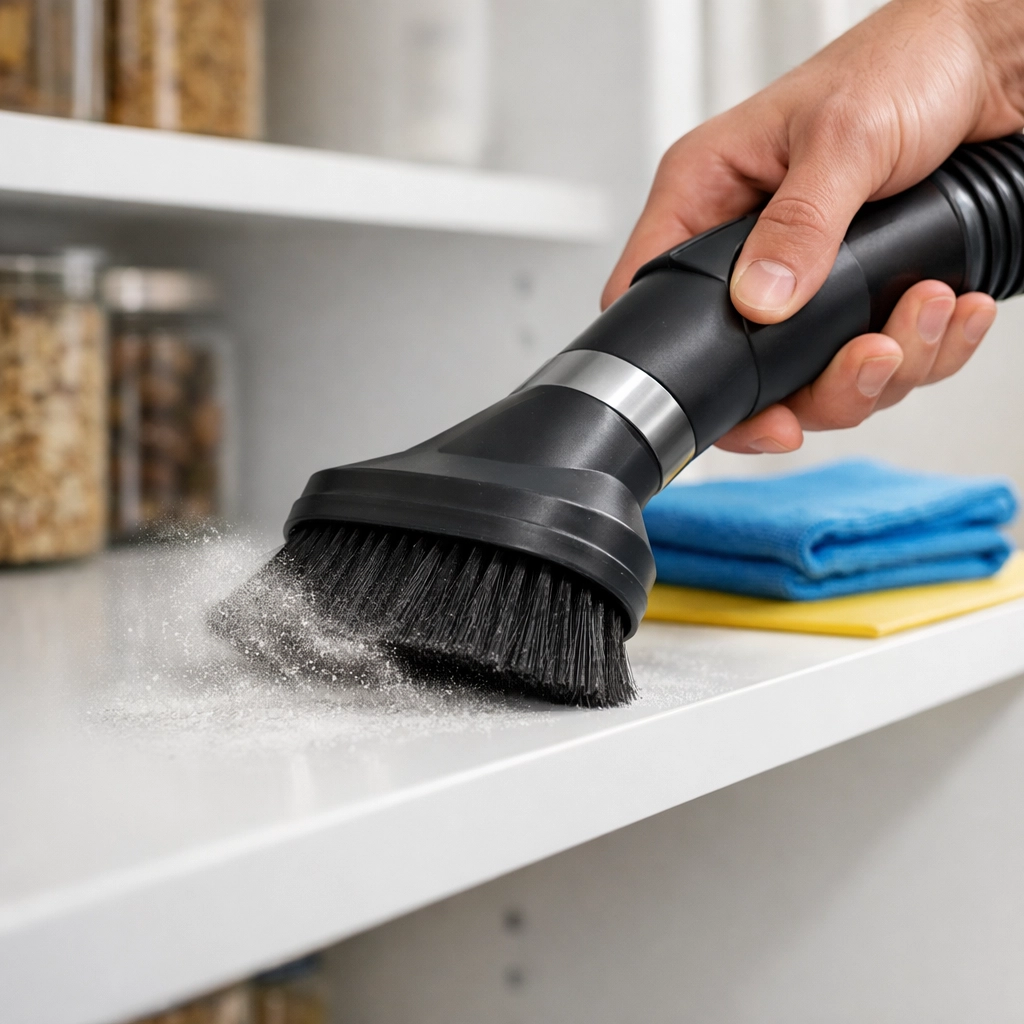
- The Brush Attachment: Use the soft brush attachment for the flat surfaces. This agitates the dust so the vacuum can grab it without scratching the new finish.
- The "Hidden" Top: Don't forget to vacuum the "ceiling" of the cabinet. Dust often clings to the underside of the top shelf or the countertop substrate.
Step 3: Tackling the Drawer Slides and Hinges
This is where the real "Ninja" attention to detail comes in. Most people wipe the shelves and call it a day, but the hardware is where sawdust goes to hide and cause damage.
If you have soft-close drawers, those slides are sensitive. Use a can of compressed air (the kind used for keyboards) or a specialized small vacuum attachment to blow the dust out of the tracks.
The Ninja Hinge Trick:
Take a dry, clean toothbrush. Gently scrub around the coils and moving parts of the hinges. You’ll be amazed at how much dust falls out. Once the dry dust is loose, vacuum it up immediately. If the hinges are greasy, a tiny drop of a green cleaning solution on the toothbrush will do wonders.
Step 4: The Green Wipe-Down
Now that the bulk of the dust is gone, it’s time for the "Wet Pass." But wait: don't reach for the harsh chemicals. New cabinets, especially wood or high-end laminates, can be sensitive to heavy solvents. Plus, since these cabinets will hold your food and dishes, you want to keep things non-toxic.
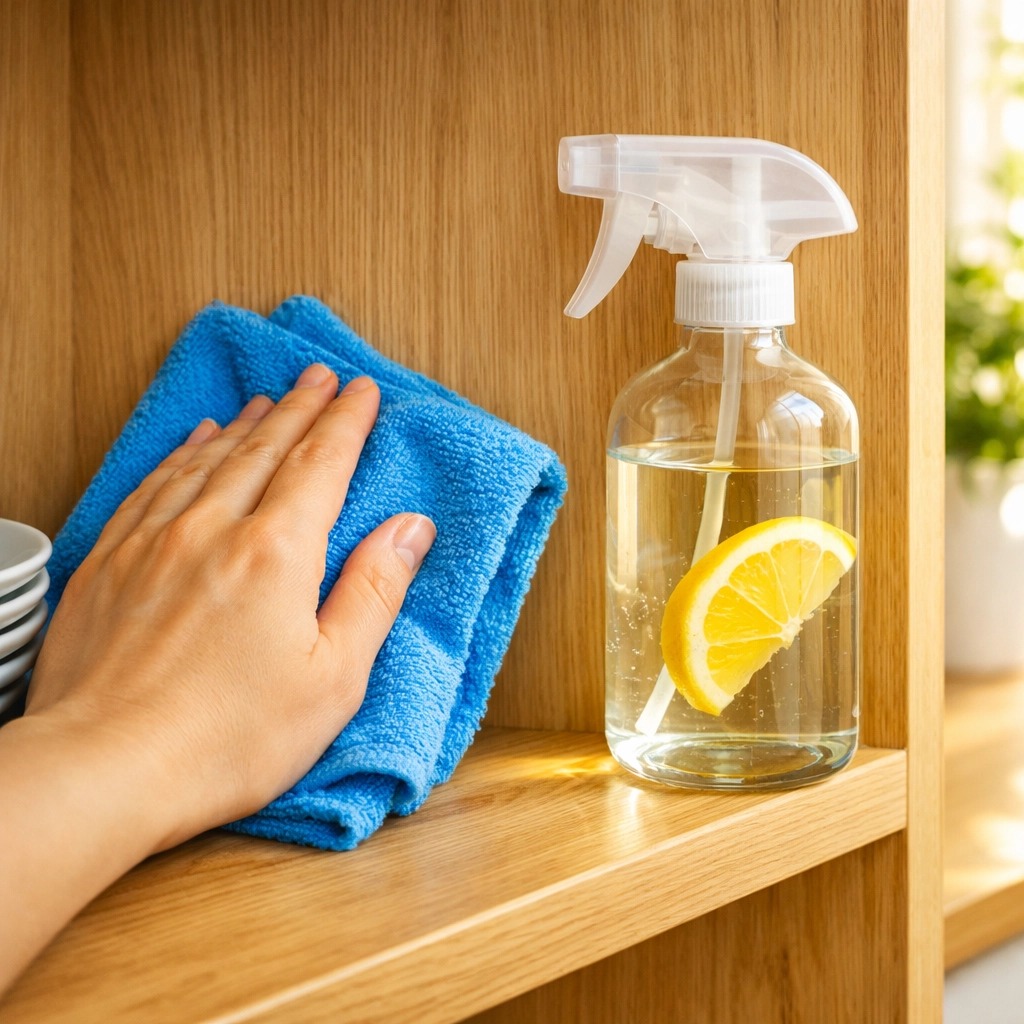
We love a simple, eco-friendly DIY solution:
- 2 cups of warm water
- 1/2 cup of white distilled vinegar
- 2 drops of organic dish soap (the kind that's phosphate-free)
- (Optional) A few drops of lemon or orange essential oil for a fresh, natural scent.
The "Damp, Not Wet" Rule:
Never spray your cleaning solution directly into the cabinet. Wood can swell if moisture seeps into the seams. Instead, spray your microfiber cloth until it’s just damp to the touch.
Wipe from the back to the front, and from the top to the bottom. This ensures any remaining particles fall onto surfaces you haven't cleaned yet.
Step 5: The Microfiber Final Buff
After you’ve wiped things down with your damp cloth, follow up immediately with a dry microfiber cloth. This "buffing" stage picks up any microscopic film left behind and gives your cabinets that "showroom" shine.
Check your work with a flashlight. Shine the light at an angle along the bottom of the cabinet. If you see streaks or "ghosting" (shadowy patterns of dust), give it one more pass with a clean, dry cloth.
Why "Good Enough" Isn't Enough
When it comes to Post-Construction Cleaning, "good enough" usually means you’ll be finding dust for the next six months. Sawdust has a way of settling over 48 to 72 hours. Even after a thorough clean, you might notice a light "bloom" of dust the next day as particles that were floating in the air finally land.
That’s why we always recommend a "Two-Pass" system. Clean it once, wait 24 hours, and then do a quick "Ninja Polish" to catch the stragglers.
When to Call in the Pros
We get it: renovating is exhausting. By the time the contractors pack up their tools, the last thing you want to do is spend your weekend on your hands and knees with a toothbrush and a vacuum.
That’s where we come in. At The Cleaning Ninjas Inc, we specialize in the high-detail work that makes a renovation truly feel finished. Our team knows exactly where the dust hides: behind the baseboards, inside the light fixtures, and, of course, deep inside those kitchen cabinets. We use professional-grade HEPA vacuums and eco-friendly supplies to make sure your home isn't just clean, but "Ninja Clean."
If you’re feeling overwhelmed by the post-construction mess, check out our services or learn more about us to see how we can take the stress out of your move-in process.
Summary Checklist for Sawdust-Free Cabinets:
- Empty everything: No shortcuts here!
- Dry Vacuum first: Use HEPA filters and crevice tools.
- Detail the hardware: Use a toothbrush on hinges and compressed air on slides.
- Use Green Cleaners: Protect your finish and your health with vinegar and water.
- Microfiber is King: Use it for the damp wipe and the final dry buff.
- The Light Test: Use a flashlight to check your work at an angle.
Cleaning up after a renovation is the final hurdle between you and your dream home. Take your time, focus on the details, and remember: if the dust gets to be too much, the Ninjas have your back! 🥷✨
For more pro tips on keeping your home in tip-top shape, head over to our Cleaning Tips blog category. Happy cleaning!


