You’ve finally done it. The old, cracked linoleum is gone, and in its place is a stunning expanse of brand-new tile. Whether it’s a chic subway tile in the kitchen or a rustic slate in the entryway, nothing beats that "just finished" look of a home renovation. But as the installers pack up their tools and the dust begins to settle, you might notice something annoying. Your beautiful tiles look… foggy.
Welcome to the world of grout haze. It’s the final hurdle of every tiling project, and if you don’t handle it correctly, it can make your expensive new floors look dull and neglected. Here at The Cleaning Ninjas Inc, we specialize in the art of the "post-construction polish." We know exactly how to get that grime off without hurting your fresh investment.
In this guide, we’re going to walk you through the ninja-approved, eco-friendly ways to de-grime your grout and make those tiles sparkle like they’re in a showroom.
What Exactly is Grout Haze?
Before we jump into the "how," let’s talk about the "what." Grout haze is a thin layer of dried grout (a mixture of water, cement, and sand or polymers) that stays on the surface of the tile after the installation process. When tiles are grouted, the installer spreads the mixture over the entire surface to fill the gaps, then wipes it down with a sponge.
However, as the water evaporates, a fine mineral residue is left behind. If you try to wipe it while it's still wet, you might actually pull grout out of the joints. If you wait too long, it hardens into a stubborn film that seems to laugh at a regular mop and bucket.
Rule Number One: The Waiting Game
The biggest mistake we see during post-construction cleaning is jumping the gun. You’re excited, we get it! You want to see the final result. But fresh grout needs time to cure.
If you start scrubbing too early, you can disturb the moisture balance of the grout lines, leading to uneven colors or, worse, structural cracks in the joints. Most experts recommend waiting at least 24 to 72 hours before doing a deep de-hazing clean. Check the manufacturer's instructions on the grout bag: every product is a little different.
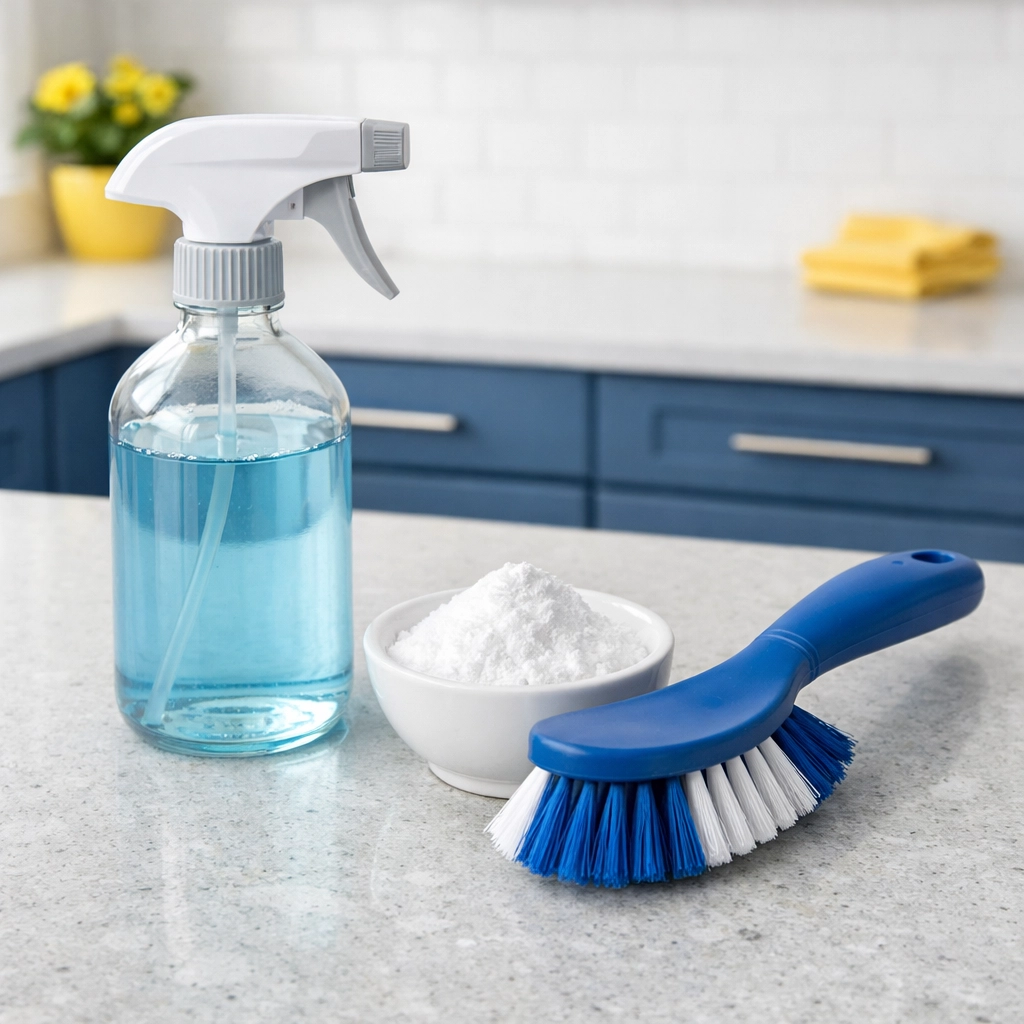
The Ninja’s Eco-Friendly Cleaning Kit
At The Cleaning Ninjas, we’re big fans of keeping things green. You don't need harsh, lung-stinging chemicals to get rid of grout residue. In fact, some of those heavy-duty acidic cleaners can actually eat away at your new grout if you’re not careful.
Here is what you’ll need for a safe, eco-friendly de-griming:
- Distilled White Vinegar: The holy grail of natural cleaning.
- Baking Soda: For a gentle abrasive kick.
- Hydrogen Peroxide: Perfect for brightening.
- Warm Water: The universal solvent.
- Microfiber Cloths: To trap those tiny dust particles.
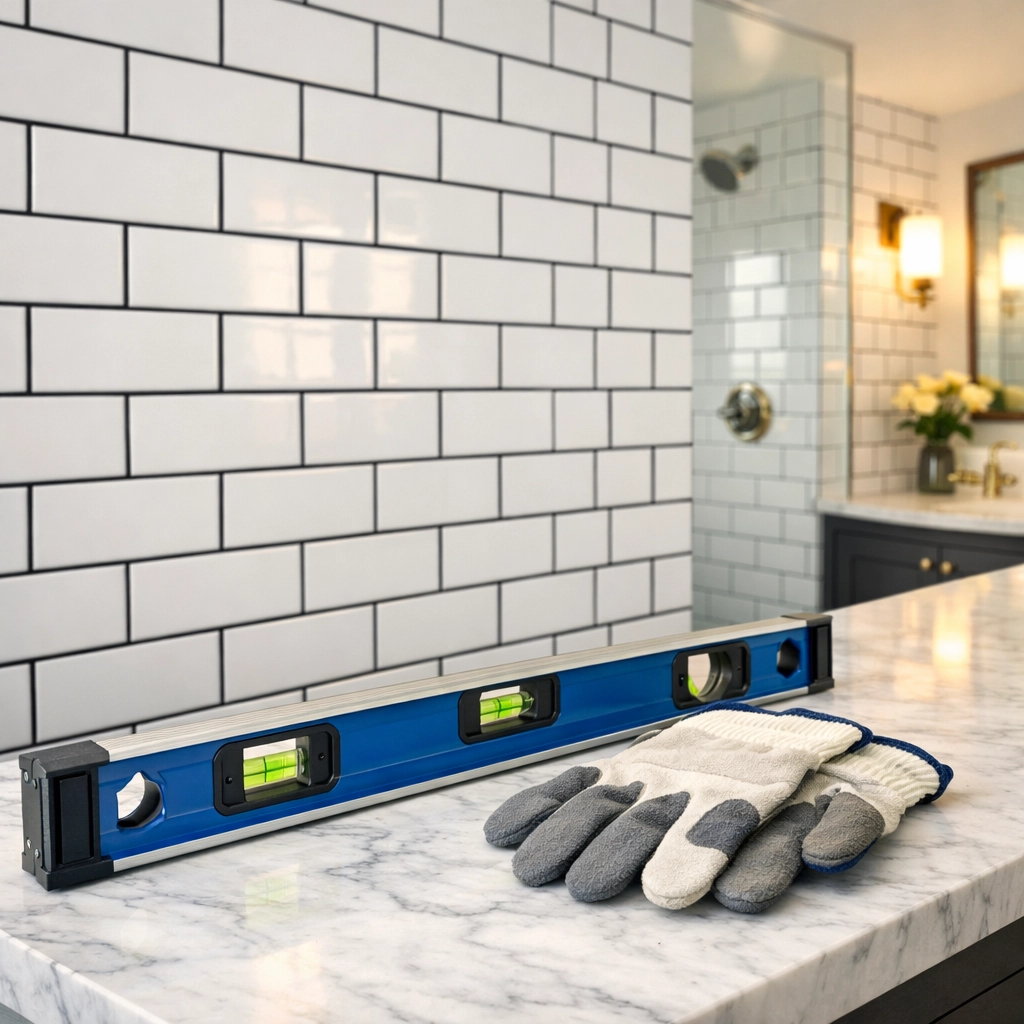
- Nylon Scrub Brush: No metal! Metal can scratch your tile or leave gray marks.
Step-by-Step: How to De-Haze Like a Pro
1. The Dry Buff
Sometimes, the simplest solution is the best. Before you bring in the liquids, take a dry microfiber cloth or a clean piece of burlap. Use a bit of elbow grease to buff the tiles in a circular motion. If the haze is light and the grout is fully cured, much of it will simply flake off as dust. Make sure to vacuum up the dust immediately so it doesn't settle back into the pores of the tile.
2. The Vinegar and Water Solution (For Ceramic and Porcelain)
If the dry buff didn't do the trick, it’s time for a mild acid. Mix a solution of 1 part white vinegar to 4 parts warm water.
Pro-Tip: Never use vinegar on natural stone like marble, limestone, or travertine. The acid will etch the stone and ruin the finish!
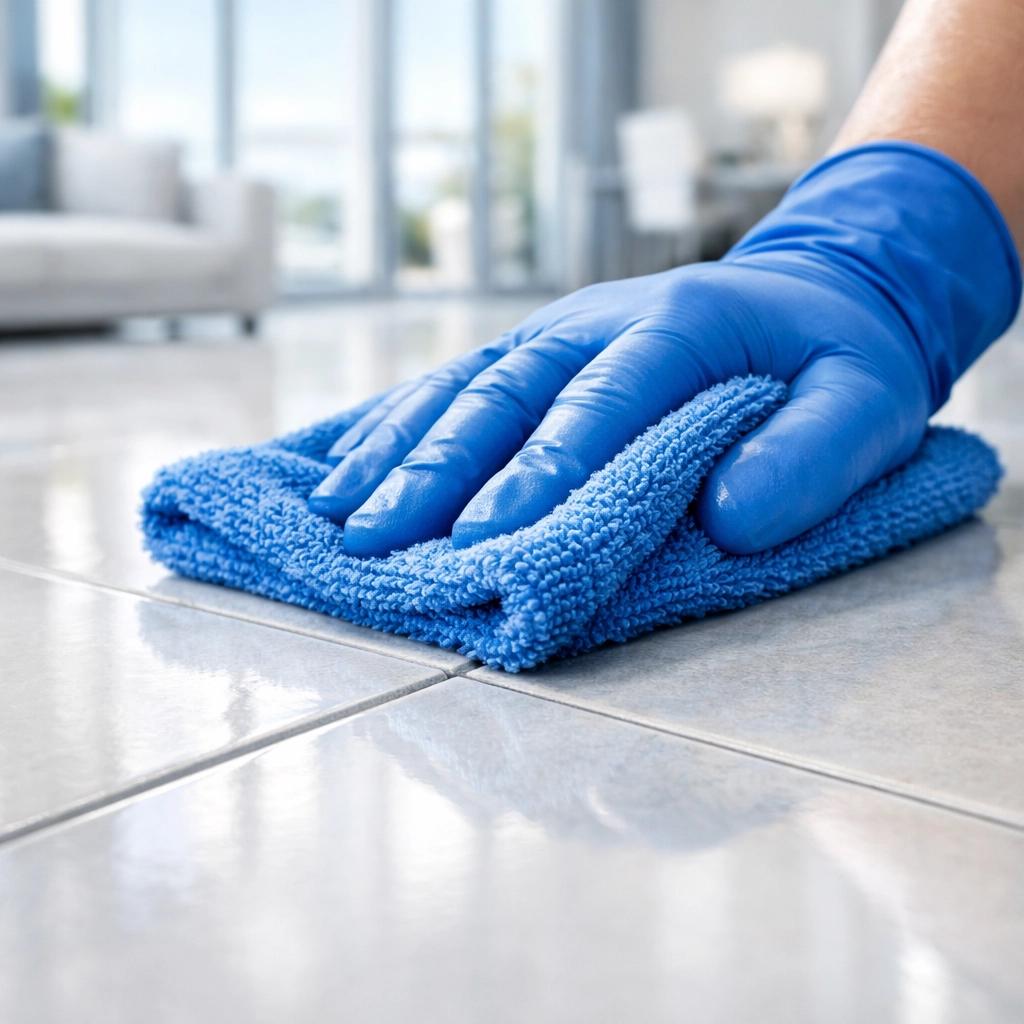
Dampen (don't soak) a sponge with the solution and wipe the tiles. Let it sit for about two or three minutes, then scrub gently with your nylon brush. Wipe it clean with a fresh damp cloth and immediately buff it dry with a microfiber towel. Drying is the secret step: if you let it air dry, the minerals in the water might just create a new layer of haze!
3. The Baking Soda Paste (For Stubborn Spots)
If you have "clumps" of grout or particularly stubborn cloudy patches, make a paste of baking soda and a tiny bit of water. Apply it to the hazy area and let it sit for ten minutes. The baking soda acts as a mild abrasive that breaks down the cement bonds without scratching the tile. Scrub in a circular motion and rinse.
4. The Hydrogen Peroxide Boost
For white grout that looks a little dingy right out of the gate, mix equal parts hydrogen peroxide and water in a spray bottle. Spray the area, let it bubble for a minute (that’s the oxygen working!), and wipe clean. This is a great way to ensure the grout lines look crisp and bright.
Why Post-Construction Cleaning is Different
Cleaning after a renovation isn't like your weekly house cleaning. In a normal cleaning scenario, you're dealing with "lived-in" dirt: skin cells, pet dander, and food crumbs.
Post-construction cleaning is about managing "fine dust." This dust is microscopic and abrasive. It gets into your HVAC system, behind your baseboards, and inside your cabinets. When it comes to grout, this fine dust can actually get trapped inside the curing grout, making it look permanently dirty if it isn't cleared away correctly. This is why we focus so heavily on HEPA filtration and detailed wiping during our construction clean-ups.
Avoiding the "Ghost Haze"
Have you ever cleaned your floors, they look great for an hour, and then as they dry, the white film magically reappears? We call that "Ghost Haze." This happens when there is still residue suspended in the cleaning water you used.
To prevent this:
- Change your water often. If your bucket looks cloudy, you’re just spreading grout juice around.
- Use two buckets. One with your cleaning solution and one with pure water for rinsing your sponge.
- The Final Buff. Always, always finish with a dry microfiber cloth. This picks up the last microscopic bits of residue before they can settle.
Caring for Your Grout Long-Term
Once you’ve successfully de-grimed your tiles, you want to keep them that way. Grout is porous, meaning it acts like a sponge for spills, mop water, and dirt.
After you’ve removed the haze and waited the appropriate amount of time (usually about a week after installation), it is highly recommended to apply a grout sealer. This creates a moisture-resistant barrier that keeps the grime on the surface where it’s easy to wipe away.
At The Cleaning Ninjas Inc, we always tell our clients that the best way to clean grout is to prevent it from getting dirty in the first place!
When to Call the Ninjas
We know that DIY-ing a renovation is a point of pride for many homeowners. But sometimes, the scale of the project is just too much. If you’ve just tiled an entire house, the thought of hand-buffing every single square inch of grout haze can be overwhelming.
That’s where we come in. Our team has the specialized equipment: and the patience: to handle large-scale post-construction projects. We don't just "clean"; we detail. From the top of the crown molding to the pores of your new grout, we make sure your home is actually move-in ready.
If you're in the middle of a renovation or just finished one and are staring at a mountain of dust, check out our professional cleaning services. We’d love to help you cross that final finish line so you can actually enjoy your new space.
Final Thoughts
De-griming grout isn't exactly a glamorous job, but it’s the "final touch" that makes a renovation truly successful. By using eco-friendly solutions like vinegar and baking soda, and following the "buff-dry" rule, you can protect your new tiles and ensure they look beautiful for years to come.
Remember: stay patient, stay green, and when in doubt, call in the Ninjas! Happy cleaning!