

There is nothing quite like the feeling of walking into a home that has just been renovated or a brand-new build that is finally ready for move-in. The air smells of fresh paint, the floors are level and pristine, and the fixtures are gleaming under the light. But as you start to settle in and take a closer look, you notice them: stickers. Brightly colored barcodes on the side of your new porcelain tub, "Energy Star" labels cemented onto the glass of your windows, and stubborn tape residue on your brushed brass faucets.
In the world of post-construction cleaning, adhesive residue is one of our most frequent "foes." While those stickers were necessary for the manufacturers and contractors, they can be a total nightmare for a homeowner to remove without causing damage. If you grab a metal scraper or a harsh chemical, you risk scratching that brand-new finish before you’ve even had your first housewarming party.
At The Cleaning Ninjas Inc, we believe in a gentle, "ninja-like" approach. You don’t need a sledgehammer to kill a fly, and you don’t need industrial-strength acid to remove a sticker. Here is our guide to safely removing adhesive residue from your new fixtures using green, gentle, and highly effective methods.
The Ninja Rule Number One: Patience Over Power
Before we dive into the "how-to," we have to talk about the "how-not-to." When you see a half-peeled sticker, the instinct is to grab a corner and yank. When it rips and leaves behind a sticky gray film, the second instinct is to grab a kitchen knife or a metal putty scraper and start digging.
Stop right there!
Metal on glass, metal on acrylic, and metal on polished chrome will almost always lead to permanent scratches. Even a "soft" sponge with a green abrasive side can leave swirl marks on a delicate bathtub or a matte-finish faucet. Our philosophy is to let the solution do the heavy lifting so your hands don't have to.
Method 1: The Warm Soapy Soak (The Gentlest Start)
If you are dealing with paper-based stickers: the kind that feel like regular paper rather than plastic: you should always start with the basics.
- Mix Your Potion: Fill a small bowl with very warm water and a generous squeeze of grease-fighting dish soap.
- The Saturation: Dip a microfiber cloth into the suds and hold it directly against the sticker for at least three to five minutes. You want the water to penetrate the paper and reach the glue underneath.
- The Wipe: Once the paper feels soft and pulpy, gently rub it in a circular motion with the cloth. Often, the whole thing will roll up into little beads and wipe away.
This method is the safest for absolutely every surface in your home, from your expensive windows to your custom cabinetry.
Method 2: The Kitchen Pantry Secret (Oil and Baking Soda)
When soap and water aren’t enough, it’s time to look in your pantry. Oil is a natural solvent for many types of adhesives. It breaks down the chemical bond of the "sticky" part of the glue, making it slide right off the surface.
What you’ll need:
- Cooking oil (olive oil, coconut oil, or even vegetable oil work great).
- Baking soda (for a tiny bit of "ninja" grit).
How to do it:
Mix equal parts oil and baking soda to create a thick paste. Smear this paste over the residue and let it sit for 10 to 15 minutes. The oil softens the glue, while the baking soda provides a very mild abrasive that won't scratch your fixtures. After the time is up, use a soft cloth to rub the area. The residue should lift away effortlessly.
Note: This is particularly effective for glass windows and stainless steel fixtures. Just be sure to wash the area with a bit of soap afterward to remove the oily film!
Method 3: The Heat Treatment (For Plastic and Vinyl Stickers)
Many modern fixtures come with plastic-coated stickers that act as a barrier against water and oil. If you find a sticker that feels "slick" or plastic-y, the soak method won't work because the liquid can't reach the glue. This is where we bring the heat.
Grab a standard hairdryer and set it to high heat. Hold it about three inches away from the sticker for 30 to 60 seconds. The heat will melt the adhesive underneath. Once it’s warm to the touch, use your fingernail or a plastic scraper (like an old credit card) to peel it back. Usually, the sticker will come off in one clean piece without leaving a trace.
Method 4: Rubbing Alcohol (The "Ninja Star" of Cleaning)
For the truly stubborn "goop" that stays behind after the sticker is gone, rubbing alcohol (isopropyl alcohol) is your best friend. It evaporates quickly and is incredibly effective at dissolving adhesives without the greasy mess of oil.
Simply dampen a cotton ball or a corner of a microfiber cloth with alcohol and rub the residue. It works almost instantly. This is our go-to for cleaning the edges of new windows or the bases of faucets where tape might have been used during installation.
Surface-Specific Advice: Know Your Fixtures
Not all surfaces are created equal. In our blog, we often talk about how different materials require different care. Here’s a breakdown of how to handle specific fixtures:
1. New Windows and Glass
Glass is tough, but it can be scratched by metal. When we do post-construction cleaning, we never use a razor blade on dry glass. If you must use a blade to get a sticker off a window, ensure the glass is soaking wet with soapy water first. However, the oil or alcohol methods mentioned above are much safer for the average DIYer.
2. Acrylic and Fiberglass Tubs
Be very careful here! Never use acetone (nail polish remover) or strong paint thinners on acrylic tubs. These chemicals can actually melt the plastic or dull the shiny finish permanently. Stick to the oil/baking soda paste or warm soapy water.
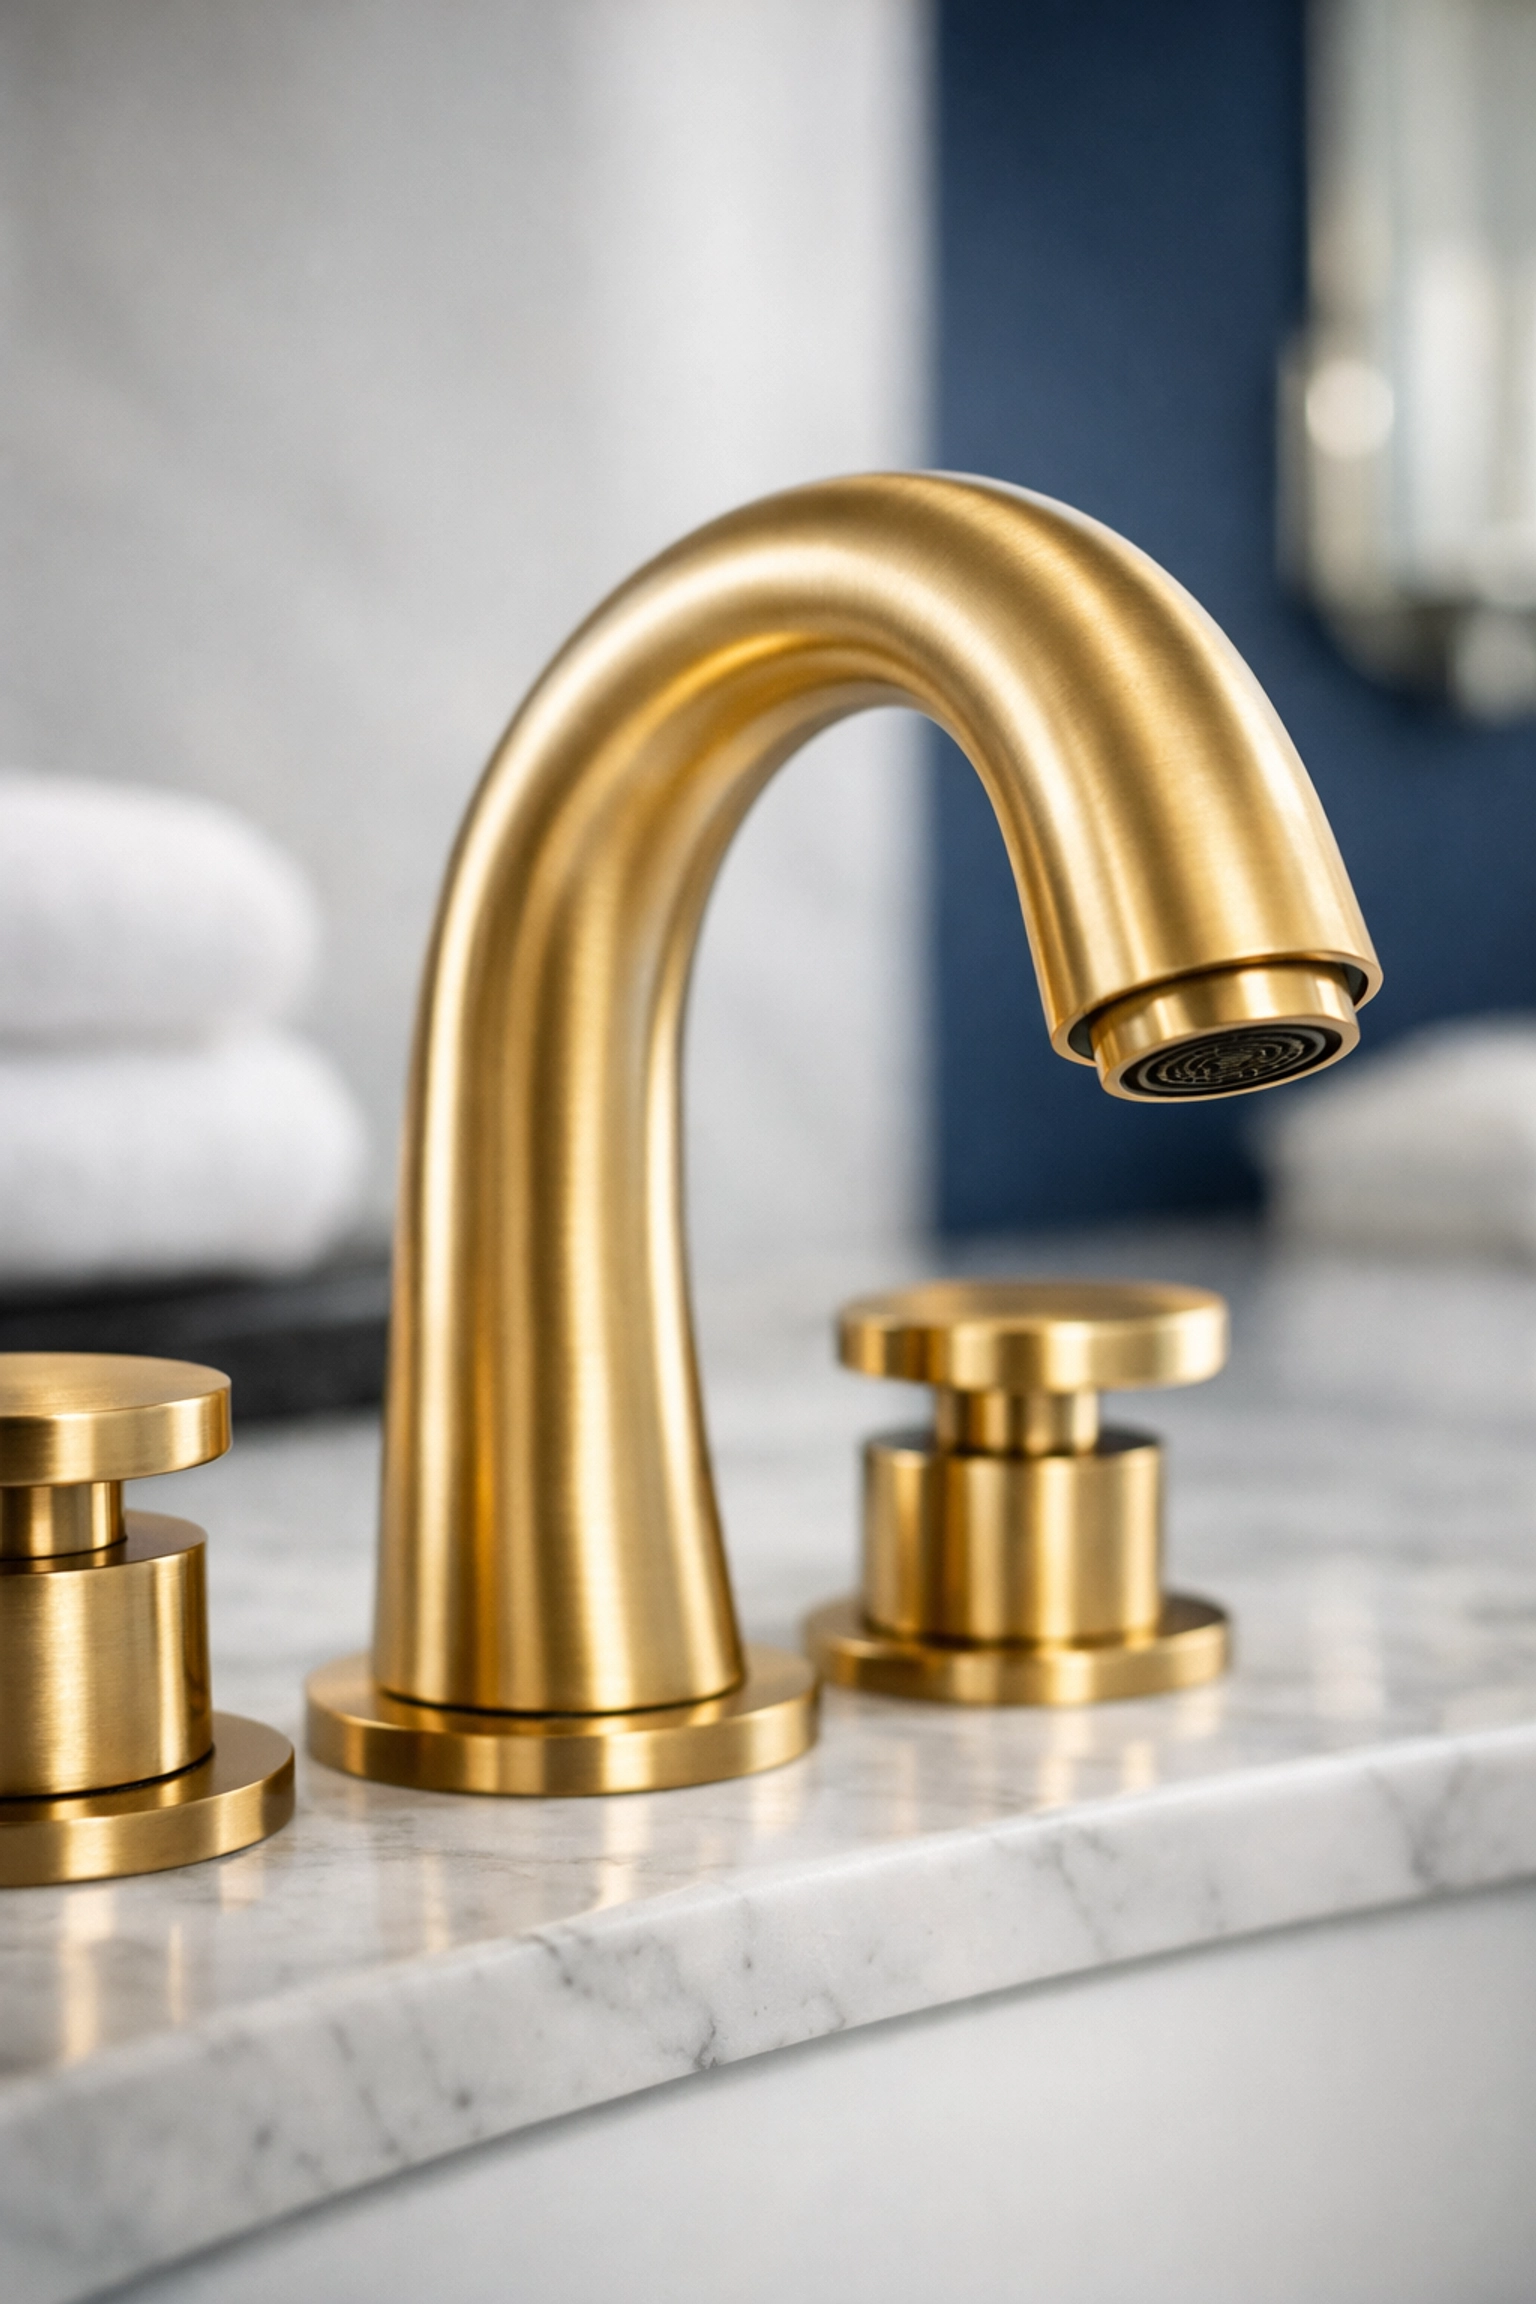
3. Brushed Metal and Matte Black Faucets
Matte black is the "it" finish right now, but it is notoriously finicky. Even a slightly abrasive cloth can "buff" a shiny spot into the matte finish. For these fixtures, use only the "Heat" method or a very gentle "Oil" soak. Avoid scrubbing at all costs.
Tools You Should (And Shouldn't) Use
As professional cleaners, we have a specific toolkit for dealing with construction debris. You don't need fancy equipment, but you do need the right mindset.
- The "Yes" List: Microfiber cloths, plastic putty knives, old credit cards, soft-bristled toothbrushes (for crevices), and your own fingernails.
- The "No" List: Steel wool, SOS pads, metal scrapers, the "scrubby" side of a heavy-duty sponge, and screwdrivers.
Why Green Cleaning Matters Post-Construction
You might wonder why we suggest olive oil and baking soda instead of a heavy-duty chemical adhesive remover. The reason is two-fold: your health and your home's longevity.
After a construction project, your indoor air quality is already struggling with dust and off-gassing from new materials. Adding harsh chemical fumes to the mix isn't ideal. Furthermore, natural methods are often safer for the finishes themselves. We take pride in being friendly to both our clients and their environments. Using gentle methods ensures that your "new" fixtures stay looking new for years to come.
When to Call in The Cleaning Ninjas
Sometimes, the scale of the mess is just too much. If you've just finished a whole-home renovation and every single window, handle, and baseboard is covered in tape and stickers, it can be overwhelming.
Post-construction cleaning is about more than just removing stickers. It’s about catching the fine dust in the tracks of the windows, ensuring the inside of the cabinets is food-safe, and making sure the air you breathe is clean. Our team at The Cleaning Ninjas Inc specializes in taking a chaotic construction site and turning it into a polished, move-in-ready sanctuary. Check out our Cleaning Tips for more advice, or reach out to us for professional office cleaning and residential post-construction needs.
Final Thoughts
Moving into a new space should be a joy, not a chore. By using these gentle, "ninja-approved" techniques, you can remove those pesky stickers and adhesive residues without breaking a sweat: or your fixtures. Take your time, use the heat and oil methods, and soon your home will be as spotless as you imagined it would be.
Happy cleaning, and enjoy your beautiful new space!

