So, you’ve finally done it. The renovation is over. The contractors have packed up their tools, the sound of hammering has been replaced by blissful silence, and you’re standing in your brand-new kitchen or bathroom. Everything looks incredible, especially those sleek, modern stainless steel appliances. There’s just one small problem: they aren’t exactly "shining" yet.
Post-construction dust is a different beast entirely. It’s fine, it’s invasive, and it seems to settle on every surface within seconds of you wiping it down. When it comes to stainless steel: whether it’s your new fridge, the dishwasher, or those high-end fixtures: the stakes are high. One wrong move with a rough sponge or the wrong chemical, and you could be looking at permanent scratches on your expensive investment.
At The Cleaning Ninjas Inc, we’ve seen it all. We know that the "post-construction" phase of cleaning requires a gentle touch and a strategic approach. Today, we’re letting you in on our ninja secrets for polishing new stainless steel to a mirror-like finish without leaving a single scratch behind. And the best part? We’re doing it using green cleaning methods that are safe for your home and your family.
The Hidden Enemy: Construction Dust
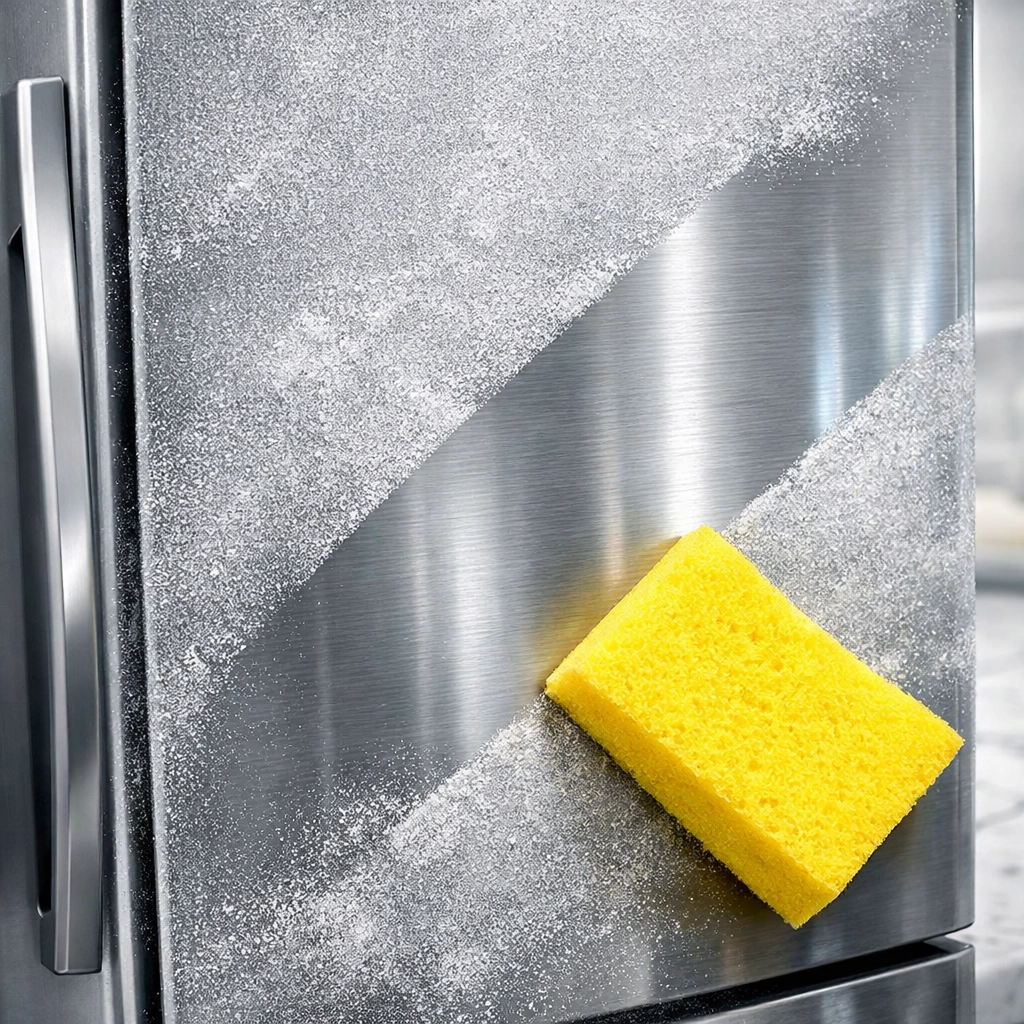
Before we even talk about polishing, we have to talk about the dust. Construction dust (like drywall or sawdust) is often abrasive. If you grab a cloth and start buffing immediately, you’re essentially using that dust as sandpaper against the metal. This is the number one way new appliances get scratched before they’ve even toasted a single slice of bread.
The first rule of the Ninja way is: Always clean before you polish.
You want to remove the physical particles from the surface first. Start with a very mild solution of warm water and a drop of eco-friendly dish soap. Using a soft, clean sponge (the yellow side, never the green scrubby side!), gently wipe down the surface. This lifts the grit away from the steel so it can’t cause damage during the next steps.
Identifying the "Grain"
Before you get into the rhythm of cleaning, take a close look at your appliance. Just like wood, stainless steel has a "grain." These are the tiny directional lines you can see in the metal. Some appliances have a horizontal grain, while others run vertically.
Why does this matter? Because if you scrub against the grain, you’re pushing microscopic debris into the tiny grooves of the metal. This can dull the finish over time and make scratches much more visible. At The Cleaning Ninjas Inc, we always teach our team to work with the grain. Whether you’re washing, drying, or polishing, move your hand in the same direction as those lines. It makes a world of difference in the final shine.
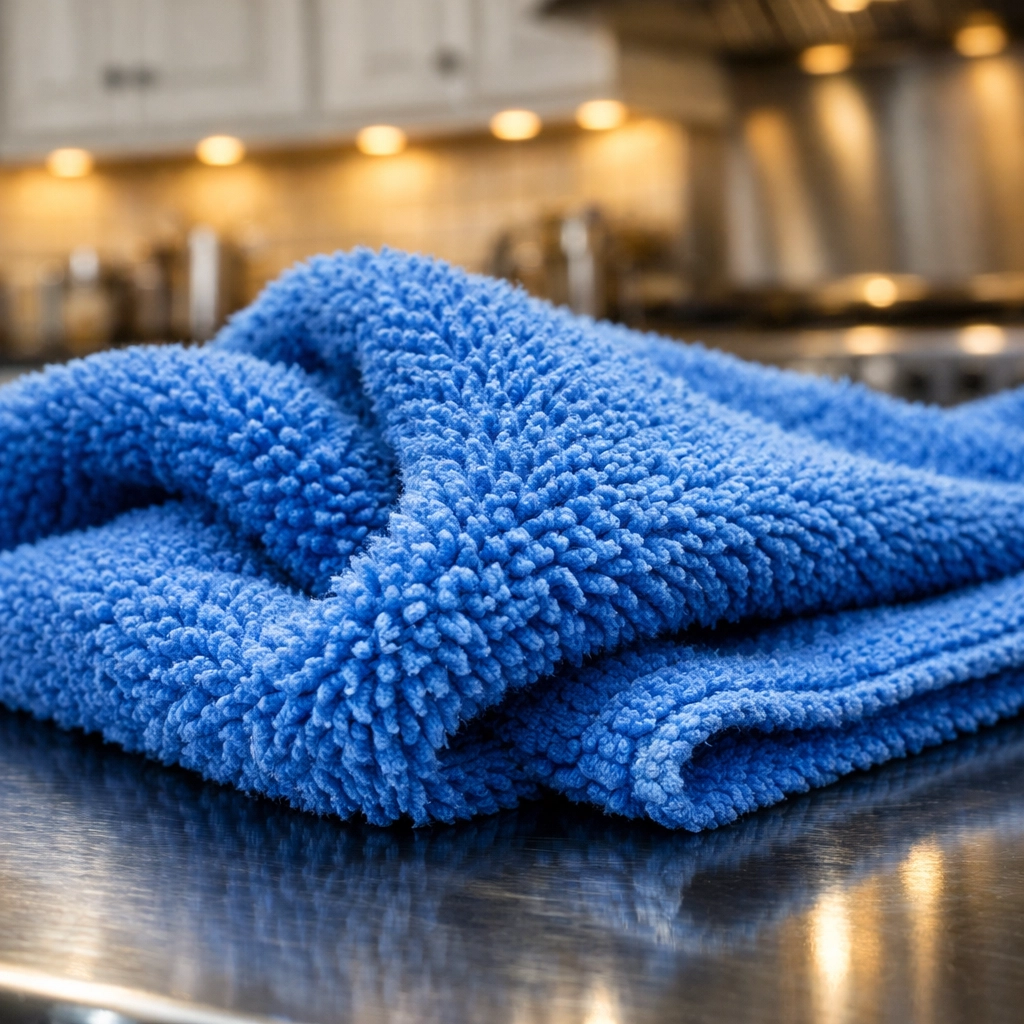
Why We Use Microfiber (And You Should Too)
If you’re still using paper towels or old t-shirts to clean your stainless steel, it’s time for an upgrade. Paper towels can actually be surprisingly abrasive, and they often leave behind lint that ruins that "just-polished" look.
The gold standard for any Cleaning Services professional is the high-quality microfiber cloth. Microfiber is designed to grab onto tiny particles and hold them within the fibers, rather than just pushing them around. It’s soft enough that it will never scratch the finish, but effective enough to remove oily fingerprints and construction residue.
For the best results, have two microfiber cloths ready: one for the cleaning stage (damp) and one for the polishing stage (dry).
The Green Polishing Toolkit
You don’t need harsh, petroleum-based chemicals to get a streak-free shine. In fact, many commercial stainless steel cleaners leave behind a waxy buildup that actually attracts more fingerprints over time. Here at The Cleaning Ninjas Inc, we prefer the green route.
Here are our favorite "Ninja-approved" green polishing agents:
- Distilled White Vinegar: This is the ultimate degreaser. If your new stove has oily residue from the manufacturing process or greasy fingerprints from the installers, a quick spray of vinegar and water (50/50 mix) will cut right through it.
- Club Soda: Believe it or not, the carbonation in club soda helps lift surface stains and adds a brilliant glow. It’s one of our favorite tricks for a quick buff.
- Olive Oil or Coconut Oil: This is the secret to the "deep shine." After the surface is clean and dry, a tiny: and we mean tiny: drop of oil on a dry microfiber cloth can be buffed into the steel to provide a protective, lustrous barrier.
- Lemon Juice: Perfect for removing hard water spots on stainless steel sinks or faucets that might have been used heavily during the construction process.
Step-by-Step: The Perfect Ninja Polish
Ready to get that "showroom" look? Follow these steps exactly:
Step 1: The Initial Wipe
As mentioned, use your warm soapy water and a soft cloth to remove the construction dust. Dry the surface immediately with a clean microfiber cloth to prevent water spots.
Step 2: The Vinegar Cleanse
Spray your vinegar solution directly onto a microfiber cloth (not the appliance, to avoid drips) and wipe in the direction of the grain. This removes any lingering oils or adhesive residue from those "energy star" stickers that are always so hard to peel off.
Step 3: Spot Treatment for Adhesives
If you find stubborn sticky spots from construction tape, don't reach for a scraper! Instead, take a cloth dipped in a bit of olive oil or a specialized citrus-based green adhesive remover. Let it sit for a minute, then gently rub it away. The oil breaks down the adhesive without the need for scrubbing.
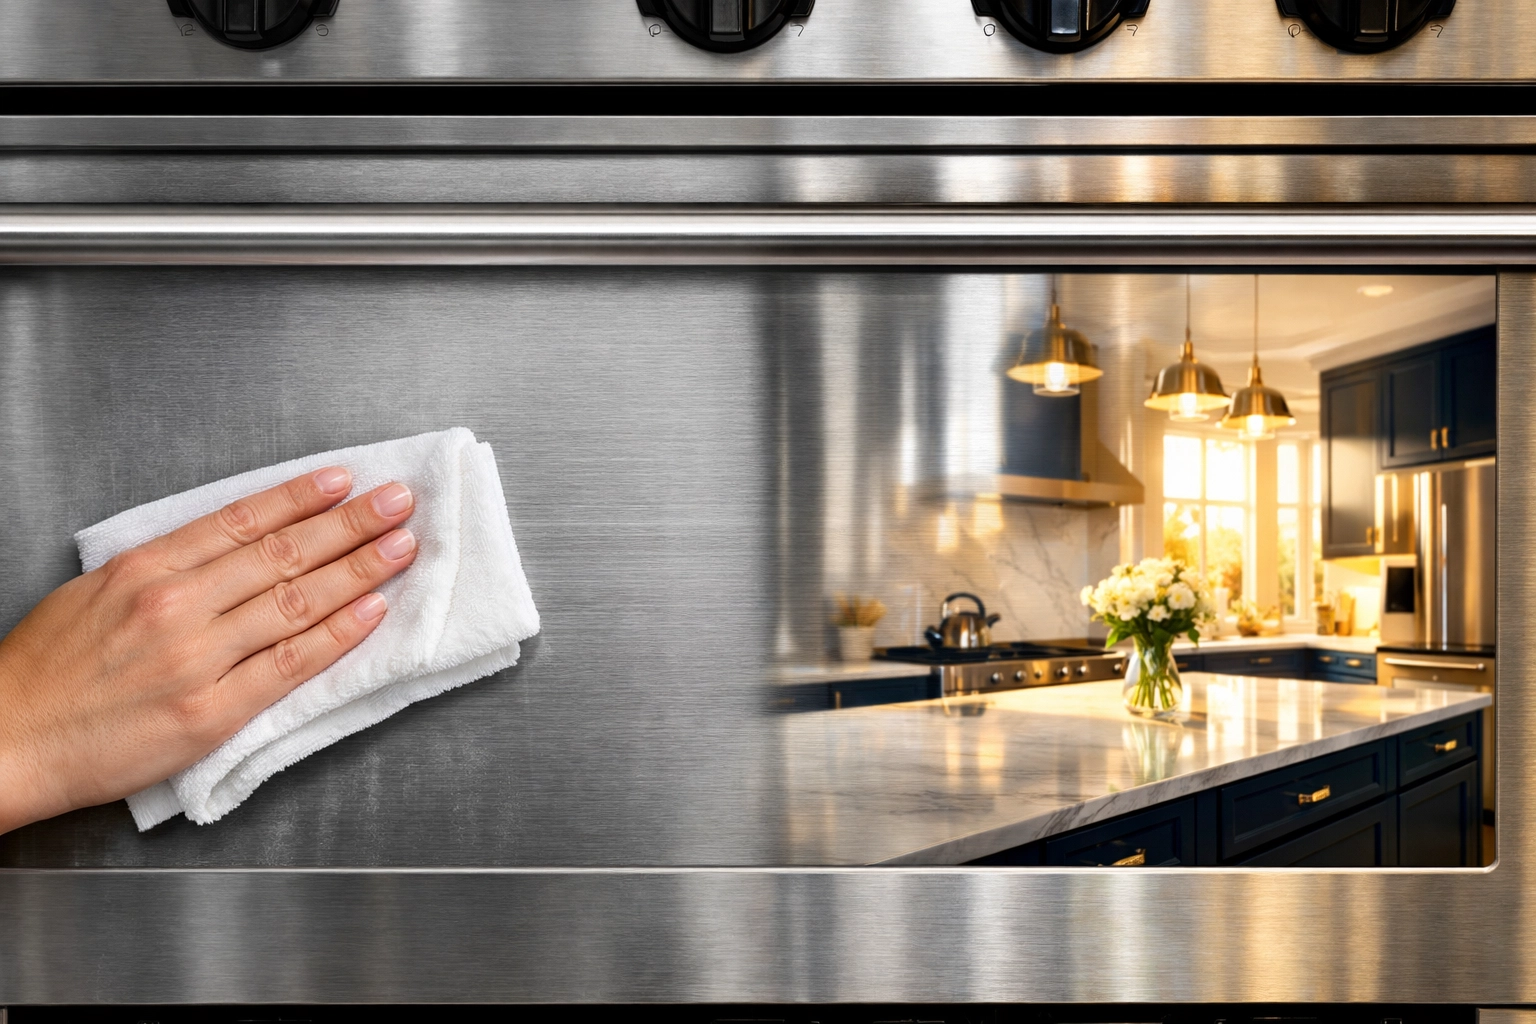
Step 4: The Final Buff
This is where the magic happens. Take a fresh, completely dry microfiber cloth. Add two drops of olive oil or a dedicated eco-friendly stainless steel polish. Starting at the top of the appliance, work your way down, following the grain in long, smooth strokes.
Avoiding the "No-No's"
To keep your new home looking pristine, there are a few things you should never do to stainless steel:
- Never use Steel Wool or Scouring Pads: Even the "fine" ones can create micro-scratches that will make the metal look cloudy.
- Avoid Bleach: Chlorine bleach and products containing chloride can actually "eat" the protective layer of the stainless steel, leading to corrosion or staining.
- Skip the Circular Motion: It’s tempting to buff in circles like you’re waxing a car, but on stainless steel, this creates unsightly swirls. Always stick to the straight lines of the grain.
- Don't Over-Oil: If the surface feels greasy to the touch, you’ve used too much oil. You only need enough to enhance the reflection, not enough to create a slip-and-slide.
When to Call in the Ninjas
Post-construction cleaning is an exhausting task. Between the windows, the baseboards, and the high-tech appliances, there is a lot of room for error. If the idea of buffing every square inch of your new kitchen feels overwhelming, that’s exactly what we’re here for.
Our team at The Cleaning Ninjas Inc specializes in taking the stress out of moving back into your renovated space. We have the tools, the green cleaning supplies, and the "ninja-eye" for detail to ensure that every surface: especially your stainless steel: is treated with the respect it deserves. We don't just clean; we restore that sense of "newness" that you’ve been waiting months to enjoy.

Maintaining the Shine
Once your appliances are polished and beautiful, keeping them that way is easy. Keep a clean microfiber cloth in a nearby drawer. Every evening, give the handles a quick wipe to remove the day's fingerprints. If you spill something, wipe it up immediately so it doesn't have a chance to dry and bond to the metal.
By following these simple "Ninja tips," your stainless steel will stay scratch-free and glowing for years to come. Remember, the key is patience, the right tools, and always, always following the grain!
If you're ready to see your home truly sparkle after a big project, check out our full range of Post-Construction Cleaning Services. We’ll handle the dust, so you can handle the celebrating!