

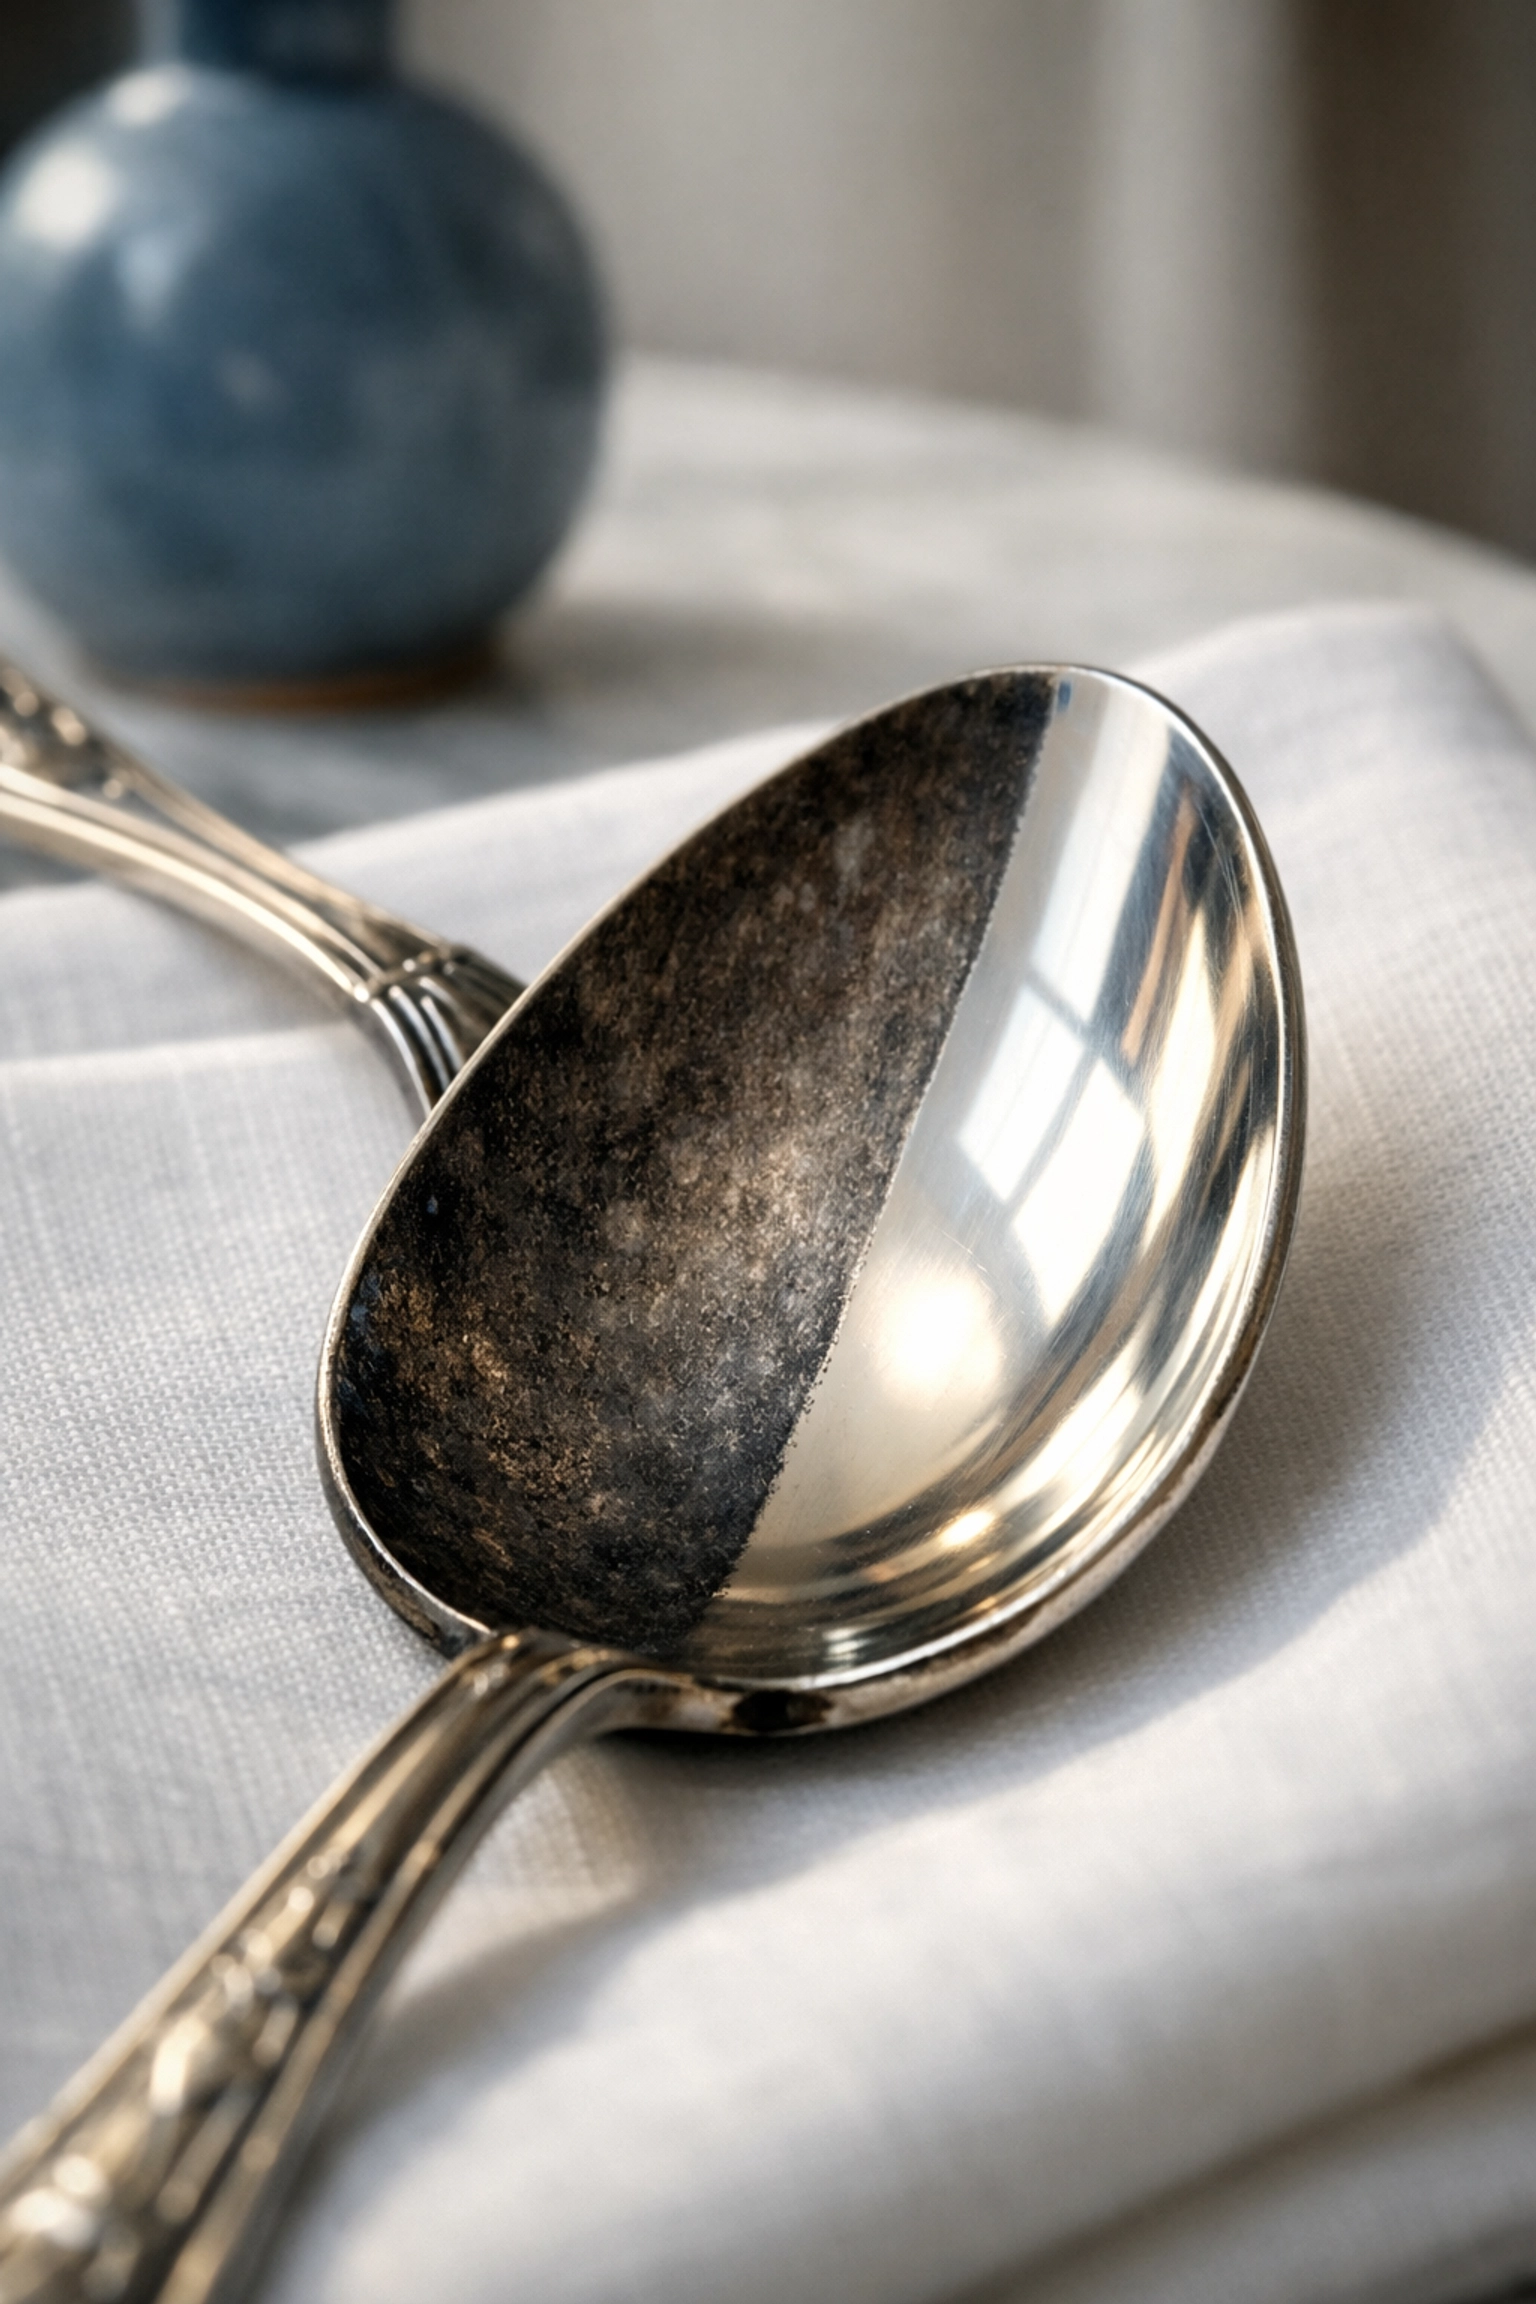
There is something truly special about the gleam of real silver. Whether it’s a set of heirloom spoons passed down from your grandmother or a favorite piece of jewelry that perfectly completes an outfit, that metallic shine is hard to beat. However, if you’ve ever pulled your silver out of the drawer only to find it looking dull, grey, or even black, you know the frustration of tarnish.
At The Cleaning Ninjas Inc, we get asked all the time about the best way to bring that luster back. Most people reach for those smelly, heavy-duty silver polishes you find at the grocery store. But here’s a little secret: those chemicals are often harsh on your skin, your lungs, and the environment. Plus, they can actually wear down the silver over time.
In this edition of The Cleaning Ninjas Tip, we’re showing you how to reclaim that sparkle using simple, eco-friendly ingredients you probably already have in your pantry. No masks, no gloves, and no toxic fumes required!
Why Does Silver Tarnish Anyway?
Before we jump into the "how-to," let’s talk about the "why." It’s not that your house is dirty! Tarnish is a natural process called oxidation. When silver is exposed to sulfur-containing gases in the air (like hydrogen sulfide), it undergoes a chemical reaction that creates a layer of silver sulfide. This layer is what we see as that dark, cloudy tarnish.
Humidity and light can speed up this process. If you have a weekly house cleaning routine, you might notice that items sitting out on display tarnish faster than those tucked away in a felt-lined box. But don't worry: it’s totally reversible without needing to scrub for hours.
The Ninja’s Toolbox: What You’ll Need
To get started with our eco-friendly polishing methods, round up these basic household items:
- Baking soda (the superstar of natural cleaning)
- White distilled vinegar
- Aluminum foil
- A large glass or ceramic bowl (avoid metal bowls for these methods)
- Microfiber cloths or very soft cotton rags
- Boiling water
Method 1: The Gentle Baking Soda Paste
If you have lightly tarnished items, like a ring or a small pendant, the paste method is your best bet. It’s localized, controlled, and very effective for delicate pieces.
Step-by-Step:
- Mix the Paste: Combine three parts baking soda with one part warm water. You want a consistency similar to toothpaste: not too runny, but not a dry powder.
- Apply: Use a soft, lint-free cloth to apply a small amount of the paste to the silver.
- Rub Gently: Work the paste into the tarnish using a gentle, circular motion. You’ll start to see the cloth turning grey: that’s the tarnish coming off!
- Rinse and Dry: Once the tarnish is gone, rinse the item under lukewarm water and dry it immediately with a fresh, soft cloth. Never let silver air-dry, as water spots can form.
This is a great task to add to your bi weekly house cleaning checklist for your most-worn jewelry. It keeps the buildup from getting out of hand.
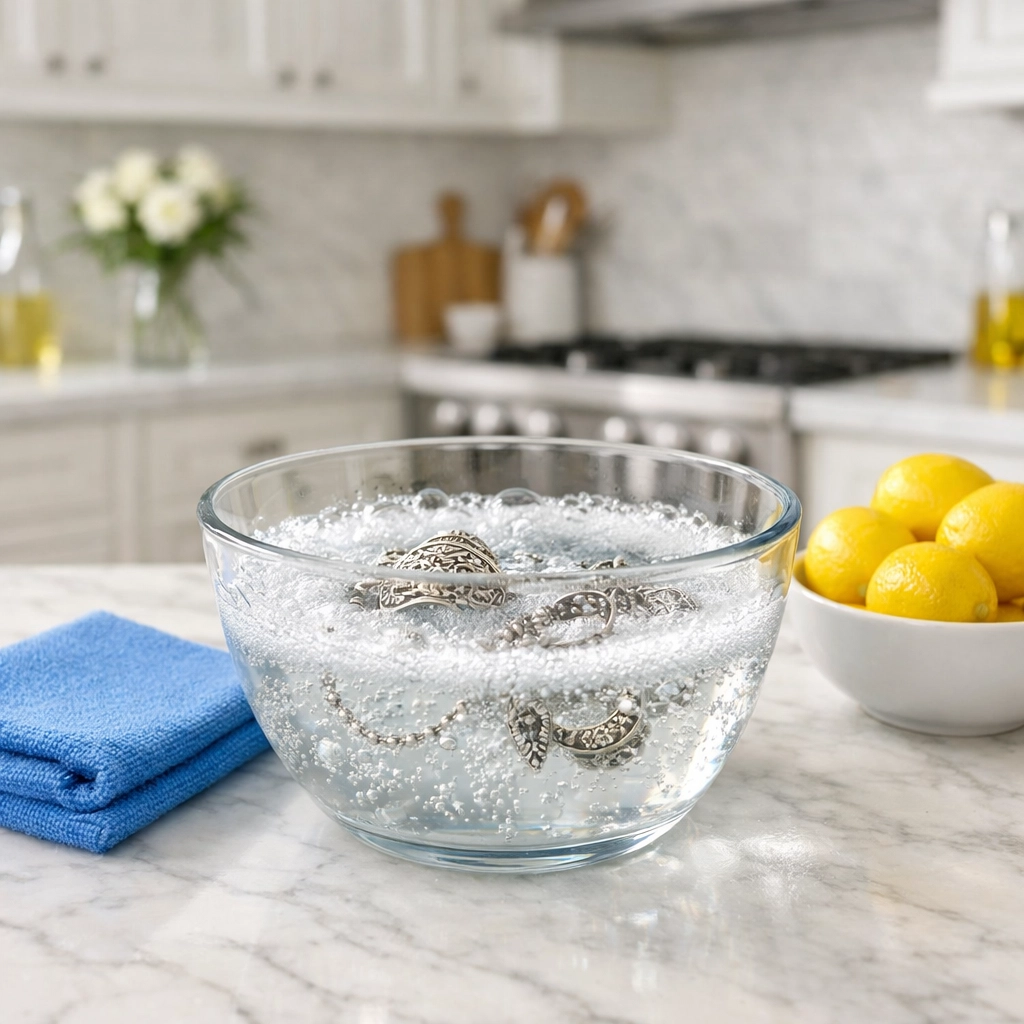
Method 2: The Fizzy Vinegar Soak
For items that have a bit more intricate detail (like filigree jewelry or ornate silverware handles) where a paste might get stuck in the crevices, the vinegar and baking soda soak is a lifesaver.
Step-by-Step:
- The Mix: In a bowl, mix 1/2 cup of white vinegar with 2 tablespoons of baking soda.
- The Reaction: It’s going to fizz! This is the fun part. Once the initial bubbling settles down a bit, submerge your silver items in the solution.
- Wait: Let them sit for two to three hours. The mild acidity of the vinegar combined with the cleaning power of the baking soda will slowly eat away at the tarnish.
- Finish: Rinse with cool water and buff dry.
Method 3: The "Magic" Aluminum Foil Method
This is the ultimate Cleaning Ninja trick. It’s perfect for larger batches of silverware or heavily tarnished platters. It uses a bit of science (specifically, an electrochemical reaction) to transfer the tarnish from the silver onto the foil.
Step-by-Step:
- Line the Container: Take a glass baking dish or a plastic bin and line the bottom completely with aluminum foil, shiny side up.
- Add the Catalyst: Sprinkle about 2 tablespoons of baking soda over the foil. If you’re doing a large batch of silver, you can add a tablespoon of sea salt as well to speed things up.
- The Heat: Carefully pour boiling water into the container until it's deep enough to fully submerge your items.
- The Dip: Place your silver pieces into the water, ensuring that every piece is touching the aluminum foil.
- Watch the Magic: You’ll literally see the tarnish vanish from the silver. You might also notice a slight "rotten egg" smell: don't panic! That’s just the sulfur leaving the silver and moving to the foil.
- Rinse: After about 5–10 minutes, use tongs to remove the silver. Rinse it thoroughly and buff it to a high shine with a microfiber cloth.
This method is so efficient that it’s a favorite for our team when we’re doing deep cleans. Even if you usually stick to a weekly house cleaning schedule for the basics, doing this "Ninja Magic" trick once every few months will keep your silver looking brand new.
Why Avoid Harsh Chemicals?
You might be wondering, "Why go through the trouble of boiling water and mixing baking soda when I can just buy a tub of polish?"
At The Cleaning Ninjas Inc, we prioritize health and sustainability. Many commercial silver polishes contain petroleum distillates and ammonia. These can be irritating to the eyes and skin, and they aren't great for the air quality in your home. Furthermore, traditional polishes are "abrasive." They work by physically removing a tiny layer of silver along with the tarnish. Over years of cleaning, this can actually thin out silver plating. Our natural methods are much gentler, preserving the integrity of your precious items.
If you’re interested in more about our philosophy on clean living, check out our About Us page to see why we do what we do.
Pro Ninja Tips for Silver Care
To keep your silver shining longer between cleanings, keep these tips in mind:
- Wear it Often: Believe it or not, the natural oils in your skin actually help prevent silver jewelry from tarnishing. So, don't save those earrings for a special occasion: wear them!
- Storage is Key: When you aren't using your silver, store it in a cool, dry place. Using anti-tarnish strips or wrapping pieces in acid-free tissue paper or specialized silver cloth bags can make a huge difference.
- The Chalk Trick: Drop a piece of basic white chalk into your silver drawer. Chalk absorbs moisture and sulfur in the air, acting as a tiny, silent bodyguard for your spoons.
- Avoid Rubber: Never store silver near rubber bands or rubber mats. Rubber contains sulfur and will cause your silver to tarnish almost instantly.
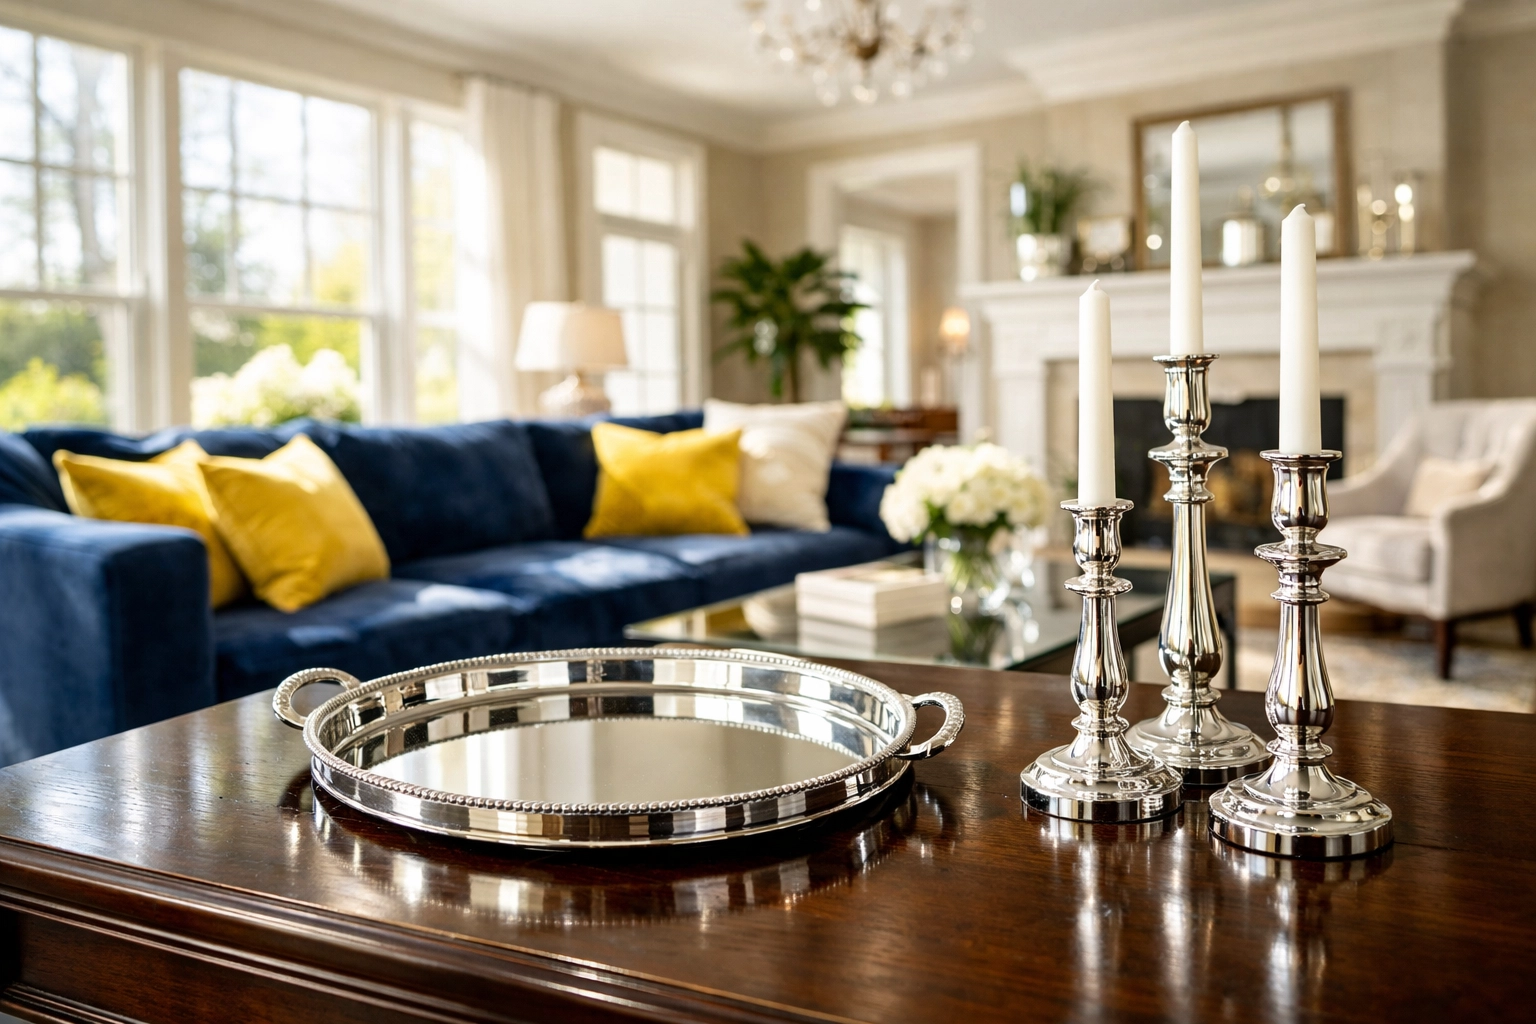
Making it Part of Your Routine
Keeping a home sparkling isn't just about the floors and windows. It’s about the little details that make a space feel cared for. If you find yourself overwhelmed with the bigger tasks, we’re here to help. Whether you need a one-time deep clean or consistent bi weekly house cleaning, our team can handle the heavy lifting so you can focus on the fun stuff: like hosting a dinner party with your freshly polished silver!
Check out Our Services to see how we can help you turn your home into a sanctuary.
Polishing silver doesn't have to be a chore you dread. With a little baking soda and some Ninja know-how, you can keep your home glowing without ever touching a harsh chemical. Give these methods a try this weekend: your silver (and the planet) will thank you!
Stay shiny,
Jean Correa & The Cleaning Ninjas Team

