We’ve all been there. You’re in a rush, you pop a bowl of chili or a plate of spaghetti into the microwave, and halfway through the timer, you hear it: the dreaded pop. You open the door to find what looks like a modern art masterpiece of food splatters across the ceiling, walls, and turntable. If you don't catch it immediately, that food bakes on until it's as hard as concrete.
Cleaning a microwave is one of those chores that everyone puts off because scrubbing at eye level into a dark, cramped box is nobody’s idea of a good Friday night. But here at The Cleaning Ninjas Inc, we believe in working smarter, not harder. You don’t need harsh chemicals or heavy-duty scouring pads to get that interior looking brand new. In fact, the best solution is likely sitting in your pantry or fruit bowl right now.
Welcome to another edition of The Cleaning Ninjas Tip, where we show you how to master your home maintenance with eco-friendly hacks. Today, we’re diving deep into the magic of steam.
Why Steam is a Ninja’s Best Friend
When you think about "deep cleaning," you might imagine scrubbing for hours, but steam does the heavy lifting for you. In a microwave, hardened food particles are essentially dehydrated. They’ve been blasted with radiation until all the moisture is gone, leaving them glued to the plastic or enamel walls.
Steam introduces high-heat moisture back into those crusty spots. It penetrates the grime, softens it, and breaks the bond between the food and the microwave surface. It’s effective, it’s fast, and most importantly, it’s entirely non-toxic. Since you’re heating up the food your family eats in this appliance, the last thing you want is the lingering scent of bleach or synthetic degreasers.
If you stay on top of your weekly house cleaning, a quick steam once a week keeps things pristine. If life gets busy and you're more on a bi weekly house cleaning schedule, steam is the only way to tackle those two-week-old cheese explosions without losing your mind.
The Essential Gear
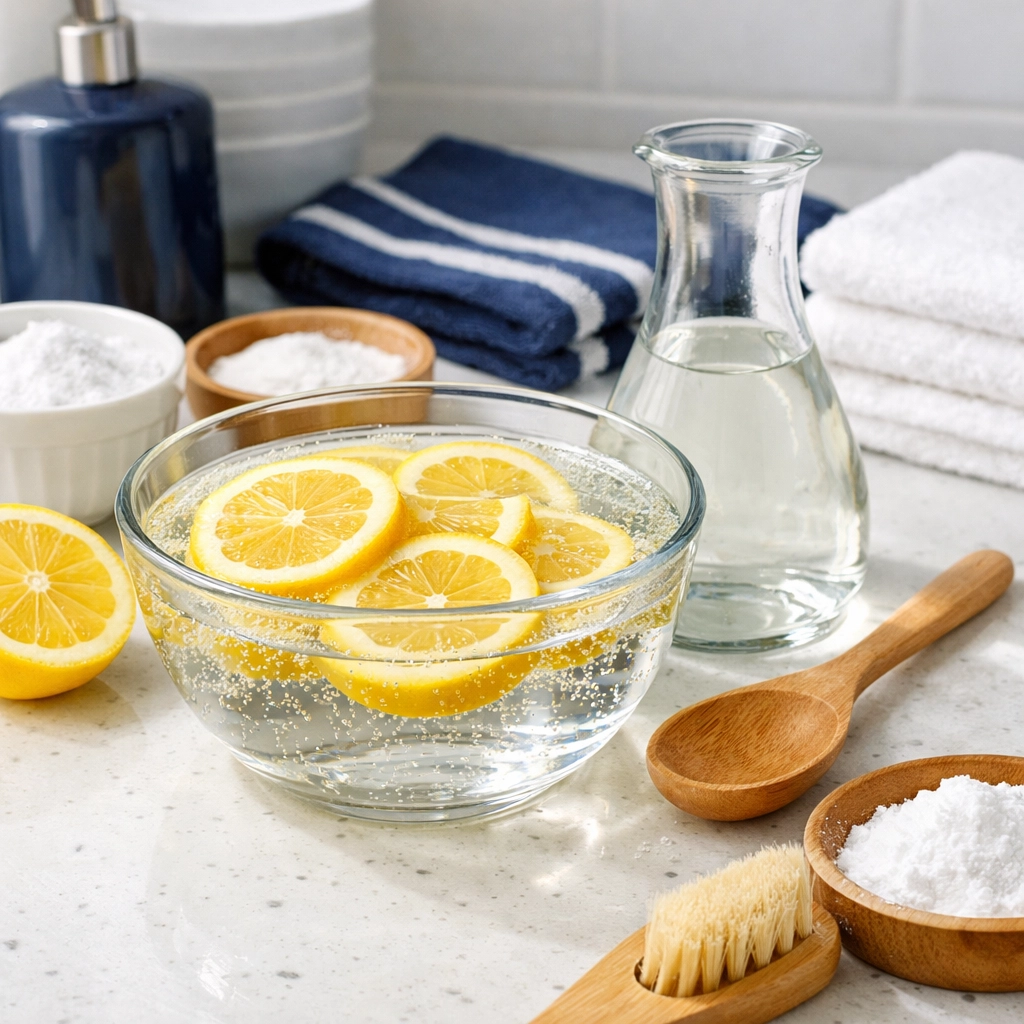
Before we start the "ninja" process, let's gather our supplies. You likely have all of these in your kitchen:
- A microwave-safe bowl: Glass or ceramic works best. Avoid anything with metallic trim.
- Water: About one to two cups.
- The "Active Agent": This is either a fresh lemon or white distilled vinegar.
- A wooden spoon or toothpick: This is a safety essential to prevent "superheating" (more on that in a second).
- Microfiber cloths: One for wiping, one for drying.
Method 1: The Lemon Fresh Blast
This is our favorite method at The Cleaning Ninjas Inc because it leaves your kitchen smelling like a citrus grove. Lemons contain citric acid, which is a natural degreaser. If your microwave is greasy from bacon or buttery popcorn, this is the way to go.
The Steps:
- Prep the Lemon: Cut a fresh lemon in half. Squeeze the juice of both halves into your bowl of water.
- Add the Rinds: Don't throw those rinds away! Drop the squeezed halves directly into the water. The oils in the skin add extra cleaning power and a stronger scent.
- The Safety Trick: Place a wooden toothpick or a wooden spoon in the bowl. When water is heated in a perfectly smooth container in a microwave, it can occasionally become "superheated": meaning it’s hotter than boiling point but hasn't started bubbling yet. When you move the bowl, it can "explode" upward. The wood provides a surface for bubbles to form, keeping you safe.
- The Nuke: Microwave the bowl on high for 3 to 5 minutes. You want to see the window get completely fogged up with steam.
- The Wait (Crucial!): When the timer goes off, do not open the door. Let it sit for at least 5 minutes. This is where the magic happens. The steam is actively melting the grime while the door is shut.
Method 2: The Vinegar Deep Clean
If you haven't cleaned your microwave in a while: maybe it got skipped during your last bi weekly house cleaning: you might need something a bit more industrial. Enter white vinegar. It’s more acidic than lemon juice and can cut through even the most stubborn, burnt-on messes.
The Steps:
- The Mix: Mix equal parts water and white distilled vinegar in your bowl (usually 1 cup of each).
- The Nuke: Just like the lemon method, add your wooden toothpick and microwave for 5 to 7 minutes.
- The Wait: Let it sit for 5 minutes with the door closed.
- A Note on Smell: Vinegar has a strong punch, but don't worry: the smell dissipates completely once the microwave dries. It’s also an incredible deodorizer for that "burnt popcorn" smell that seems to haunt microwaves for weeks.
The Wipe Down: Finishing the Job
Once you’ve let the steam sit, open the door carefully. The bowl and the water will be very hot, so use oven mitts to remove it.
- The Turntable: Carefully lift out the glass turntable. Most of the time, the steam has loosened everything on it, so you can just wipe it clean in the sink with a little dish soap.
- The Ceiling: Start from the top. The ceiling of the microwave is often the dirtiest part because we don’t see it. Use your microfiber cloth to wipe away the softened splatters. They should slide right off!
- The Sides and Back: Wipe the walls in a circular motion. If you encounter a particularly stubborn spot, dip your cloth into the hot lemon or vinegar water and hold it against the spot for 30 seconds before wiping again.
- The Door: Don't forget the inside of the door and the rubber seals. Grime often hides in the tracks where the door latches.
Pro Ninja Tip: Don't Forget the Vents!
While you’re focused on the inside, take a look at the exterior vents and the top of the microwave. Dust loves to mix with kitchen grease to create a sticky film on the outside of your appliances. A quick wipe with your damp cloth will keep the airflow clear and your microwave running efficiently. If you’re looking for more ways to keep your home in tip-top shape, check out our latest cleaning tips.
Maintaining the Shine
The best way to "deep clean" is to make sure you never have to do a "deep" clean again. Here are a few Ninja-approved habits:
- Use a Cover: A simple microwave-safe plastic cover or even a paper towel over your food prevents 99% of splatters.
- The Quick Wipe: If you see a splatter, wipe it while it's still wet. It takes two seconds now versus ten minutes of steaming later.
- The Weekly Refresh: Even if it looks clean, doing a quick 2-minute steam with a lemon once a week as part of your weekly house cleaning keeps odors at bay and prevents grease buildup.

Why Choose The Cleaning Ninjas Inc?
We know that life happens. Between work, kids, and trying to have a social life, sometimes the microwave is the last thing on your mind. That’s why we’re here! At The Cleaning Ninjas Inc, we pride ourselves on providing top-tier service that fits your lifestyle. Whether you need a one-time deep clean or a regular bi weekly house cleaning to keep your kitchen: and the rest of your home: shining, we’ve got your back.
Our team focuses on eco-friendly methods just like this steam hack because we care about the health of your home environment. We believe a clean home is a happy home, and we want to take the stress of cleaning off your plate.
Ready to see what a professional touch can do for your space? You can learn more about us on our About Us page or explore the full range of our services to find the perfect fit for your home.
Final Thoughts
Deep cleaning your microwave doesn't have to be a chore you dread. With a bowl of water, a lemon, and the power of steam, you can have a sparkling, fresh-smelling appliance in less than 15 minutes: most of which is spent just waiting!
Give this Ninja tip a try today. Your microwave (and your nose) will thank you. And remember, if the cleaning list ever feels too long, The Cleaning Ninjas are just a click away. Happy cleaning!