

Let’s be honest for a second: when was the last time you actually cleaned your TV remote? Or the light switch in the hallway that everyone flips on the way to the kitchen? If you’re like most of us, these items are basically invisible during a standard tidy-up. We see the crumbs on the counter and the dust on the bookshelf, but the things we touch dozens of times a day often go completely unnoticed.
At The Cleaning Ninjas Inc, we call these "high-touch surfaces," and they are the secret VIP lounges for germs and bacteria. Whether you are keeping up with a weekly house cleaning routine or you have a bi weekly house cleaning schedule to keep things manageable, hitting these small spots is what separates a surface-level clean from a true "Ninja-level" sanitize.
In this guide, we’re going to show you exactly how to tackle these germ-magnets using eco-friendly methods that keep your family safe without the harsh chemical smells.
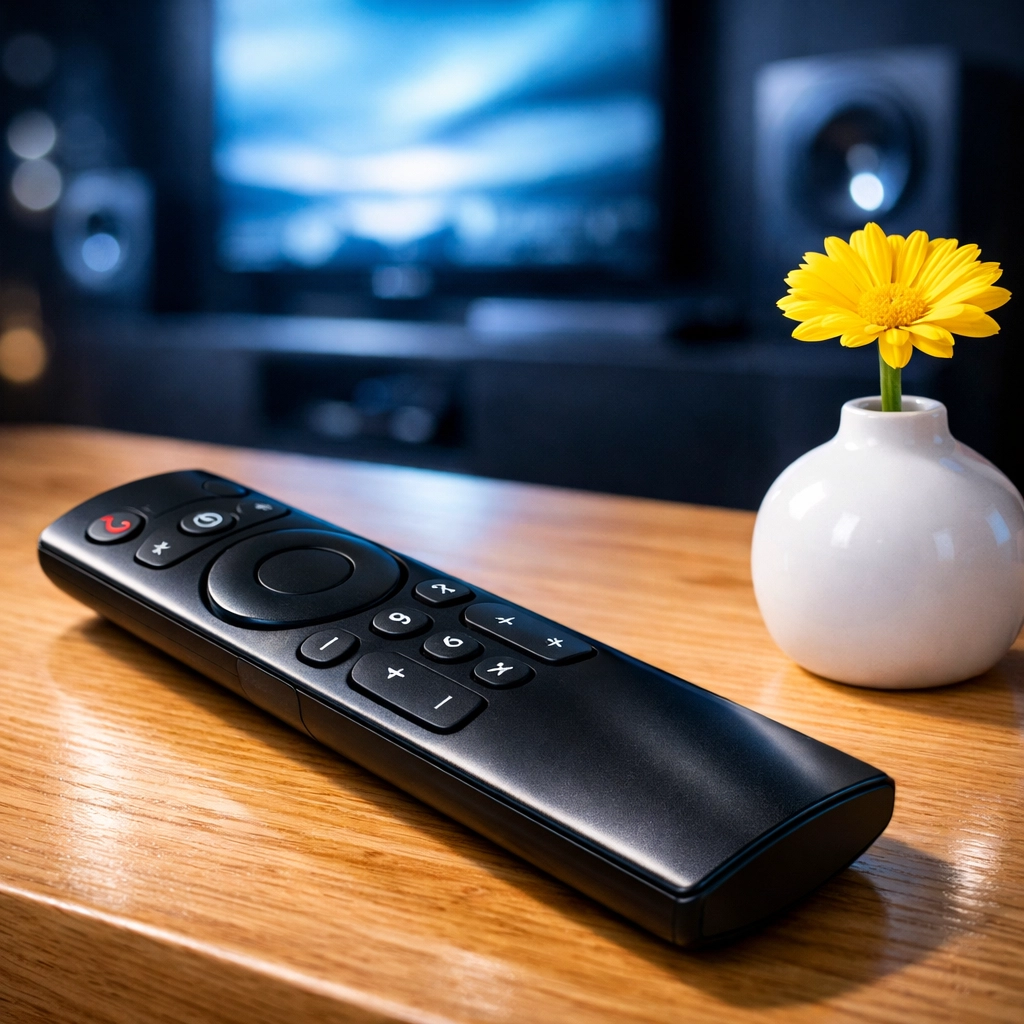
Why Your Remote is Grosser Than You Think
Think about your daily routine. You come home, flip the light switch, grab a snack, and then reach for the remote to catch up on your favorite show. Every hand that has touched a door handle, a grocery cart, or a gym bag eventually ends up on that remote control.
Studies have shown that remote controls in homes (and especially in hotels!) are often some of the most contaminated items in the room. They have tiny crevices around the buttons that trap skin cells, oils, and food particles: the perfect buffet for bacteria. The same goes for light switches. Because they are located at eye level or hand level near every doorway, they collect a layer of grime that builds up so slowly you might not even realize they’ve changed color.
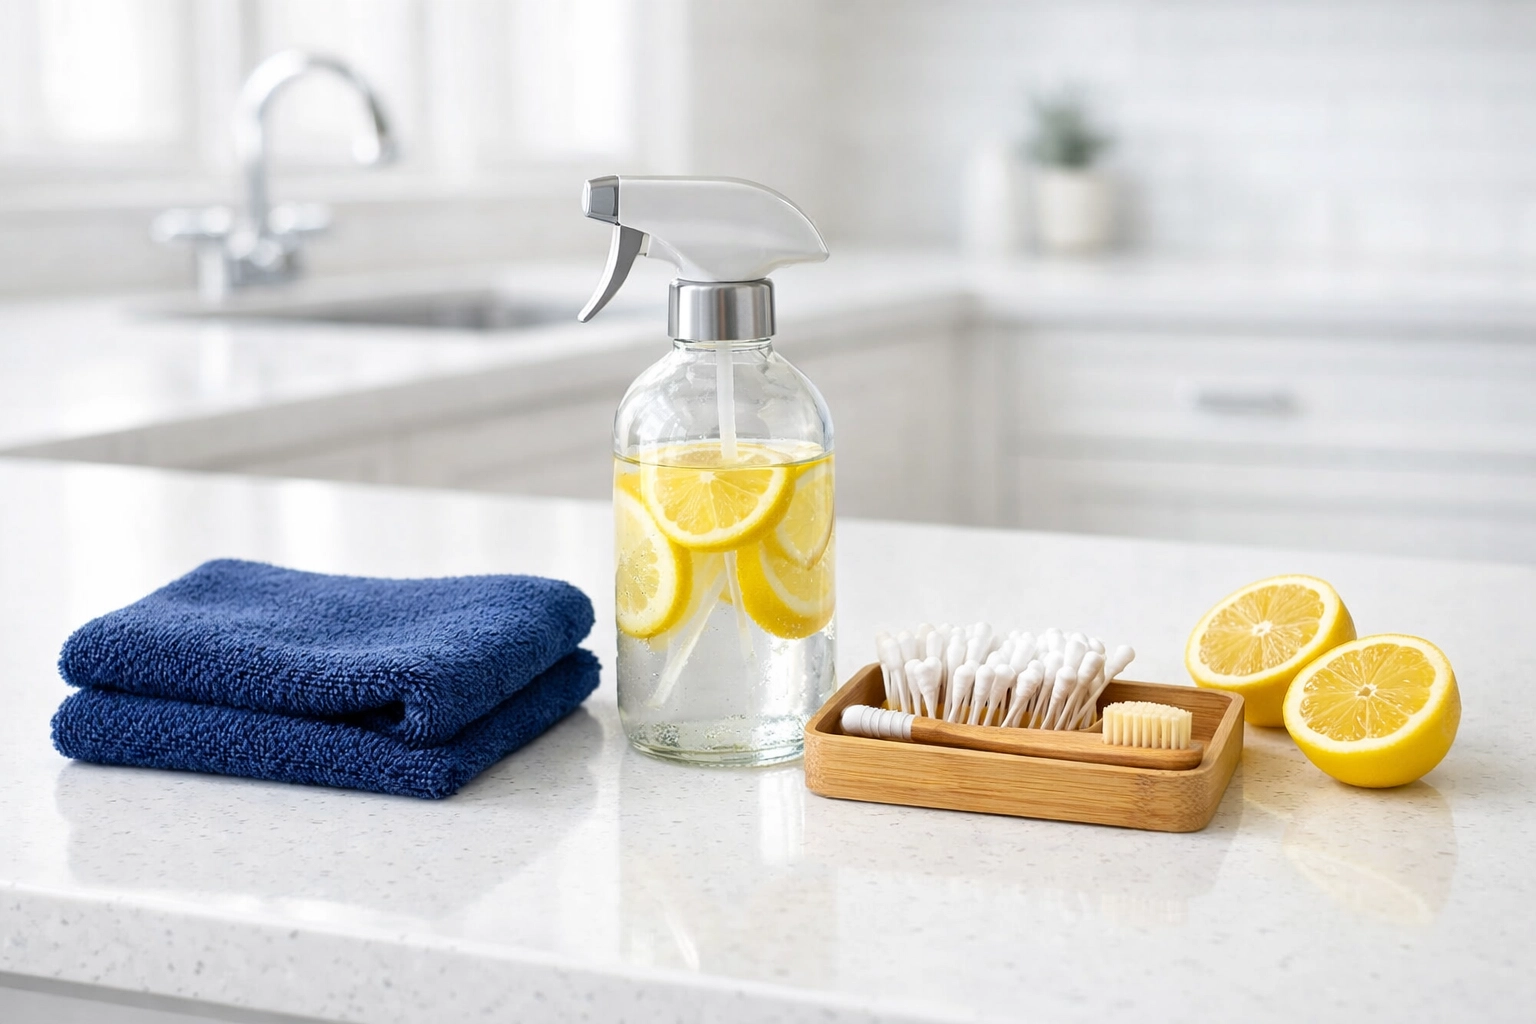
The Ninja’s Eco-Friendly Toolkit
Before we jump into the "how-to," let's talk gear. You don't need heavy-duty industrial cleaners to get a professional result. In fact, we prefer eco-friendly solutions because they are safer for your tech and your family.
Here is what you’ll need:
- 70% Isopropyl Alcohol: This is the gold standard. It evaporates quickly, which is vital for electronics.
- Microfiber Cloths: These trap dirt rather than just pushing it around.
- Cotton Swabs (Q-tips): For those tiny gaps between the buttons.
- A Wooden Toothpick: For the "deep gunk" in the seams.
- An Old Toothbrush (Soft Bristles): Great for scrubbing without scratching.
- Distilled Water: To dilute if necessary.
Step-by-Step: The Remote Control Deep Clean
Cleaning a remote isn't just about a quick wipe. To do it like a pro, you need to be methodical.
1. Power Down (Remove the Batteries)
This is the most important step. You’re going to be using a small amount of liquid, and you don’t want to short-circuit the board or accidentally trigger a factory reset on your smart TV. Pop those batteries out and set them aside. This is also a great time to check for any battery acid leakage.
2. The "De-Crumbling" Shake
Turn the remote upside down and give it a few firm taps against your palm. You’d be surprised how much dust and "snack evidence" falls out from between the buttons. For stubborn bits, use a can of compressed air or a dry, soft-bristled toothbrush to sweep the cracks.
3. Detail Work with a Toothpick
Take a wooden toothpick and slowly run it along the seam where the two halves of the remote casing meet. This is where oils from your skin turn into a dark, waxy buildup. Gross? Yes. Satisfying to remove? Absolutely.
4. The Sanitizing Wipe
Dampen your microfiber cloth with the isopropyl alcohol. Crucial Ninja Tip: Never spray the liquid directly onto the remote. If moisture gets inside the circuitry, the remote is toast. Instead, dampen the cloth until it’s moist but not dripping. Wipe down the entire surface: front, back, and sides.
5. Navigating the Buttons
This is where the cotton swabs come in. Dip a swab in the alcohol, squeeze out the excess, and go around each individual button. The alcohol kills germs on contact and cuts through the sticky residue left behind by juice or soda spills.
6. Air Dry and Reassemble
Let the remote sit for at least 5 to 10 minutes. This ensures all the alcohol has evaporated completely. Once it’s bone-dry, pop the batteries back in. You’re officially germ-free!
Lighting the Way: Sanitizing Light Switches
Light switches are arguably easier than remotes, but they require a bit more caution because they are connected to your home’s high-voltage electrical system.
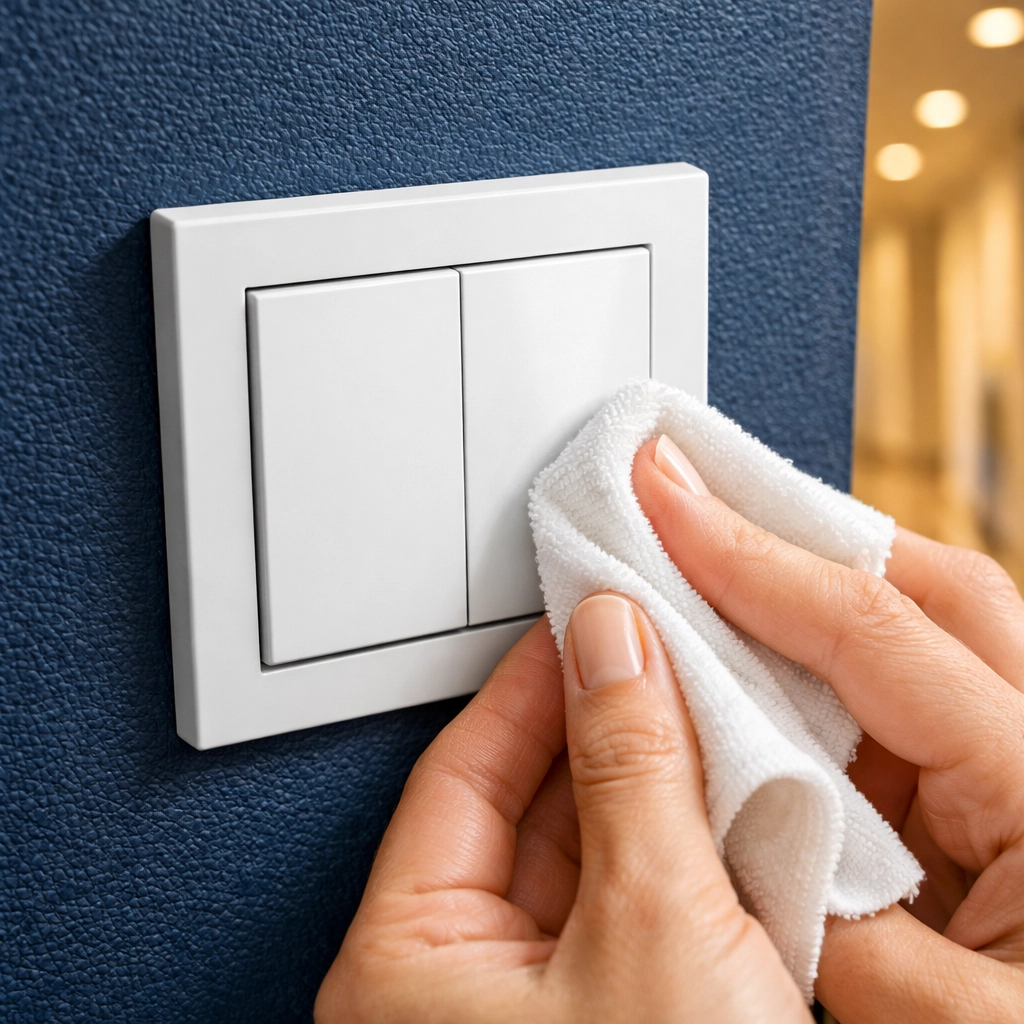
The Faceplate vs. The Switch
Most people just wipe the "flipper" part of the switch, but the faceplate (the plastic square around it) holds just as many germs.
- Dampen, Don't Soak: Just like the remote, use a microfiber cloth dampened with alcohol or an eco-friendly all-purpose cleaner.
- The Wipe Down: Start from the top of the plate and work your way down. Use a cotton swab to get into the little indentation where the switch actually pivots.
- The Screw Heads: Dirt loves to hide in the tiny slots of the screws holding the plate to the wall. Use your toothpick or toothbrush to clear those out.
If you’re doing a deep weekly house cleaning, you might even consider removing the faceplates entirely once every few months to wash them in warm, soapy water (just make sure they are 100% dry before putting them back over the electrical box!).
Frequency: How Often Should You Do This?
If you are handling your own bi weekly house cleaning, we recommend adding "The Tech Wipe" to your list every single time. However, during flu season or if someone in the house is sick, these should be cleaned daily.
Consistency is the key to a healthy home. It’s easier to spend two minutes wiping a remote once a week than it is to spend twenty minutes scrubbing off months of built-up grime later. If this feels like too much to manage alongside your busy schedule, that’s exactly what our services are here for. We handle the details so you can focus on the big picture.

The Ninja’s DIY Natural Disinfectant Recipe
If you prefer to skip the store-bought alcohol and want something a bit more "earth-friendly," you can make a Ninja-approved cleaning solution at home.
Ingredients:
- 1 cup Distilled Water
- 1 cup White Vinegar (a natural disinfectant)
- 10 drops of Lemon or Tea Tree Essential Oil (both have antibacterial properties)
Instructions:
Mix these in a small spray bottle. To clean your remotes or switches, spray the solution onto a cloth (never the device!) and wipe. The vinegar smell will disappear within minutes, leaving behind the fresh scent of lemon.
Why Small Details Matter
At The Cleaning Ninjas Inc, we believe that a clean home is a foundation for a happy life. When you know that the "invisible" spots like remotes and switches are sanitized, you gain peace of mind. It’s about more than just aesthetics; it’s about health.
If you’re interested in more ways to keep your home pristine, check out our blog for more tips and tricks. From eco-friendly floor care to organizing your pantry, we love sharing our "Ninja secrets" with our community.
Let the Ninjas Handle the Grime
We know life gets busy. Sometimes, even a weekly house cleaning routine feels like a mountain you don't have time to climb. Whether you need a one-time deep clean or regular help to keep your home in tip-top shape, we are here to help. Our team is trained to spot the hidden dust and the germ-heavy zones that others might miss.
Want to learn more about the people behind the masks? Visit our About Us page to see why we are so passionate about what we do.
Final Thoughts
Sanitizing your remote controls and light switches might seem like a small task, but it’s a powerful habit. It’s a simple way to protect your family’s health and keep your home feeling truly fresh. So, the next time you sit down to relax, take a quick look at that remote. If it’s looking a little dull, grab a cloth and give it the Ninja treatment. Your hands (and your health) will thank you!
For more professional cleaning tips or to book your next session, stay tuned to our Cleaning Tips category. We’re always adding new ways to help you master the art of the clean.

