

We’ve all had that moment of pure, silent dread. You walk into the living room, and instead of the pristine eggshell white or cozy beige you spent hours picking out, there’s a brand-new "masterpiece" stretching across the hallway. Your little Picasso found a rogue red crayon and decided that the wall was a much better canvas than the coloring book.
At The Cleaning Ninjas Inc, we see this all the time. Whether you’re dealing with a toddler’s spontaneous mural or an accidental smudge from a DIY project gone wrong, crayon marks are one of those household headaches that seem impossible to solve. But don't reach for the paint can just yet! Before you commit to a full Saturday of repainting, we’ve got some secret ninja techniques to help you vanish those wax marks without ruining your walls.
Removing crayon is as much about science as it is about elbow grease. Because crayons are made of paraffin wax and pigments, they don’t just "wipe off" like dust. They bond to the texture of your paint. Fortunately, we have a few tricks up our sleeves to break that bond.
The Ninja MVP: The Baking Soda Paste
If we had to pick one gold-standard method for removing crayon, it’s definitely the baking soda approach. It’s cheap, it’s non-toxic, and it works like a charm on almost every paint finish.
Baking soda is a mild abrasive. Think of it as a very fine liquid sandpaper that’s gentle enough not to strip your paint but "gritty" enough to lift the wax out of the wall's microscopic pores.
How to do it:
- Mix the Potion: Combine three parts baking soda with one part water in a small bowl. You’re looking for a consistency similar to thick cake batter or toothpaste.
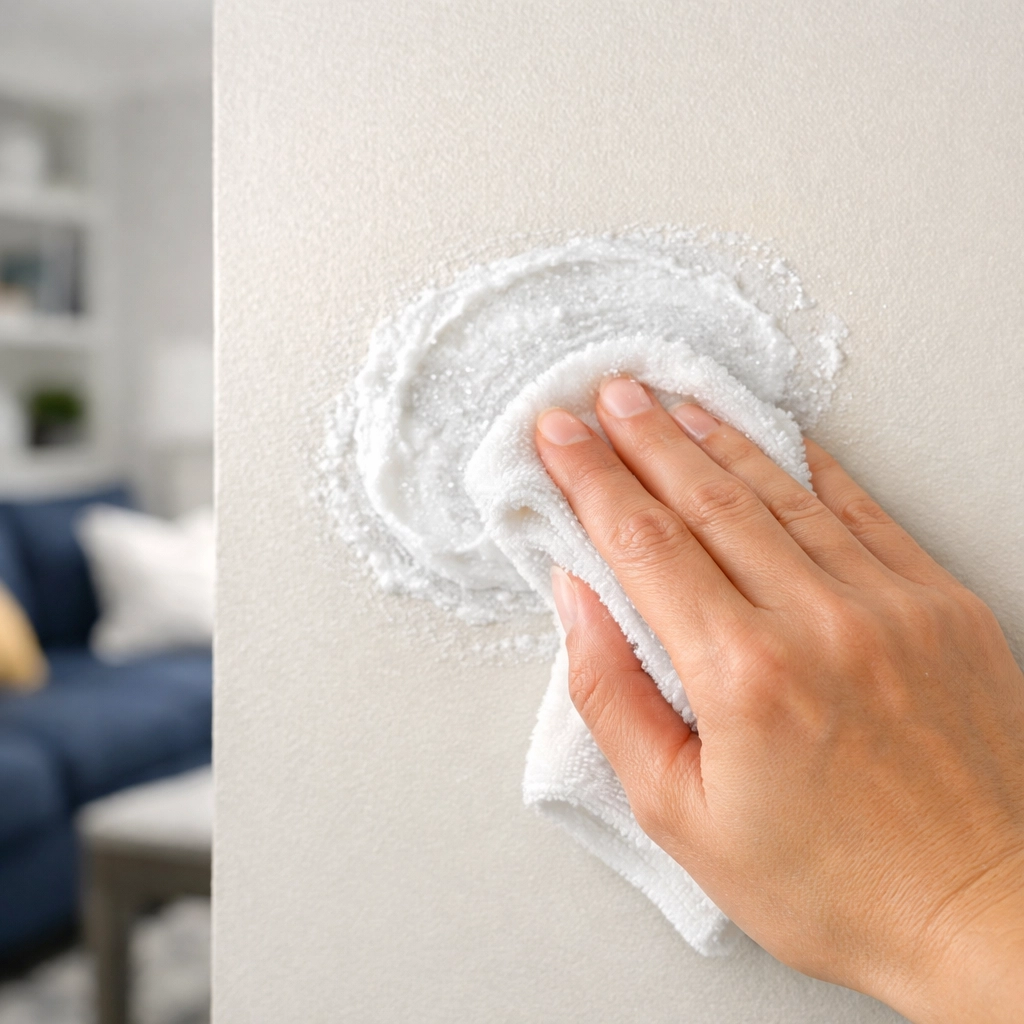
- Apply with Care: Dip a clean microfiber cloth or a soft sponge into the paste.
- The Scrub: Use gentle, circular motions to exfoliate the mark. Don't press too hard right away; let the grit of the soda do the heavy lifting.
- Rinse and Dry: Once the crayon is gone, wipe the area with a fresh, damp cloth to remove any white residue. Pat it dry with a towel.
The "Magic" Solution: Melamine Foam
You probably know these as Magic Erasers. These little white sponges are essentially extremely fine-cell foam that acts like incredibly high-grit sandpaper. For many of our clients, this is the go-to "Ninja Move" because it’s fast and requires zero mixing.
Ninja Pro Tip: Be careful with Magic Erasers on glossy or semi-glossy paint. Because they are abrasive, they can sometimes leave a "dull" spot if you scrub too hard in one place. Always test a small, hidden area (like behind the couch or inside a closet) before attacking the center of your living room wall.
To use this method, simply dampen the sponge, squeeze out the excess water, and rub the crayon marks firmly. You’ll see the wax transfer directly onto the sponge. Just remember: light pressure is your friend!
The Gentle Approach: Good Old Dish Soap
If the crayon marks are fresh and the "artist" didn't press down too hard, you might not need anything fancy. A high-quality grease-cutting dish soap (like Dawn) is designed to break down oils and waxes.
The Method:
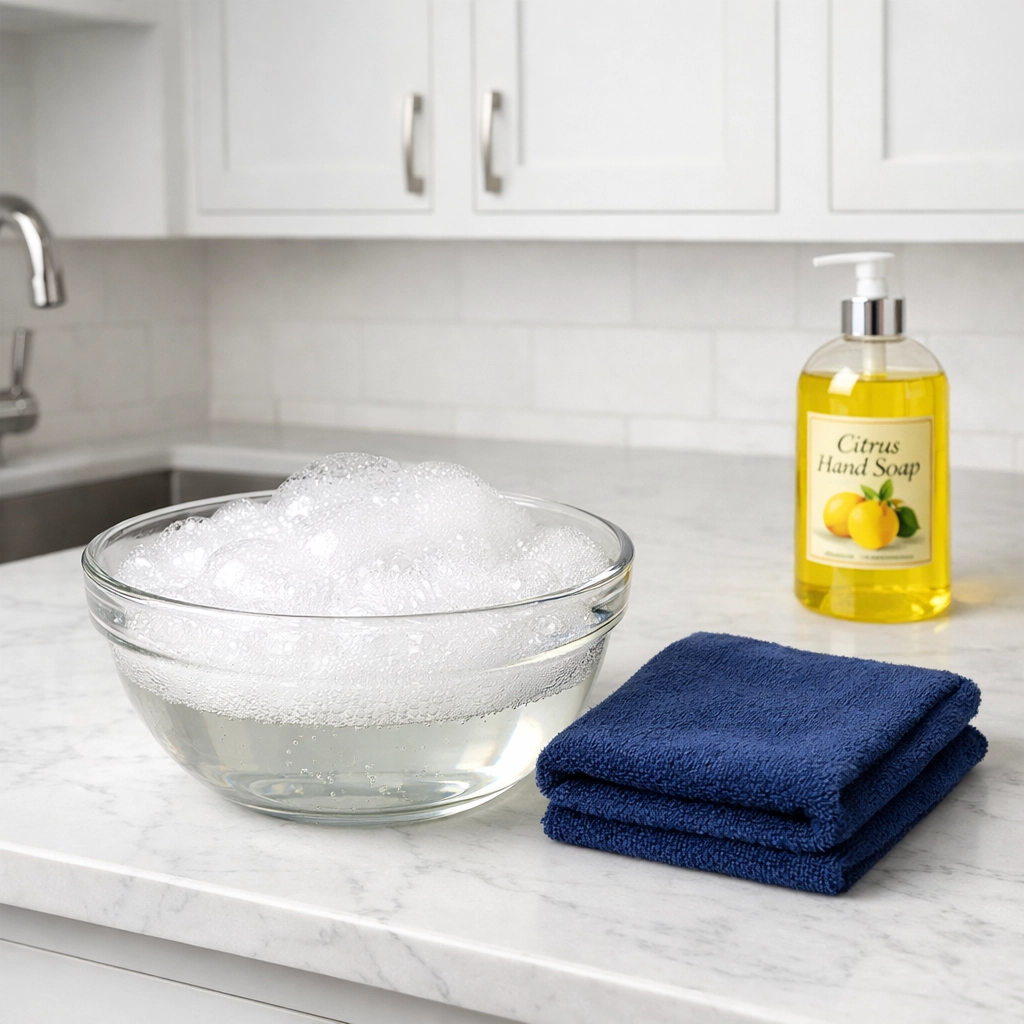
- Add a few drops of dish soap to a bowl of warm water.
- Dip a microfiber cloth into the sudsy water and wring it out so it’s damp, not dripping. (Oversaturating your drywall is a recipe for a bigger disaster!)
- Rub the marks in a circular motion.
- Rinse with a clean, damp cloth and dry immediately.
For the Stubborn Stains: The Distilled White Vinegar Method
Sometimes a crayon mark is particularly stubborn, especially if it’s been sitting in the sun or "curing" on the wall for a few days. That’s where the acidity of vinegar comes in.
Grab an old toothbrush: one you aren’t planning on putting back in your mouth!: and dip it into a cup of undiluted white vinegar. Gently scrub the crayon lines. The vinegar helps dissolve the wax bond, and the bristles of the toothbrush can reach into the "valleys" of textured walls or orange-peel finishes. Once you’ve loosened the wax, wipe it away with a soapy cloth.
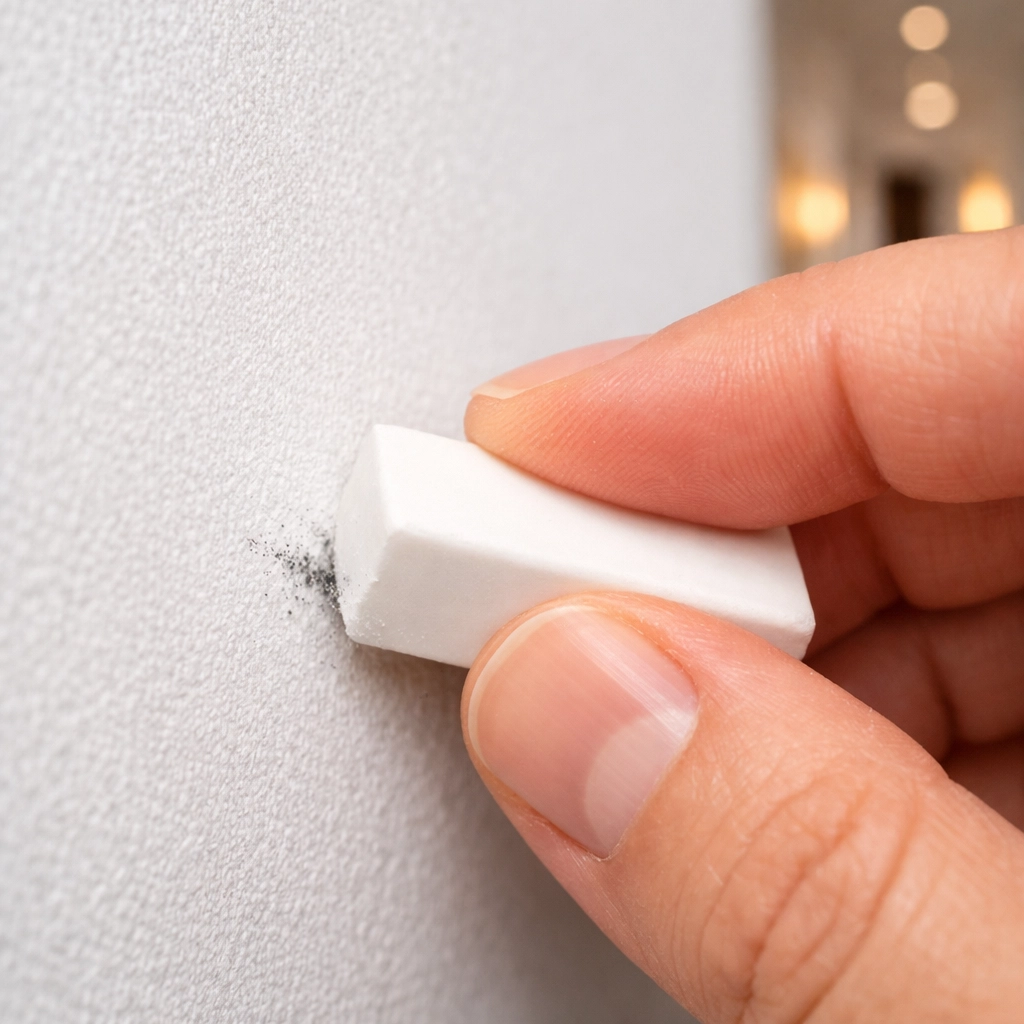
The "Office Supply" Hack: Pencil Erasers
Believe it or not, sometimes the simplest tool is the one already in the junk drawer. A standard pink pencil eraser or a white art eraser can often "grip" the wax and lift it right off the surface. This works best on light marks. Just be sure the eraser itself is clean, or you might end up trading a red crayon mark for a grey lead smudge!
What to Avoid: Ninja "Don'ts"
When you're in a panic trying to clean up before guests arrive, it’s easy to make mistakes that turn a 5-minute fix into a permanent scar on your wall. Here’s what The Cleaning Ninjas Inc recommends you avoid:
- Steel Wool on Paint: While steel wool is mentioned in some DIY circles for wallpaper, we suggest staying far away from it if your walls are painted. It will scratch the finish and likely leave dark metallic streaks behind.
- Harsh Chemicals: Avoid using heavy-duty degreasers or bleach unless absolutely necessary. These can discolor your paint and create fumes that aren't great for the little ones who created the mess in the first place.
- Heat (The Hairdryer Method): Some people suggest melting the wax with a hairdryer and blotting it. While this can work on fabric, on a wall, it often just causes the wax to run or soak deeper into the paint. Stick to the mechanical removal methods like the baking soda paste first.
Understanding Your Paint Finish
The success of these tips often depends on what kind of paint you have.
- Flat/Matte Paint: This is the trickiest to clean because it’s very porous. The baking soda method is usually your safest bet here.
- Satin/Eggshell: Fairly durable. You can use dish soap or baking soda with a bit more confidence.
- Semi-Gloss/Gloss: These are the easiest to clean because the "hard" finish prevents the wax from soaking in. However, they are prone to showing "dull spots" if you use an abrasive like a Magic Eraser.

When the Art Project is Just Too Big
We know that life happens. Between work, school runs, and trying to keep the house from falling apart, sometimes a wall full of crayon is just the straw that breaks the camel's back. If you’re feeling overwhelmed by the state of your home, remember that you don’t have to do it all alone.
At The Cleaning Ninjas Inc, we specialize in taking the stress out of home maintenance. While we love a good DIY tip, we also know that sometimes you just want to come home to a house that feels fresh, clean, and "masterpiece-free." You can learn more about our philosophy and our team on our About Us page.
If you’ve got more than just crayon marks to worry about: maybe the whole house needs a "Ninja Refresh": check out our services. We handle everything from deep cleans to regular maintenance, so you can spend more time enjoying your kids' actual art (the kind that stays on paper!) and less time scrubbing the baseboards.
Prevention: The Final Ninja Move
Once you’ve successfully reclaimed your walls, how do you stop it from happening again?
- The "Washable" Upgrade: Switch all your household crayons to the "Ultra-Clean Washable" versions. They are formulated to come off with just a damp sponge.
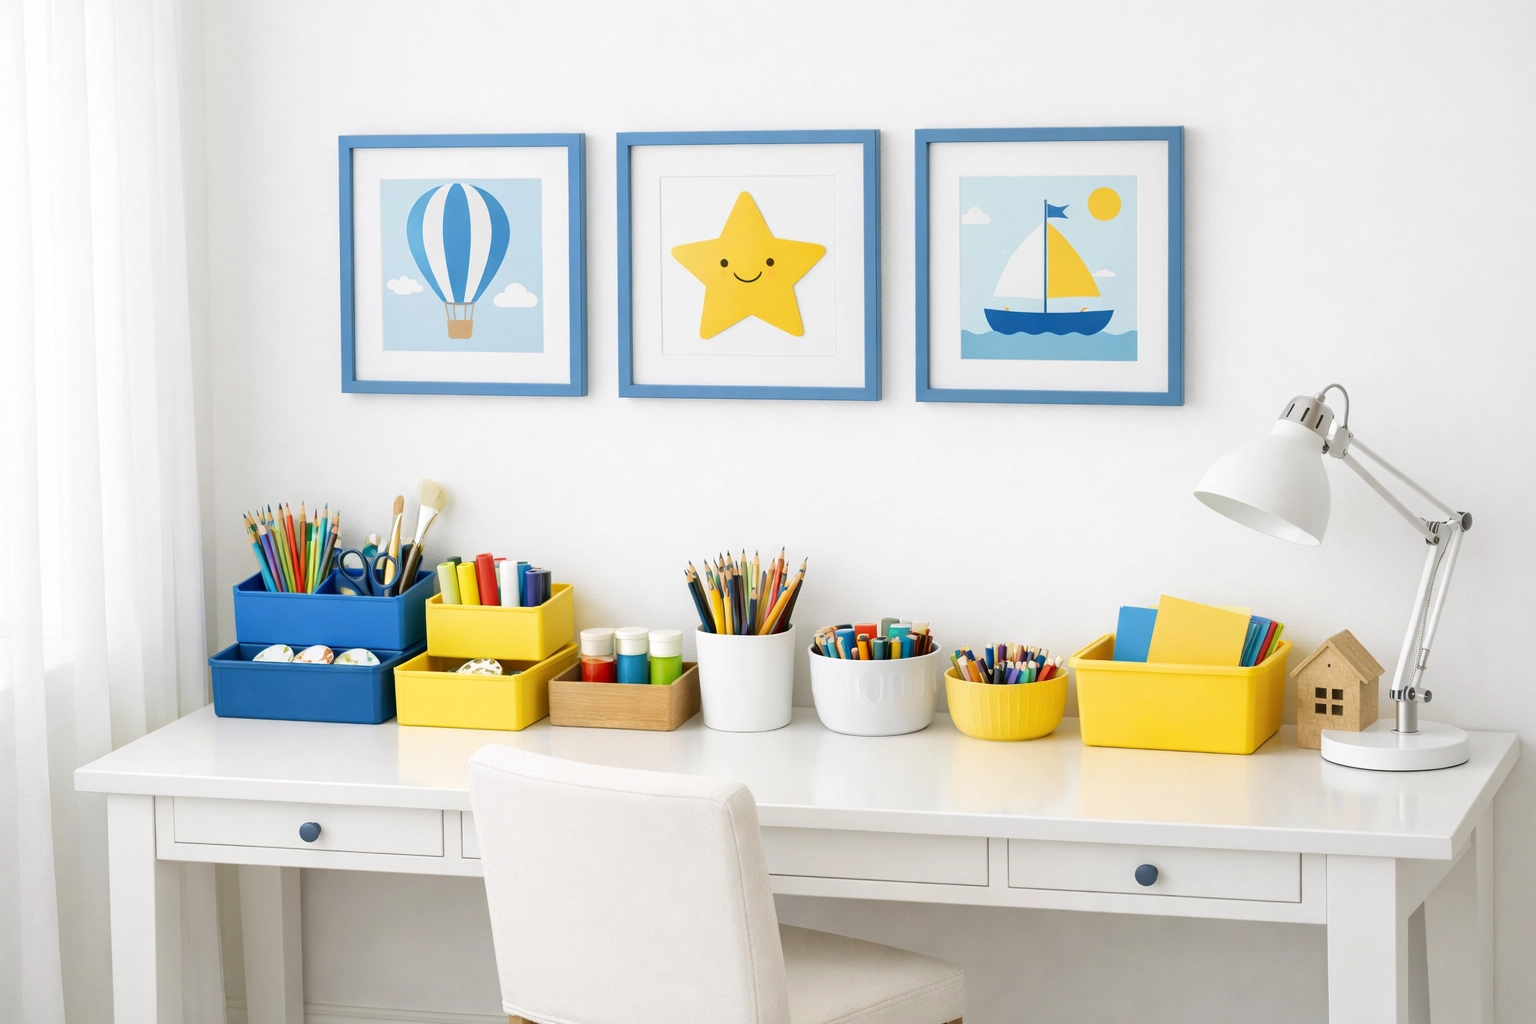
- Vertical Art Spaces: Sometimes kids draw on walls because they like the ergonomic feel of drawing while standing. Try putting up a large chalkboard or a roll of butcher paper on a specific "Art Wall."
- The "Crayon Jail": Keep the art supplies in a bin that requires an adult to reach. Art time becomes supervised time!
Crayon marks might feel like a disaster in the moment, but with a little baking soda and a "Ninja" attitude, your walls will be back to normal in no time. Happy cleaning!


