

Think about how many times a day you touch the door knobs in your home. From the front door when you stumble in with groceries to the bathroom door, the bedroom, and even the pantry: these little handles are the unsung heroes of our daily transitions. But because they are handled so frequently by everyone in the house (and the occasional guest), they are also massive magnets for germs, oils, and grime.
At The Cleaning Ninjas Inc, we like to call these "high-touch surfaces." If you want to keep your home healthy, especially during flu season or when the kids are bringing home every bug from school, mastering the art of disinfecting door knobs is a total game-changer. It’s not just about making them shine; it’s about making them safe.
In this guide, we’re going to walk you through the professional "Ninja" way to get those knobs hospital-clean without damaging the finish or the internal mechanics.
Why Your Door Knobs Need More Love
It’s easy to overlook a door knob during a quick tidy-up. We usually focus on the big stuff: floors, countertops, and mirrors. But door knobs are stealthy germ collectors. Every time someone sneezes into their hand and then opens a door, that knob becomes a relay station for bacteria and viruses.
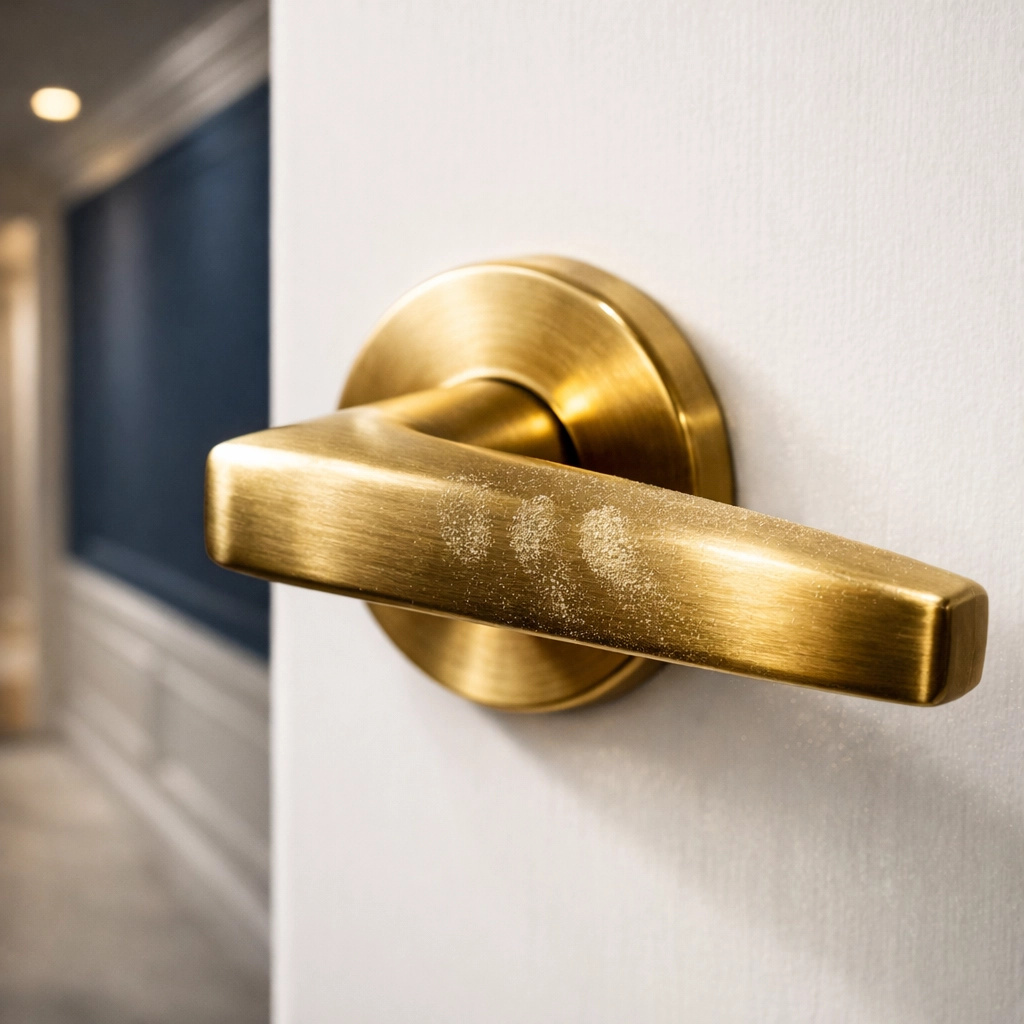
Moreover, our hands naturally produce oils and sweat. Over time, these oils mix with dust and create a sticky film on the handle. If you’ve ever noticed your brass or silver handles looking a bit dull or feeling "tacky," that’s exactly what’s happening. Regular cleaning doesn't just keep people healthy; it actually preserves the lifespan of your hardware.
Step 1: The Ninja Prep – Cleaning vs. Disinfecting
Before we dive into the "how-to," we need to clear up a common misconception. Cleaning and disinfecting are actually two different steps in the Ninja playbook.
Cleaning is the act of physically removing dirt, dust, and organic matter. You’re clearing the "debris" so the disinfectant can actually reach the surface. Think of it like clearing the snow off your car before you try to melt the ice on the windshield.
Disinfecting is the chemical process of killing the germs that remain after the cleaning is done. If you spray disinfectant directly onto a dirty, oily door knob, the germs can actually "hide" under the layer of grime, and the chemical won't be as effective.
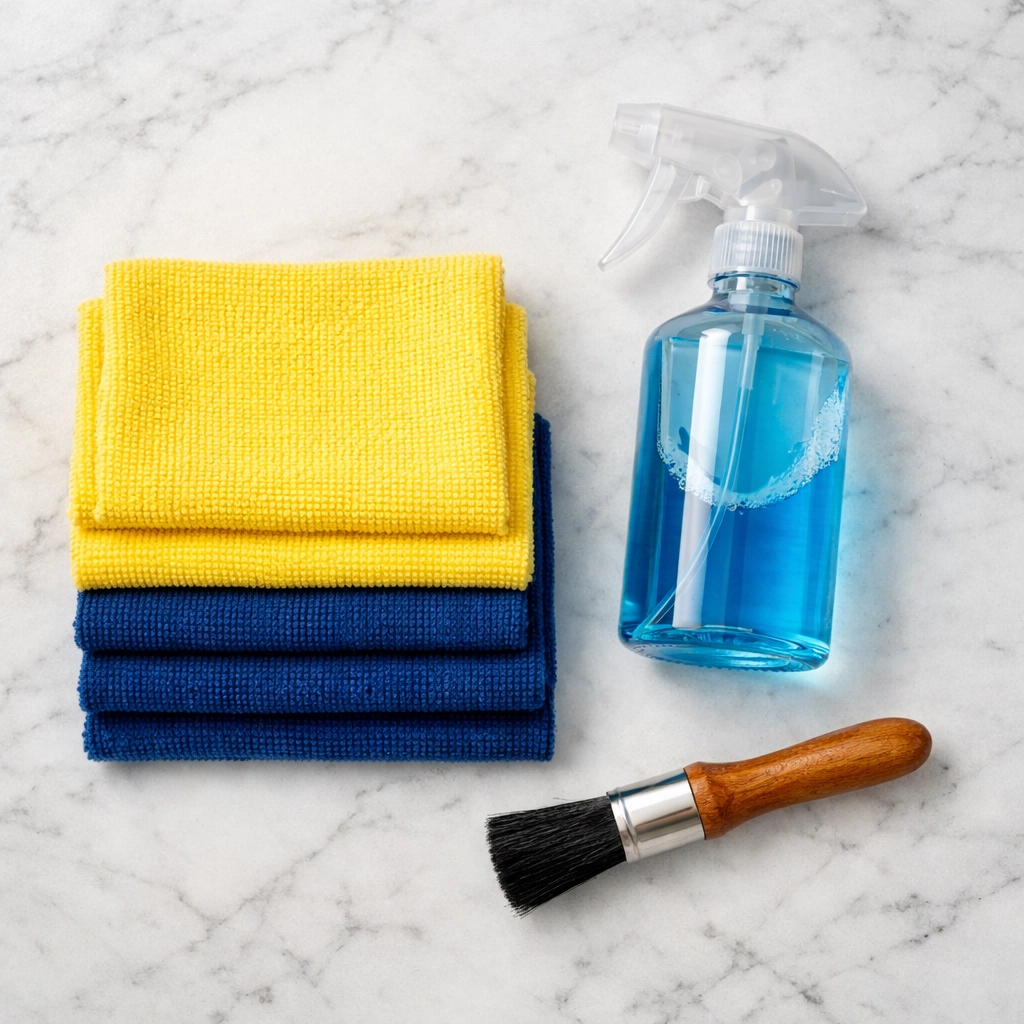
To do this right, you’ll need a few basic supplies:
- Two or three clean microfiber cloths (they are better at trapping particles than paper towels).
- Mild dish soap.
- Warm water.
- An EPA-approved disinfectant spray or wipe.
- A small brush or an old toothbrush for those fancy, intricate designs.
- Rubber gloves (to protect your hands from the cleaning chemicals).
Step 2: The Pre-Game Clean
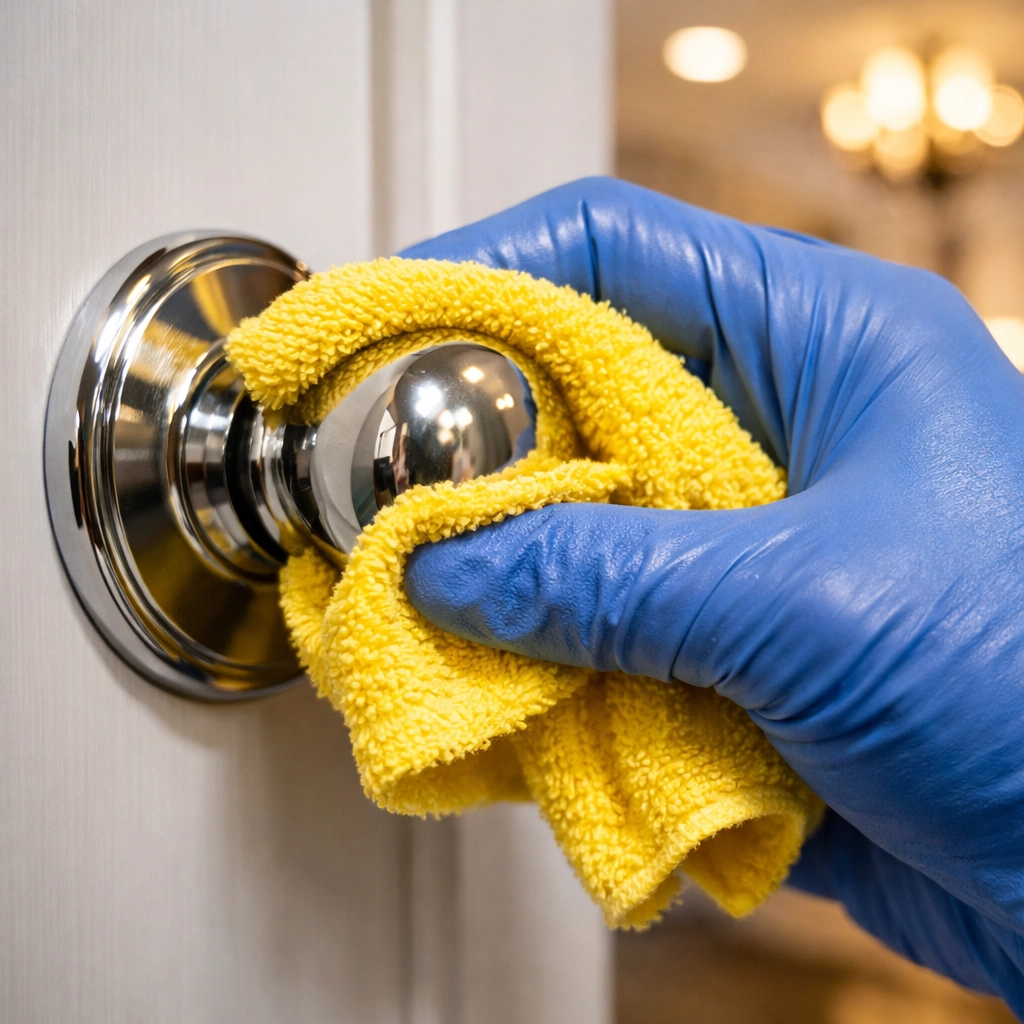
The first real step is to get rid of the visible gunk. Mix a few drops of mild dish soap into a bowl of warm water. Dip your microfiber cloth into the soapy water and wring it out until it’s just damp.
Ninja Tip: Never, ever soak your cloth. You want it damp, not dripping. If excess water seeps into the keyhole or the internal mechanism of the door handle, it can cause rust or lead to the hardware seizing up over time.
Wipe down every part of the knob. Don't forget the "neck" of the handle where it meets the door and the latch bolt (the part that actually clicks into the door frame). If you have those beautiful, ornate handles with lots of grooves, use your old toothbrush dipped in the soapy water to gently scrub out the dust. Once you’ve wiped it down, follow up with a fresh cloth dampened only with plain water to rinse away the soap residue. Finally, dry it thoroughly with a dry microfiber cloth to prevent water spots.
Step 3: The Disinfecting Strike
Now that the surface is clean, it’s time to kill the germs. This is where most people make a mistake. They spray the knob, wait two seconds, and wipe it off. That doesn't actually do much!
The secret to effective disinfecting is something called "Contact Time" (or dwell time). Every disinfectant has a specific amount of time it needs to sit wet on a surface to actually kill 99.9% of bacteria and viruses. Usually, this is anywhere from 3 to 10 minutes. Check the label on your product to be sure!
The Professional Technique:
Instead of spraying the door knob directly, spray your disinfectant onto a clean microfiber cloth until it’s quite wet. Then, wipe the knob thoroughly so it is visibly damp with the solution. By spraying the cloth instead of the knob, you protect the internal gears and the door’s wood finish from being hit with a direct blast of chemicals.
Let the solution sit. If it starts to dry before the recommended contact time is up, give it another quick wipe with your wet cloth. Once the time is up, you can let it air dry or wipe it down one last time with a clean, dry cloth.
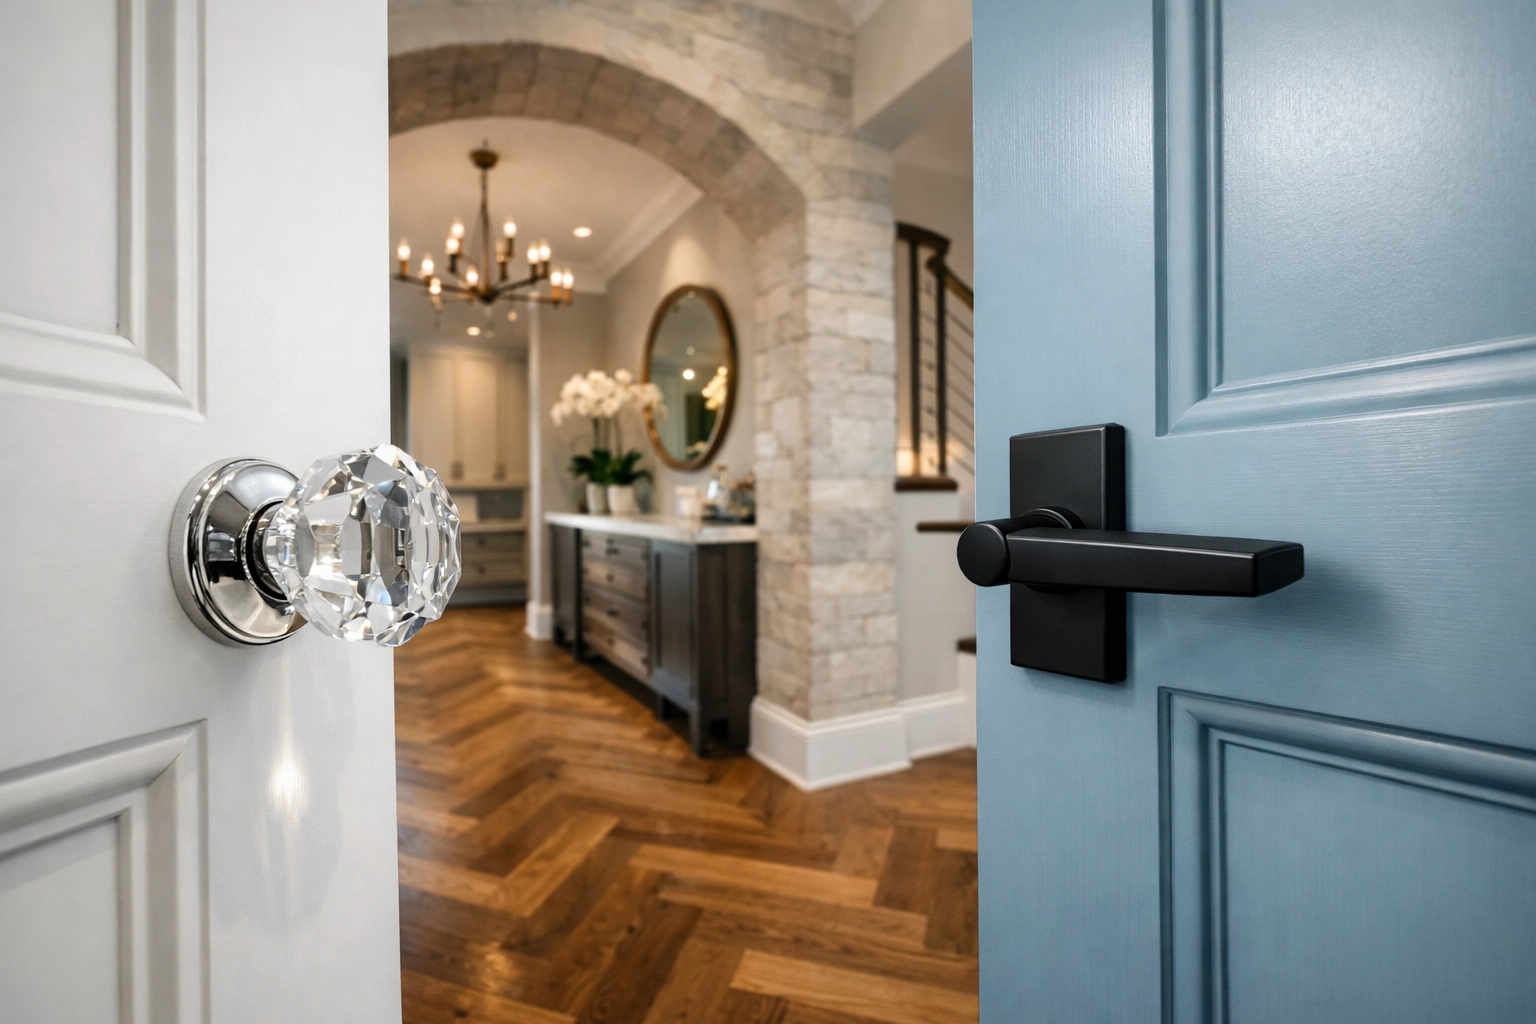
Understanding Different Materials
Not all door knobs are created equal. Depending on what they’re made of, you might need to adjust your approach.
- Brass and Copper: Interestingly, these metals have "oligodynamic" properties, which means they naturally kill some bacteria over time. However, they still get oily and dirty. For high-polish brass, avoid harsh chemicals that could strip the clear coat. Stick to mild soap and a gentle disinfectant.
- Stainless Steel and Chrome: These show fingerprints like crazy! Use a microfiber cloth to ensure you don't leave streaks.
- Wood Handles: Wood is porous. You have to be extremely careful not to get wood handles too wet, or they could warp or crack. Use a disinfectant wipe that is specifically safe for finished wood.
- Glass or Crystal: These are delicate. Use a glass cleaner for the "clean" phase to ensure a streak-free shine, then follow up with a gentle disinfecting wipe.
When Should You Clean Them?
How often should you be doing this? For a standard household, a deep clean and disinfect once a week is usually plenty. However, there are times when you need to level up your Ninja skills:
- Flu and Cold Season: If someone in the house is sick, you should be wiping down high-touch knobs at least once a day.
- After Guests: If you’ve had a party or a gathering, it’s a good idea to do a quick sweep of the "entry and exit" knobs the next morning.
- Visible Grime: If you see "finger-smudges," it’s time to clean.
If this sounds like a lot of work to keep up with, don't worry: that’s what we’re here for! At The Cleaning Ninjas Inc, we include high-touch point cleaning in our regular routines because we know how important it is for a healthy home. You can check out all our services to see how we can help take the load off your shoulders.
Common Mistakes to Avoid
Even the best of us can make mistakes. Here are a few things to avoid when tackling your door hardware:
- Using Abrasive Scrubbers: Never use steel wool or the scratchy side of a heavy-duty sponge on your door knobs. You’ll scratch the finish, and once that finish is gone, the metal underneath can tarnish or rust much faster.
- Bleach Overload: Unless it’s an emergency, avoid straight bleach. It’s very harsh and can discolor many metal finishes.
- Ignoring the Backside: We often clean the part of the knob we see, but the backside (the part between the knob and the door) is where fingers often grip the hardest. Make sure you get 360-degree coverage.
The Ninja Mindset
Cleaning your home is about more than just aesthetics; it's about creating a sanctuary where you and your family feel safe and healthy. Taking ten minutes once a week to hit the door knobs, light switches, and cabinet pulls is a small habit that pays huge dividends in wellness.
If you’re interested in more professional tricks, head over to our blog or browse our cleaning tips category for more advice on keeping your space pristine. And if you’re curious about the team behind the masks, feel free to learn more about us!

Stay clean, stay healthy, and remember: those door knobs aren't going to clean themselves (unless you hire a Ninja, of course)! Happy cleaning!

