

We’ve all been there. You open the fridge with the best intentions of making a healthy salad, only to find that the "crisper" drawer has become a graveyard for a head of lettuce that’s seen better days. Maybe there’s a mysterious puddle of green liquid at the bottom, or perhaps a few stray onion skins have decided to make the drawer their permanent home. It happens to the best of us!
The crisper drawer is one of those spots in the kitchen that falls into the "out of sight, out of mind" category. We shove our groceries in there, close the drawer, and forget about the microscopic drama unfolding underneath the carrots. But here at The Cleaning Ninjas Inc, we know that a true kitchen master doesn't just clean what's on the surface. To keep your home healthy and your food fresh, you’ve got to tackle the hidden zones.
In this guide, we’re going to walk you through the ultimate Ninja strategy for cleaning your vegetable drawers. Whether you’re looking to improve your weekly house cleaning routine or you’re prepping for a bi weekly house cleaning deep dive, these tips will ensure your veggies stay crisp and your fridge stays funk-free.
Why the Crisper Drawer is a Secret Bacteria Hotspot
You might think the bathroom is the germiest place in your house, but researchers have often found that the refrigerator crisper drawer can hold significantly more bacteria than many other surfaces. Think about it: you’re putting raw, unwashed produce directly onto those plastic surfaces. Soil, moisture, and natural decay create the perfect playground for mold and microbes.
When moisture gets trapped under a bag of spinach, it starts a countdown. If you don't catch it early, that moisture turns into slime, which then migrates to the plastic. This isn't just gross; it can actually lead to cross-contamination. If you put fresh fruit into a drawer that hasn't been cleaned after a bout of "cucumber rot," you’re shortening the life of your new groceries.
Integrating this task into your weekly house cleaning matters. Not only does it keep things smelling fresh, but it also helps your appliance run more efficiently by maintaining proper airflow.
Phase 1: The Great Evacuation
The first rule of Ninja cleaning? You can't clean what you can't see. You have to start by completely emptying the drawers.
- Empty Everything: Take every single item out. This is the perfect time to play "Keep or Toss." If that celery looks like it could be used as a wet noodle, it’s time for it to go to the compost bin.
- Sort by Category: Group your veggies and fruits. This helps you see exactly what you have so you don't buy a third bag of carrots during your next grocery run.
- Check the Temperatures: Try to do this quickly or keep your perishables in a cooler bag if you’re planning a deep scrub. You don't want your berries sitting on the counter for an hour while you're battling the drawer.

Phase 2: The Removal and Soak
Most modern refrigerators allow you to pull the crisper drawers completely out of the unit. This is a game-changer. Trying to wipe out a drawer while it’s still inside the fridge is like trying to wash your feet while wearing shoes: it just doesn't work.
- Slide it Out: Carefully remove the drawers. If your fridge has glass shelves sitting on top of the drawers, be extremely careful. Cold glass can shatter if it’s handled roughly or exposed to sudden temperature changes.
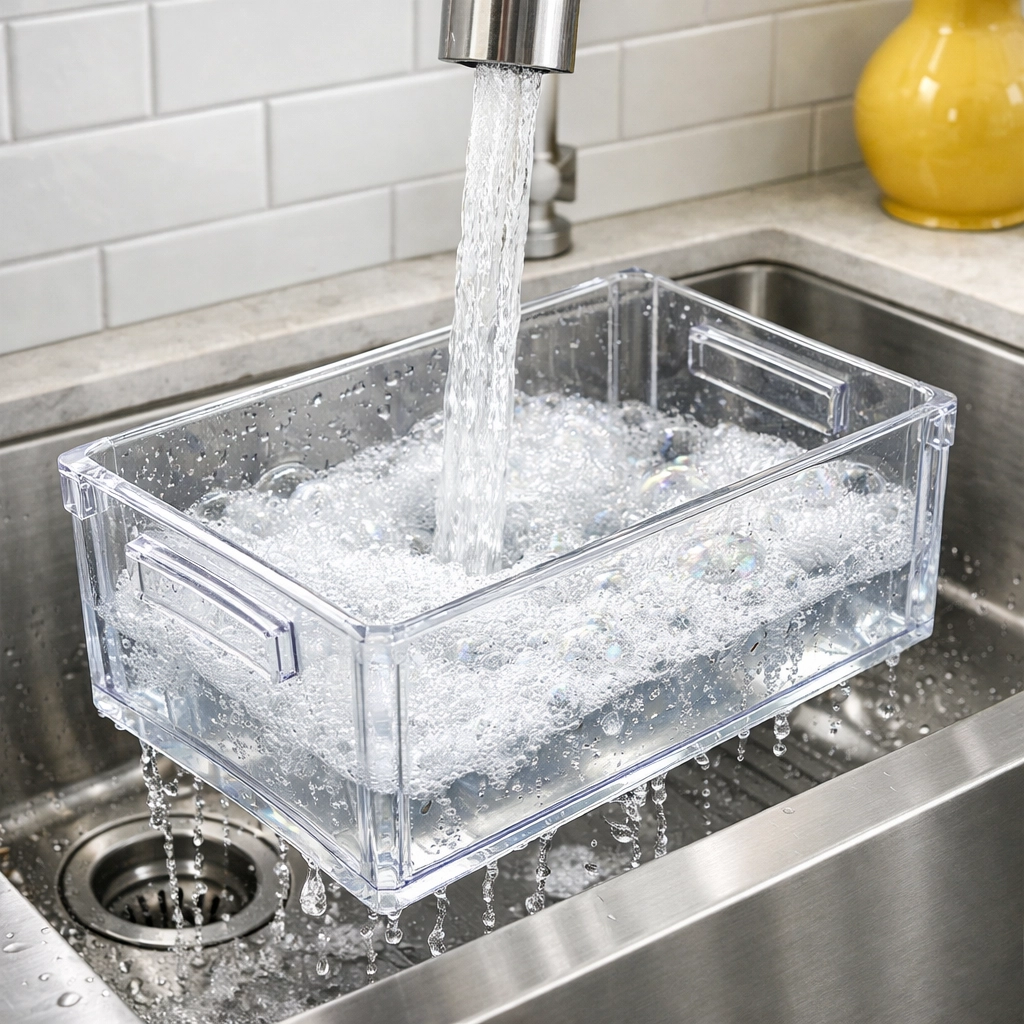
- The Sink Method: Take the drawers to the kitchen sink. If they’re too big for the sink, the bathtub is your next best friend.
- Hot Water and Soap: Fill the drawer (or the sink) with warm, soapy water. Use a mild dish soap. Avoid harsh chemicals because this is where your food lives.
- The Power of Vinegar: If you’re dealing with stubborn odors or sticky residue, add a cup of white vinegar to the water. Vinegar is a Ninja’s secret weapon: it’s natural, it cuts through grease, and it kills many common household germs without leaving a chemical scent behind once it dries.
Phase 3: Attacking the Nooks and Crannies
This is where we separate the amateurs from the Ninjas. Crisper drawers often have tracks, rollers, and decorative ridges that love to trap debris.
Ninja Tip: Use a Small Brush
Just like cleaning a keyboard or a small appliance, the tracks of your fridge drawers need a specialized tool. A clean, old toothbrush or a dedicated straw-cleaning brush is perfect for getting into those tight spaces where onion skins and leaf fragments hide.
If there’s stuck-on gunk that won't budge, let the drawer soak for 5 to 10 minutes. This softens the residue so you don't have to scratch the plastic with a heavy-duty scrubber. Once the tracks are clear, give the entire drawer a final rinse with cool water.
Phase 4: Drying and Reassembly
Never put a damp drawer back into a cold fridge. Moisture is the enemy of freshness! If you put a wet drawer back in, you’re just inviting mold to come back faster.
- Hand Dry: Use a clean microfiber cloth to dry the drawer inside and out.
- Air it Out: Let the drawers sit on the counter for a few minutes to ensure every bit of moisture has evaporated.
- Wipe the Fridge Interior: While the drawers are out, wipe down the floor of the refrigerator and the side walls where the drawers slide in. You’d be surprised how much dust and "fridge lint" accumulates there.

Phase 5: Setting Up for Success (The Liner Hack)
Want to make your next bi weekly house cleaning session ten times easier? Use liners.
You can buy specialized "fridge liners" that allow air to circulate, but a simple layer of paper towels or a clean kitchen towel at the bottom of the drawer works wonders. These liners absorb excess moisture from the vegetables and catch any loose skins or dirt. When the drawer starts looking a little messy, you just swap out the liner instead of doing a full scrub-down.
Choosing the Right Schedule: Weekly vs. Bi-Weekly
We often get asked by our clients at The Cleaning Ninjas Inc whether they should opt for weekly vs bi-weekly house cleaning service. When it comes to the kitchen: and specifically the fridge: the answer usually depends on how much you cook.
- The Weekly Warrior: If you’re a big fan of farmer’s markets and fresh produce, a weekly check-in is best. A quick wipe-down once a week prevents that "green sludge" from ever forming.
- The Bi-Weekly Strategist: If you do a lot of meal prep or use more frozen/canned goods, a bi-weekly deep clean of the drawers is usually enough to keep things sanitary.
If you find yourself too busy to keep up with these details, that's what our professional cleaning services are for! We love tackling the details that keep your home running smoothly.
Managing Humidity for Maximum Freshness
Now that your drawers are sparkling clean, let’s make sure they stay that way by using them correctly. Most crisper drawers have a little sliding vent. Do you know what it’s actually for?
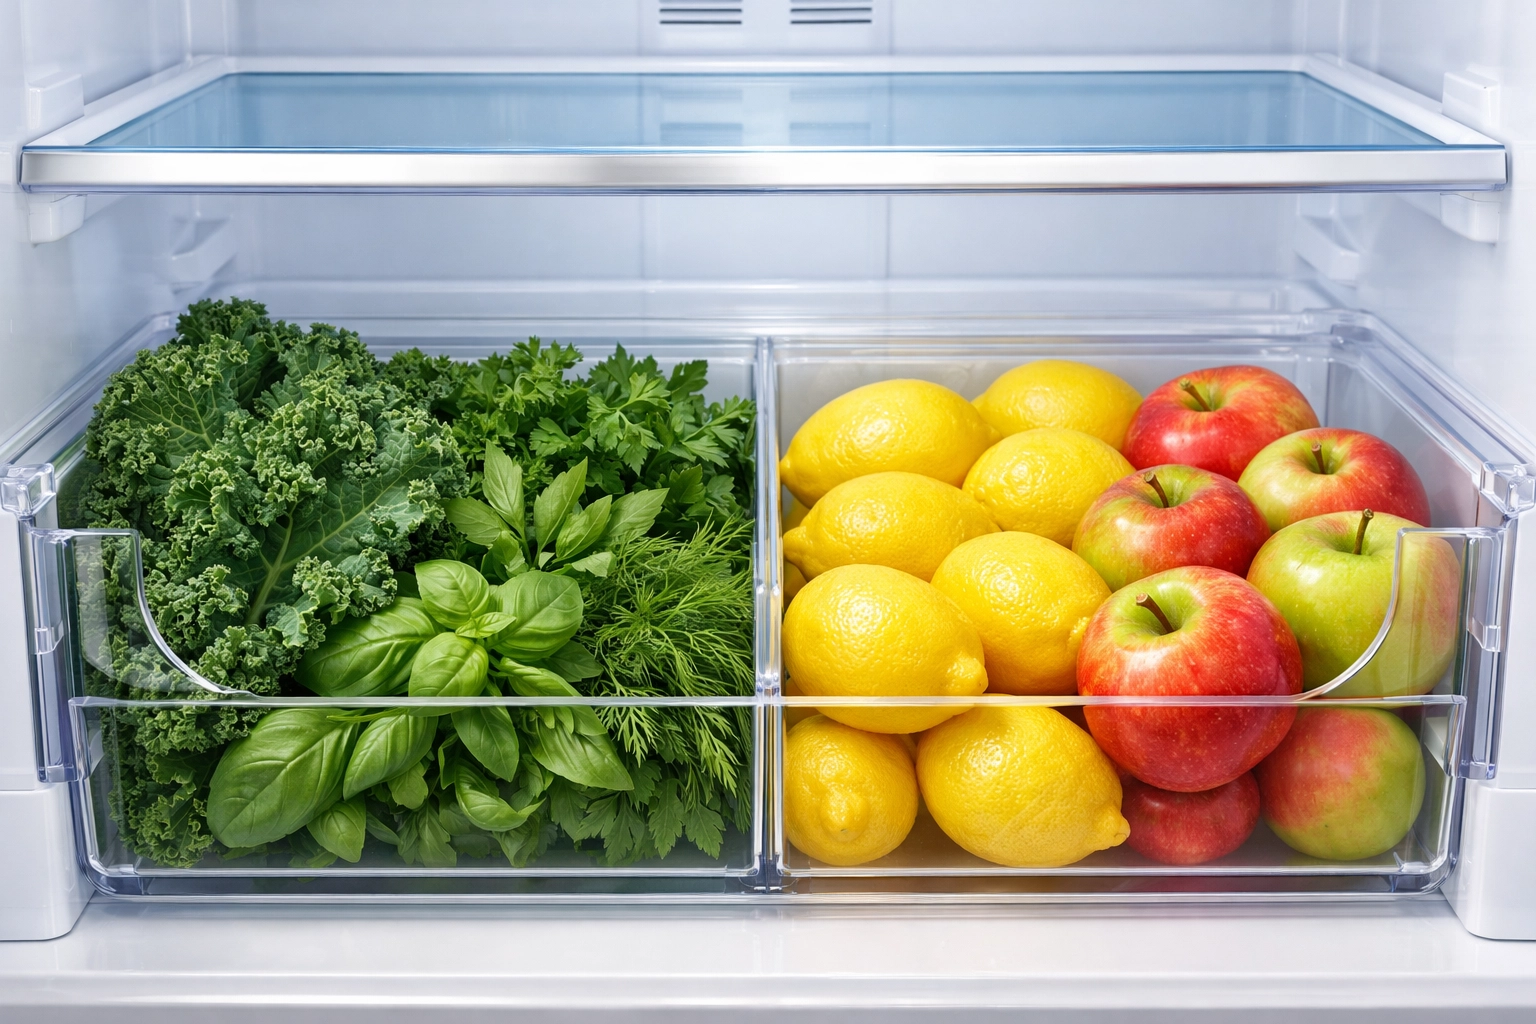
- High Humidity (Closed Vent): This is for things that wilt, like leafy greens, broccoli, and herbs. Closing the vent keeps the moisture in.
- Low Humidity (Open Vent): This is for things that rot, like apples, pears, and stone fruits. These fruits release ethylene gas as they ripen, and opening the vent lets that gas escape so they don't turn into mush.
By organizing your clean drawers this way, you’ll have less waste and fewer "cleaning emergencies" in the future.
The Ninja Final Word
A clean fridge is the heart of a healthy kitchen. It’s not just about aesthetics; it’s about taking care of the food that fuels your family. Taking 15 minutes to give your crisper drawers a Ninja-level clean can save you money on groceries and keep your kitchen smelling like a dream.
If you’re feeling overwhelmed by the thought of deep-cleaning every corner of your home, don't worry: you don't have to do it alone. Whether you need a one-time deep clean or a regular weekly house cleaning hand, The Cleaning Ninjas Inc is here to help. We bring the tools, the techniques, and the "Ninja" spirit to every job we do.
So, go ahead: pull those drawers out and see what’s hiding back there. Your veggies will thank you! For more tips on keeping your home in top shape, check out our blog or learn more about us and how we can make your life a whole lot easier.


