

Let’s be honest for a second: when was the last time you actually cleaned your TV remote? Not just a quick wipe with your sleeve because you spilled some salsa, but a real, deep, "Ninja-style" clean?
If you’re like most people, that remote has been sitting on your coffee table (or wedged between the sofa cushions) for months: maybe even years: collecting everything from popcorn grease to pet dander. It’s one of the most frequently touched items in any home, yet it’s often the most neglected during a standard weekly house cleaning session.
At The Cleaning Ninjas Inc, we’re all about those hidden details. We believe that a truly clean home isn't just about sparkling floors; it’s about the things you touch every single day. Today, we’re diving deep into the tech-side of your living room to show you how to give your remote control the spa day it deserves.
The Germ Factory in Your Palm
Think about your daily routine. You come home from work, grab a snack, and settle in for some Netflix. You’re touching the remote. Your kids are touching the remote. The dog might even be nudging it with its nose. Studies have shown that remote controls are often crawling with more bacteria than a toilet seat. Gross, right?
When you’re maintaining a bi weekly house cleaning schedule, the remote usually gets a cursory glance. Maybe a quick dusting. But the real grime isn't just on the surface: it’s tucked into the crevices around the buttons and, most importantly, hidden inside the battery compartment.
Why Surface Wiping Isn’t Enough
You might think a disinfecting wipe is the end-all-be-all for electronics. While a quick wipe-down is great for your weekly house cleaning routine, it doesn't solve the "sticky button" syndrome. Have you ever had to mash the "Volume Up" button three times just to get a response? That’s not a hardware failure; that’s usually a buildup of skin oils and dust that has seeped into the casing and gunked up the internal contacts.
To fix this, you have to go full Ninja. You have to go inside.
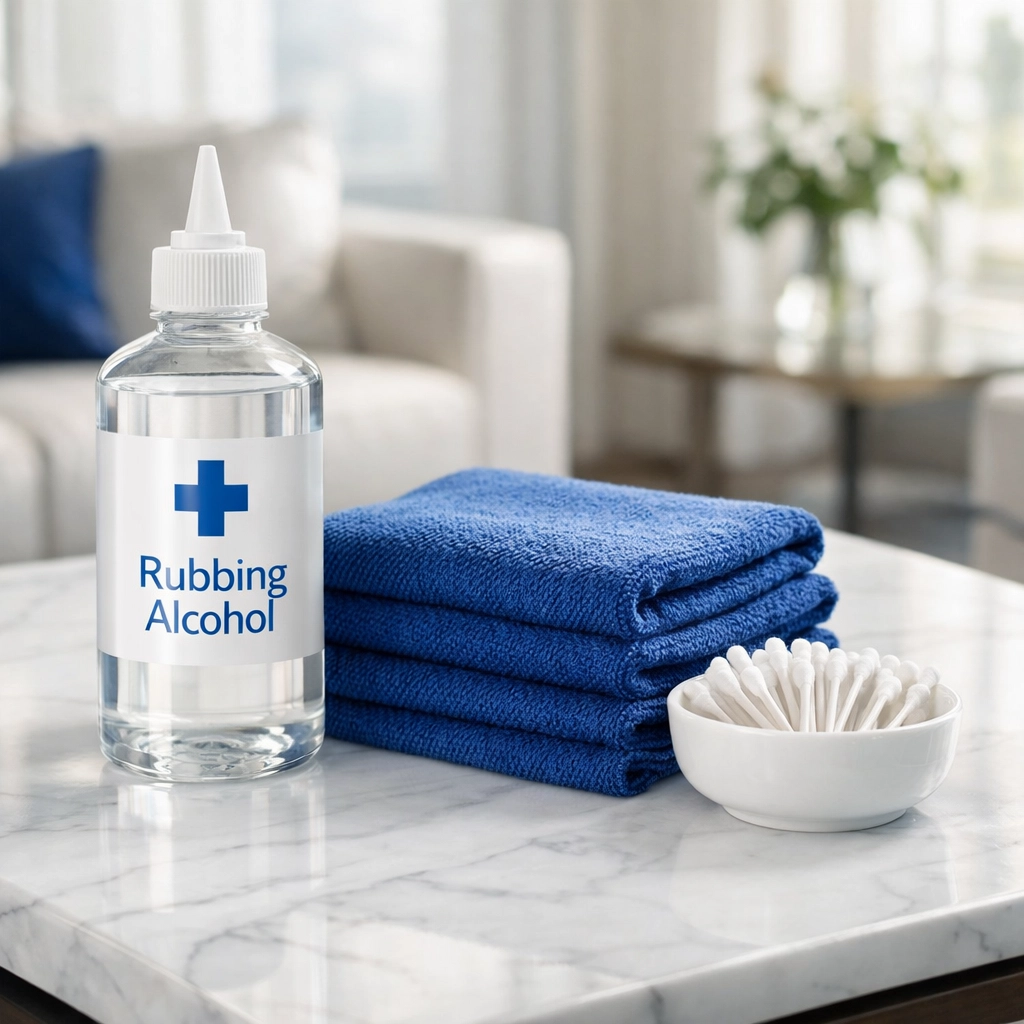
The Ninja Tool Kit: What You’ll Need
Before you start prying things apart, you need the right tools. A Ninja never goes into battle unprepared! Here’s what you should gather:
- Isopropyl Alcohol (Rubbing Alcohol): The higher the percentage, the better (90% or higher is ideal). It evaporates quickly and doesn't leave behind water that could short out your electronics.
- Cotton Swabs (Q-tips): For those hard-to-reach nooks.
- A Microfiber Cloth: For a lint-free finish.
- A Small Screwdriver or a Thin Plastic Card: To gently pop the casing if your remote allows it.
- The "Ninja Secret Weapon": A toothpick.
Step 1: The Tactical Retreat (Removing the Batteries)
Safety first! Before you do anything, pop that back cover off and remove the batteries. This is the perfect time to inspect the battery compartment: our main focus for today's Ninja Tip.
If you see any white, crusty powder, you’re dealing with battery acid leakage (corrosion). Don't panic! We have a fix for that. If the compartment looks clean, set the batteries aside and prepare for the deep dive.
Step 2: Cracking the Code (Opening the Remote)
Note: If your remote is under warranty or you're nervous about breaking it, you can skip the internal cleaning and focus on the external crevices and the battery compartment.
For the brave Ninjas out there: most remotes are held together by a few small screws (often hidden in the battery compartment) or simple plastic clips along the seam. Use your screwdriver or a thin plastic card to gently pry the two halves of the shell apart.
Once open, you’ll see three main parts: the front shell, the rubber button pad, and the circuit board.
Step 3: Cleaning the Internals
This is where the magic happens. Take a cotton swab dipped in rubbing alcohol and gently wipe down the green circuit board. Focus on the gold or copper contact points. These are the spots where the buttons make a connection to tell your TV what to do.
Next, clean the back of the rubber button pad. You’ll likely see a film of dark, oily residue. That’s the "gunk" that stops your remote from working. Wipe it clean until your swab comes away white.
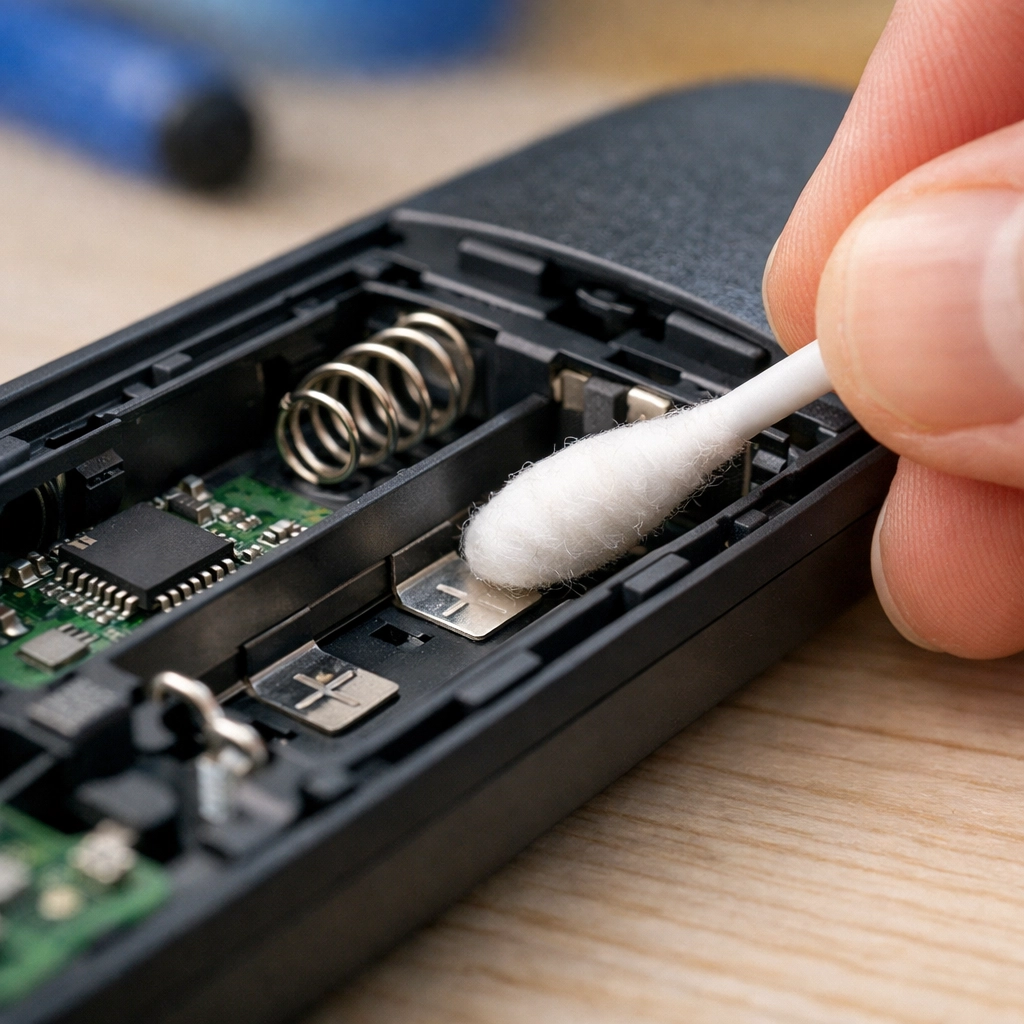
Step 4: The Ninja Tip – The Battery Compartment Rescue
Now, let’s talk about that battery compartment. Even if you don’t open the whole remote, this area needs love during your bi weekly house cleaning.
Ninja Tip: If you have corrosion (that white crusty stuff) on the metal springs or tabs, use a cotton swab dipped in a tiny bit of white vinegar or lemon juice. The acid in the vinegar neutralizes the alkaline battery leak. Once the fizzing stops, wipe it dry and then go over it with rubbing alcohol to remove any remaining residue.
If the contacts just look a little dull, use the eraser end of a pencil to gently "scrub" the metal tabs. This removes oxidation and ensures your batteries make a perfect connection every time. No more shaking the remote to get it to turn on!
Step 5: The Crevice Attack
While the internals are drying, take your toothpick and run it along the seams of the outer plastic shell and around every individual button. You will be amazed (and slightly disgusted) by the amount of "stuff" that comes out. This is a great task to add to your cleaning tips repertoire for those rainy Sunday afternoons.
Step 6: Reassembly and Finishing Touches
Once everything is bone-dry (alcohol dries fast, but give it a few minutes), snap the pieces back together. Replace the screws, pop in your cleaned (or fresh) batteries, and give the whole thing one final wipe with your microfiber cloth.
Integrating This Into Your Routine
We know what you’re thinking: "I don't have time to take my remote apart every week!" And you’re right: you shouldn't have to.
For your weekly house cleaning, a simple wipe with an alcohol-dampened microfiber cloth is plenty. This keeps the surface germs at bay.
However, we recommend adding the "Battery Compartment Check" to your bi weekly house cleaning schedule. Just popping the cover to make sure there are no leaks can save you from having to buy a $50 replacement remote down the line.
Why Detail Matters
At The Cleaning Ninjas Inc, we talk a lot about the "Ninja Mindset." It’s the idea that true cleanliness is found in the details that most people ignore. Whether it's the dust on top of the fridge, the baseboards behind the door, or the inside of your remote control, these small things contribute to the overall "feel" of a healthy home.
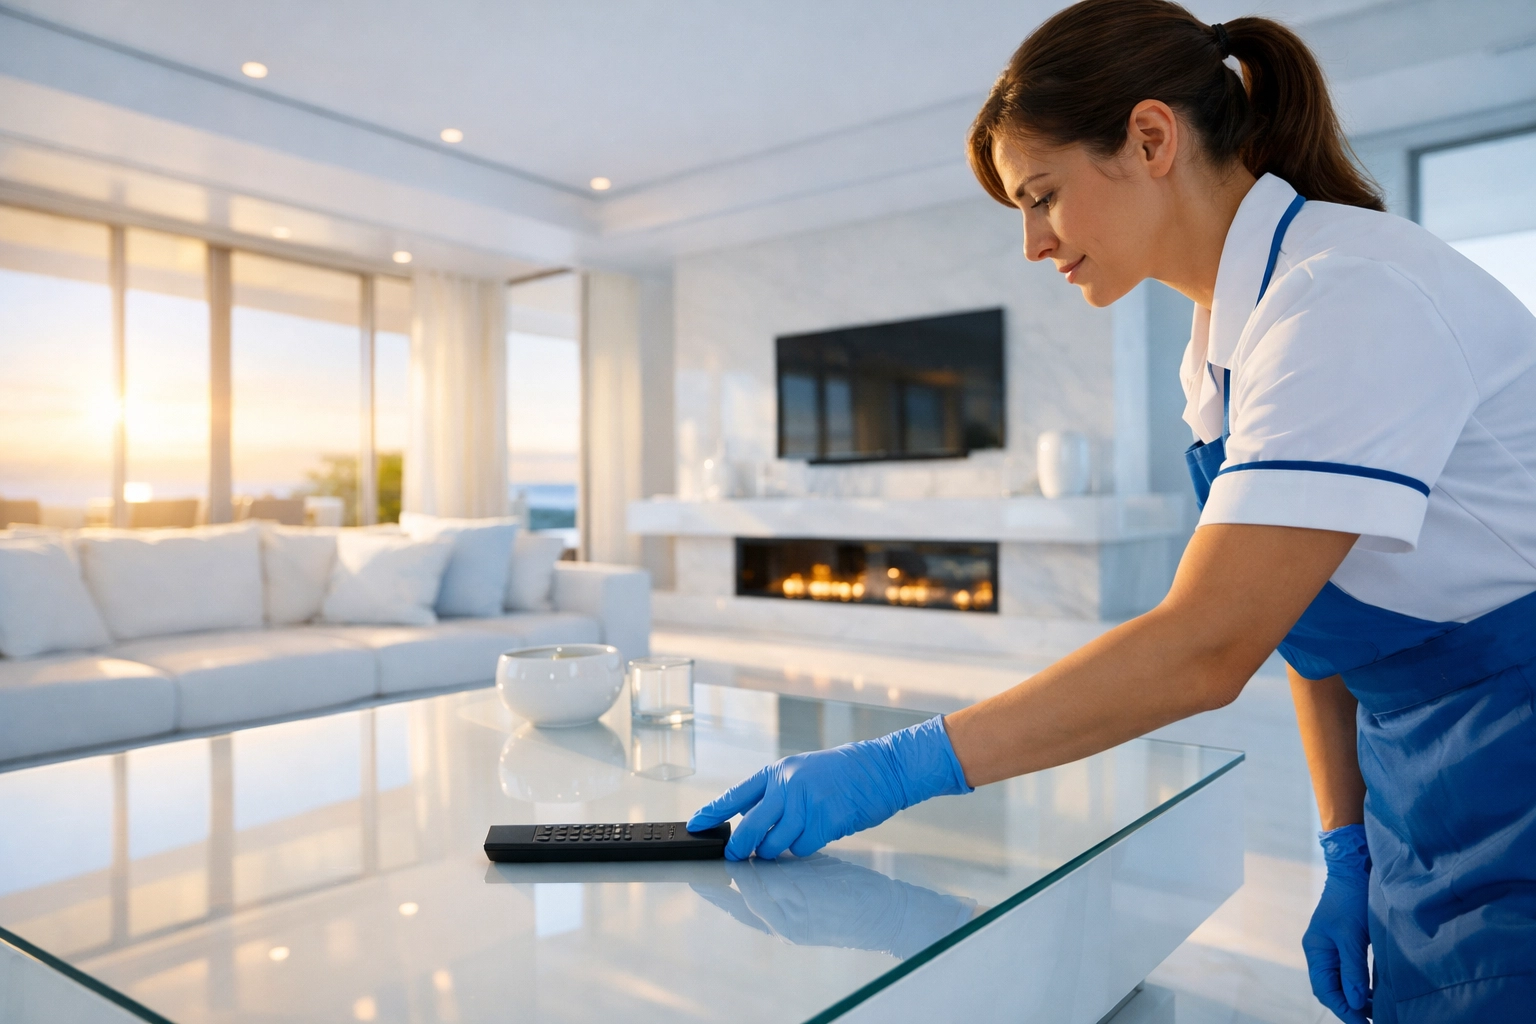
If you’re feeling overwhelmed by the sheer volume of tasks involved in keeping a home pristine, that’s where we come in. From standard weekly house cleaning to deep-dive specialty cleans, our team is trained to spot the things that others miss. We bring the tools, the technique, and the "Ninja" spirit to every job.
Let the Professionals Handle the Stealth Work
Cleaning the remote is a satisfying DIY project, but it’s just one small part of a much larger picture. Keeping up with a full house can feel like a full-time job. Between work, family, and trying to have a social life, who has time to scrub grout with a toothbrush or detail their electronics?
If you'd rather spend your weekend watching the TV instead of cleaning its accessories, check out our services. We offer flexible scheduling to fit your life, whether you need a one-time deep clean or a recurring bi weekly house cleaning to keep your sanctuary in top shape.
You can learn more about us and our mission to bring peace and cleanliness to every home we touch. We’re more than just a cleaning company; we’re your partners in making home a place where you can truly relax.
Final Thoughts
Your remote control is your gateway to relaxation. By taking ten minutes once a month to give it a proper deep clean: focusing on those battery contacts and internal buttons: you’ll ensure it works perfectly for years to stay.
Stay tuned to our blog for more Ninja Tips on how to keep your home healthy, happy, and "Ninja Clean." Until next time, keep those remotes shiny and your living rooms crumb-free!
Ready to experience the Ninja difference? Contact us today and let us handle the dirty work while you take back your time. Happy cleaning!


