

Let’s be honest: we spend a huge chunk of our lives staring at screens. Whether it’s catching the big game on a 75-inch 4K TV, grinding through a workday on a dual-monitor setup, or scrolling through your phone, these glowing rectangles are the windows to our world. But here’s the problem: those windows get dirty. Fast.
Fingerprints, dust, pet hair, and that mysterious smudge from who-knows-where can turn a high-definition experience into a blurry mess. At The Cleaning Ninjas Inc, we see it all the time. During a standard weekly house cleaning, screens are often the most neglected items because people are, quite frankly, terrified of breaking them. And you should be a little cautious! Modern screens are delicate pieces of technology, and the old-school way of cleaning glass (shoutout to the blue spray and paper towels) is actually a recipe for disaster.
In this guide, we’re going to teach you the way of the Ninja. We’ll show you how to get those screens crystal clear without risking a single pixel.
Why You Can’t Clean a TV Like a Window
Back in the day, TVs were basically giant glass boxes (shoutout to the CRT era). You could hit those with some Windex and a rag, and they’d be fine. But today’s LED, LCD, OLED, and QLED screens aren't made of heavy-duty glass. They are often made of specialized plastics and multi-layered films that are extremely sensitive to chemicals and pressure.
Modern screens have anti-glare coatings that can be stripped away by harsh chemicals. Once that coating is damaged, there’s no fixing it: you’re stuck with a permanent cloudy patch right in the middle of your favorite show. This is why we tell our clients that even if you don't have time for a full bi weekly house cleaning, taking five minutes to dust your screens correctly can save you thousands of dollars in replacement costs.

The Ninja Toolkit: What You Need (And What to Ditch)
Before we get into the "how," we need to talk about the "what." A true cleaning ninja is only as good as their tools. If you’re serious about screen hygiene, you need to throw away the paper towels.
The "No-Fly" List
- Paper Towels and Tissues: These are made of wood pulp. They might feel soft to your hands, but on a microscopic level, they are abrasive. They will leave tiny scratches on your screen that dull the finish over time.
- Windex or Glass Cleaners: Most of these contain ammonia or alcohol. These chemicals are the mortal enemies of screen coatings.
- General All-Purpose Cleaners: Way too harsh. Just don't do it.
- Your Shirt: We’ve all done it: using the hem of a t-shirt to wipe a smudge. Unless your shirt is 100% clean microfiber (it isn't), you’re just moving oils around and potentially scratching the surface with dust particles trapped in the fabric.
The Essential Ninja Gear
- Microfiber Cloths: Not just any rag. You want the high-quality, lint-free microfiber cloths often sold for eyeglasses or camera lenses. They are designed to trap dust rather than push it around.
- Distilled Water: Tap water contains minerals (like calcium and magnesium) that can leave white spots or "scales" on your screen. Distilled water is pure and safe.
- Mild Dish Soap (Optional): Only for the most extreme, sticky situations. We’re talking a 100:1 ratio of water to soap.
- A Compressed Air Can: Great for getting dust out of the vents and ports without touching the electronics.
The Step-by-Step Screen Deep Clean
Ready to start? Follow these steps to achieve that "straight out of the box" shine.
Step 1: Power Down and Unplug
This is for safety and visibility. A black screen makes it much easier to see dust and smudges. Plus, cleaning a warm screen is harder because any moisture you use will evaporate too quickly, leaving streaks. Give the TV about 10-15 minutes to cool down before you start.
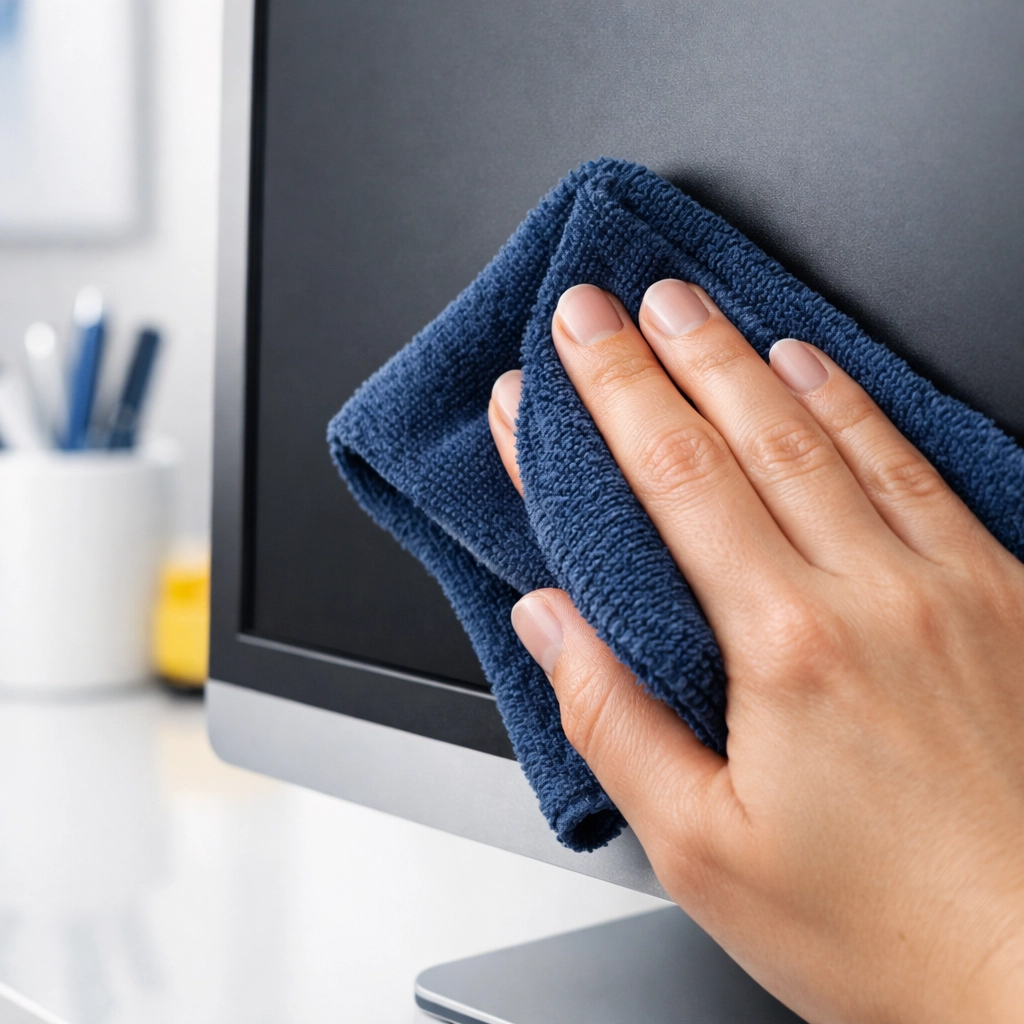
Step 2: The Gentle Dry Wipe
Start with a clean, dry microfiber cloth. Fold it into a square. Using very light pressure, wipe the screen in a consistent direction: either horizontal or vertical. Do not press hard! Modern displays are "liquid" crystals for a reason; pushing too hard can actually damage the internal structure of the panel.
Most of the time, a dry wipe is all you need for a weekly house cleaning touch-up.
Step 3: Tackling Stubborn Smudges
If you’ve got fingerprints that won't budge (we’re looking at you, toddlers), you’ll need a tiny bit of moisture. Never spray anything directly onto the screen. If liquid drips down into the bezel (the frame), it can fry the electronics instantly.
Instead, lightly dampen your microfiber cloth with distilled water. It should be barely damp, not dripping. Wipe the smudge gently. If it’s really stuck, add a microscopic drop of dish soap to your water mix.
Step 4: The Final Buff
After using a damp cloth, always follow up immediately with a dry section of the microfiber cloth. This prevents "water spots" and removes any lingering streaks. Your goal is a perfectly uniform, matte or glossy finish with zero swirl marks.
Don’t Forget the "Hidden" Dirt
While you’re focusing on the screen, don't ignore the rest of the unit. Dust loves to settle in the vents on the back of the TV. If these get clogged, your TV can overheat, leading to a shorter lifespan. Use your compressed air can or a soft brush attachment on a vacuum to clear these out.
Also, take a look at the base or the wall mount. These areas are magnets for cobwebs. Keeping these areas clean is a staple of our professional services, as it prevents dust from being sucked back onto the screen the moment you turn it on.
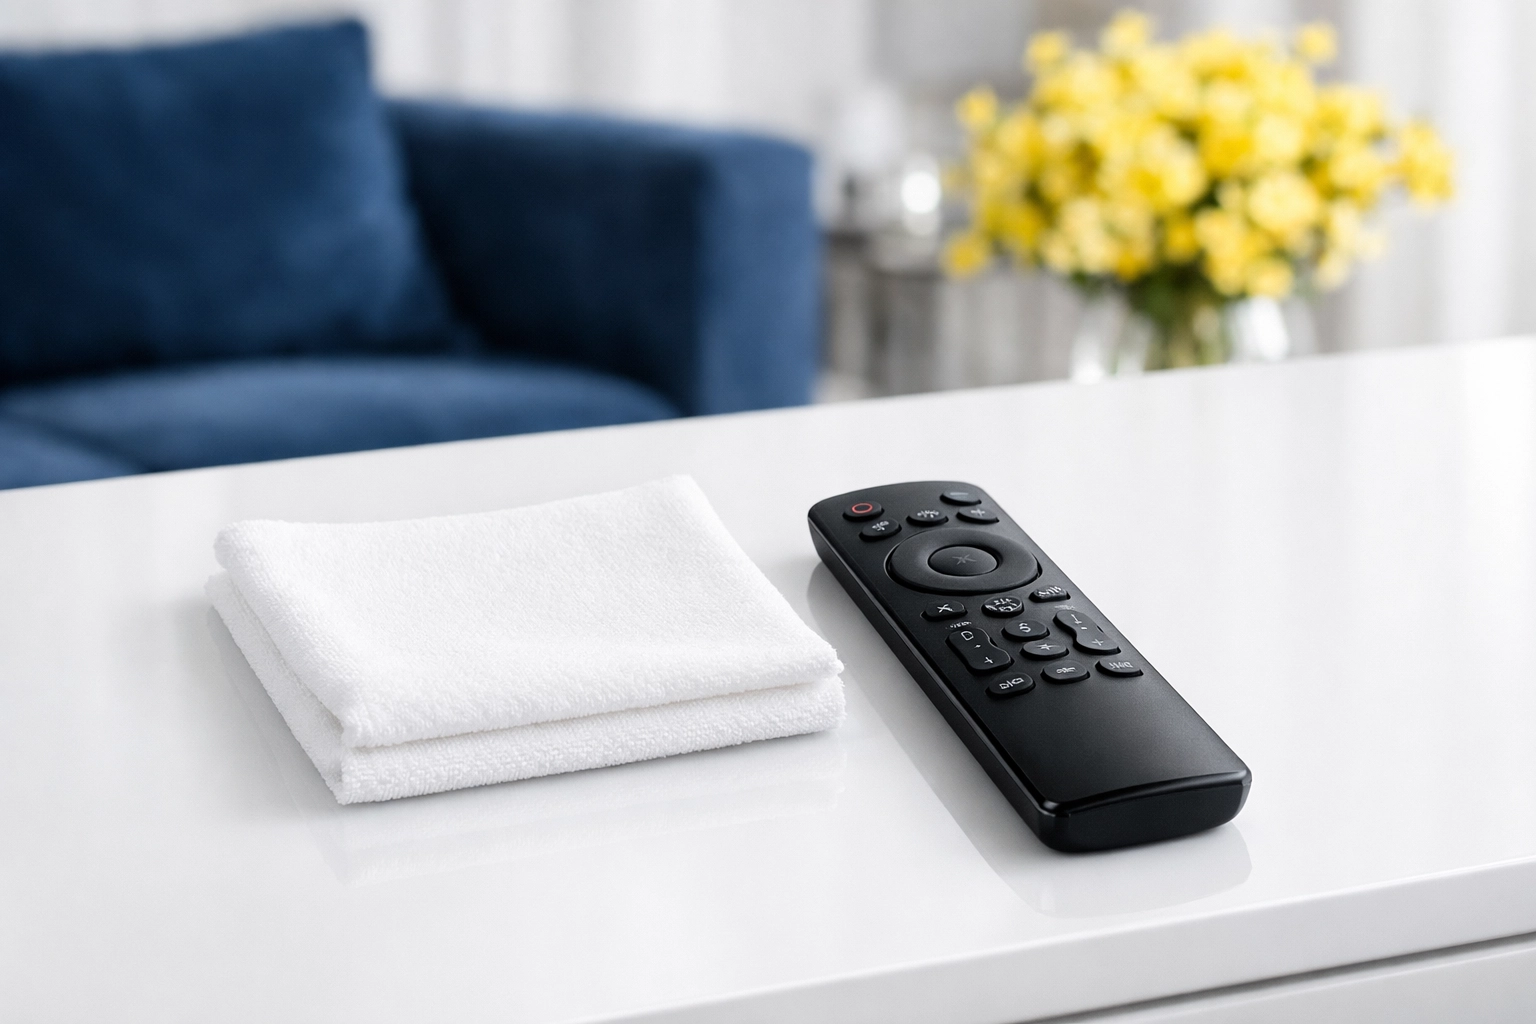
The Remote Control: The Dirtiest Object in Your House
If we’re talking about screen time, we have to talk about the remote. Studies have shown that television remotes are often more germ-ridden than toilet seats. They get handled by everyone, dropped on the floor, and sneezed on regularly.
To clean the remote:
- Remove the batteries.
- Turn it upside down and tap it to get any crumbs out from between the buttons.
- Use a cloth lightly dampened with a mix of water and a little rubbing alcohol (alcohol is okay for the plastic casing of the remote, just not the TV screen!).
- Use a toothpick or a Q-tip to get into the crevices around the buttons.
Making Screen Care Part of Your Routine
Maintaining a clean home doesn't have to be an all-day event. If you stay on top of things with a bi weekly house cleaning schedule, the "deep cleans" become much easier.
At The Cleaning Ninjas Inc, we believe that a clean home leads to a clearer mind. Whether you’re watching a movie with the family or working on a big presentation, you shouldn't have to squint through a layer of dust. Our team is dedicated to providing the kind of detail-oriented care that handles everything from your baseboards to your most delicate electronics. You can learn more about us and our mission to bring ninja-level cleanliness to every home.
Summary Checklist for a Ninja Screen Clean:
- Always use microfiber.
- Never use window cleaner.
- Never spray the screen directly.
- Unplug before you start.
- Be gentle: no "elbow grease" required!
If the thought of cleaning your delicate electronics (or your whole house) feels overwhelming, remember that you don't have to do it alone. From weekly house cleaning to specialized deep cleans, we’ve got the skills to make your home sparkle.
Check out our blog for more tips on keeping every corner of your house in fighting shape. Until next time, keep those screens clear and your living room legendary! 🥷✨🧹


