

Let’s be honest for a second: nobody actually likes thinking about grout. It’s the literal "filler" of our homes: the stuff between the beautiful tiles we spent hours picking out. But here’s the thing about grout: when it’s clean, you don’t notice it. When it’s dirty, it’s all you can see. It turns a beautiful bathroom into something that feels "grubby" and makes a kitchen floor look perpetually stained, no matter how many times you run a mop over it.
At The Cleaning Ninjas Inc, we’ve seen it all. From kitchen backsplashes caked in spaghetti sauce to shower floors that have turned a mysterious shade of orange. Most people assume that once grout goes dark, the only solution is a professional steam cleaner or a complete renovation. But before you go tearing up your floors or buying industrial-strength chemicals that smell like a lab explosion, we want to share some of our favorite "Ninja Tips."
You can actually restore your grout using ingredients you probably already have in your pantry. Specifically, we’re talking about the power duo: baking soda and hydrogen peroxide. This isn't just a "green" alternative; it’s a highly effective restoration method that works.
Why Grout is Such a Grime Magnet
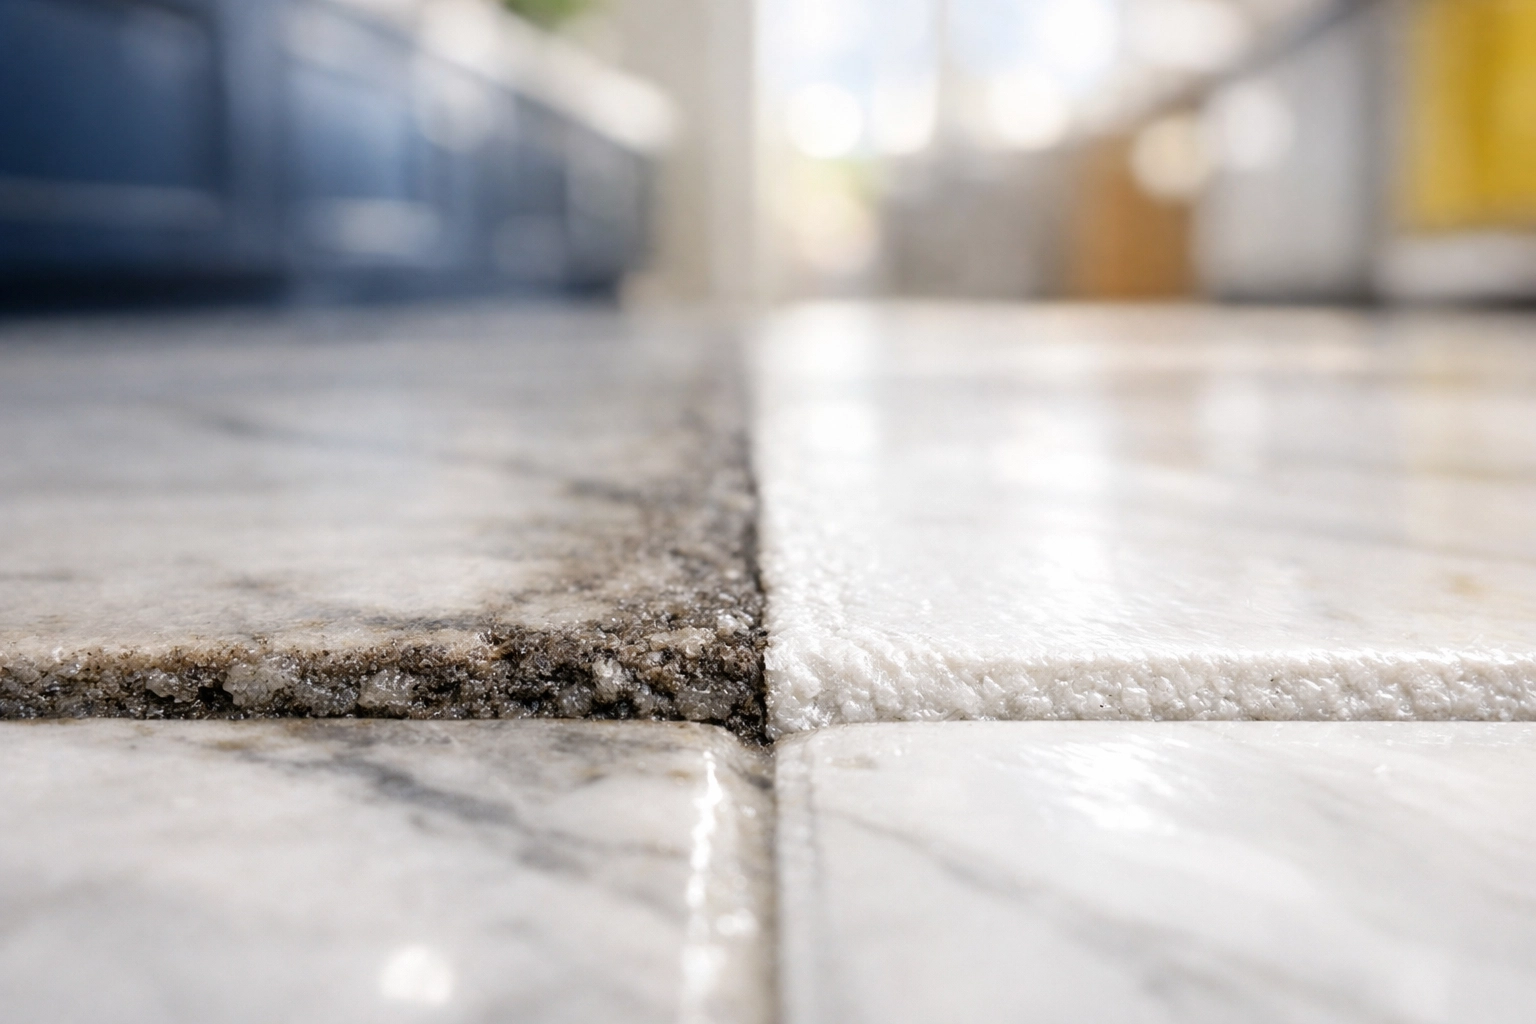
To fix the problem, you have to understand why it happens. Grout is typically a mixture of water, sand, and cement. Because it’s cement-based, it is incredibly porous. Think of your grout lines as thousands of tiny, microscopic straws. Every time you mop your floor with dirty water, those little straws suck up the gray, murky liquid. Over time, that dirt settles deep into the pores of the grout, where a standard mop can’t reach.
In bathrooms, the culprits are soap scum, body oils, and mildew. In kitchens, it’s grease and food particles. Because the grout is usually recessed slightly below the surface of the tile, it becomes a literal gutter for everything we try to clean off the surface.
The Science of the "Ninja Paste"
If you’ve ever looked at the back of a "color-safe" bleach bottle, you’ll see the main ingredient is often hydrogen peroxide. It’s an oxygen-based bleaching agent. When it hits the dirt and bacteria trapped in your grout, it creates a chemical reaction that releases oxygen bubbles. These bubbles physically lift the grime out of the pores.
Baking soda, on the other hand, is a mild abrasive. It provides the mechanical "scrub" needed to break up surface-level buildup without scratching your beautiful porcelain or ceramic tiles. When you combine the two, you get a thick, bubbling paste that stays exactly where you put it, allowing the peroxide time to work its magic.
The Ultimate DIY Grout Restoration Recipe
If you’re ready to tackle those lines, here is exactly what you’ll need:
- Baking Soda: About 1/2 cup (adjust based on the size of your room).
- Hydrogen Peroxide: 1/4 cup (the standard 3% stuff from the pharmacy is perfect).
- Dish Soap: 1 teaspoon (this helps cut through any grease or oils).
- A Small Mixing Bowl.
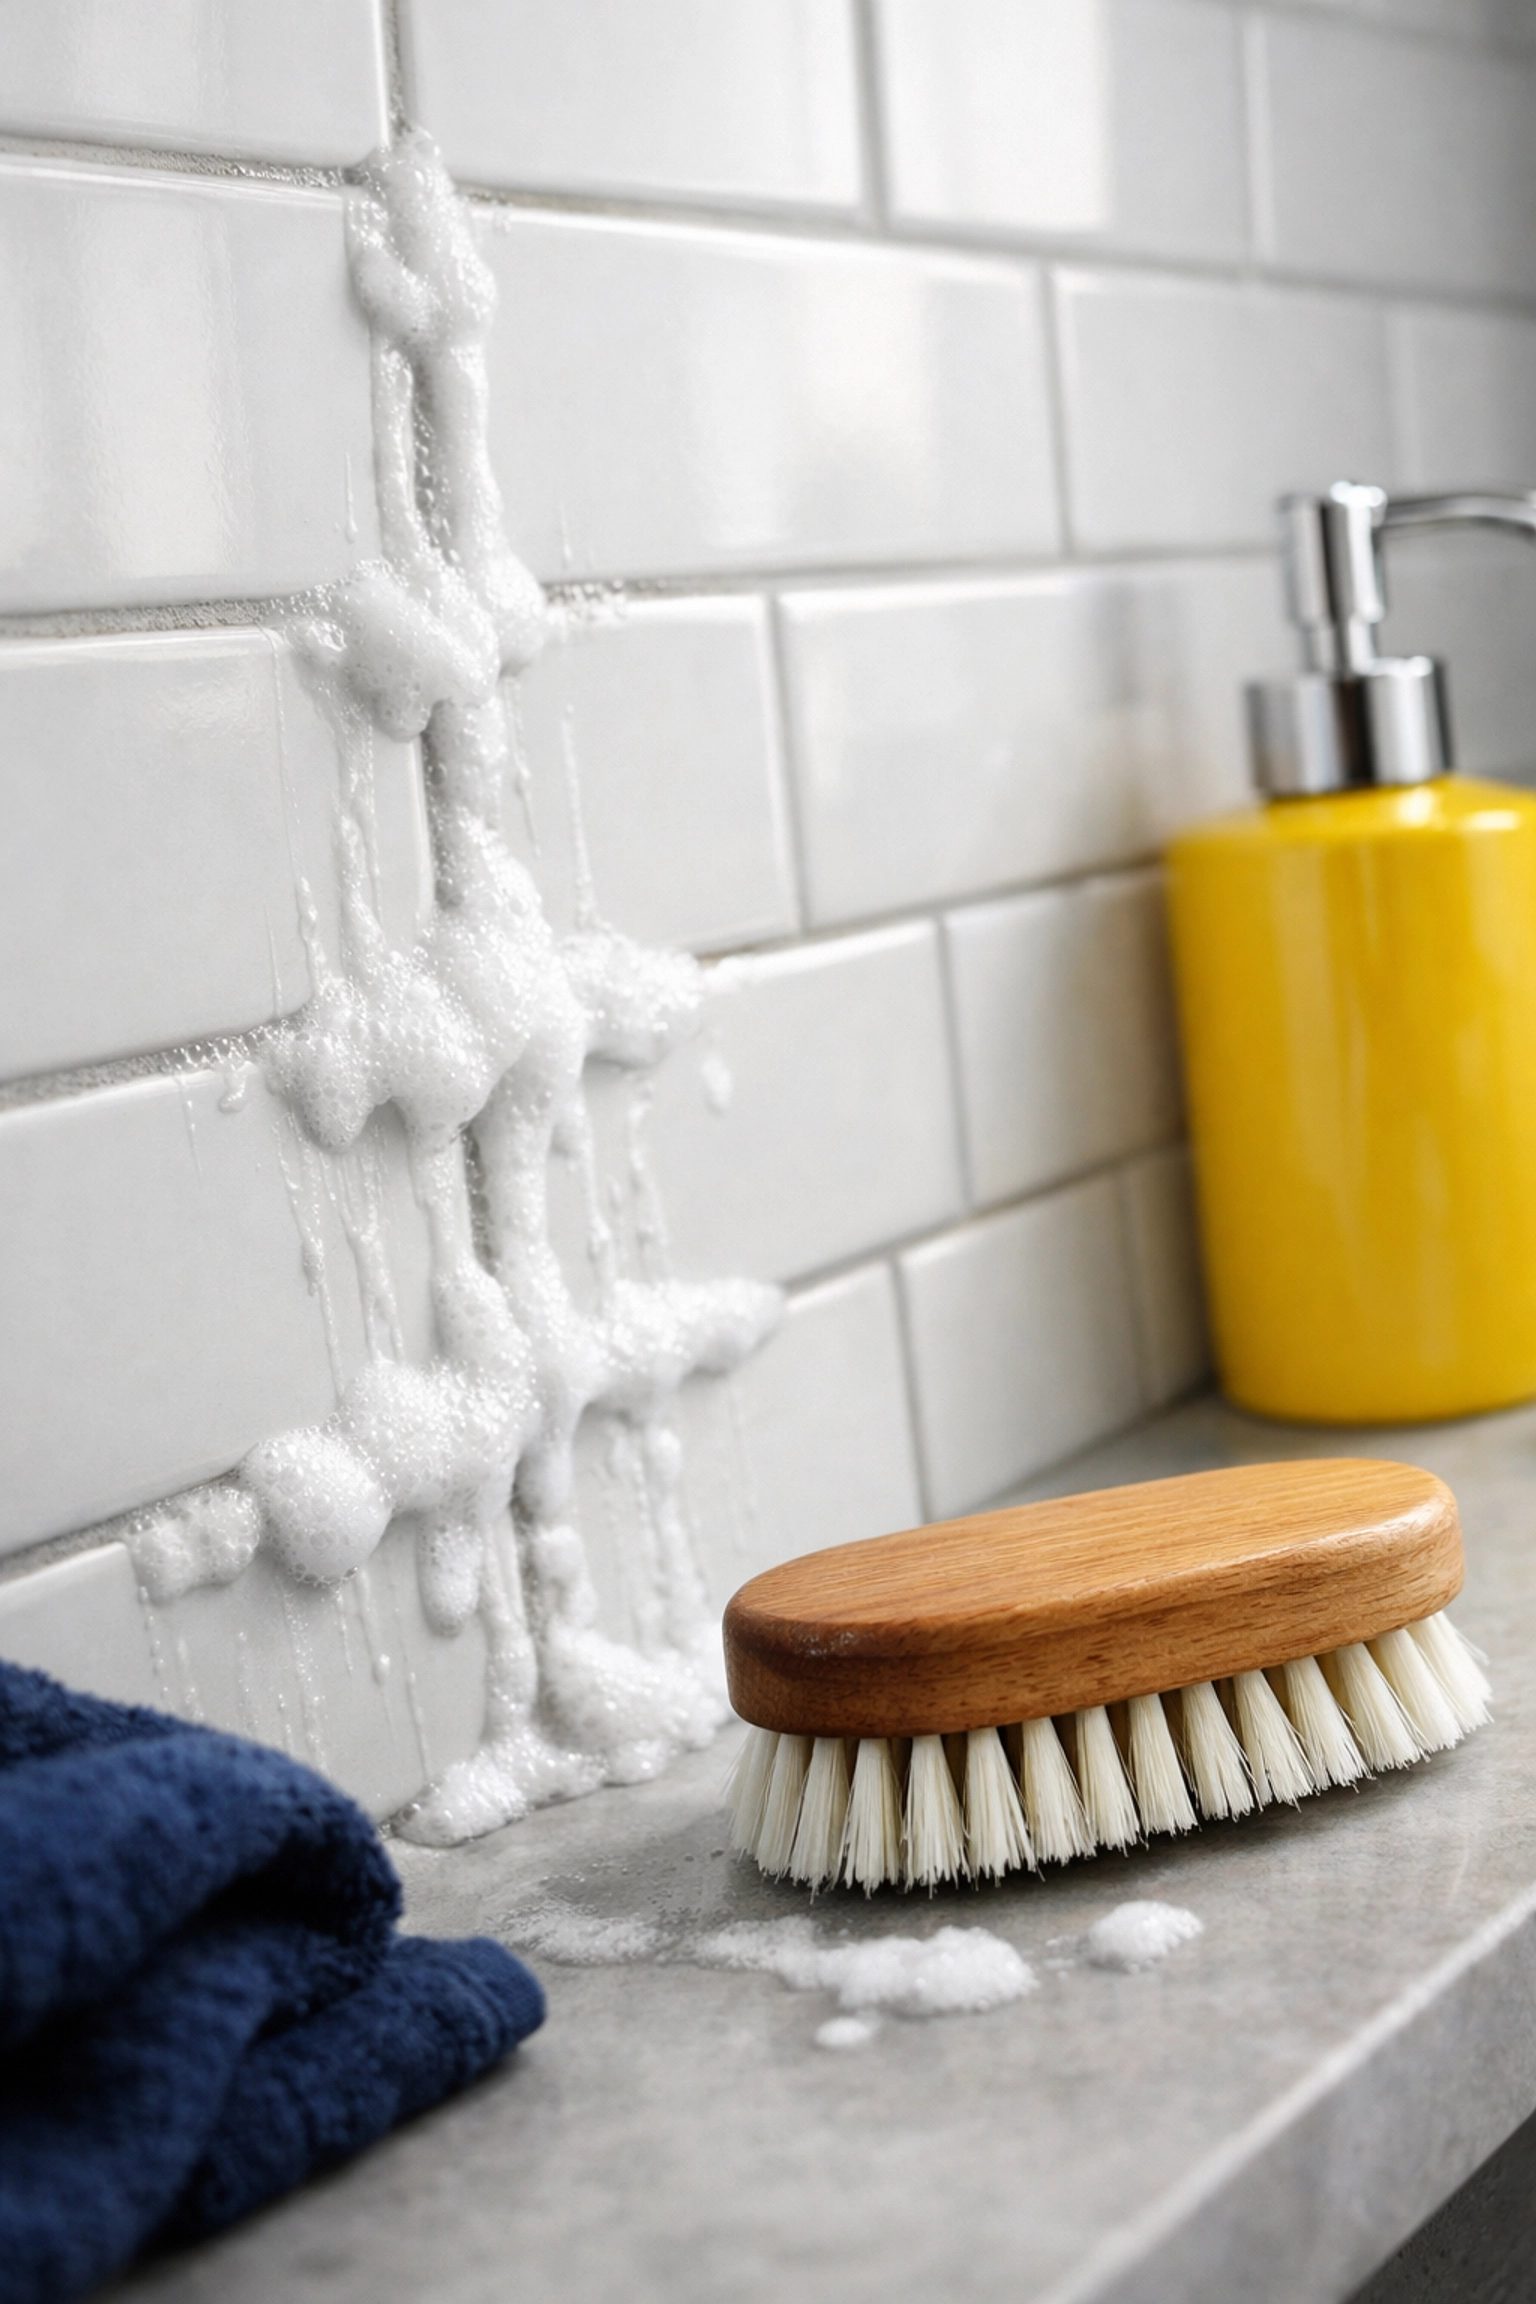
- A Stiff-Bristled Brush: An old toothbrush works, but a dedicated grout brush is a "Ninja-level" upgrade.
Step 1: Prep the Area
Before you start applying your paste, give the area a quick sweep or vacuum. You want to remove loose hair, dust, and crumbs so you aren't just moving dirt around. If the floor is particularly greasy (like in a kitchen), a quick wipe with warm water and a drop of dish soap can help clear the surface.
Step 2: Mix Your Paste
In your bowl, combine the baking soda, dish soap, and hydrogen peroxide. You’re looking for a consistency similar to Greek yogurt. If it’s too runny, it will slide off the vertical grout lines in your shower. If it’s too dry, it won't penetrate the pores.
Step 3: Apply and Wait (The Secret Ingredient)
Apply the paste generously to your grout lines. Now, here is the most important part: walk away.
Most people start scrubbing immediately, but the "Ninja" way is to let the chemistry do the heavy lifting. Give the paste at least 15 to 20 minutes to sit. This gives the oxygen bubbles time to penetrate deep into the grout and break the bond between the dirt and the cement.
Step 4: The Scrub
After the wait, take your stiff brush and give the lines a firm scrub. You don’t need to go crazy: the paste should have loosened most of the grime. You’ll likely see the paste turning a murky gray or brown. That’s a good sign! It means the dirt is leaving the grout and entering the paste.
Step 5: The Wipe Down
Use a damp microfiber cloth or a sponge to wipe away the dirty paste. You might need to rinse your cloth a few times to get all the baking soda residue off. Once it’s dry, you should see a significant difference in color.
Dealing with Stubborn Stains: The Lemon Juice Hack
Sometimes, you’ll encounter a spot that just won’t budge: maybe a rust stain from a shaving cream can or a deep-set wine spill. In these cases, you can add a little acidity to the mix. Lemon juice is a natural whitener and disinfectant.
Apply a bit of straight lemon juice to the stain, let it sit for five minutes, and then go over it with your baking soda and peroxide paste. The reaction between the acidic lemon and the alkaline baking soda will cause an extra "fizz" that can help pop those deep stains to the surface.
Note: Be careful using lemon juice or vinegar if you have natural stone tiles like marble or limestone. Acid can "etch" or dull the surface of natural stone. Stick to the baking soda and peroxide for those!
When Should You Call the Pros?
We love a good DIY project, and for most homes, the baking soda and peroxide method will work wonders. However, there are times when your grout might need a little more help than a kitchen cupboard can provide.
If your grout is cracking, crumbling, or missing in chunks, no amount of cleaning will fix it. That’s a structural issue that usually requires re-grouting. Additionally, if you have a massive area: like a 500-square-foot living room: scrubbing every line with a toothbrush might take you until the next leap year.
If you’re feeling overwhelmed or the stains are simply too deep for DIY methods, that’s where The Cleaning Ninjas Inc comes in. We have specialized equipment and professional-grade solutions designed to tackle large-scale restoration without you having to spend your entire weekend on your hands and knees. Check out our services to see how we can handle the heavy lifting for you.

How to Keep Your Grout Looking "Ninja-Clean"
Once you’ve done the hard work of restoring your grout, you definitely don't want to do it again next month. Here are three pro tips for maintenance:
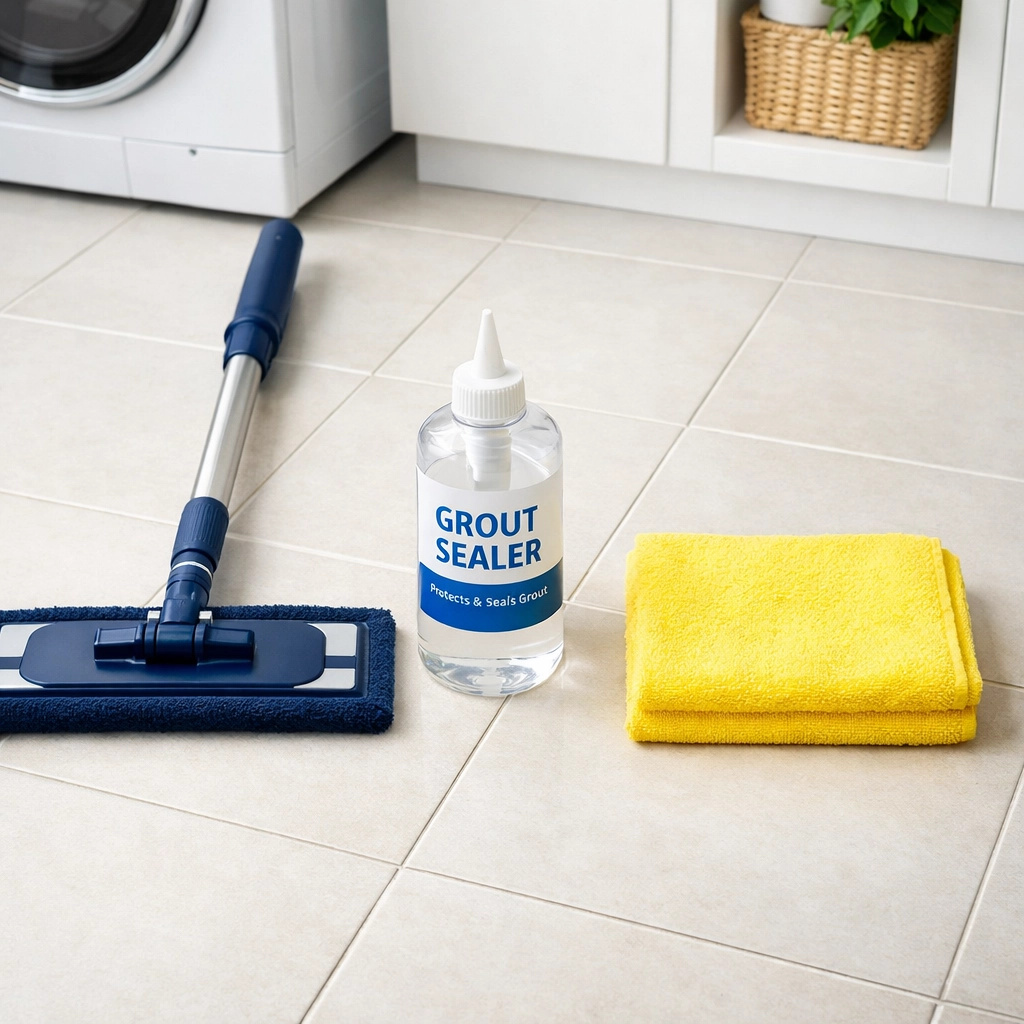
- Seal It: After your grout is clean and completely dry (wait at least 24 hours), apply a high-quality grout sealer. This creates a waterproof barrier that prevents those "microscopic straws" from sucking up dirty mop water.
- Ditch the Dirty Mop: Traditional string mops often just push dirty water into the grout lines. Switch to a microfiber flat mop and change the pad frequently as you clean.
- Dry Your Shower: In the bathroom, use a squeegee or a quick towel wipe-down after your shower. Eliminating standing water is the best way to prevent mold and mildew from taking root in your grout.
Final Thoughts
Grout restoration doesn't have to involve harsh chemicals or expensive contractor bills. With a little bit of baking soda, some hydrogen peroxide, and a healthy dose of patience, you can bring the sparkle back to your floors and walls. It’s one of the most satisfying DIY projects because the "before and after" is so dramatic.
So, grab a bowl, mix up some paste, and show those grout lines who’s boss! And remember, if the job gets too big or you’d rather spend your Saturday doing literally anything else, the team at The Cleaning Ninjas Inc is always here to help. Happy cleaning!

