Let’s be honest: there is something incredibly satisfying about the way sunlight hits a freshly polished piece of wooden furniture. Whether it’s a vintage oak dining table passed down through generations or a sleek, modern teak coffee table, wood adds a warmth and character to a home that other materials just can’t match.
However, if you’ve ever looked at the back of a standard commercial furniture polish bottle, you might have been a bit surprised. Many of those store-bought sprays are packed with synthetic fragrances, petroleum distillates, and silicone-based ingredients. While they provide a temporary "fake" shine, they can actually cause a waxy buildup over time that dulls the wood's natural beauty and traps dust.
At The Cleaning Ninjas Inc, we’re all about finding the most effective, eco-friendly ways to keep your home sparkling. We believe you shouldn't have to choose between a clean house and a healthy environment. That’s why we’re sharing our favorite "Ninja secrets" for DIY wood polish. These recipes use simple, pantry-staple ingredients that nourish the wood from the inside out, leaving behind a genuine, healthy glow instead of a greasy film.
Why Go the DIY Route for Wood Care?
Before we jump into the recipes, let’s talk about why making your own polish is a total game-changer.
- Safety First: When you make your own cleaning supplies, you know exactly what’s in them. This is especially important if you have curious toddlers or pets who might decide to taste the coffee table.
- Cost-Effective: Most of these ingredients: like olive oil and vinegar: are things you likely already have in your kitchen. You’ll save a significant amount of money over time by skipping the cleaning aisle.
- Preservation: Natural oils like jojoba or olive oil actually penetrate the wood fibers, helping to prevent the wood from drying out and cracking. Commercial waxes often just sit on the surface.
- Custom Scents: You aren't stuck with that "artificial lemon" smell. You can use high-quality essential oils to make your home smell like a cedar forest, a lavender field, or a fresh citrus grove.
Understanding Your Ingredients
To get the best results, it helps to understand what each ingredient brings to the table. Think of this as the "Ninja Toolkit" for wood restoration.
- The Base (Oil): This is the "moisturizer" for your wood. Olive oil is the most common choice because it’s accessible, but jojoba oil is a fantastic alternative because it has a longer shelf life and doesn’t go rancid as quickly. The oil fills in tiny scratches and restores the deep color of the wood.
- The Cleaner (Vinegar): White distilled vinegar is a mild acid that helps cut through fingerprints, grime, and old wax buildup. It’s the "cleaning" part of the polish. If you have very dark wood (like mahogany or dark walnut), we recommend using apple cider vinegar instead of white vinegar to maintain that rich, deep tone.
- The Protectant (Beeswax): For a deeper polish or a furniture balm, beeswax is the secret ingredient. It creates a thin, breathable barrier that protects the wood from moisture and light wear.
- The Scent & Extra Clean (Essential Oils): Lemon essential oil is the classic choice because it’s a natural degreaser and leaves things smelling fresh. However, cedarwood, pine, or even orange oil work beautifully to complement the natural scent of the wood.
Recipe 1: The Daily Ninja Dusting Spray
If you’re looking for something to use during your weekly cleaning routine, this liquid spray is your new best friend. It’s light, easy to apply, and perfect for large surfaces like bookshelves and side tables.
Ingredients:
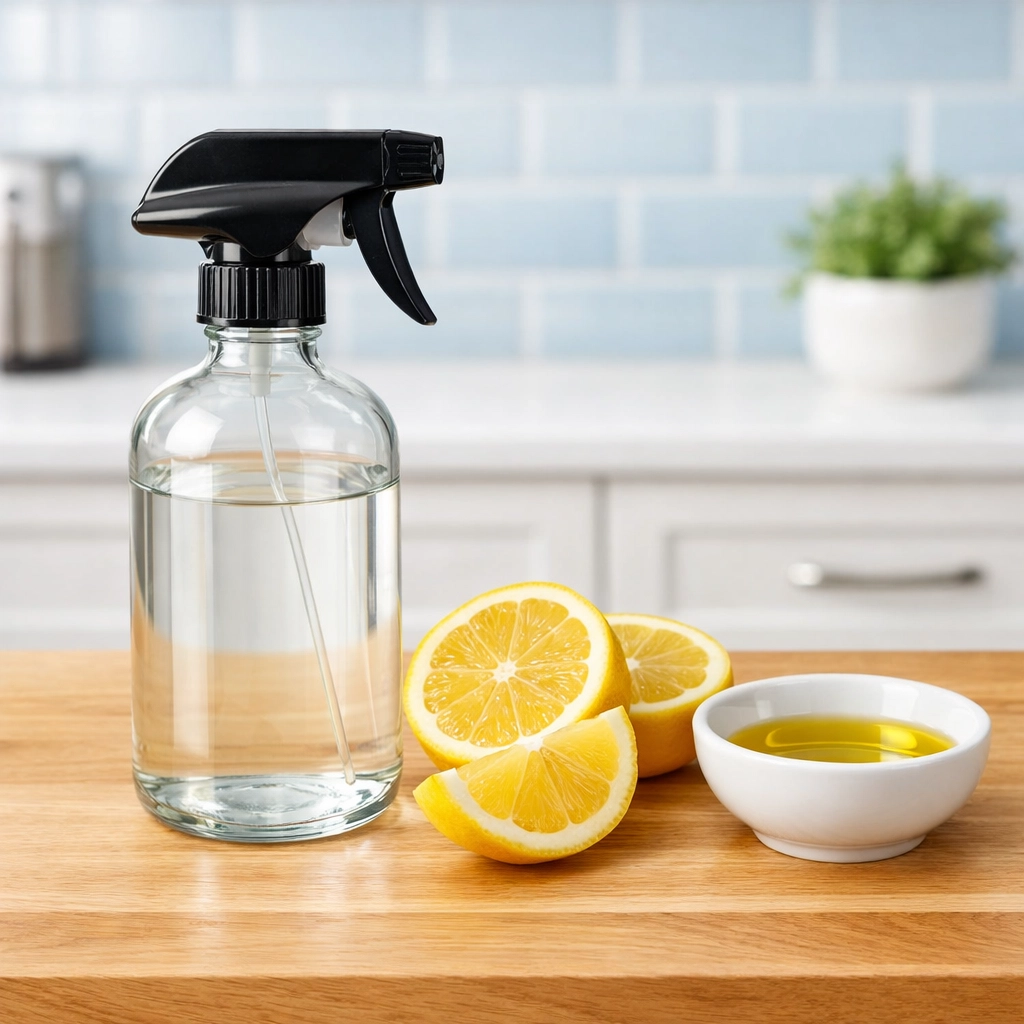
- 1 ½ cups distilled water
- ¼ cup white distilled vinegar (or apple cider vinegar for dark wood)
- 2 tablespoons olive oil or jojoba oil
- 20 drops lemon or orange essential oil
Instructions:
- Grab a 16-ounce glass spray bottle. Glass is better than plastic when using essential oils, as the oils can degrade plastic over time.
- Add the water, vinegar, oil, and essential oils to the bottle.
- Give it a very vigorous shake. Since oil and water don’t naturally mix, you’ll need to shake this before every single use to ensure you aren’t just spraying water on your wood.
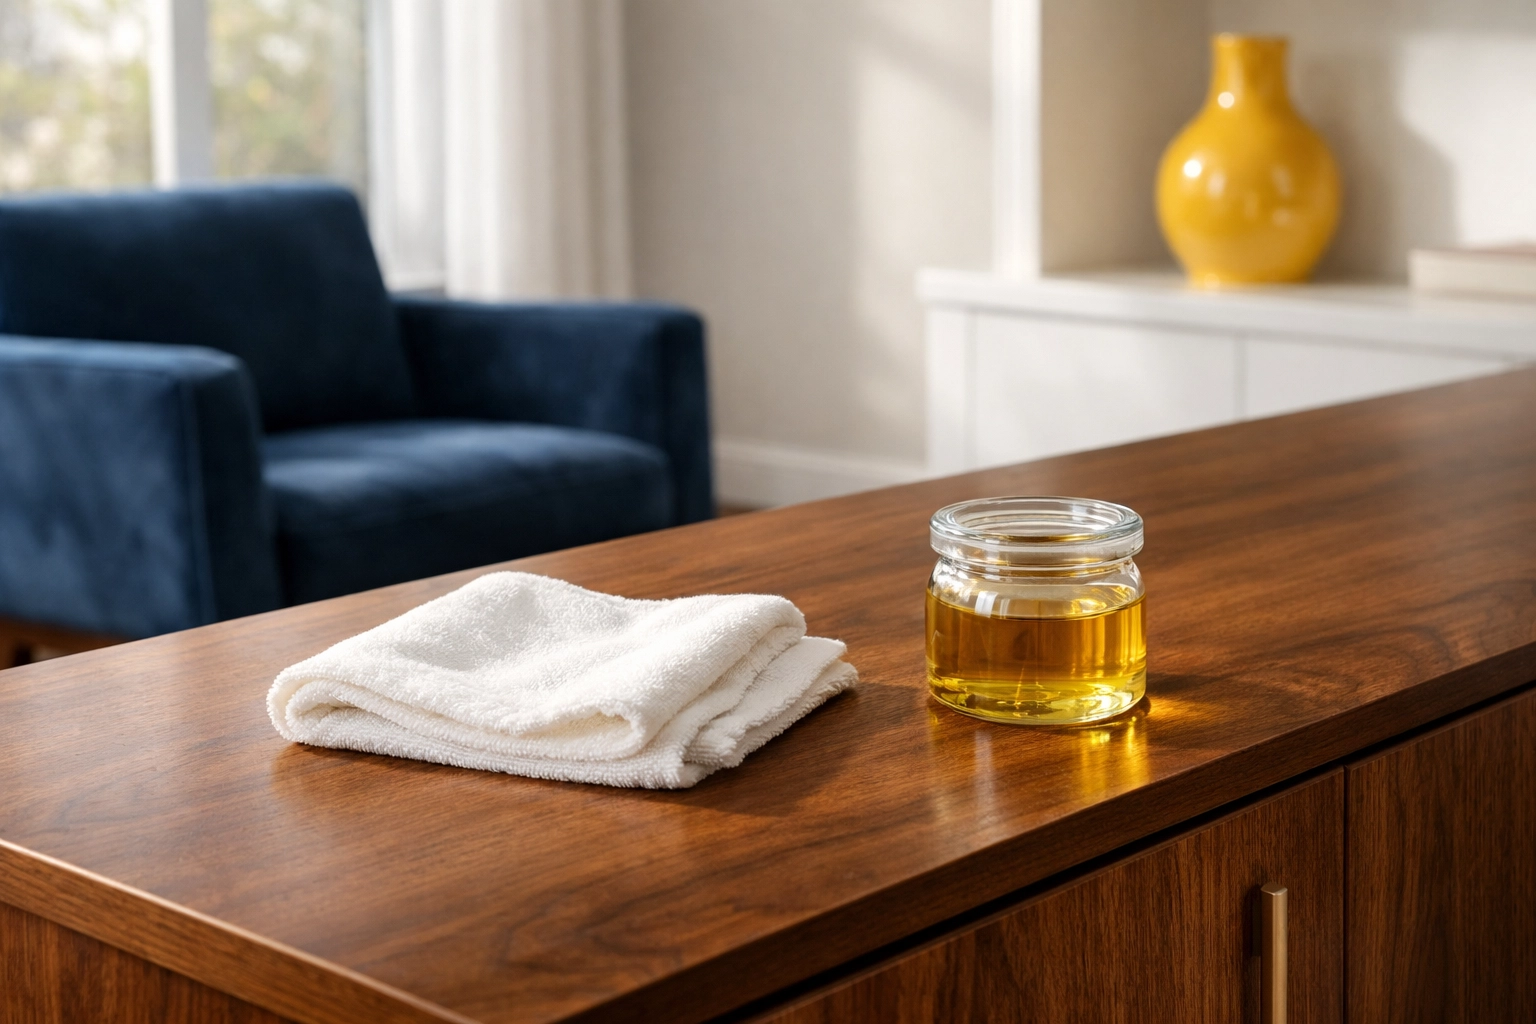
Recipe 2: The Three-Ingredient Deep Shine
This recipe is a bit more concentrated than the spray. It’s ideal for furniture that looks a little "thirsty" or dull.
Ingredients:
- ¾ cup olive oil
- ¼ cup vinegar
- 15 drops lemon essential oil
Instructions:
- Mix the ingredients in a small bowl or jar.
- Stir thoroughly with a spoon or whisk.
- Since this doesn't contain water, it’s much more oily. Use a soft microfiber cloth to apply a small amount, rubbing it into the wood in the direction of the grain.
- Wait about five minutes, then use a second, clean cloth to buff away any excess.
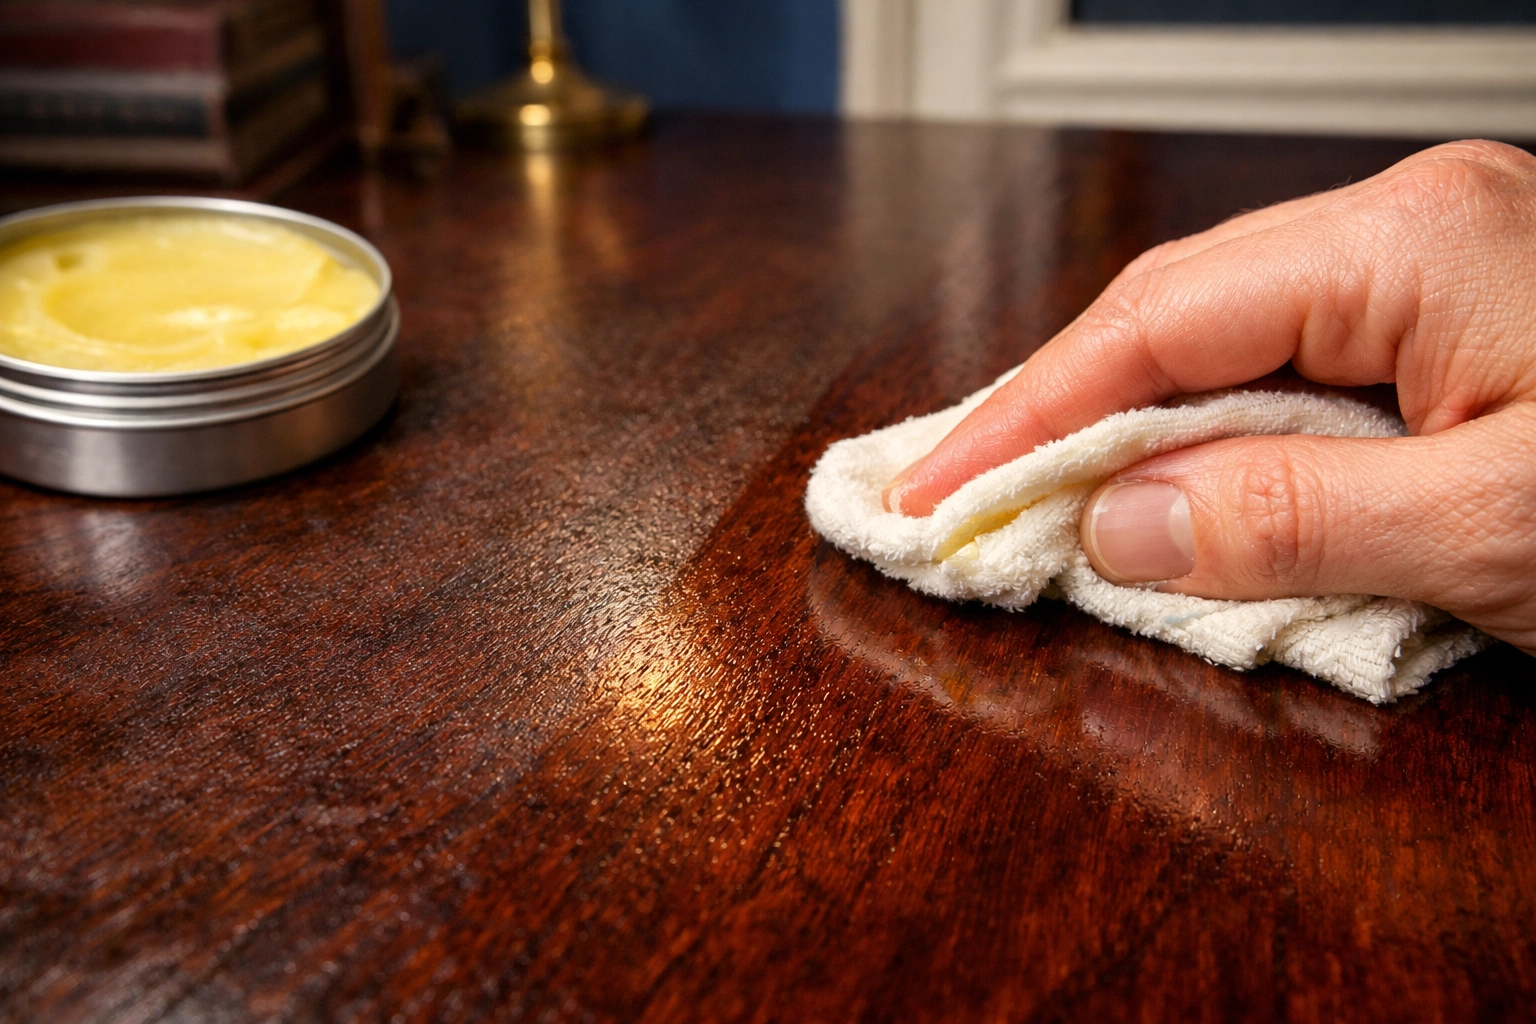
Recipe 3: The "Ninja Balm" (Beeswax Polish)
For high-end furniture or pieces that need serious protection, a beeswax balm is the gold standard. This creates a soft, satiny finish that lasts much longer than a spray.
Ingredients:
- 2 tablespoons finely grated beeswax (or beeswax pellets)
- 6 to 8 tablespoons olive oil (use 8 if you want a softer, spreadable cream)
- 10 drops of cedarwood or pine essential oil (optional)
Instructions:
- Using a double boiler (or a glass bowl placed over a pot of simmering water), melt the beeswax until it is completely liquid.
- Once melted, slowly stir in the olive oil.
- Remove from heat and add your essential oils.
- Pour the mixture into a wide-mouth glass jar or a shallow tin.
- Let it sit at room temperature for a few hours until it solidifies into a creamy paste.
How to Apply Like a Pro
Even the best DIY polish won't look great if it's applied incorrectly. Here is how the pros at The Cleaning Ninjas Inc handle wood care:
- Test a Hidden Spot: Before you slather your entire heirloom table in DIY polish, test a small, inconspicuous area (like the back of a chair leg) to make sure you like the result and the wood reacts well.
- Dust First: Never polish a dusty surface! You’ll just end up moving the dirt around and potentially scratching the finish. Use a dry microfiber cloth to remove loose dust first.
- Follow the Grain: Wood has a natural direction to its fibers. Always apply and buff your polish in the direction of that grain. This helps the oil soak in and prevents streaking.
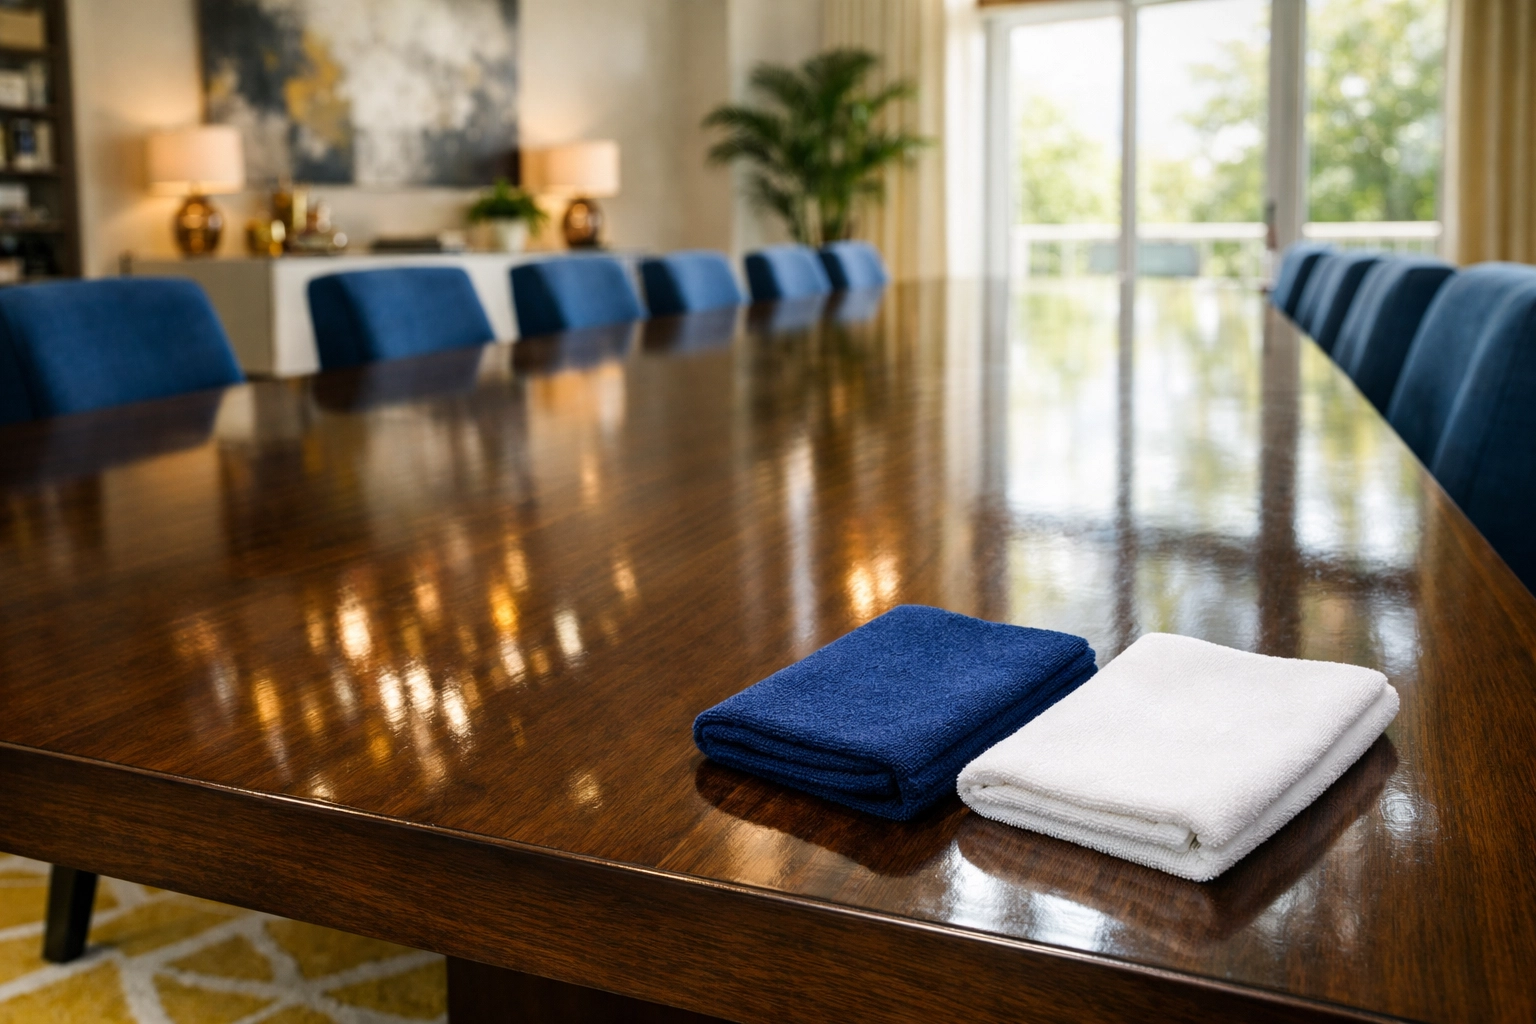
- The Two-Cloth Rule: This is the most important tip. Apply the polish with one cloth, let it sit for a minute or two to "sink in," and then buff it dry with a completely separate, clean cloth. If you leave excess oil on the surface, it will attract dust and leave fingerprints.
Common Mistakes to Avoid
While DIY polishing is generally very safe, there are a few things to keep in mind to keep your furniture in top shape:
- Using Too Much Oil: A little goes a long way. If the wood feels greasy to the touch after you’ve finished buffing, you’ve used too much.
- Using Old Oil: If you use olive oil, try to make small batches that you can use up within a month or two. Old olive oil can eventually go rancid and leave a faint "kitchen" smell. Jojoba oil is a better choice if you plan on keeping the polish in your cupboard for a long time.
- Ignoring the Finish: If your wood is finished with a high-gloss polyurethane or lacquer, it might not absorb the oil as well as unfinished or oil-finished wood. In these cases, the "Daily Ninja Dusting Spray" is usually the best bet.
Keeping the Rest of Your Home "Ninja Clean"
Taking care of your furniture is just one part of maintaining a healthy, happy home. We know that life gets busy, and sometimes you don’t have the time to grate beeswax or buff out every side table in the house. That’s where we come in!
If you’re looking for more tips on how to keep your space pristine, check out our blog for more eco-friendly hacks and professional advice. And if you’re ready to let the professionals handle the heavy lifting, feel free to learn more about us and how we can make your home shine from floor to ceiling.
Your furniture does a lot for your home: it holds your coffee, hosts your family dinners, and adds style to your space. Treat it to a little natural TLC with these DIY recipes, and you'll be amazed at how much life you can bring back to those wooden surfaces. Happy polishing!