

Life moves fast, and sometimes, it leaves a mess in its wake. Whether it’s a glass of red wine tipped over during a lively dinner party, a sudden coffee splash across your home office desk, or a pet "accident" that seems to happen at the worst possible moment, spills are an inevitable part of the human experience. At The Cleaning Ninjas Inc, we believe that the difference between a minor hiccup and a permanent stain often comes down to speed.
To react with the speed of a ninja, you can’t be rummaging through the dark depths of the cabinet under your kitchen sink, looking for that one specific spray or a roll of paper towels that may or may not be empty. You need an Emergency Spill Kit.
Think of this kit as your tactical gear. It’s a pre-assembled, go-anywhere bucket or tote that holds everything you need to neutralize a mess before it sets. In this guide, we’re going to break down exactly what goes into the ultimate Ninja Spill Kit so you can keep your home looking sharp without breaking a sweat.
The Philosophy of the Ninja Response
Before we dive into the shopping list, let’s talk about strategy. In the professional cleaning world, we follow a simple four-step process for spills: Protect, Contain, Absorb, and Sanitize.
- Protect: Put on your gear so you aren't touching nasty chemicals or biological messes.
- Contain: Stop the liquid from spreading further.
- Absorb: Lift the bulk of the liquid out of the surface.
- Sanitize: Remove the residue and any lingering germs or odors.
Your kit needs to have tools that address each of these steps. If you’re ever overwhelmed by a mess that’s too big for your kit to handle, you can always check out our services to see how we can step in and help.
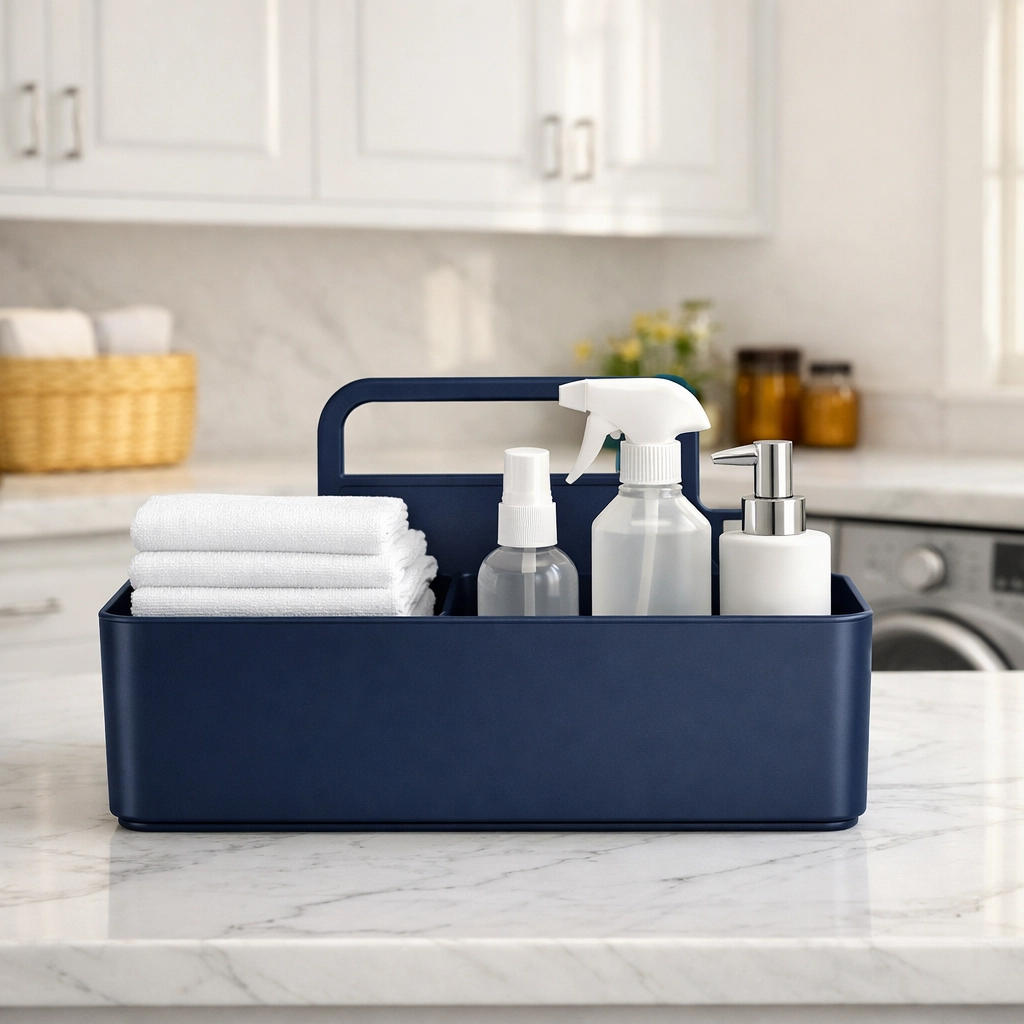
The Vessel: Choosing Your Container
You want something portable. A five-gallon plastic bucket is a classic choice because it’s durable and can actually be used during the cleanup to hold soapy water or to transport wet cloths. However, if you live in a smaller space, a cleaning caddy with a handle or a dedicated plastic bin works just as well.
Keep this kit in a central location, usually the laundry room or the pantry, where every member of the household knows where it is. If you have a multi-story home, having a mini-kit on each level is a true ninja move.
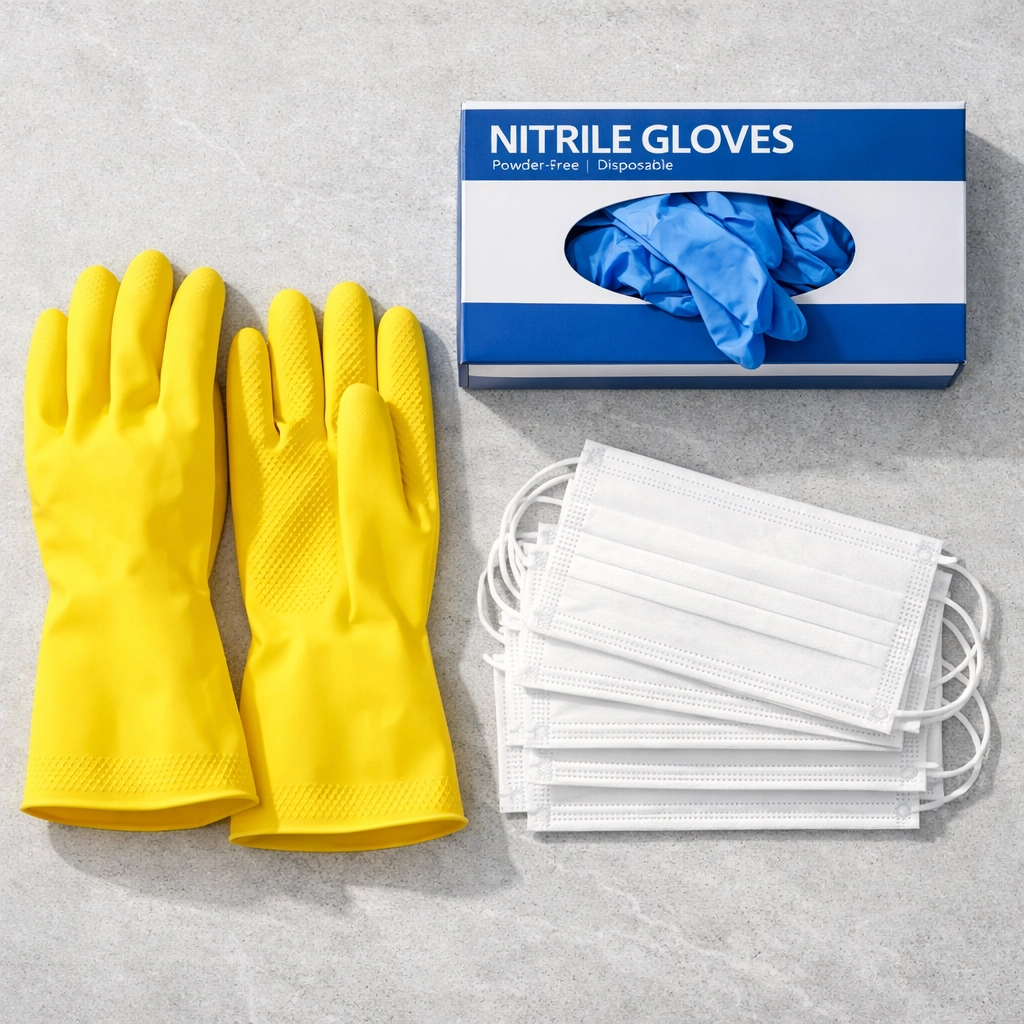
1. Personal Protective Equipment (PPE): Your Ninja Armor
Safety first! You should never handle unknown substances or harsh cleaning chemicals with your bare hands. Your kit should always include:
- Heavy-Duty Rubber Gloves: These protect your skin from irritants and keep things hygienic.
- Disposable Nitrile Gloves: For smaller, less messy spills where you still want a barrier.
- A Pack of Face Masks: Essential if you’re dealing with strong-smelling chemicals or powders that shouldn't be inhaled.
- Safety Goggles: It might seem like overkill until you splash a bit of vinegar or cleaner into your eye.
2. The Absorbents: The Muscle of the Operation
The goal of an emergency response is to get the liquid up as fast as possible. You need various materials depending on what hit the floor.
Microfiber Cloths
These are the gold standard. Microfiber can hold up to seven times its weight in water. Keep a stack of at least five high-quality microfiber cloths in your kit. Use lighter colors so you can see if the stain is still lifting as you blot.
Paper Towels
Sometimes, you just want to throw the mess away immediately. A fresh roll of high-absorbency paper towels is a must for those "gross" spills that you don’t want to put through the wash.
Specialized Absorbent Powders
For liquid spills on hard floors, like oil or large amounts of water, consider keeping a small container of:
- Baking Soda: Great for absorbing moisture and neutralizing odors.
- Cornstarch: Excellent for lifting greasy or oily spills.
- Cat Litter (Unused!): If you have a garage or basement spill involving oil, cat litter is a powerhouse for soaking it up.
3. The Weaponry: Tools for the Job
Sometimes a cloth isn't enough. You need tools that help you manipulate the mess.
- A Small Squeegee: If you spill a large amount of liquid on a tile or hardwood floor, a squeegee is the fastest way to herd that liquid into a pile for easier pickup.
- A Plastic Scraper or Old Credit Card: Perfect for "lifting" semi-solid messes (like dropped food or mud) before you start wiping. Scraping is often better than wiping, as wiping can push the mess deeper into the surface.
- A Stiff-Bristled Brush: For agitating a cleaning solution into a surface to break up a stubborn spot.
- A Small Dustpan and Brush: Dedicated solely to your spill kit so you aren't hunting for the "house" broom while the clock is ticking.
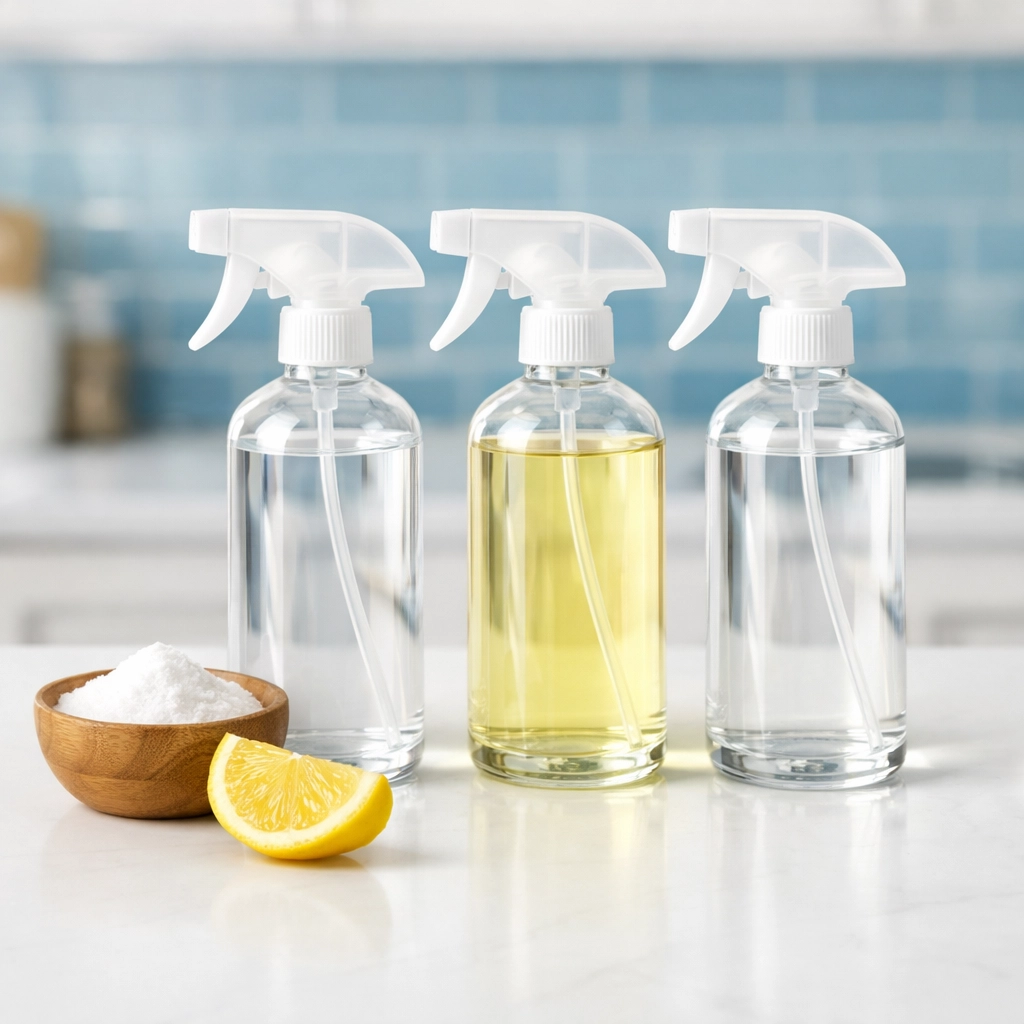
4. The Secret Sauce: Essential Cleaning Agents
While we have plenty of cleaning tips on our blog about deep cleaning, your spill kit should focus on "The Essentials." You don't need twenty different bottles; you need three or four versatile ones.
- All-Purpose Cleaner: A gentle, pH-balanced cleaner safe for most surfaces.
- Distilled White Vinegar: In a 50/50 mix with water, this is a great natural degreaser and glass cleaner.
- Enzyme-Based Cleaner: This is non-negotiable if you have pets. It breaks down the proteins in organic messes (urine, vomit) to completely eliminate odors so the pet doesn't return to the same spot.
- Dish Soap: A small bottle of concentrated Dawn or similar soap. It’s one of the best grease-fighters known to man.
Step-by-Step: The Ninja Spill Protocol
Having the kit is half the battle; knowing how to use it is the other. Here is how a Ninja handles a fresh spill:
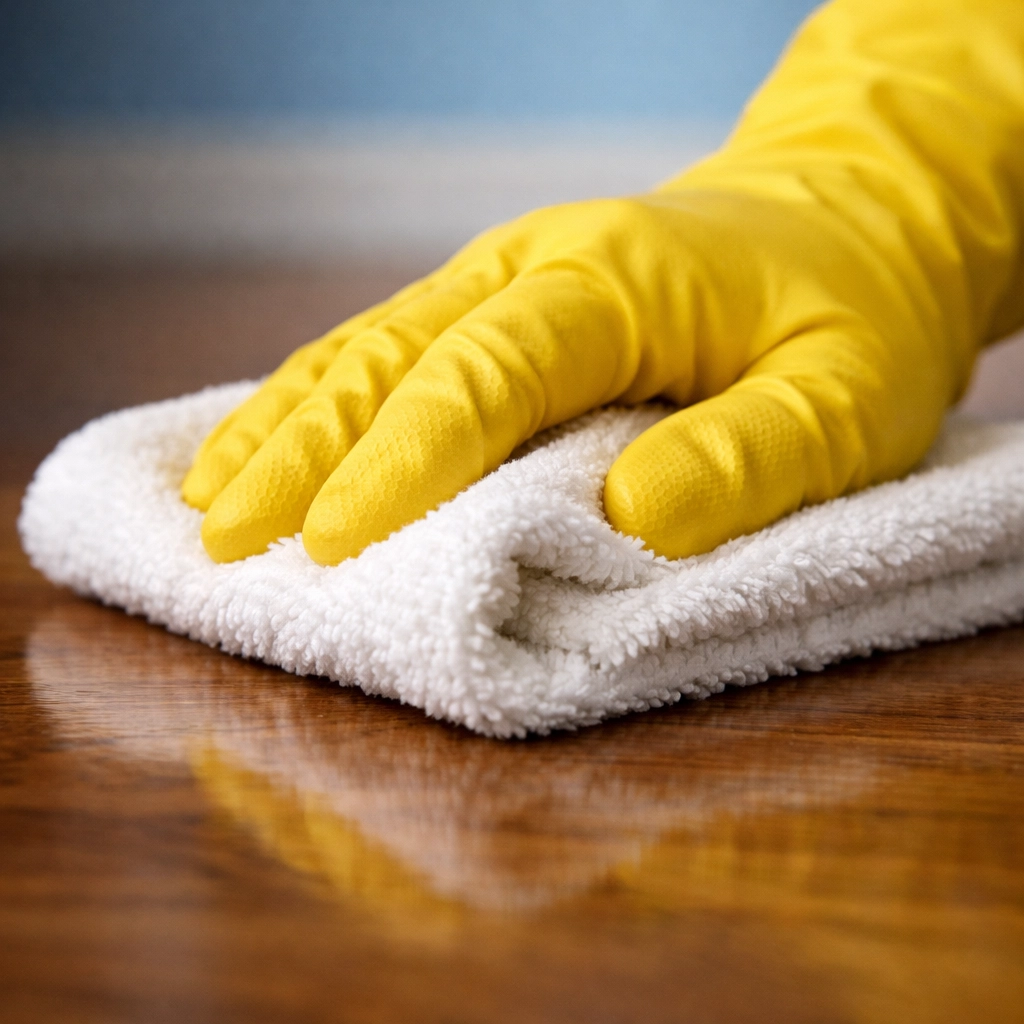
Step 1: Don the Gear. Put on your gloves. Even if it’s just water, it’s a good habit to protect yourself.
Step 2: The "Fold and Blot." Never rub a spill! Rubbing pushes the liquid deeper into the fibers of your furniture or the pores of your stone floor. Take a microfiber cloth, fold it into a square, and press down firmly. When the cloth is saturated, flip it to a dry section and repeat.
Step 3: Contain the Perimeter. If the spill is spreading, work from the outside in. Create a "border" with paper towels or baking soda to stop the flow, then tackle the center.
Step 4: Treat the Residue. Once the bulk of the liquid is gone, apply your cleaner to a cloth (not directly onto the spill site) and gently work it in.
Step 5: The Final Rinse. Use a clean, damp cloth to "rinse" the cleaning agent away. Leaving soap or vinegar behind can actually attract more dirt over time.
Maintaining Your Kit
A spill kit is only useful if it’s ready to go. We recommend doing a "Ninja Audit" every few months.
- Check your liquids: Have they leaked? Are they nearly empty?
- Wash your cloths: If you used your microfiber cloths, make sure they’ve been laundered and returned to the bucket.
- Check the expiration: Some enzyme cleaners lose their potency over time.
At The Cleaning Ninjas Inc, we know that life is messy. But with the right tools and a bit of preparation, those messes don't have to ruin your day. We’ve spent years perfecting the art of the clean, you can learn more about us and our philosophy on our main page.
Real-World Scenarios
To help you visualize how this kit works, let’s look at a few common "emergencies."
The Red Wine Disaster
The Move: Blot immediately with microfiber. Once the excess is up, apply a mixture of dish soap and hydrogen peroxide (if the surface is color-fast) or a dedicated stain remover from your kit. Blot until the color is gone.
The Kitchen Grease Splash
The Move: Cover the area with cornstarch or baking soda from your kit. Let it sit for 10 minutes to draw the oil out. Sweep it up with your mini-dustpan, then hit the area with your all-purpose cleaner to remove the remaining film.
The "Oh No, Puppy!"
The Move: Use the paper towels for the initial pickup. Spray the area liberally with your enzyme cleaner. The key here is patience: let the enzymes work for the time recommended on the bottle before blotting dry.

When to Call in the Pros
Sometimes, a spill is more than a kit can handle. If you’ve experienced a major flood, a spill that has seeped into floorboards, or a mess that covers a massive area, it might be time to call in the experts. You can explore our blog for more advanced techniques, or reach out to us directly for a professional touch.
Having an emergency spill kit isn’t just about keeping things clean: it’s about peace of mind. When you know you have the tools to handle whatever life throws (or spills) your way, you can relax and enjoy your home.
Stay prepared, stay fast, and keep those surfaces sparkling, Ninjas!

