

Let’s be honest: the refrigerator is the unsung hero of the kitchen. It works 24/7 to keep your milk cold, your veggies crisp, and your leftovers from becoming a sentient science experiment. But when was the last time you gave it more than a side-eye and a quick wipe? If opening your fridge door feels like a game of "What’s That Smell?" or a risky maneuver to prevent a jar of pickles from falling on your toe, it’s time for a Refrigerator Refresh.
At The Cleaning Ninjas Inc, we believe that a clean fridge is more than just a chore, it’s a lifestyle upgrade. Not only does a deep-cleaned fridge look and smell better, but it also runs more efficiently and keeps your food fresh for longer. So, grab your microfiber cloths and your sense of humor; we’re going in.
Step 1: The Great Eviction
You can’t deep clean around a gallon of milk and three half-used jars of salsa. To do this right, everything has to go. Start by clearing off your kitchen counters so you have a "staging area."
The Tossing Phase:
As you pull items out, be ruthless. If that salad dressing expired in 2024, it’s time to say goodbye. Check the "Best By" dates on everything. If you find a mystery container in the back that looks like it’s growing a sweater, don’t open it: just dispose of it immediately.
Pro Tip: If you have highly perishable items like raw meat or fish, stick them in a cooler with some ice packs while you work. Safety first, Ninjas!

Step 2: The Soak and Scrub (Removable Parts)
Once the fridge is empty, pull out all the drawers and shelves. This is where most of the sticky "refrigerator juice" (we don't want to know what it is either) lives.
Most people try to wipe these down while they’re still inside the fridge, but that’s like trying to wash your car while driving through a tunnel. Take them to the sink or, if they’re massive, the bathtub.
The Golden Rule of Glass Shelves:
Never put a cold glass shelf directly into hot water. The "thermal shock" can cause the glass to shatter. Let the shelves come to room temperature first, or use lukewarm water.
Let the drawers soak in a mixture of warm water and dish soap for 20 to 30 minutes. If you’re dealing with stubborn, dried-on gunk, a splash of white vinegar will help break down the proteins and sugars. Use a non-scratch sponge to scrub away the grime, then dry them completely. Putting wet shelves back into a fridge creates moisture that can lead to mold later on.
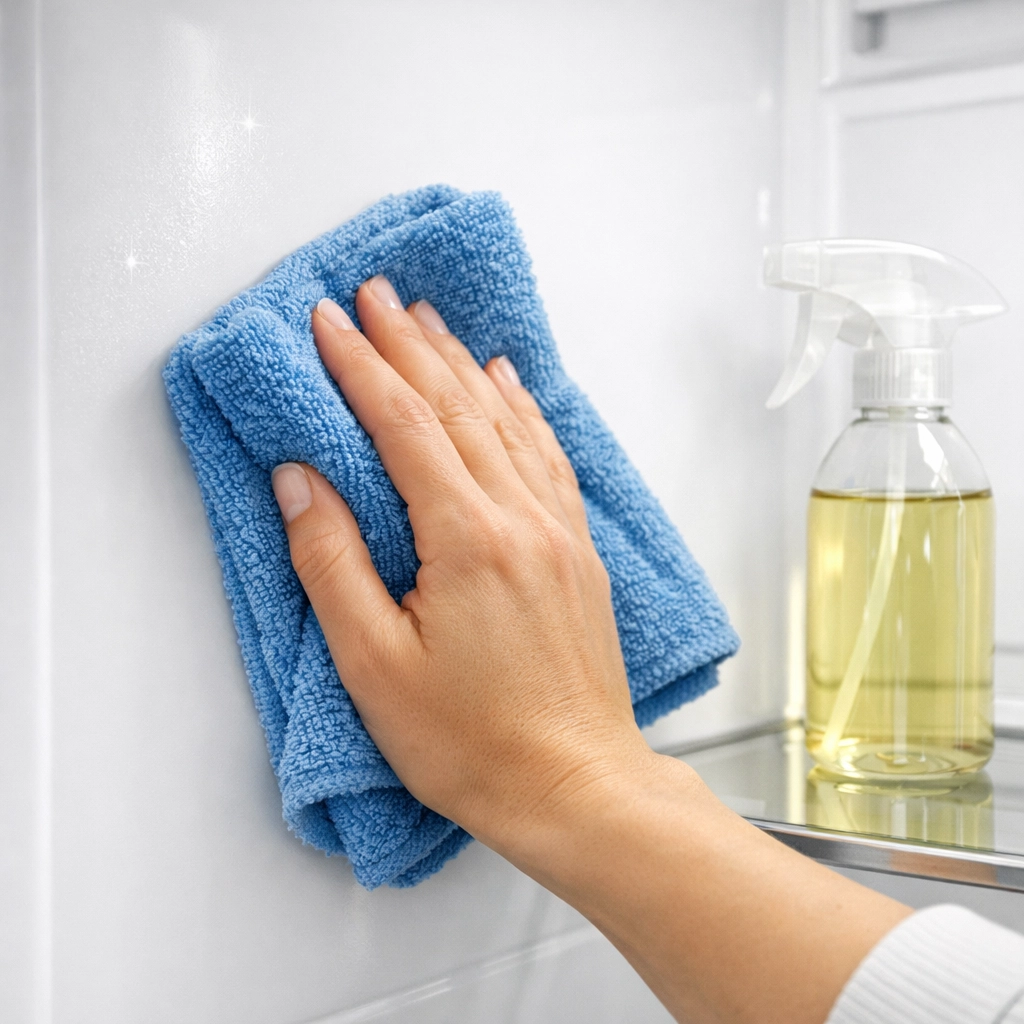
Step 3: Tackling the Interior Battlefield
While your shelves are soaking, it’s time to face the interior walls. You don't need harsh chemicals for this. In fact, since this is where you store your food, we recommend keeping it eco-friendly.
The Ninja Cleaning Solution:
- 1 cup white vinegar
- 1 cup warm water
- A drop of dish soap
Spray the interior walls, the ceiling, and the floor of the fridge. Let it sit for a minute to work its magic. Use a microfiber cloth to wipe from top to bottom. For those annoying crusty spots in the corners, make a paste out of baking soda and a little water. Apply it, let it sit for ten minutes, and wipe it away. It’s like magic, but with fewer top hats.
Step 4: The Forbidden Zone (The Gasket)
The rubber seal around your fridge door (the gasket) is the most neglected part of the appliance. It’s also a magnet for crumbs, hair, and spilled juice. If the gasket is dirty, the seal won’t be airtight, meaning your fridge has to work harder: and your electricity bill goes up.
Take a damp cloth and run it through the folds of the gasket. You might be horrified by what you find. If there’s mold or deep-seated grime, use an old toothbrush dipped in your vinegar solution to gently scrub it out. Once it’s clean, wipe it dry.
Step 5: Exterior and Behind-the-Scenes
Now that the inside is sparkling, let’s talk about the outside. If you have stainless steel, use a dedicated stainless steel cleaner or a tiny bit of olive oil on a cloth to buff out those fingerprints. Don't forget to wipe down the top of the fridge: it's a notorious dust trap!
The Efficiency Move:
If you’re feeling extra ambitious (and your fridge isn't built-in), pull it away from the wall. Vacuum the coils in the back or underneath using a brush attachment. Dust on the coils prevents the fridge from releasing heat, which forces the compressor to run constantly. A quick vacuum can extend the life of your appliance by years. While you’re back there, mop the floor. It’s probably the only time that floor will see the light of day this year.

Step 6: Neutralizing the Funk
Even a clean fridge can sometimes have a "scent." To keep things smelling like a mountain breeze (or at least like nothing at all), place an open container of baking soda on a back shelf.
Ninja Hack: If you want a more pleasant aroma, put a few drops of vanilla extract on a cotton ball and tuck it into a corner, or use dry coffee grounds in a small bowl to soak up heavy odors.
Step 7: Organizing Like a Ninja
Now comes the fun part: putting everything back. But wait! Don't just shove things in. Proper organization keeps your food fresh for longer.
- The Upper Shelves: This is the most consistent temperature zone. Use this for leftovers, drinks, and ready-to-eat foods like deli meats.
- The Lower Shelves: This is the coldest part of the fridge. Keep your eggs and dairy here.
- The Door: This is the warmest area. Do not put milk here! The door should be reserved for condiments, juices, and items with natural preservatives.
- The Crisper Drawers: Use the "High Humidity" setting for leafy greens that wilt (spinach, herbs) and "Low Humidity" for things that rot (apples, pears, mushrooms).
- The Meat Drawer: If your fridge has a dedicated drawer at the bottom, keep your raw meat there. If it leaks, it won't contaminate the rest of your food.

Why Bother With All This?
We get it: deep cleaning a fridge isn't exactly a Saturday afternoon party. But a disorganized, dirty fridge leads to food waste, higher energy bills, and a higher chance of foodborne illness. Plus, there is a certain "Zen" that comes with opening your fridge and actually being able to find the butter on the first try.
If you’re feeling overwhelmed by the state of your kitchen or just don't have the time to go full Ninja on your appliances, that’s what we’re here for. You can check out our services to see how we can help you reclaim your home from the grime. Whether it’s a one-time deep clean or a regular maintenance visit, we’ve got your back.
More Ninja Secrets
Looking for more ways to keep your home in tip-top shape? Head over to our blog for a treasure trove of advice. We’re constantly updating our cleaning tips section with hacks on everything from removing wine stains to keeping your bathroom sparkling without breaking a sweat.
At The Cleaning Ninjas Inc, we’re more than just a cleaning crew; we’re your partners in keeping your sanctuary clean and stress-free. To learn more about our mission and the team behind the masks, visit our About Us page.
Now, go forth and conquer that crisper drawer. Your leftovers are counting on you!

