

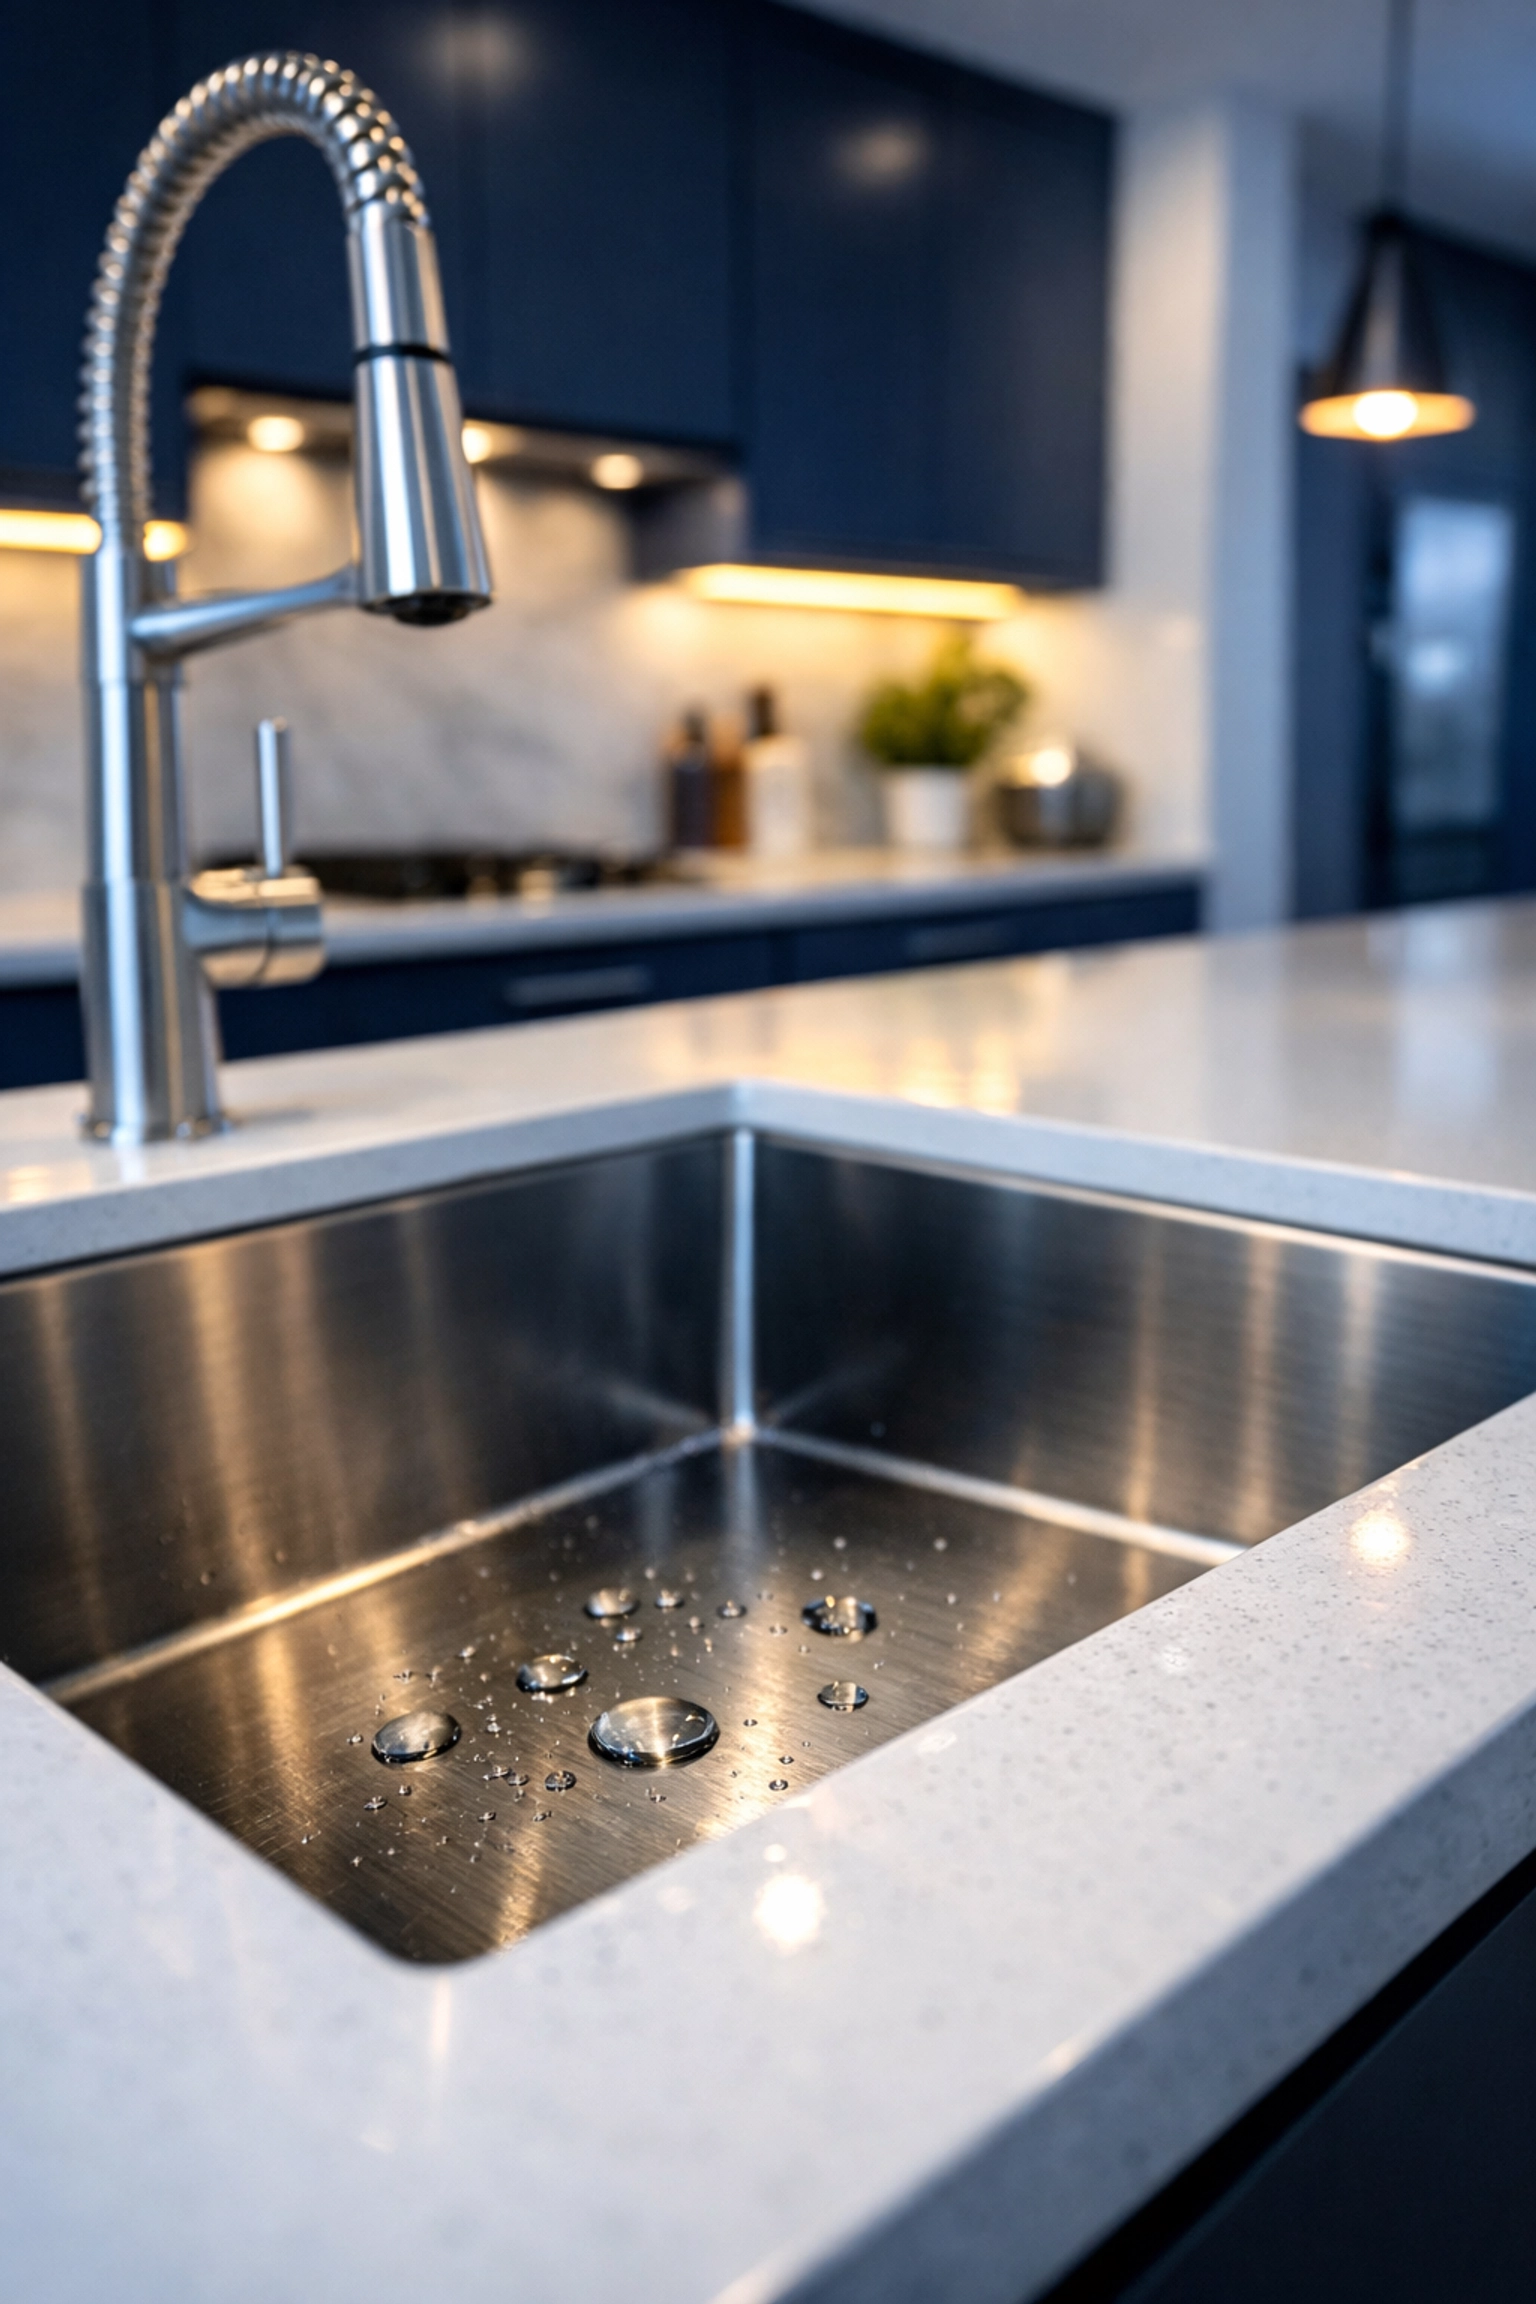
Let’s get real for a second: the kitchen sink is the ultimate overachiever of your home. It handles everything from the raw chicken juices that make you want to bathe in Purell to the crusty remains of last Tuesday’s spaghetti. It’s the centerpiece of the kitchen, but according to every microbiologist ever, it’s also one of the germiest places in your entire house. Yes, often even germier than your toilet seat.
If your current sanitation routine involves a quick blast of hot water and a "looks good to me" shrug, we need to have a little talk. At The Cleaning Ninjas Inc, we’re all about those high-level moves that keep your home actually clean, not just "visually clean." Rinsing is just a courtesy flush for the sink; it doesn’t actually kill the invisible nasties lurking in the corners.
Welcome to the first entry in our Cleaning Tips series. Today, we’re leveling up your kitchen game with a guide to true kitchen sink sanitation.
Why a Rinse Isn't Enough
You’ve probably seen the term "biofilm" floating around on the internet. If you haven't, imagine a thin, slimy layer of bacteria that sets up shop on surfaces. Your sink is prime real estate for these bacterial colonies. When you simply rinse the sink, you’re just giving those germs a quick drink and moving some crumbs around.
The USDA points out that your sink should be cleaned and sanitized every single time you use it to wash or prepare food. This isn't just a meat thing: though raw protein is the biggest offender. Even washing vegetables can leave behind soil-borne pathogens. To truly eliminate the risk of cross-contamination, you need a process that mirrors professional food service standards.
The Ninja-Approved 4-Step Process
To get your sink to a state of Zen-like purity, you have to follow the sequence: Wash, Rinse, Sanitize, and Air Dry. Cutting corners here is like trying to do a backflip without a trampoline: you might manage it, but it’s going to be messy.
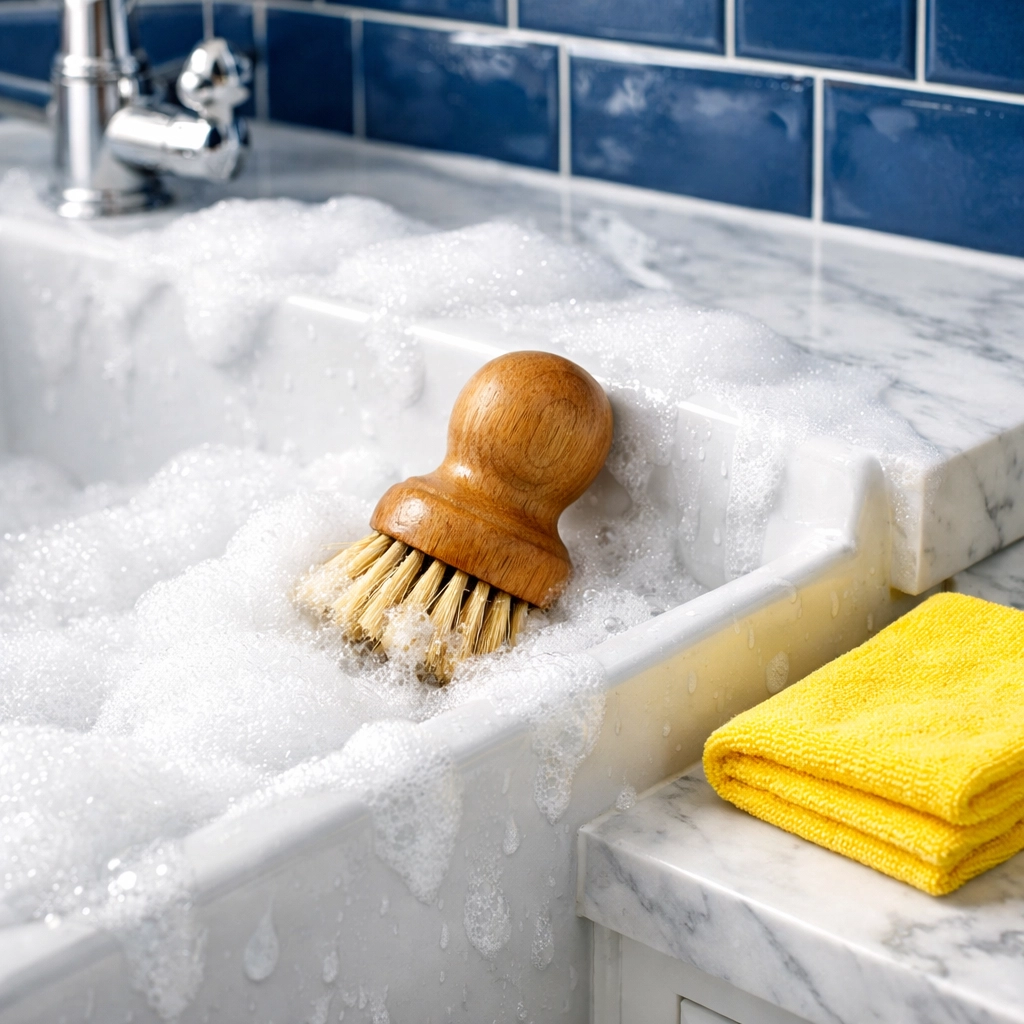
Step 1: The Great Scrub (Wash)
Before you can kill the germs, you have to remove the physical barriers they hide behind. Grease, food particles, and hard water stains act like armor for bacteria.
Grab a brush or a dedicated cleaning sponge. We recommend a brush because sponges are basically high-rise apartments for bacteria (more on that later). Use warm, soapy water and scrub the entire basin. Don't forget the "rim" where the sink meets the countertop: that’s where the real monsters live.
If you have a stainless steel sink, scrubbing with a bit of baking soda can help lift stains without scratching the surface. It provides just enough abrasion to break down that biofilm we talked about.
Step 2: The Flush (Rinse)
Once you’ve loosened the grime, you need to flush it away. Use clean, running water to rinse the entire sink. You want to make sure there is zero soap residue left behind. Why? Because some sanitizers (especially bleach-based ones) can react with soap, or the soap film can prevent the sanitizer from reaching the actual surface of the sink.
Step 3: The Kill Zone (Sanitize)
This is where the magic happens. You’ve cleared the field; now it’s time for the tactical strike. You have a few options here depending on your preference for chemicals vs. natural solutions.
- The Bleach Solution: This is the gold standard for killing almost everything. Mix 1 tablespoon of unscented liquid bleach per gallon of water. Spray the entire sink, including the faucet handles and the drain area.
- The Vinegar Approach: If you prefer the eco-friendly route, use a 1:1 ratio of white vinegar and water. The acetic acid is a natural disinfectant, though it may not be as heavy-hitting as bleach for certain viruses.
- Commercial Sanitizers: If you're using store-bought wipes or sprays, make sure the label specifically says "Sanitizer" or "Disinfectant."
Crucial Ninja Tip: Contact time is everything. You can't just spray and immediately wipe. For a bleach solution to actually work, it needs to sit for at least 5 minutes. This is the "dwell time," and it's the difference between a clean sink and a sanitized one.
Step 4: The Final Wait (Air Dry)
It is incredibly tempting to grab a dish towel and buff that sink to a shine immediately after sanitizing. Don't do it.
Towel-drying is one of the fastest ways to reintroduce microbes to a surface you just spent ten minutes cleaning. Unless that towel is fresh out of a high-heat dryer and has never touched anything else, it’s probably carrying bacteria. Let the sink air-dry. It ensures the sanitizer has completed its job and prevents re-contamination.
Don't Forget the Hidden Targets
When we think "sink," we think of the big metal bowl. But a true cleaning ninja knows that the devil is in the details. While your basin is air-drying, make sure you've hit these spots:
- Faucet Handles: Think about it: you touch these with your "raw chicken hands" to turn the water on. They are hotbeds for germs. Sanitize them every time you do the basin.
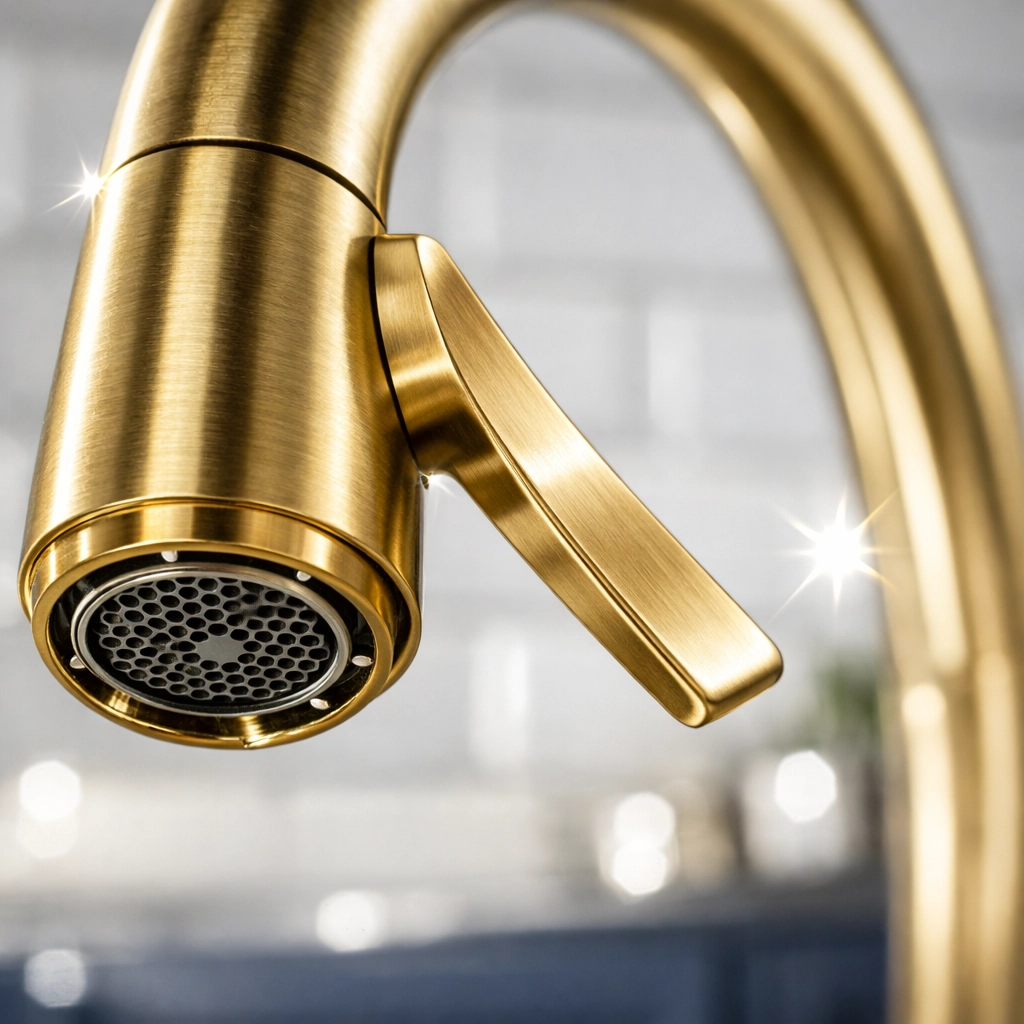
- The Faucet Aerator: That little screen where the water comes out? It can collect scale and bacteria. Every now and then, soak it in vinegar to keep the water flow clean.
- The Drain and Disposal: The drain is like the dark alleyway of your kitchen. Use a brush to scrub as far down as you can reach, and if you have a disposal, toss in some lemon slices or a dedicated disposal cleaner to break up the "gunk" underneath the black rubber splash guard.
The Truth About Your Sponge
We need to have a moment of silence for the kitchen sponge. It is, quite frankly, a biological hazard. Because sponges stay damp and have millions of tiny pores, they are the perfect breeding ground for E. coli and Salmonella.
If you use a sponge to "clean" your sink, you might just be spreading a layer of bacteria across the surface. If you aren't ready to switch to a silicone brush or microfiber cloths that can be bleached, make sure you are sanitizing your sponge daily in the dishwasher or replacing it weekly.
Why This Matters for Homeowners
We get it: life is busy. You’re juggling work, kids, and trying to remember if you paid the electric bill. It feels like adding a four-step sanitation process to your daily routine is a big ask. But consider this: foodborne illness starts at home more often than it does in restaurants.
A clean kitchen is the foundation of a healthy home. When you take those extra five minutes to sanitize, you’re protecting your family from the stuff that causes "stomach bugs" and "24-hour flus" (which are often just mild food poisoning).
If you find that the deep cleaning tasks are stacking up faster than you can handle, that's where we come in. While you handle the daily ninja-level sink sanitation, we can handle the heavy lifting. You can check out our services to see how we can help keep your entire home in fighting shape.
When to Call in the Pros
Sometimes, the kitchen sink is just the tip of the iceberg. Hard water buildup, grime in the grout, and that mysterious smell coming from behind the fridge require a more intensive approach. At The Cleaning Ninjas Inc, we pride ourselves on being the experts who see the dirt others miss.
Whether you need a weekly refresh or a deep dive into every nook and cranny, our team is trained to apply these exact sanitation standards across your whole house. You can learn more about us and our commitment to high-standard cleaning on our website.
Final Thoughts
Sanitizing your kitchen sink isn't just about making it shiny; it's about making it safe. By moving beyond the "quick rinse" and adopting the wash-rinse-sanitize-dry method, you're treating your kitchen with the respect it deserves.
Remember:
- Scrub to remove the physical grime.
- Rinse to clear the soap.
- Sanitize and let it sit for 5 minutes.
- Air dry to keep it pure.
Keep an eye on our cleaning tips category for more hacks on how to maintain a home that doesn't just look clean but feels like a sanctuary. Now, go show that sink who's boss! 🥋✨


