

You finally did it. The plastic sheets are down, the contractors have loaded up their trucks, and your vision has finally come to life. Whether it’s a brand-new kitchen or a total office overhaul, that feeling of completion is incredible: until you take a closer look.
Is that… white powder on the window sill? Why does the floor feel gritty two minutes after walking on it?
Welcome to the post-construction reality. At The Cleaning Ninjas Inc, we call this the "Dust Aftershock." Construction dust isn't like the normal dust bunnies under your couch. It’s finer, heavier, and it has a magical ability to travel through walls and settle in places you didn't even know existed.
If you’re a homeowner or a property manager looking at a "finished" project that still looks a little gray, don’t panic. We’ve put together this comprehensive guide to help you master the renovation dust with a true Ninja-level deep clean.
Why Construction Dust is a Different Beast
Before you grab a standard broom and start sweeping, you need to understand what you’re dealing with. Construction debris includes drywall dust (which is essentially pulverized rock), sawdust, metal filings, and chemical residues from adhesives or paints.
Drywall dust is particularly sneaky. It is infinitesimally small and silica-based, meaning it can irritate your lungs and eyes if handled improperly. It also clogs standard vacuum filters in seconds. To tackle this, you need a strategy that doesn't just move the dust around, but actually removes it from the environment.
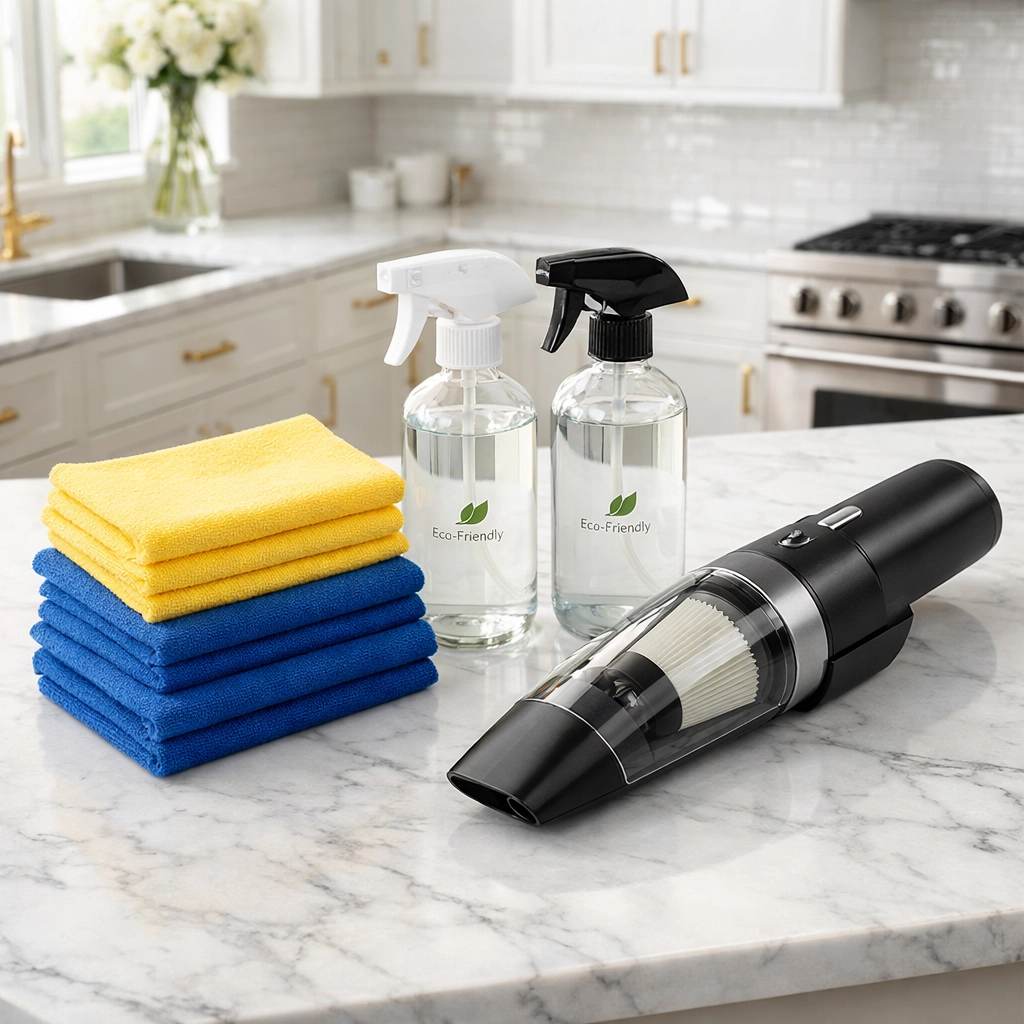
The Ninja Gear: What You’ll Need
To clean like a pro, you need the right tools. Skip the flimsy paper towels and the upright vacuum you’ve had since college.
- HEPA-Filter Vacuum: This is non-negotiable. A standard vacuum will just blow the fine dust back out the exhaust. A HEPA filter captures those tiny particles.
- Microfiber Everything: Microfiber cloths are designed to trap dust rather than push it. Have at least two dozen on hand.
- The Eco-Ninja Cleaning Kit: We believe in keeping your new space safe and non-toxic. Grab some white vinegar, castile soap, and baking soda. These are effective without the harsh fumes that react poorly with fresh paint.
- PPE (Personal Protective Equipment): A high-quality N95 mask, gloves, and eye protection. You’re a Ninja, not a vacuum cleaner: keep your lungs clear!
Phase 1: The Rough Clean (Debris Removal)
The first step isn't about polishing; it’s about clearing the battlefield. This phase is about removing anything that could trip you up or scratch your new surfaces.
- Trash and Scraps: Walk through the entire space with a heavy-duty contractor bag. Pick up wood scraps, leftover drywall bits, screws, and plastic packaging.
- The First Pass Vacuum: Use your shop vac or HEPA vacuum to get the bulk of the dust off the floors. Don't worry about getting it perfect yet; you just want to stop the dust from being kicked up as you move around.
- Remove Stickers: Check all your new windows, appliances, and fixtures. Contractors often leave protective films and stickers behind. A little bit of heat from a hairdryer or a drop of olive oil can help peel these off without scratching the finish.
Phase 2: The Deep Dive (The "Top-to-Bottom" Rule)
In the cleaning world, gravity is your best friend or your worst enemy. If you clean the floors first and then wipe the ceiling fans, you’re doing double the work. Always start at the highest point and work your way down.
1. Ceilings and Walls
Yes, you have to clean the walls. Drywall dust clings to vertical surfaces. Use a damp (not soaking) microfiber mop or cloth attached to a pole. Start at the ceiling corners and wipe downward. For the ceilings themselves, a soft-bristle brush attachment on your vacuum is the best way to catch cobwebs and loose debris.
2. Light Fixtures and Fans
Dust loves heat and static. Wipe down every light bulb, the tops of ceiling fan blades, and the interior of recessed "can" lighting. Ensure the power is off before you start poking around in fixtures!
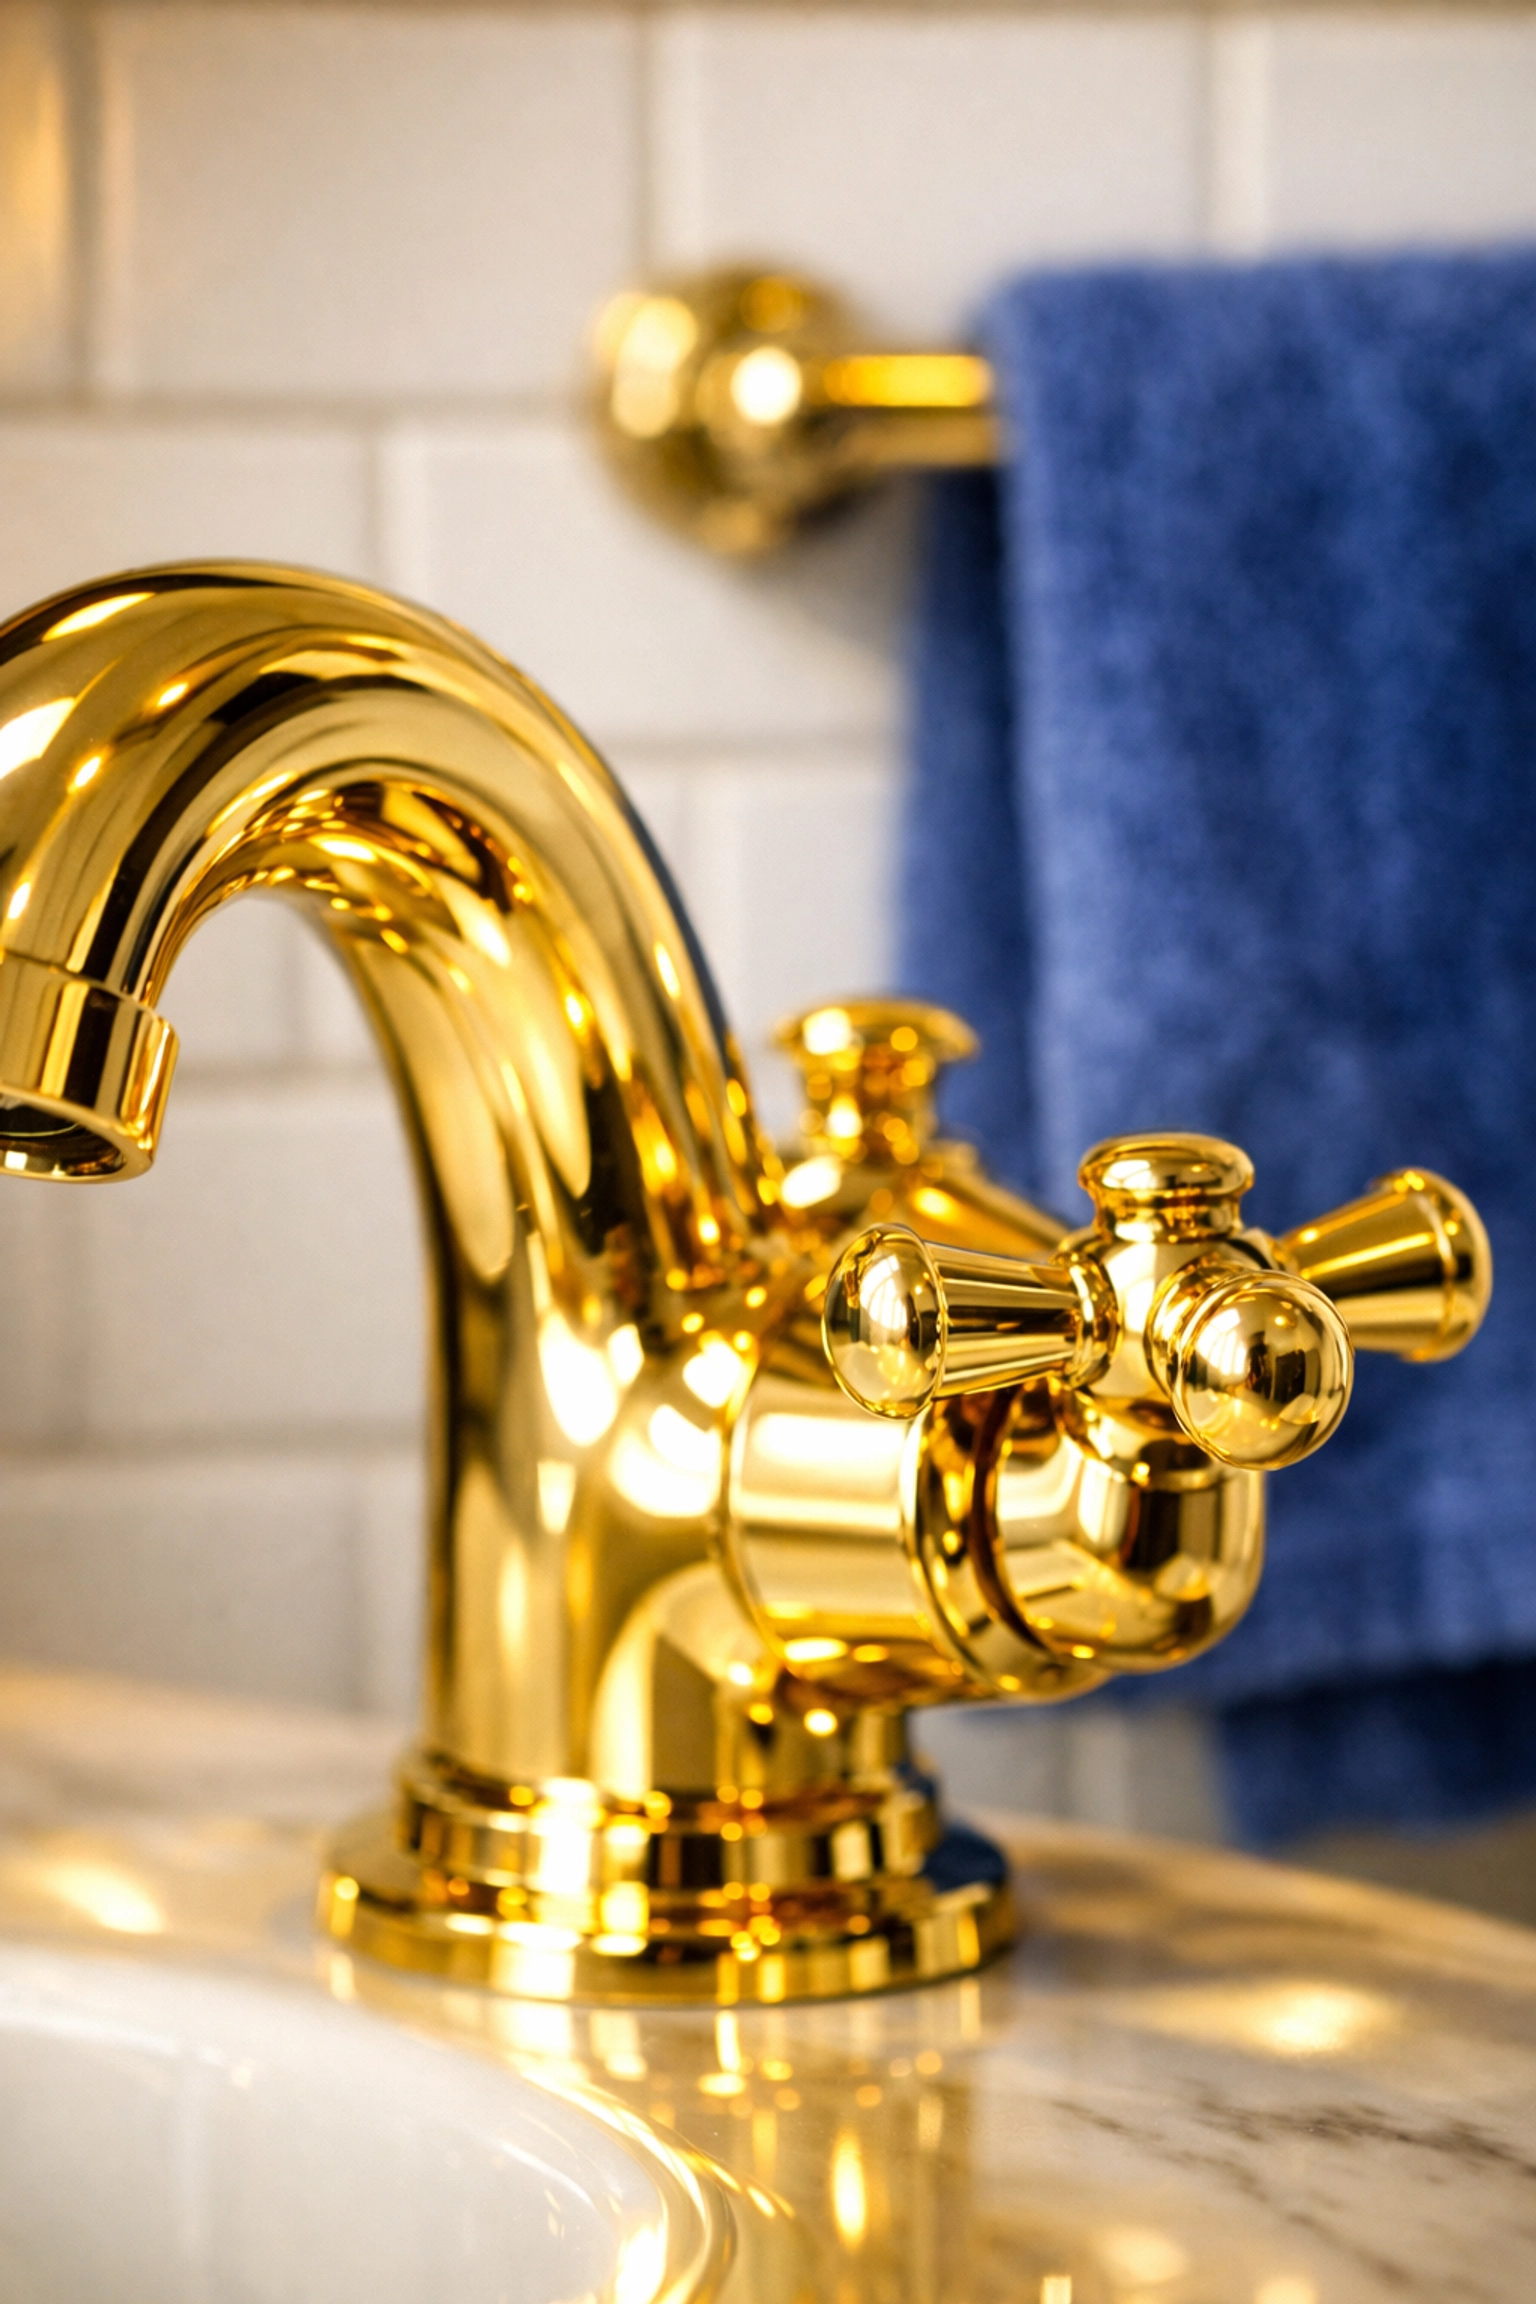
3. Windows and Glass
Construction leaves a film on glass that can be stubborn. Mix one part white vinegar with four parts water. This eco-friendly solution cuts through the haze without leaving streaks. Don’t forget the window tracks and sills: these are prime hiding spots for grit.

4. The "Hidden" Areas: Cabinets and Closets
Open every single drawer and cabinet. Vacuum the insides, then wipe them down with a damp cloth. It’s common for dust to settle inside closed cabinets during the sanding phase of a renovation. If you skip this, your clean dishes will be covered in white powder the moment you put them away.
5. Sanitization of Wet Areas
Bathrooms and kitchens require a "Ninja-level" touch. Scrub the grout lines to remove any dried-on haze. Sanitize countertops and sinks using a mild, eco-friendly soap. Check out our sanitization layouts for more on how we approach high-touch surfaces.
Phase 3: The Final Polish (The Showroom Finish)
Once the heavy lifting is done, it's time for the "white glove" pass. This is where the home goes from "cleaned" to "transformed."
- Buffing Hardware: Use a dry microfiber cloth to polish faucets, cabinet handles, and doorknobs.
- Baseboards and Trim: These are the most overlooked areas. Get down on your hands and knees and wipe every inch of the baseboards.
- The Floor Finale: After everything else is done, give the floors one last HEPA vacuuming followed by a damp mop. For hardwood or tile, a micro-fiber mop with a tiny bit of pH-neutral cleaner is all you need to bring out the shine.
The Secret Ingredient: Air Quality
Even after you’ve wiped every surface, dust particles can still be floating in the air, waiting to settle the moment you sit down to relax.
- Change Your Filters: This is the most important tip for property managers. Construction dust will destroy your HVAC filters. Change them immediately after the project is done, and then again 30 days later.
- Air Purifiers: If you have them, run air purifiers on high for 48 hours post-clean. It helps catch the microscopic particles that your eyes can't see.
Why Property Managers Choose a Professional "Ninja" Clean
For property managers, time is money. A renovation project that sits empty because it's too dusty to show is a loss in revenue. While the DIY approach works for small home projects, large-scale post-construction cleaning requires industrial-grade equipment and a larger team to handle the preparation and execution quickly.
A professional team like The Cleaning Ninjas Inc ensures that:
- The space is move-in ready within 24 hours of construction ending.
- The air quality is safe for new tenants.
- Expensive finishes (like marble or specialty wood) are handled with the correct eco-friendly products to prevent damage.
The Safety First Approach: Eco-Friendly is Best
After a renovation, your home is already full of "off-gassing" smells from new paint, carpet, or cabinetry. The last thing you want to do is dump a bunch of heavy bleach or ammonia-based cleaners into the mix.
We always recommend eco-friendly products for post-construction work. Not only are they safer for the environment, but they are also safer for you to breathe in a space that might still have limited airflow. Simple solutions like diluted vinegar for glass and castile soap for surfaces are powerful enough to tackle construction residue without adding to the chemical load of your home.

Wrapping Up the Renovation Journey
Cleaning up after a construction project is a marathon, not a sprint. It might take two or even three passes to fully eliminate the fine dust that settles over the first week. But by following a structured, top-to-bottom cleaning plan, you can ensure your new space is as healthy as it is beautiful.
Remember, if the task feels like it’s becoming more of a "Boss Battle" than a quick chore, The Cleaning Ninjas Inc is here to step in. We specialize in taking spaces from "construction site" to "sanctuary" so you can finally start enjoying the home or office you worked so hard to build.
Ready to get that "new home" smell without the "old dust" lungs? Let’s get to work! 🥷✨


