

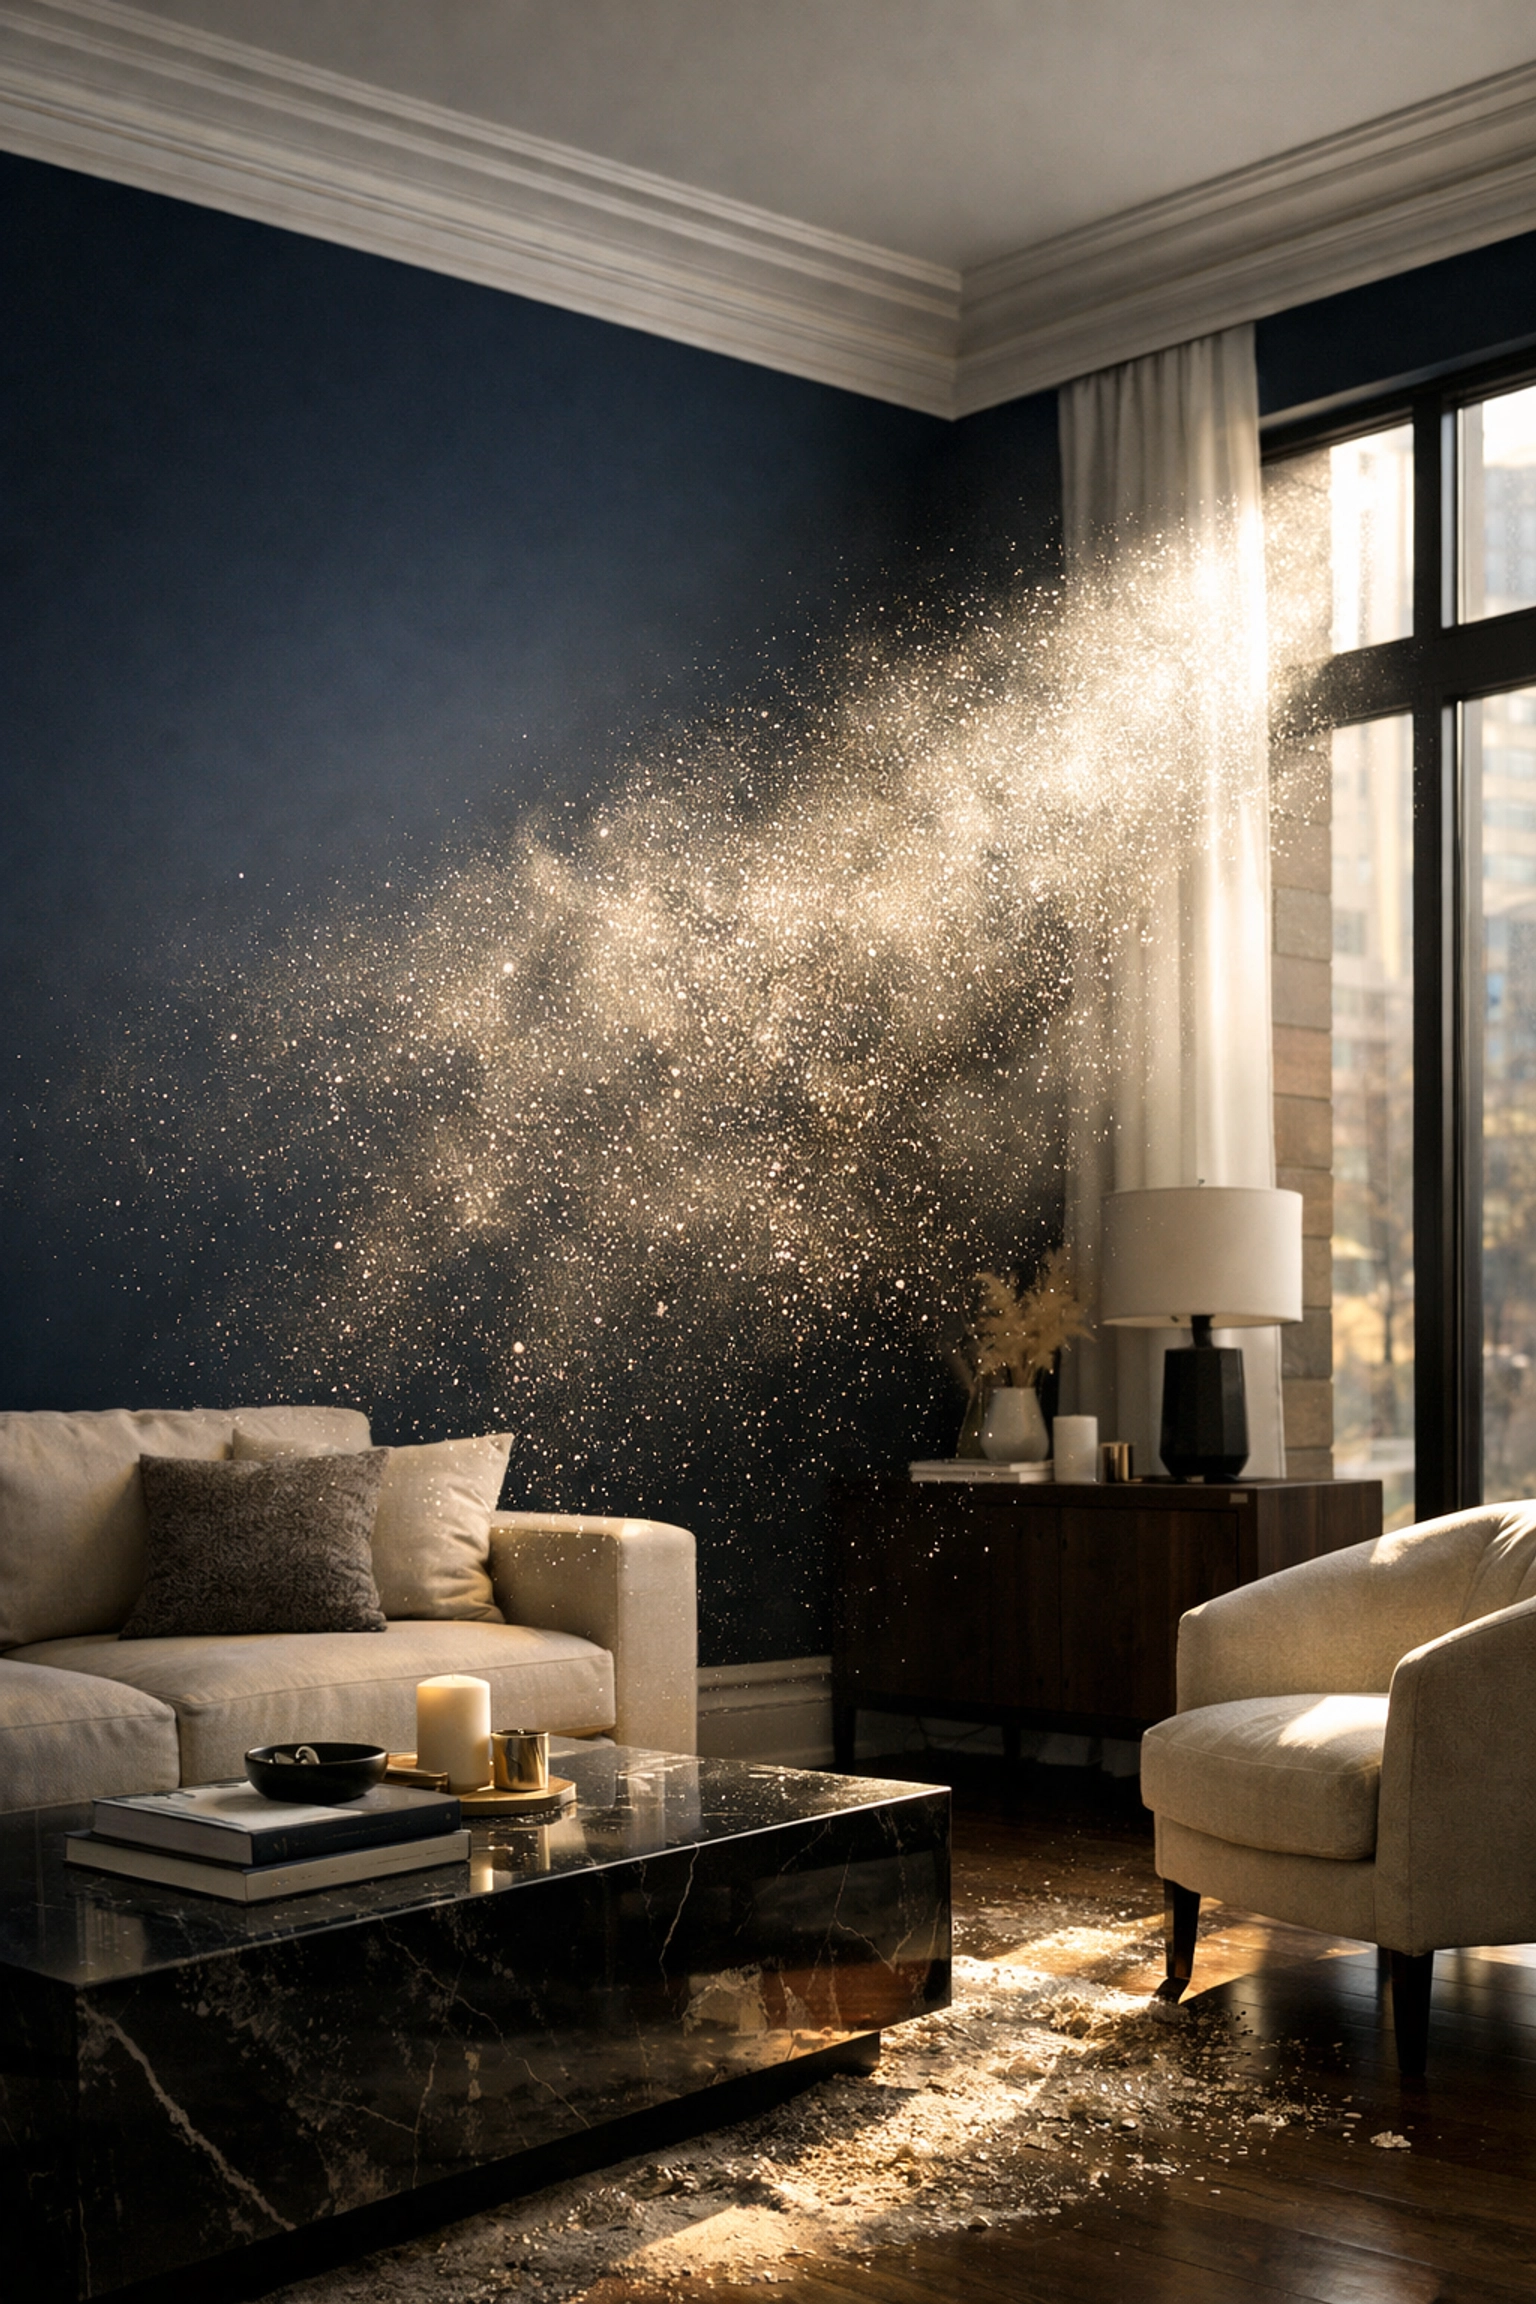
You finally did it. The blueprints are gone, the contractors have packed up their saws, and that dream kitchen or master suite is finally a reality. But as you stand there ready to pop the champagne, you notice something: a thin, grey, ghostly film covering every single surface. It’s in the cabinets, on the light fixtures, and somehow, it’s even inside your closed dresser drawers.
Welcome to the "Renovation Hangover."
Construction dust isn't like the normal dust bunnies you find under your sofa. It’s a mix of drywall particulates, silica, sawdust, and sometimes even metal filings. It’s invasive, it’s stubborn, and if you don’t handle it like a pro, it can actually be dangerous for your family to breathe. At The Cleaning Ninjas Inc, we’ve seen homeowners try to tackle this with a standard upright vacuum and a roll of paper towels, only to find the dust back on the counters two hours later.
If you want your home to actually feel new, you need to think like a Ninja. You need a tactical, top-to-bottom strategy to reclaim your space.
Why Construction Dust is a Stealthy Villain
Before we grab the gear, let’s talk about why we’re being so dramatic about a little dust. Post-construction debris is "fine" in the literal sense, the particles are microscopic. When you sweep with a regular broom, you aren't cleaning; you’re just launching those particles back into the air where they’ll stay for hours before settling right back where they started.
For homeowners and contractors alike, the health risks are real. Fine silica dust (from concrete or stone) and drywall dust can irritate the lungs, trigger asthma, and cause long-term respiratory issues. This is why a "surface wipe" just won't cut it. You need a deep, comprehensive process that actually removes the particles from your home’s environment instead of just moving them around.
The Secret Weapon: HEPA Filters
If there is one thing you take away from this guide, let it be this: HEPA is your best friend.
HEPA (High-Efficiency Particulate Air) filters are designed to trap 99.97% of particles that are 0.3 microns or larger. Standard vacuums, even the fancy ones, often have exhaust systems that spit fine construction dust right back out the rear of the machine. It’s like trying to catch water with a fishnet.
When we perform our services, we rely on industrial-grade HEPA vacuums. These machines are sealed, ensuring that once the dust goes into the canister, it stays there. If you’re DIY-ing this, don't even think about starting until you've swapped your shop-vac filter for a HEPA-rated one or rented a professional air scrubber.
Phase 1: Establish Air Quality Control
The first step in a Ninja-level clean is clearing the air. Literally.
- Replace Your HVAC Filters: Your home’s heating and cooling system has likely been "breathing" construction dust for weeks. If you don't change the filter immediately, you’re just circulating debris through your vents.
- Clean the Vents: Take the vent covers off and vacuum as far into the ductwork as you can reach.
- Run an Air Purifier: If you have a HEPA air purifier, run it on high 24/7 during the cleaning process. It will catch the particles that you inevitably kick up while wiping down surfaces.
Phase 2: The Top-to-Bottom Tactical Strike
In the Ninja world, gravity is an ally. We always start at the highest point in the room and work our way down. If you clean the floors first and then wipe the ceiling fans, you’ve just doubled your workload.
The Ceiling and High Fixtures
Start with the ceiling itself. Yes, dust clings to paint. Use a vacuum attachment or a microfiber mop to "sweep" the ceiling. Move to the light fixtures and ceiling fans. These are notorious for hiding thick layers of sawdust that will rain down the moment you turn them on.
The Middle Zone: Walls and Windows
Walls are often overlooked. Drywall dust is "staticky" and loves to hang out on vertical surfaces. Use a damp microfiber cloth to wipe down the walls from top to bottom.
Next, hit the windows. Construction leaves behind more than just dust: there’s often sticker residue, paint overspray, and drywall mud on the glass. Use a professional-grade glass cleaner and a squeegee to get that crystal-clear finish. Don't forget the tracks and sills; these act as "dust traps" that will grit up your window's movement if left uncleaned.

Phase 3: The Deep Dive into Cabinets and Closets
This is where the real "Ninja" patience comes in. Construction dust finds its way into every nook and cranny.
- Kitchen Cabinets: Open every drawer and cupboard. Vacuum the interiors first, then wipe them down with a damp cloth. If you skip the vacuuming and go straight to a wet rag, you’ll just create a "mud" that’s impossible to get out of the corners.
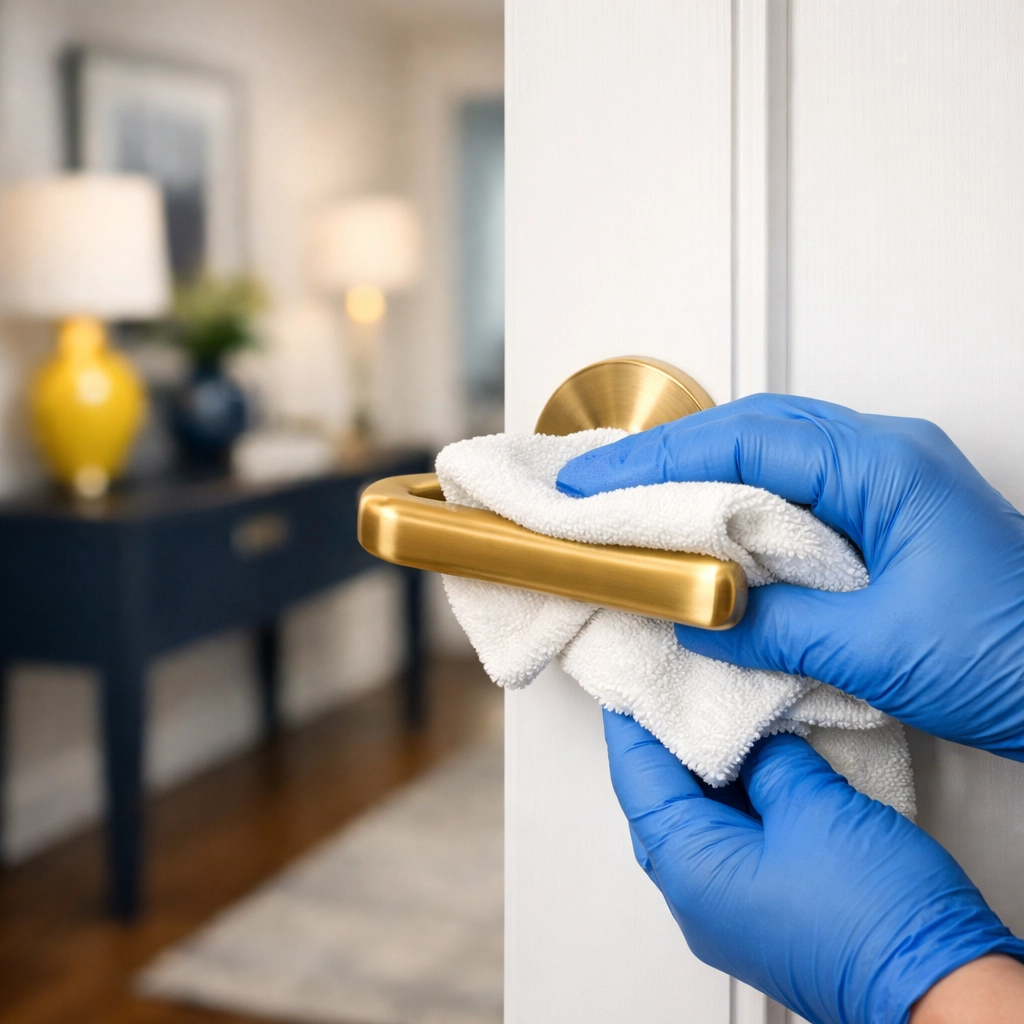
- Hardware and Hinges: Wipe down every knob, handle, and hinge.
- Appliances: If you have new appliances, pull them out (carefully!). Dust loves to settle behind the fridge and under the stove during a renovation.
Phase 4: The Final Floor Blitz
By now, most of the dust should be on the floor. Remember: No sweeping. Sweeping is for amateurs; Ninjas vacuum.
Use your HEPA vacuum on every inch of the floor, including the baseboards and those tiny gaps where the floor meets the wall. Once the "dry" stage is done, it’s time for the "wet" stage. Use a damp mop with a cleaning solution appropriate for your flooring type (hardwood, tile, or laminate). You may need to mop two or even three times before the water stays clear.
Why Contractors and Homeowners Choose a Professional
We get it. After a long renovation, the last thing you want to do is spend three days on your hands and knees with a microfiber cloth. This is usually when people start searching for "post construction cleaning services near me."
Hiring a professional team like The Cleaning Ninjas Inc isn't just about saving time (though it saves a lot of it). It’s about the equipment and the expertise. We have the high-suction HEPA gear, the specialized solutions to remove adhesive residue without damaging your new finishes, and a team that knows exactly where dust hides.
Our goal is to make sure that when we leave, the only thing you’re breathing is fresh, clean air. You can check out our testimonials to see how we’ve helped other homeowners cross that final finish line.
Your Post-Renovation Checklist
To make sure you don't miss a spot, here is your Ninja-approved "Short List":
- Replace HVAC air filters.
- Vacuum and wipe ceiling fans and light fixtures.
- Wipe down walls and remove "ghost" dust.
- Clean window tracks, sills, and glass.
- Vacuum and wipe the inside of all cabinets and drawers.
- Disinfect and polish all countertops and backsplashes.
- Scrub grout lines (construction debris loves to settle here).
- Clean baseboards, door frames, and tops of doors.
- HEPA vacuum all floors.
- Double-mop hard surfaces.
Final Thoughts: Enjoy Your Space
A renovation is a massive investment in your home and your happiness. Don’t let the "dust phase" dampen the excitement of your new space. Whether you decide to tackle it yourself using our top-to-bottom method or you want to bring in the pros to handle the heavy lifting, getting that fine dust out of your home is the most important "last step" of any build.
If you’re feeling overwhelmed by the mess, don't worry: we’ve got your back. At The Cleaning Ninjas Inc, we specialize in turning construction zones back into homes. Feel free to reach out to us for a quote or to learn more about how we can make your post-reno life a whole lot easier.
Now, go enjoy that new room( you earned it!)


