

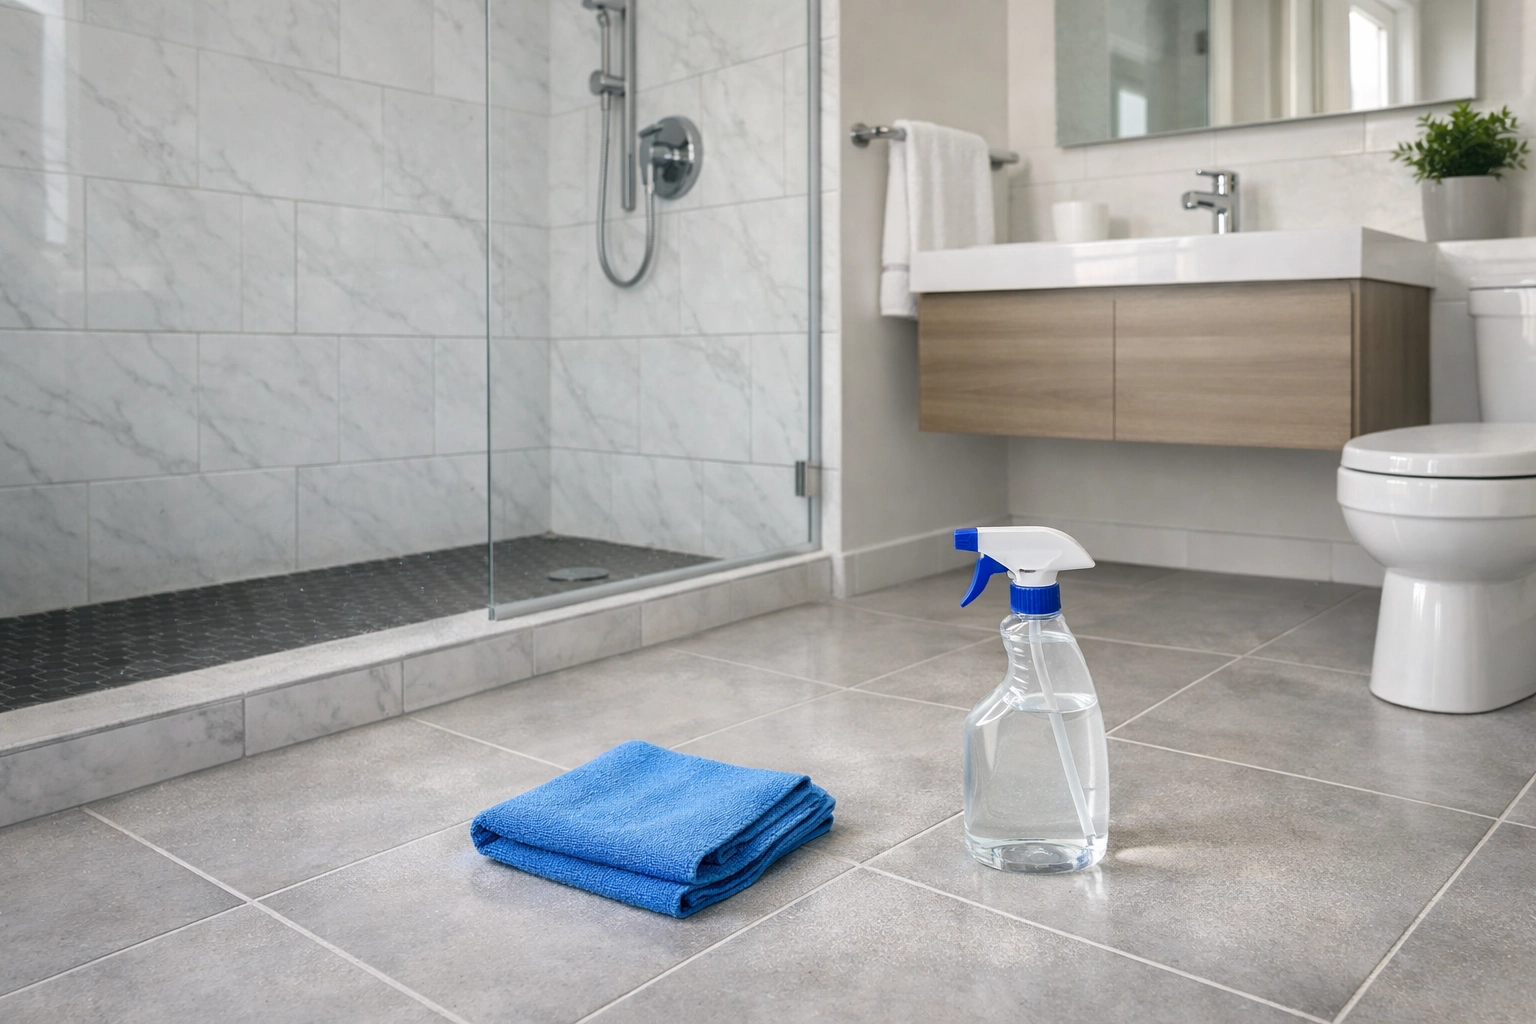
After a kitchen or bathroom renovation, homeowners often notice a strange residue on tiles, countertops, or fixtures.
Many people assume it is caulk; however, in most cases it is actually leftover material from the construction process. This phase of home restoration requires a high degree of precision to ensure that the aesthetic integrity of the new installations is maintained. This is one of the most common calls we receive in post construction cleaning. Contractors finish the installation, but small residues remain on surfaces and become difficult for homeowners to remove without the right technique. Below are the most common materials left behind after renovations and how to remove them safely and effectively…
Initial Debris Removal and HEPA Protocols
Before addressing specialized residues, the environment must be cleared of macroscopic contaminants. Begin by removing all large construction materials, including wood scraps, screws, and nails. Before applying water to any surface, use a soft-bristle broom and HEPA filter vacuum to remove loose dust from ceilings, walls, and floors. Sweeping alone redistributes dust, so vacuuming is essential. This preliminary phase prevents the secondary suspension of particulate matter during the wet cleaning stages of the restoration process…
- Grout Haze; The Most Common Residue After Tile Installation
Material Analysis
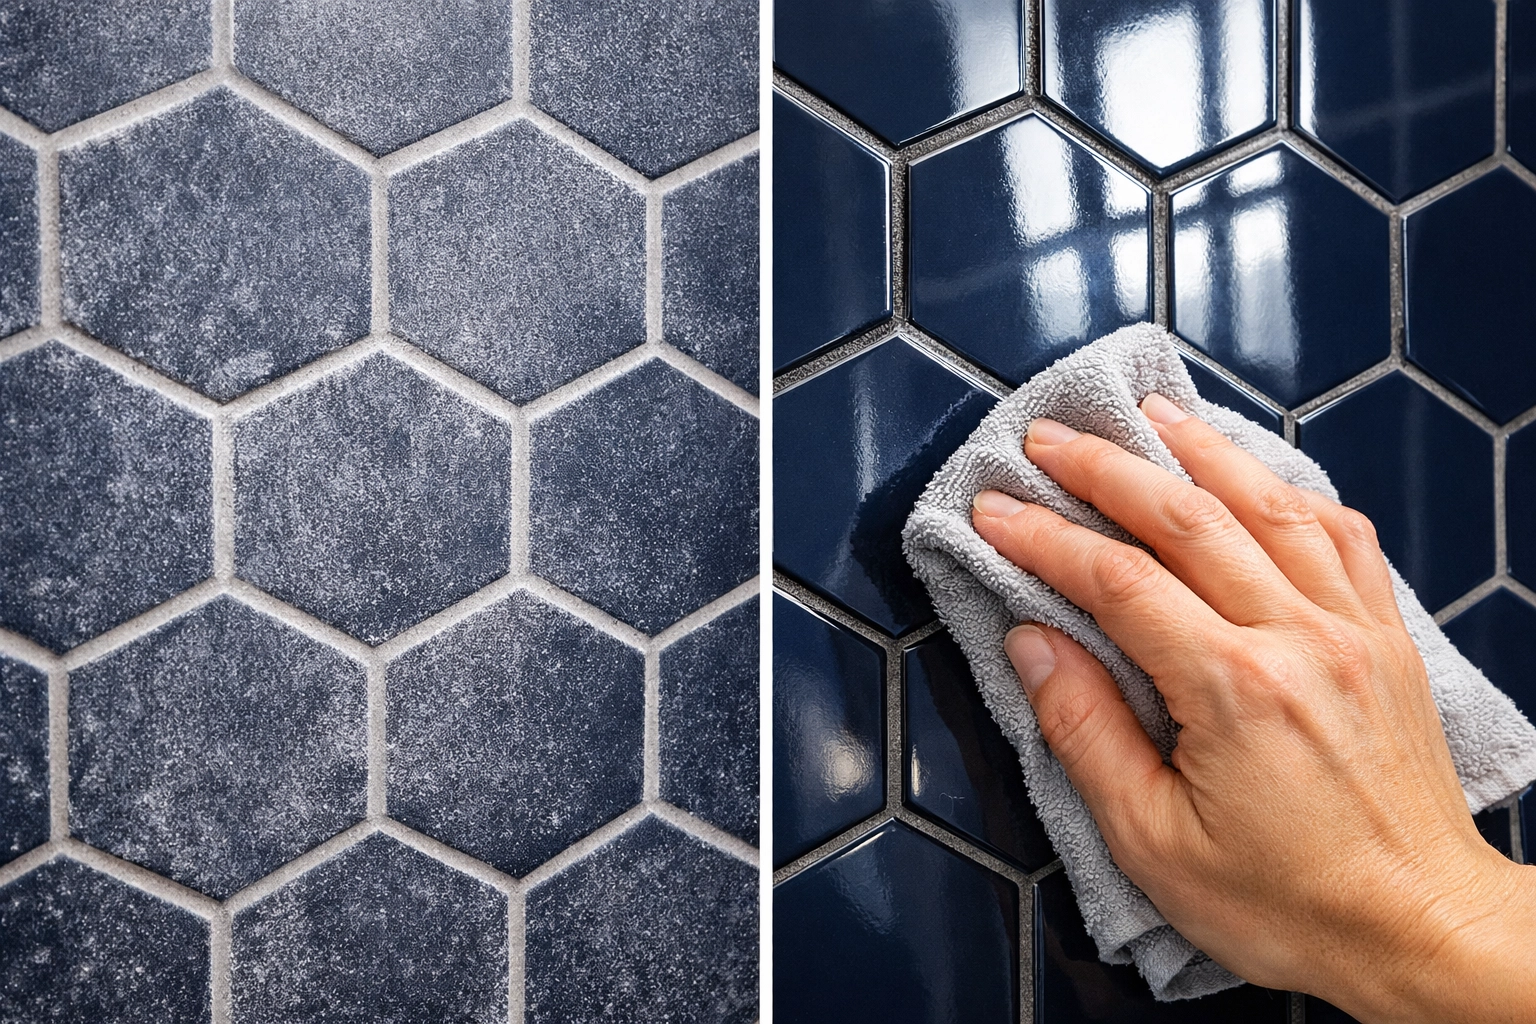
Grout haze is a thin film left on tiles after grout installation. During the installation process, the contractor wipes the grout joints but a fine residue can remain on the tile surface. When it dries, it creates a cloudy layer that is difficult to remove with normal cleaning. This phenomenon occurs as the moisture evaporates from the grout mixture, leaving behind a cured cementitious or polymer-based film across the non-porous surface of the ceramic or porcelain tile…
How it looks
• White or cloudy film
• Rough feeling when touching the tile
• Usually on the tile surface, not inside the grout joints
How to remove it
- Spray a solution of white vinegar and warm water; about 50/50 mixture.
- Let it sit for two to three minutes.
- Scrub gently with a non scratch pad or microfiber cloth.
- Rinse thoroughly with clean water.
For heavier grout haze, professional cleaners often use products like grout haze remover or sulfamic acid crystals. These acidic compounds react with the alkaline nature of the grout to break the bond between the residue and the tile substrate…
- Silicone or Caulk Residue
Material Analysis
Sometimes installers accidentally spread silicone caulk on the surface of tiles or countertops. When it dries, it can leave transparent smears that are difficult to clean. Silicone is a non-polar synthetic polymer that exhibits high water repellency and strong adhesion to smooth surfaces. Unlike grout, it does not respond to aqueous solutions or mild acids, requiring mechanical intervention or specialized solvent-based treatments…
How it looks
• Clear or slightly shiny residue
• Feels rubbery to the touch
• Water beads up on top of it
How to remove it
- Carefully scrape the residue using a plastic razor blade.
- Apply a caulk remover or mineral spirits.
- Let the product sit for about five minutes.
- Wipe and scrub the surface with a microfiber cloth.
Important tip; vinegar or acidic cleaners will not dissolve silicone. The chemical structure of silicone necessitates a solvent that can penetrate the polymer matrix to reduce its grip on the surface…
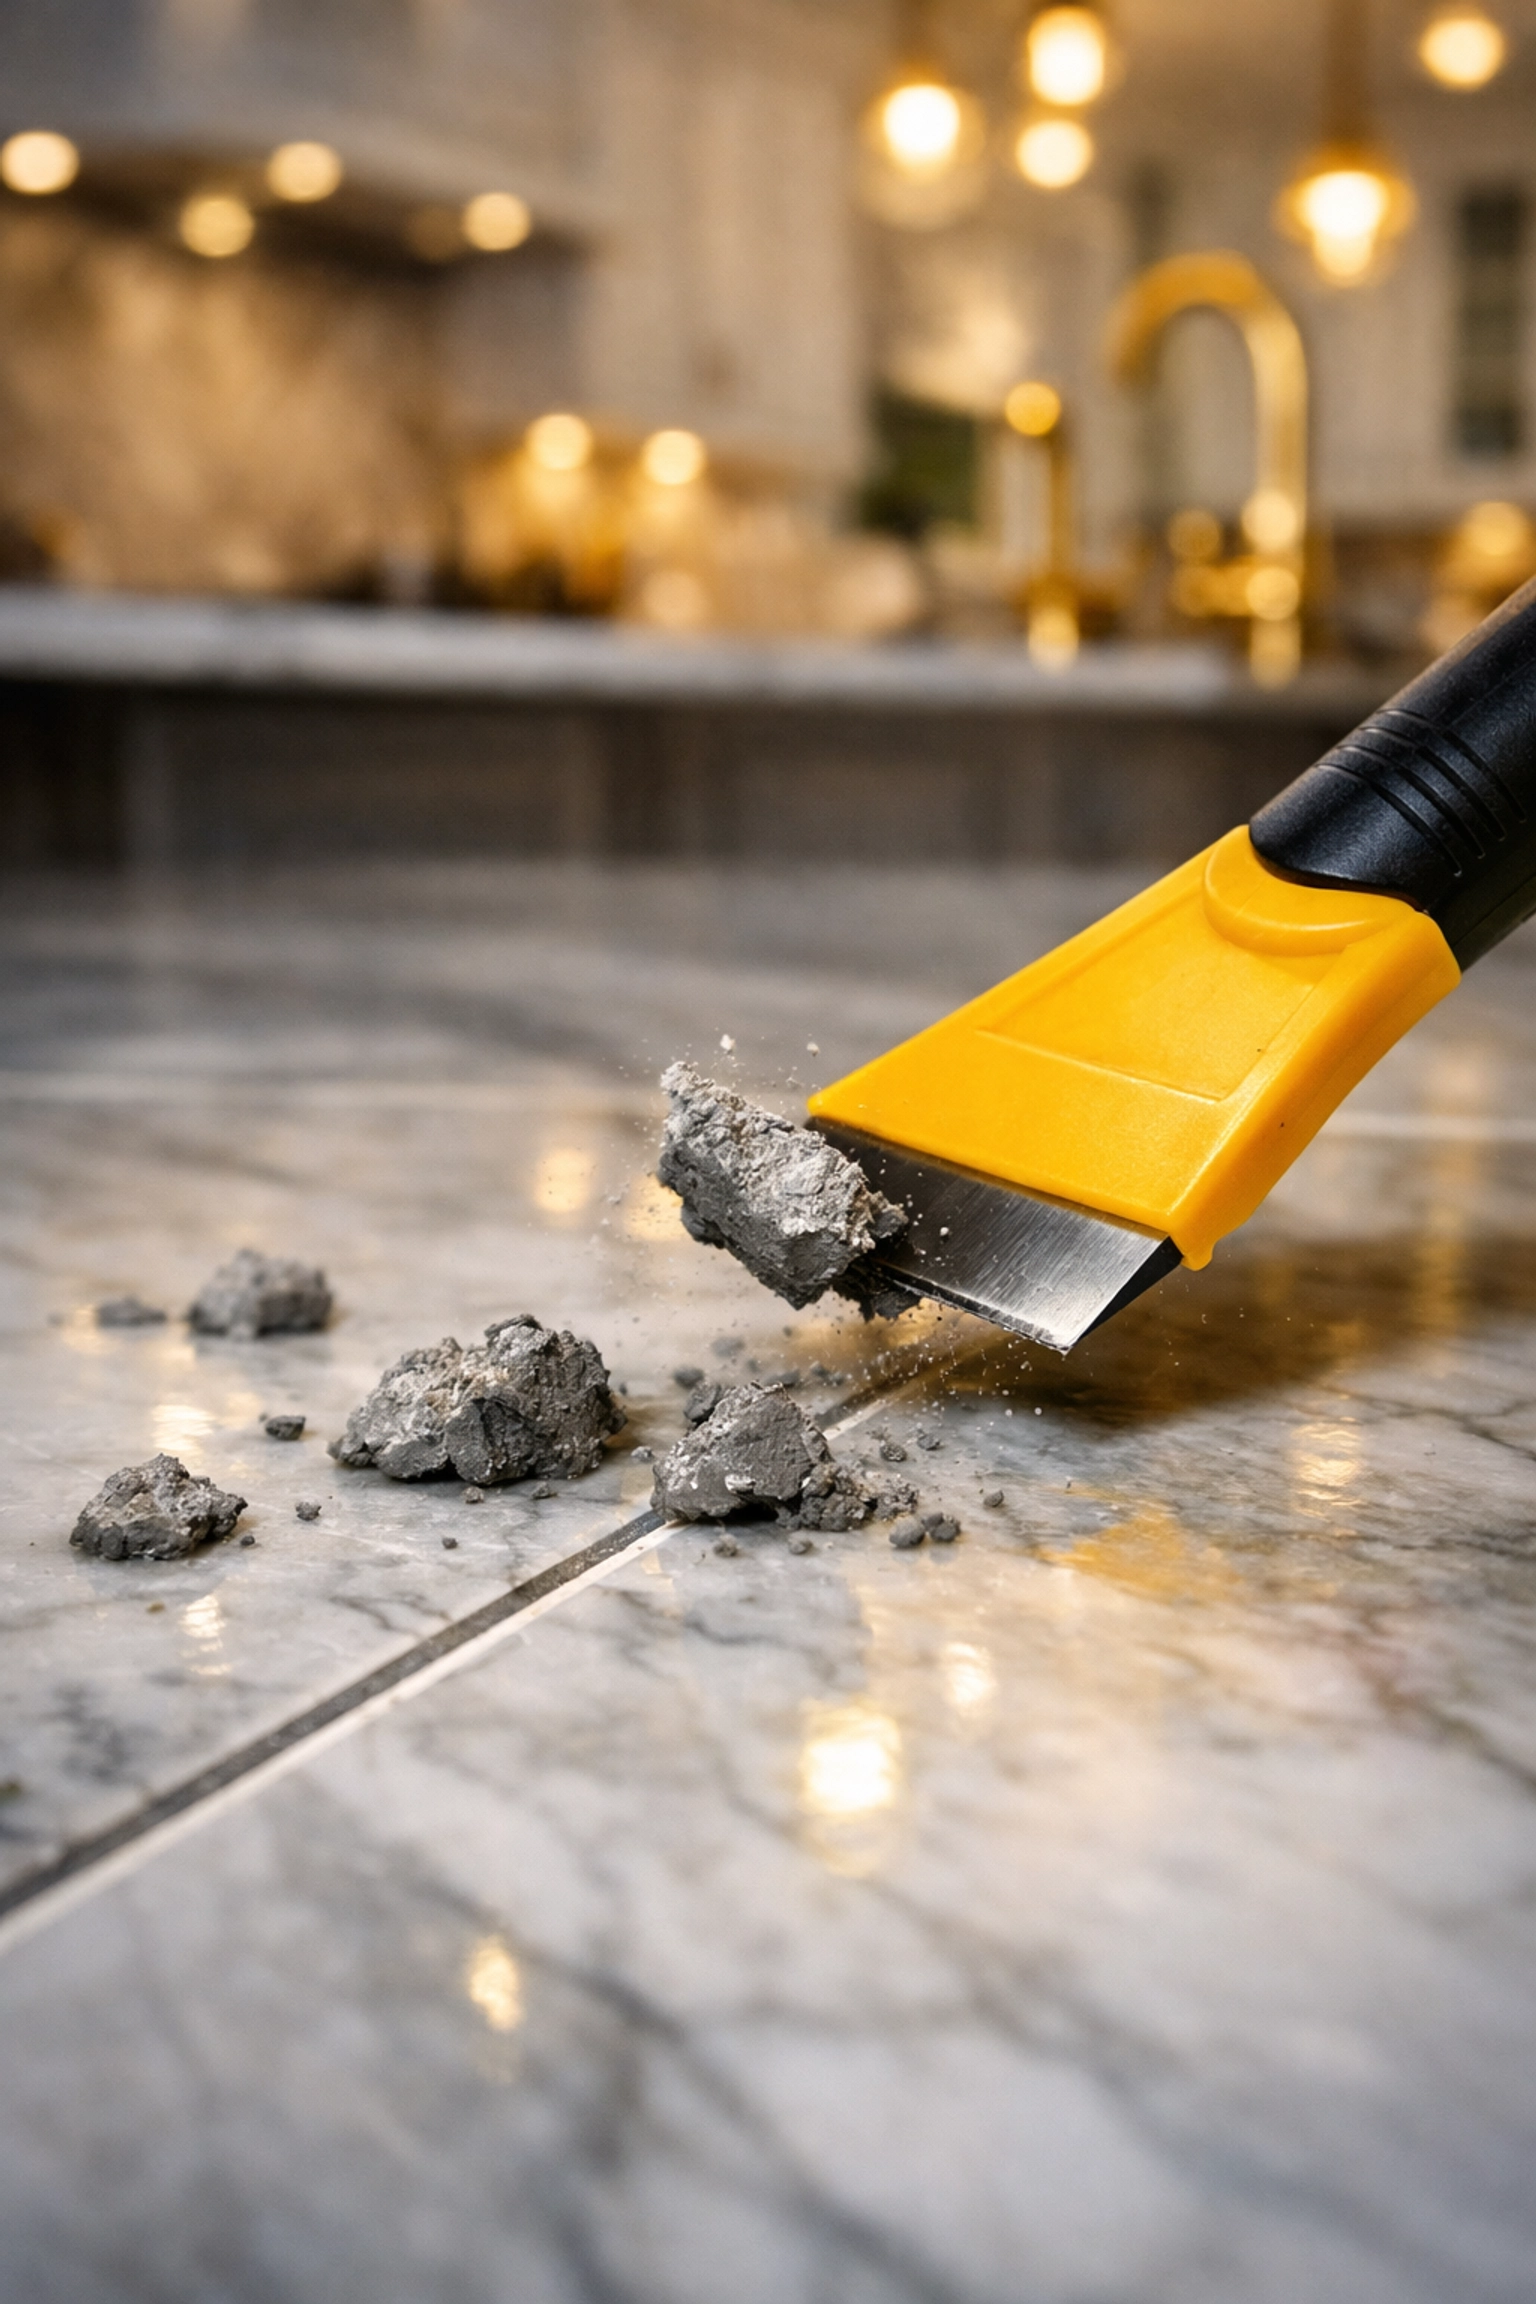
- Thinset or Mortar Residue
Material Analysis
Thinset is the adhesive used to install tiles. Sometimes small spots remain on the surface and harden like cement. Thinset is engineered for extreme durability and bond strength, often containing sand and specialized polymers. Once fully cured, it becomes a stone-like substance that is physically integrated with the tile edges. This material requires more aggressive mechanical and chemical strategies than standard surface dust…
How it looks
• Gray or beige cement dots
• Very hard texture
• Often found near tile edges or corners
How to remove it
- Start with a plastic scraper.
- Apply vinegar or a tile safe acidic cleaner.
- Scrub using a nylon brush.
For very hard residue, professionals may use a wet pumice stone or specialized tile cleaning products. Care must be taken to ensure the abrasive tools do not exceed the Mohs hardness scale rating of the tile itself, which could lead to permanent scratching…
- Paint or Drywall Joint Compound
Material Analysis
During renovations, drywall work and painting can leave small splashes of paint or joint compound on floors and tiles. Drywall compound is typically a gypsum-based material that is water-soluble but becomes chalky and abrasive when dry. Paint overspray, particularly from latex or acrylic-based products, creates a plasticized dot that adheres through surface tension. Identifying these spots early prevents them from being ground into the flooring…
How it looks
• White or light colored spots
• Powdery or chalky texture
• Softens when exposed to water
How to remove it
- Place a wet cloth on the spot for about two minutes.
- Gently scrape the softened residue with a plastic blade.
- Clean the area with a neutral surface cleaner.
For bathroom-specific residues, a multi-step approach is required to tackle stubborn buildup. Wipe the area with a damp sponge and dry with a towel. For remaining smudges, cover the residue with a damp, warm towel and wait for the building material to soften. Use a plastic putty knife to gently scrape off residue before the final buffing stage…
Two Simple Questions That Help Identify the Problem
Diagnostic Protocol
When homeowners call us about stubborn residue after a renovation, we usually ask two quick questions to categorize the contaminant and determine the appropriate solvent.
- Is the residue rough like cement or rubbery like plastic?
- Is it white and cloudy or clear and shiny?
These two answers usually help identify the exact material in seconds. In most kitchen and bathroom renovations, the issue turns out to be grout haze or thinset residue. Accurate identification is the primary step in preventing damage to sensitive cleaning surfaces…

Professional Tools That Solve Most Post Construction Cleaning Issues
Equipment Inventory
Professional cleaners typically bring a small toolkit that can solve most residue problems. Having the correct inventory ensures that each material is met with a corresponding removal agent that prioritizes surface preservation.
• Plastic razor scraper: Essential for mechanical removal without metal-on-tile friction.
• White non scratch scrub pads: Provides agitation for textured surfaces.
• Grout haze remover: Acidic specialized solution for cementitious film.
• Caulk remover: Solvent based agent for polymer breakdown.
• Vinegar cleaning solution: Mild acid for general mineral deposits.
• Microfiber towels: High-surface-area textiles for final polishing and dust capture.
With these tools, most post construction residues can be removed safely without damaging the surface. The use of commercial-grade mops and HEPA filter vacuums further ensures that fine particles are captured rather than redistributed across the newly renovated space…
When to Call a Professional Post Construction Cleaning Service
Intervention Threshold
If the residue has hardened for weeks or months, or if it is on delicate materials such as natural stone, marble, or specialty tiles, professional cleaning may be the safest option. Natural stone is particularly susceptible to acid damage; using vinegar on marble or limestone can cause permanent etching. Professional post construction cleaners know how to remove these materials without scratching or damaging the surfaces.
At The Cleaning Ninjas Inc, we specialize in post construction cleaning for kitchens, bathrooms, and entire homes. Our team uses professional techniques and products to remove construction residue and make your renovation look truly finished. We follow a strict sequence: dust first with dry methods, perform deep cleaning of surfaces, clean grout and tile lines, then finish with a touch-up phase using only a microfiber cloth to remove any lingering dust or fingerprints.
If you are dealing with stubborn post construction residue and cannot remove it, feel free to contact us at The Cleaning Ninjas and our team will be happy to help. Ensuring your home is safe and pristine after the contractors leave is our primary objective…
Other Materials That May Appear on Tiles After Construction; And How to Remove Them
Besides grout haze, silicone, mortar, and drywall compound, several other materials can remain on kitchen and bathroom tiles after a renovation. Here are some additional possibilities and how they are usually removed.
Construction Dust Film
This happens when drywall or tile cutting dust settles on surfaces.
How it looks
• Fine gray powder
• Keeps appearing after wiping
How to remove
• Vacuum with a HEPA filter if possible
• Wipe with a damp microfiber cloth
• Repeat two or three times until the film disappears
Paint Overspray
How it looks
• Small paint dots on tile, glass, or fixtures
• Usually same color as walls or trim
How to remove
• Use a plastic razor blade
• Apply rubbing alcohol or a small amount of paint remover
• Wipe clean with microfiber
Adhesive Residue from Tape or Protective Film
How it looks
• Sticky patches
• Slightly yellow or clear residue
How to remove
• Apply adhesive remover or citrus cleaner
• Let it sit for a few minutes
• Wipe with microfiber cloth
Hard Water or Mineral Deposits
How it looks
• White chalky stains
• Often near faucets or glass surfaces
How to remove
• Spray white vinegar on the area
• Let it sit for a few minutes
• Scrub gently with a non scratch pad
• Rinse with clean water
Epoxy Grout Residue
How it looks
• Slightly sticky or glossy film
• Often harder to remove than regular grout haze
How to remove
• Use a professional epoxy grout remover
• Scrub with a white non scratch pad
Sealant Residue
How it looks
• Oily streaks or uneven shine on tile or stone
How to remove
• Use rubbing alcohol or a stone safe cleaner
• Buff with microfiber cloth
Protective Film Glue from Appliances or Cabinets
How it looks
• Sticky residue near edges where protective plastic was removed
How to remove
• Use adhesive remover or rubbing alcohol
• Wipe clean with microfiber cloth
Stone Polishing Powder Residue
How it looks
• White powder marks around granite or marble countertops
How to remove
• Wipe with neutral cleaner and microfiber cloth
Rust Stains from Tools
How it looks
• Small orange stains
How to remove
• Use an oxalic acid based cleaner designed for rust removal
Efflorescence
How it looks
• White powder coming out of grout lines
How to remove
• Use a specialized efflorescence cleaner or mild acid cleaner
Two Quick Questions That Help Identify the Material
When homeowners call about residue after construction, these two questions usually help identify the problem quickly.
- Is the material rough like cement or rubbery like plastic?
- Is it white and cloudy or clear and shiny?
In most kitchen and bathroom renovations, the issue turns out to be grout haze, thinset residue, or silicone smears.


