Last Updated on 03/31/2026 by thecleaningninjas.com
Let’s be honest: cleaning the oven is the chore we all love to hate. It sits there, tucked away beneath the stovetop, gathering layers of burnt cheese, dripped casserole sauce, and mystery carbon for months. We ignore it because, frankly, the alternative usually involves wearing a gas mask and clearing the house of pets and children while caustic chemicals do their work. But at The Cleaning Ninjas Inc, we believe your kitchen shouldn't smell like a laboratory experiment gone wrong.
If you’ve ever used a conventional oven cleaner, you know the "fume gloom." That stinging scent that lingers for days and makes you wonder if it’s actually safe to bake cookies in there afterward. The good news? You don’t need the heavy stuff. You just need a bit of "Baking Soda Brilliance."
The Magic of the Humble White Powder
Why baking soda? It seems too simple to work, doesn't it? In the world of House Cleaning, baking soda is our secret weapon. Scientifically speaking, baking soda (sodium bicarbonate) is a mild alkali.
Most of the gunk stuck to your oven walls: food particles, grease, and proteins: is acidic. When the alkaline baking soda meets the acidic grime, it neutralizes it, breaking down the bonds that hold that burnt-on crust to your oven floor.
It’s gentle enough not to scratch your oven’s finish but tough enough to handle a lasagna explosion from 2024. Plus, it’s incredibly cheap and completely non-toxic.
Gathering Your Ninja Tools
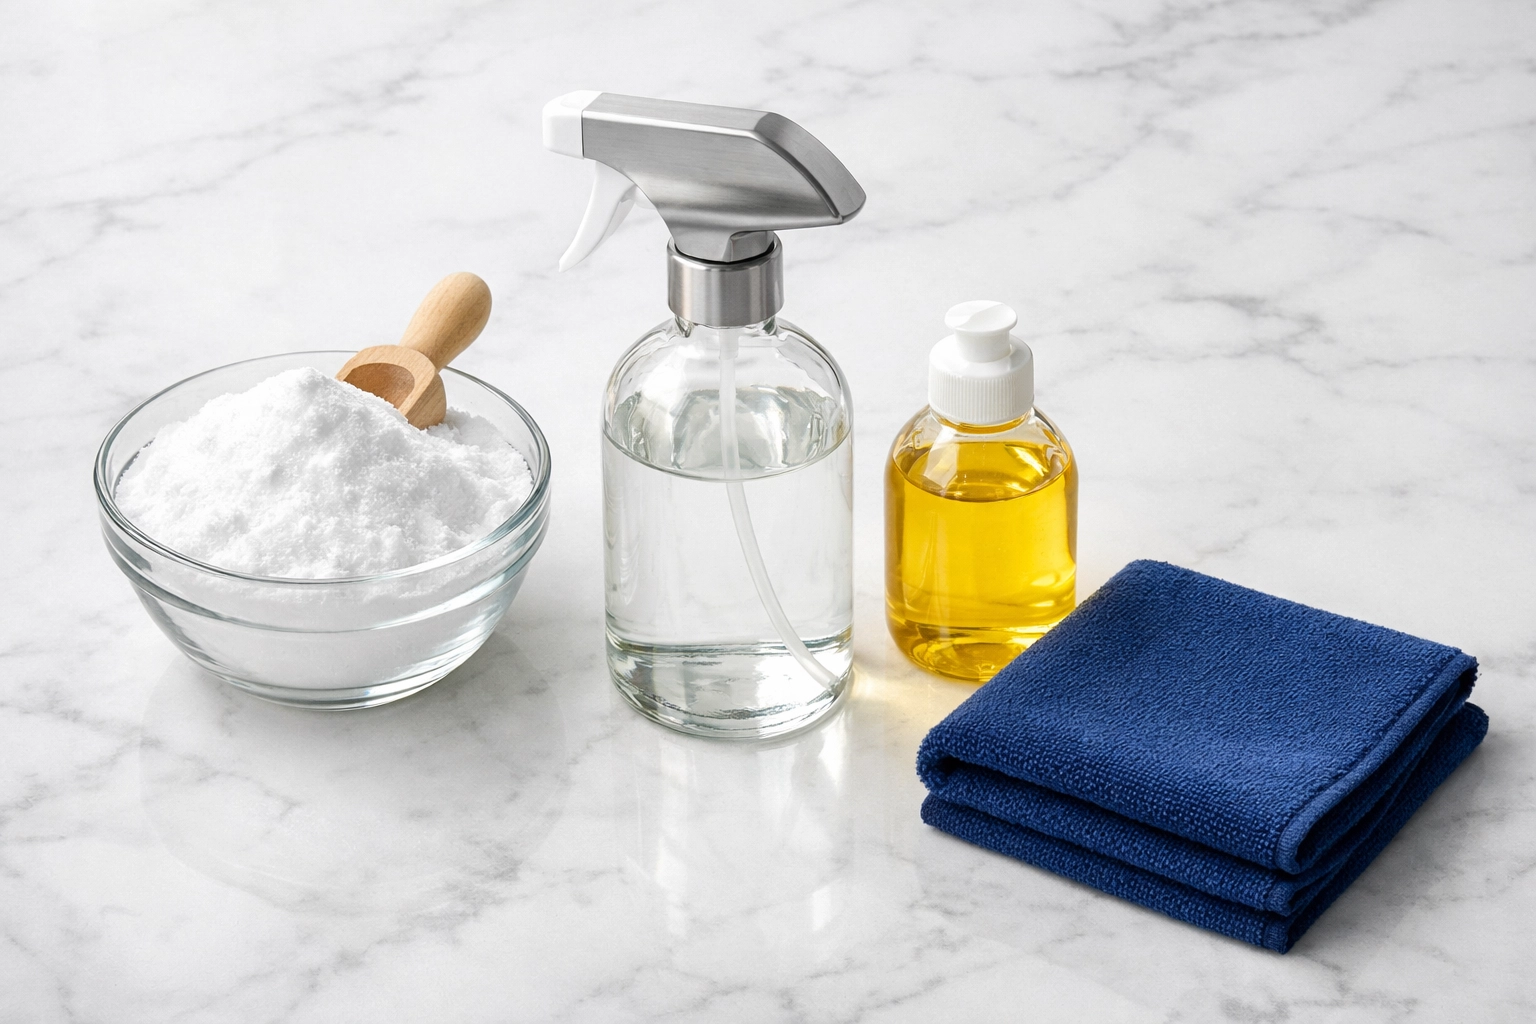
Before you dive in, you need your gear. You won't find these in a hazmat locker; you’ll find them in your pantry.
- Baking Soda: A big box. Don’t skimp.
- Water: For making the "magic paste."
- White Vinegar: In a spray bottle (this is for the fun part later).
- Dish Soap: Just a drop for extra grease-cutting power.
- A Small Bowl: For mixing.
- A Silicone Spatula or Paintbrush: To apply the paste.
- Microfiber Cloths: For the final wipe-down.
- Gloves: Even though it’s non-toxic, old grease is gross.
The "Quick Fix" Method (For Lightly Soiled Ovens)
Sometimes, you don't need a total overhaul. Maybe you just had a minor spill and want to nip it in the bud before it becomes a permanent resident. For a 15-to-20-minute refresh, follow this "Ninja Flow":
- The Mix: Combine ½ cup of baking soda with about 3 tablespoons of water. You’re looking for a consistency similar to pancake batter.
- The Application: Remove your oven racks. Use a cloth or your gloved hands to spread the paste over the soiled areas. Keep it away from the heating elements! We want clean ovens, not electrical fires.
- The Wait: Let it sit for 20 minutes. Go grab a coffee or check out our latest blog posts for more household hacks.
- The Wipe: Use a damp microfiber cloth to scoop up the paste. If there’s a little residue left, a quick spritz of water will help it slide right off.
The "Overnight Miracle" (For the Deep, Dark Grime)
If your oven looks like it’s been through a war zone, the quick fix won’t cut it. You need the heavy-duty Ninja treatment. This is where patience becomes your best friend.
Step 1: The Heavy-Duty Paste
Mix one pound of baking soda with a tablespoon of salt and two tablespoons of water. The salt adds a bit of grit to help scrub away carbonized food. Adjust the water until it’s thick enough to stick to the vertical walls of the oven without sliding down immediately.
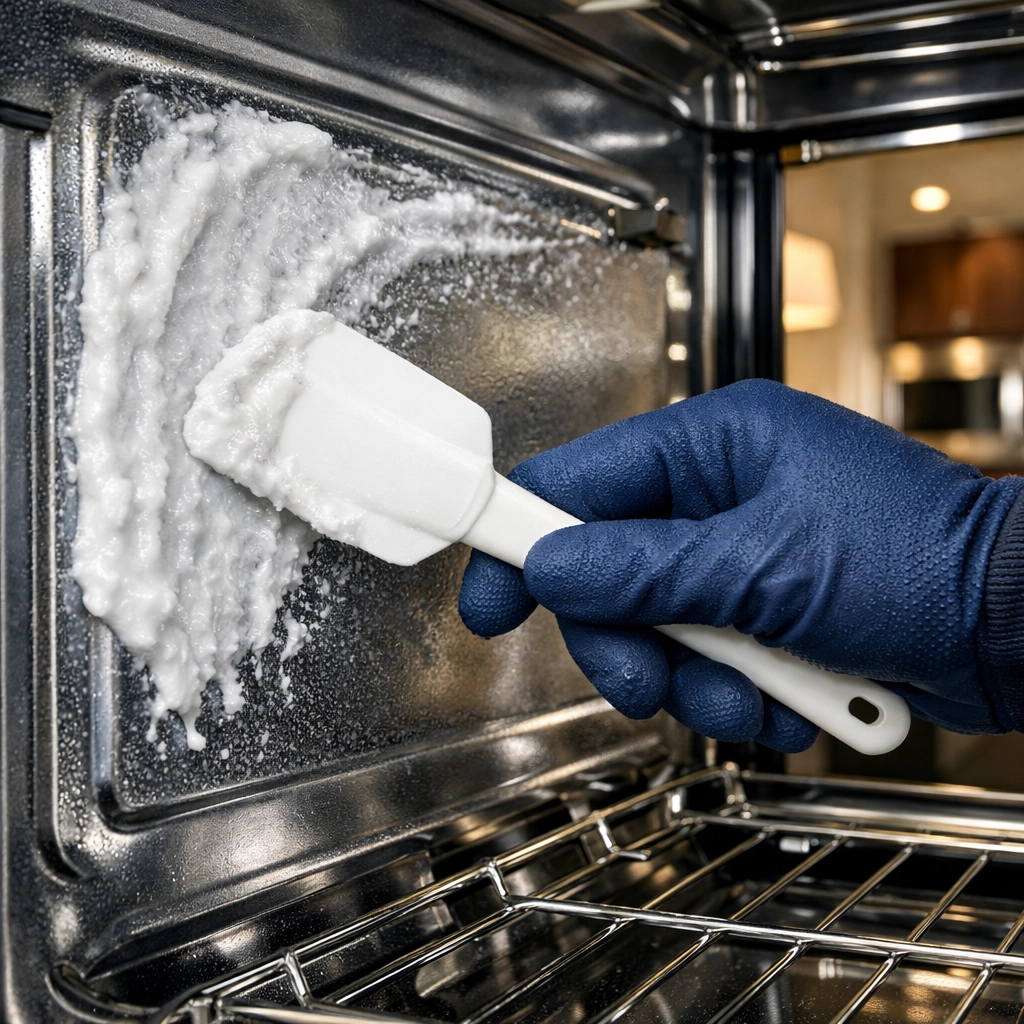
Step 2: Coating the Interior
Slather that paste everywhere. The walls, the floor, and the ceiling (again, avoiding those heating elements). The baking soda will likely turn a brownish color as it starts to lift the grease. That’s a good sign: it means the "Ninja work" is happening.
Step 3: The Long Sleep
Close the oven door and walk away. Let it sit for at least 12 hours, or overnight. This gives the baking soda time to fully penetrate the layers of carbon.
Step 4: The Big Reveal
The next morning, the paste will be dry and hard. Use a rubber or silicone spatula to gently scrape the bulk of the dried paste into a trash can. Then, take a warm, wet cloth and wipe down the surfaces.
Step 5: The Vinegar Sparkle
Here’s where the "brilliance" really shows. Put some white vinegar in a spray bottle and mist the areas where you still see baking soda residue. It will foam up beautifully. This reaction helps lift the last bits of grit and leaves the surface incredibly shiny. Give it one final wipe with a clean microfiber cloth, and you’re done!
Don’t Forget the Racks and the Glass
A clean oven with dirty racks is like wearing a tuxedo with muddy boots. While your oven is marinating in baking soda overnight, take those racks to the bathtub.
- The Rack Hack: Line the tub with old towels (to prevent scratching), lay the racks down, and fill the tub with hot water and half a cup of dish soap. Let them soak overnight. In the morning, the grease will practically slide off with a light scrub.
- The Glass Door: This is the most satisfying part. You can use the same baking soda paste on the inside of the glass door. Let it sit for 30 minutes, then wipe. Avoid using abrasive steel wool on the glass, as tiny scratches can eventually lead to the glass shattering under high heat.
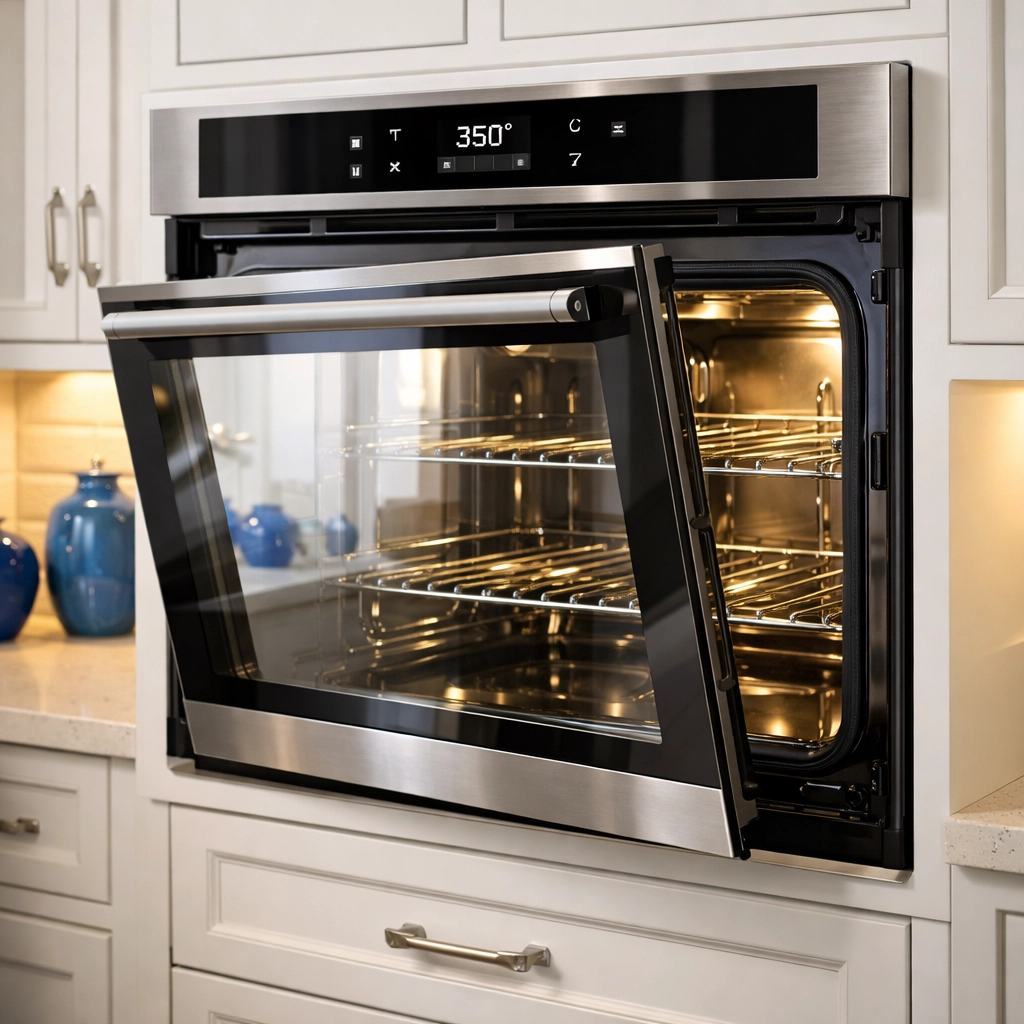
Why We Avoid the "Self-Clean" Button
You might be thinking, "Penny, my oven has a self-cleaning button. Why should I bother with baking soda?"
At The Cleaning Ninjas Inc, we often advise caution with the self-clean cycle. This feature works by heating the oven to extremely high temperatures (sometimes over 800 degrees Fahrenheit) to incinerate food. While it sounds convenient, it can produce intense smoke, trigger fire alarms, and: more importantly: put a massive strain on your oven’s electrical components. We’ve seen many heating elements and control boards fry during a self-clean cycle.
Using baking soda is the "Ninja way": stealthy, effective, and it doesn't risk breaking your expensive appliances or filling your home with the scent of a controlled burn.
Maintaining the Glow
Once your oven is sparkling, the goal is to keep it that way. Here are a few pro-tips to maintain that "Baking Soda Brilliance":
- The "One-Wipe" Rule: If you see a drip while cooking, wait for the oven to cool and wipe it up immediately with a damp cloth. Don't let it bake on five more times.
- The Baking Sheet Buffer: If you’re baking something bubbly (like a fruit pie or a cheesy pizza), place a baking sheet on the rack below it to catch any drips.
- Weekly Spritz: Once a week, give the cool oven floor a quick spray with a water-and-vinegar mix and wipe it down. This prevents grease buildup from becoming "the enemy."
When to Call the Pros
We know life gets busy. Sometimes, the oven isn't the only thing that needs a deep clean. Whether you’re looking for a top-to-bottom refresh of your home or need specialized commercial services, our team is ready to jump into action. You can learn more about us and how we bring our "Ninja" precision to every job.

Cleaning your oven doesn't have to be a toxic chore. With a little baking soda, a bit of vinegar, and a dash of patience, you can have a kitchen that looks: and smells: fresh. No fumes, no fuss, just a clean oven ready for your next culinary masterpiece.
Happy cleaning, and remember: stay stealthy! 🥷✨