

Let’s be real for a second: the kitchen sponge is the unsung hero of your home, but it’s also potentially the grossest item you own. Think about everything that little block of foam goes through in a single day. It wipes up spilled milk, scrubs off lasagna crust, cleans the juice from a raw chicken breast (hopefully you used a paper towel for that, but we’ve all been there), and then sits in a damp heap by the sink. It’s a five-star resort for bacteria, yeast, and mold.
If you’ve ever caught a whiff of a "sour" sponge, you’re smelling a colony of bacteria that has decided your kitchen is their new favorite hangout. But before you go tossing every sponge into the trash after a single use, we at The Cleaning Ninjas Inc have a battle-tested trick for you. You can actually sanitize that sponge and extend its life using nothing more than your microwave.
It sounds simple: and it is: but there are a few "Ninja" secrets to doing it safely and effectively. According to scientific research, microwaving a sponge is the most effective method for sanitizing it, killing a staggering 99.99999% of bacteria. That’s a lot of nines! Here is everything you need to know about the "Zap Method" to keep your kitchen truly clean.
Why Your Sponge is a Bacteria Magnet
Before we get into the "how-to," let’s talk about the "why." A sponge is designed to be porous. Those tiny holes are great for creating suds and trapping food particles, but they are also perfect little apartments for microbes. When a sponge stays damp, it provides the three things bacteria love most: moisture, warmth, and food (in the form of microscopic leftovers).
Common bacteria like E. coli, Salmonella, and Campylobacter can live on surfaces for hours or even days. Then there’s Moraxella osloensis, which is the specific bacteria responsible for that unmistakable "stinky sponge" smell. If you’re just rinsing your sponge with cold water and letting it sit, you’re essentially giving these germs a spa day. Sanitizing is the only way to break the cycle.
The Ninja Guide to Microwave Sanitizing
Ready to zap those germs into oblivion? Follow these steps to ensure you’re doing it right.
1. The Safety Check (Crucial!)
Not all sponges are created equal. This is the most important step: Only use sponges that are labeled as microwave safe. You absolutely must avoid sponges that contain metallic scrub pads, steel wool, or any kind of abrasive components that might have metal woven in. If you put metal in the microwave, you’re going to see sparks, and you might end up needing a new microwave: or a fire extinguisher.
Also, check the material. Most standard cellulose sponges are fine, but if it has a plastic-heavy mesh that feels like it might melt at high heat, proceed with caution or stick to the dishwasher method.
2. The Great Saturation
Never, ever put a dry sponge in the microwave. A dry sponge can actually catch fire within seconds. For the sanitizing process to work, the sponge needs to be completely saturated with water.
We recommend placing the soaking-wet sponge in a microwave-safe bowl or container. This catches any excess water and helps create a "steam room" effect around the sponge. The steam is actually what does the heavy lifting when it comes to killing those microscopic invaders.
3. The Zap (1-2 Minutes)
Place your bowl with the wet sponge in the microwave. Set the timer for one to two minutes on high power. If you have a high-wattage microwave, one minute is usually plenty. If it’s a lower-powered model, go for the full two minutes.
As it runs, keep an eye on it. You should see steam rising from the sponge. That steam indicates that the internal temperature of the water is high enough to kill 99.99999% of bacteria, as well as pesky yeast and mold.
4. The Cool Down
This is where people usually get hurt. That sponge is now holding boiling water. It is incredibly hot! Do not reach in and grab it with your bare hands the second the timer dings.
Let the sponge sit in the microwave for at least 10 to 15 minutes to cool down. If you’re in a rush, use a pair of kitchen tongs or oven mitts to remove the bowl. Even then, wait until it’s lukewarm before you try to wring it out.
When to Skip the Microwave
While the microwave is the gold standard for sanitizing, it’s not always the best tool for the job.
- Metallic Scrubbers: As mentioned, if your sponge has a "scouring" side made of metal or silver-flecked plastic, skip the microwave.
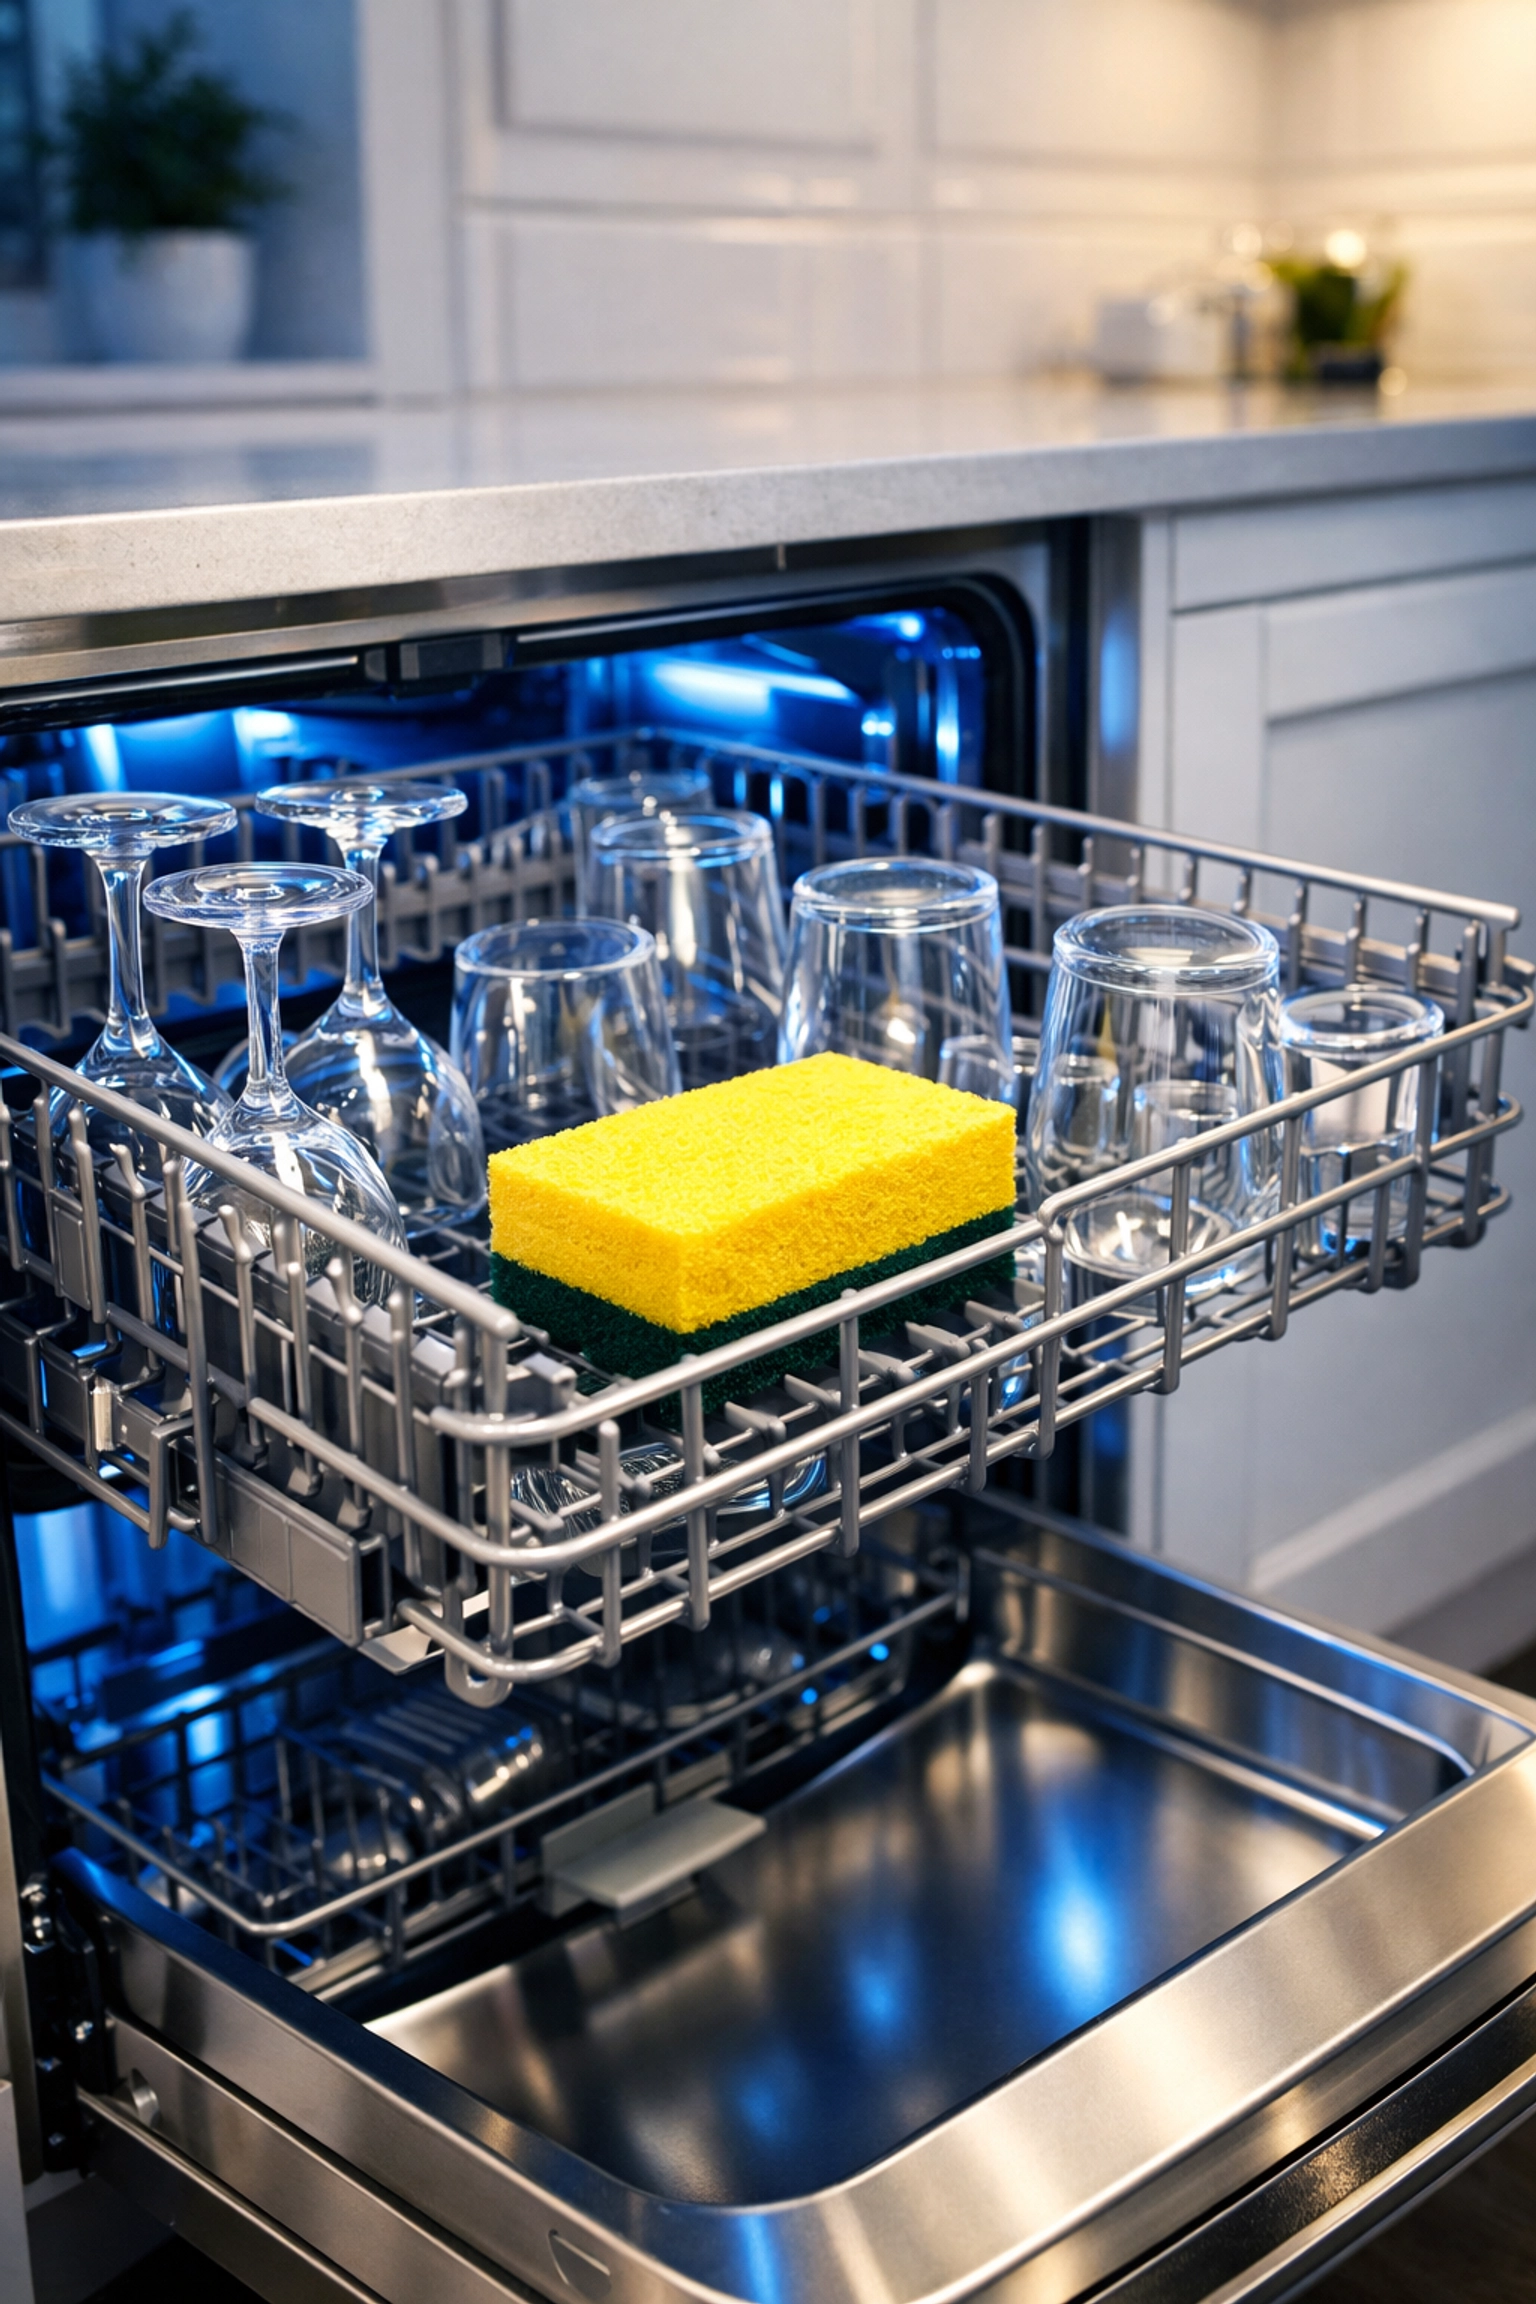
- The Dishwasher Alternative: If you have a sponge with metal components, your dishwasher is your best friend. While it’s slightly less effective than the microwave (killing about 99.9998% of bacteria), it’s much safer for those specific materials. Use the hottest water cycle and make sure to include the heated drying cycle.
If you want more professional advice on keeping your home environment healthy, check out our blog for more "Ninja" tips.
How Often Should You Do This?
To keep your kitchen at peak Ninja-level cleanliness, you should aim to disinfect your sponge every other day. If you’ve just finished a heavy-duty cleaning session: like wiping down the counters after prepping a big meal: do it immediately.
In between sanitizing sessions, always make sure to rinse your sponge thoroughly with hot water and wring it out as much as possible. A dry sponge is a less hospitable home for bacteria than a soaking wet one left in the bottom of the sink.
The "Toss It" Checklist: When Sanitizing Isn't Enough
Sanitizing can extend the life of your sponge, but it isn't a fountain of youth. Eventually, every sponge needs to retire. Here are the signs it’s time to throw it in the bin:
- The Smell Persists: If you zap it in the microwave and it still smells funky once it cools down, the bacteria have won. Throw it away.
- Falling Apart: If the sponge is losing chunks, the scrubby side is peeling off, or it’s losing its shape, it can no longer clean effectively.
- Raw Meat Contact: If you accidentally use your sponge to wipe up significant amounts of raw meat juice, we usually recommend just tossing it. While the microwave is powerful, the "ick factor" of raw poultry residue hiding in those pores is often too much for comfort.
- Persistent Stains: If it looks filthy even after a wash, it's time for a fresh start.

Why Cleanliness Matters to Us
At The Cleaning Ninjas Inc, we believe that a clean home is a happy, healthy home. Small habits, like sanitizing your sponge, can make a huge difference in the overall hygiene of your living space. We’re passionate about sharing these tips because we know that not everyone has the time to deep-clean their kitchen every single day.
If you find that the "little things" like sponge maintenance and counter-scrubbing are piling up, we’re here to help. Our team focuses on providing top-tier residential cleaning that takes the stress out of your hands. You can learn more about our philosophy on our About Us page or explore the full range of Our Services to see how we can help you reclaim your weekend.
Final Thoughts for the Kitchen Ninja
The kitchen is the heart of the home, but it’s also the frontline in the battle against germs. By incorporating the microwave sanitizing method into your routine every couple of days, you’re taking a proactive step toward a healthier family.
Remember: Saturate, Zap, and Cool. It takes less than five minutes of "active" time, but the peace of mind you get knowing your sponge isn't just a bacteria-delivery device is priceless.
Stay clean, stay safe, and keep those sponges zapped! For more professional cleaning insights, don't forget to browse our Cleaning Tips category. We’re always adding new ways to help you clean like a pro!


