

You’ve spent weeks (or maybe months) navigating a home renovation. You’ve lived through the dust, the noise, and the constant flow of contractors in and out of your space. Finally, the big day arrives: the plumbers have packed up their pipe wrenches, the water is officially hooked up, and you have brand-new sinks in the kitchen and bathrooms.
It’s an exciting milestone! But once the "new sink smell" wears off and you take a closer look, you realize the job isn't quite done. Even the most careful plumbers leave behind a specific kind of mess. We’re talking about metal shavings, globs of plumber’s putty, greasy fingerprints, and that persistent layer of construction dust that seems to reappear five minutes after you wipe it away.
At The Cleaning Ninjas Inc, we specialize in the final stage of the renovation journey. Before you start using those sinks for your morning routine or meal prep, they need a deep, tactical clean. After any home repair, a thorough clean is a must. Our residential cleaning in Leominster MA services are perfect for getting things back to normal. Here is our expert guide on how to deep clean your sinks after the plumbers finish, using eco-friendly methods that protect your new fixtures and your health.
Why Post-Plumbing Cleaning is Different
Cleaning a sink after a repair or installation isn't like your typical Sunday morning wipe-down. Standard household grime is mostly organic: food particles, soap scum, or toothpaste. Post-construction mess is inorganic and often abrasive.
If you just grab a rag and start scrubbing, you might accidentally scratch your brand-new stainless steel or porcelain surface with tiny metal fragments or stone dust left behind. You have to approach this with a "Ninja" mindset: precision, the right tools, and a gentle touch.
Phase 1: The Initial Assessment and Dry Clear
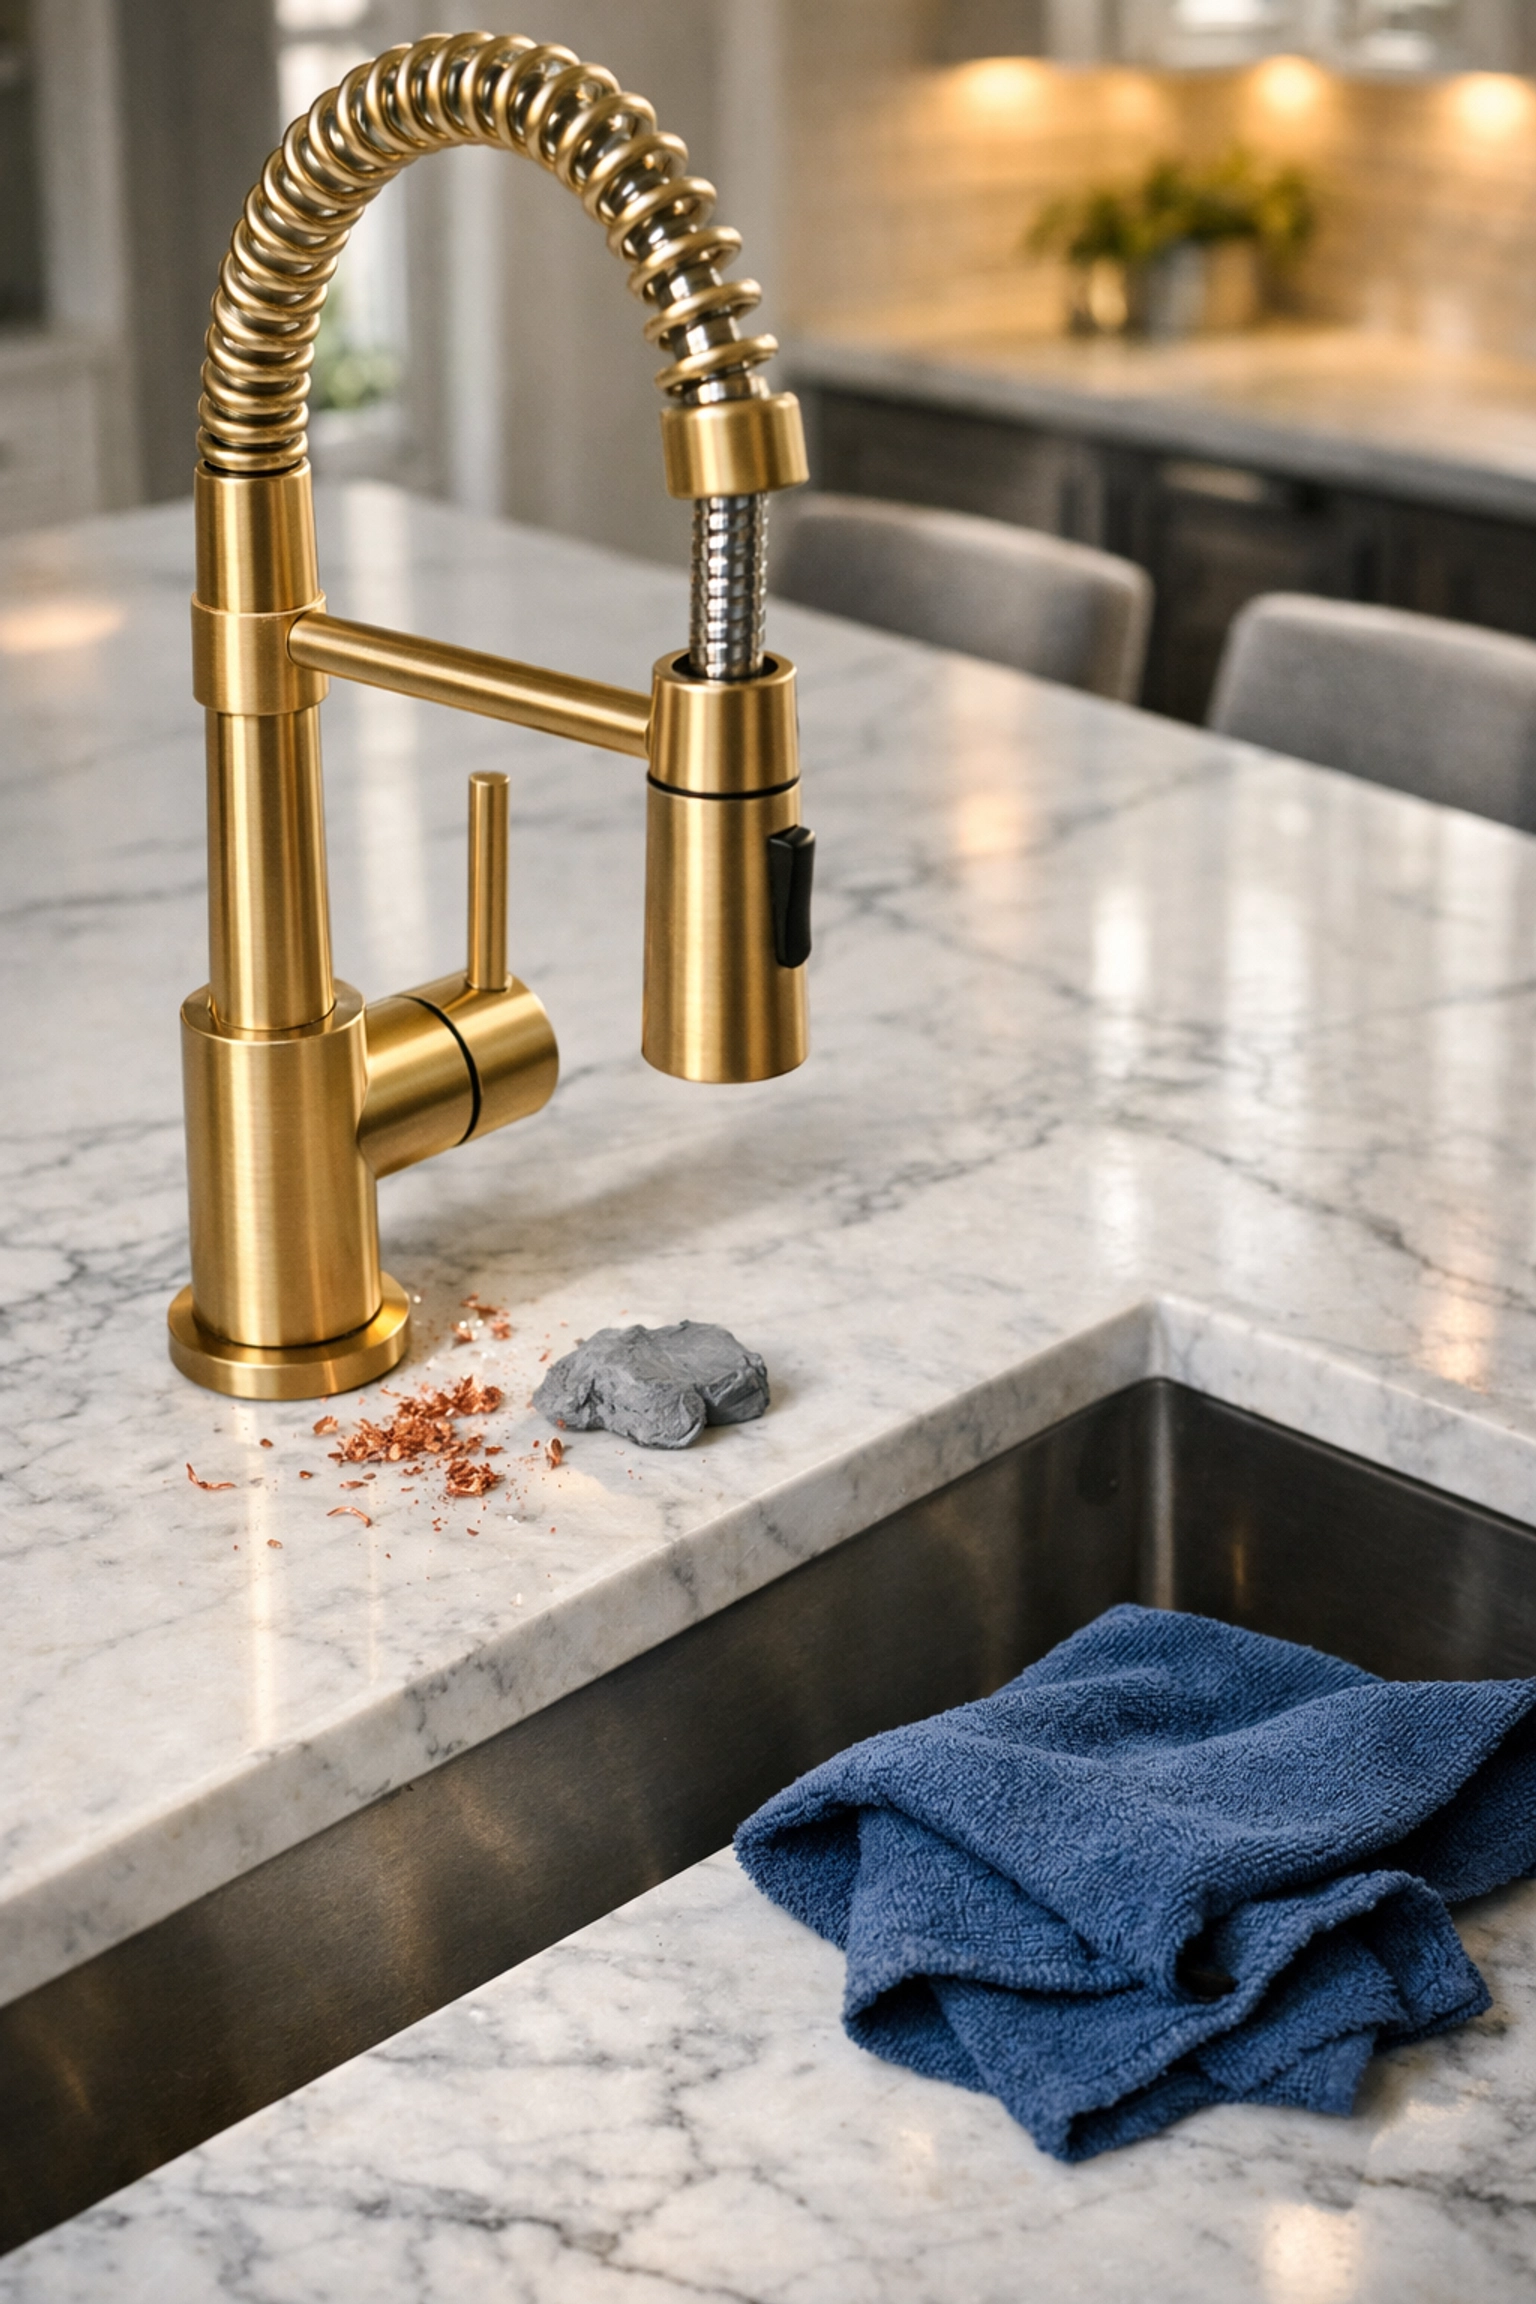
Before you turn on the water, do a quick "recon" mission. Look for large debris. Plumbers often leave behind small snippets of copper pipe, plastic shavings from PVC, or bits of old grout.
- Vacuum First: Use a vacuum with a soft brush attachment to suck up loose debris from the basin and the surrounding countertop. This prevents you from dragging sharp particles across the finish when you start wet cleaning.
- The Putty Check: Look around the base of the faucet and the drain flange. You might see a grayish, clay-like substance sticking out. That’s plumber’s putty. Use a plastic scraper (or an old credit card) to gently pop off the excess. Avoid metal blades that can scar your new hardware.
Phase 2: The Gentle Wash-Down
Once the loose stuff is gone, it’s time for the first wash. We always recommend starting with the most gentle method possible.
What you’ll need:
- Mild, eco-friendly dish soap (like Dawn or a plant-based alternative)
- A non-abrasive sponge or a soft microfiber cloth
- Warm water
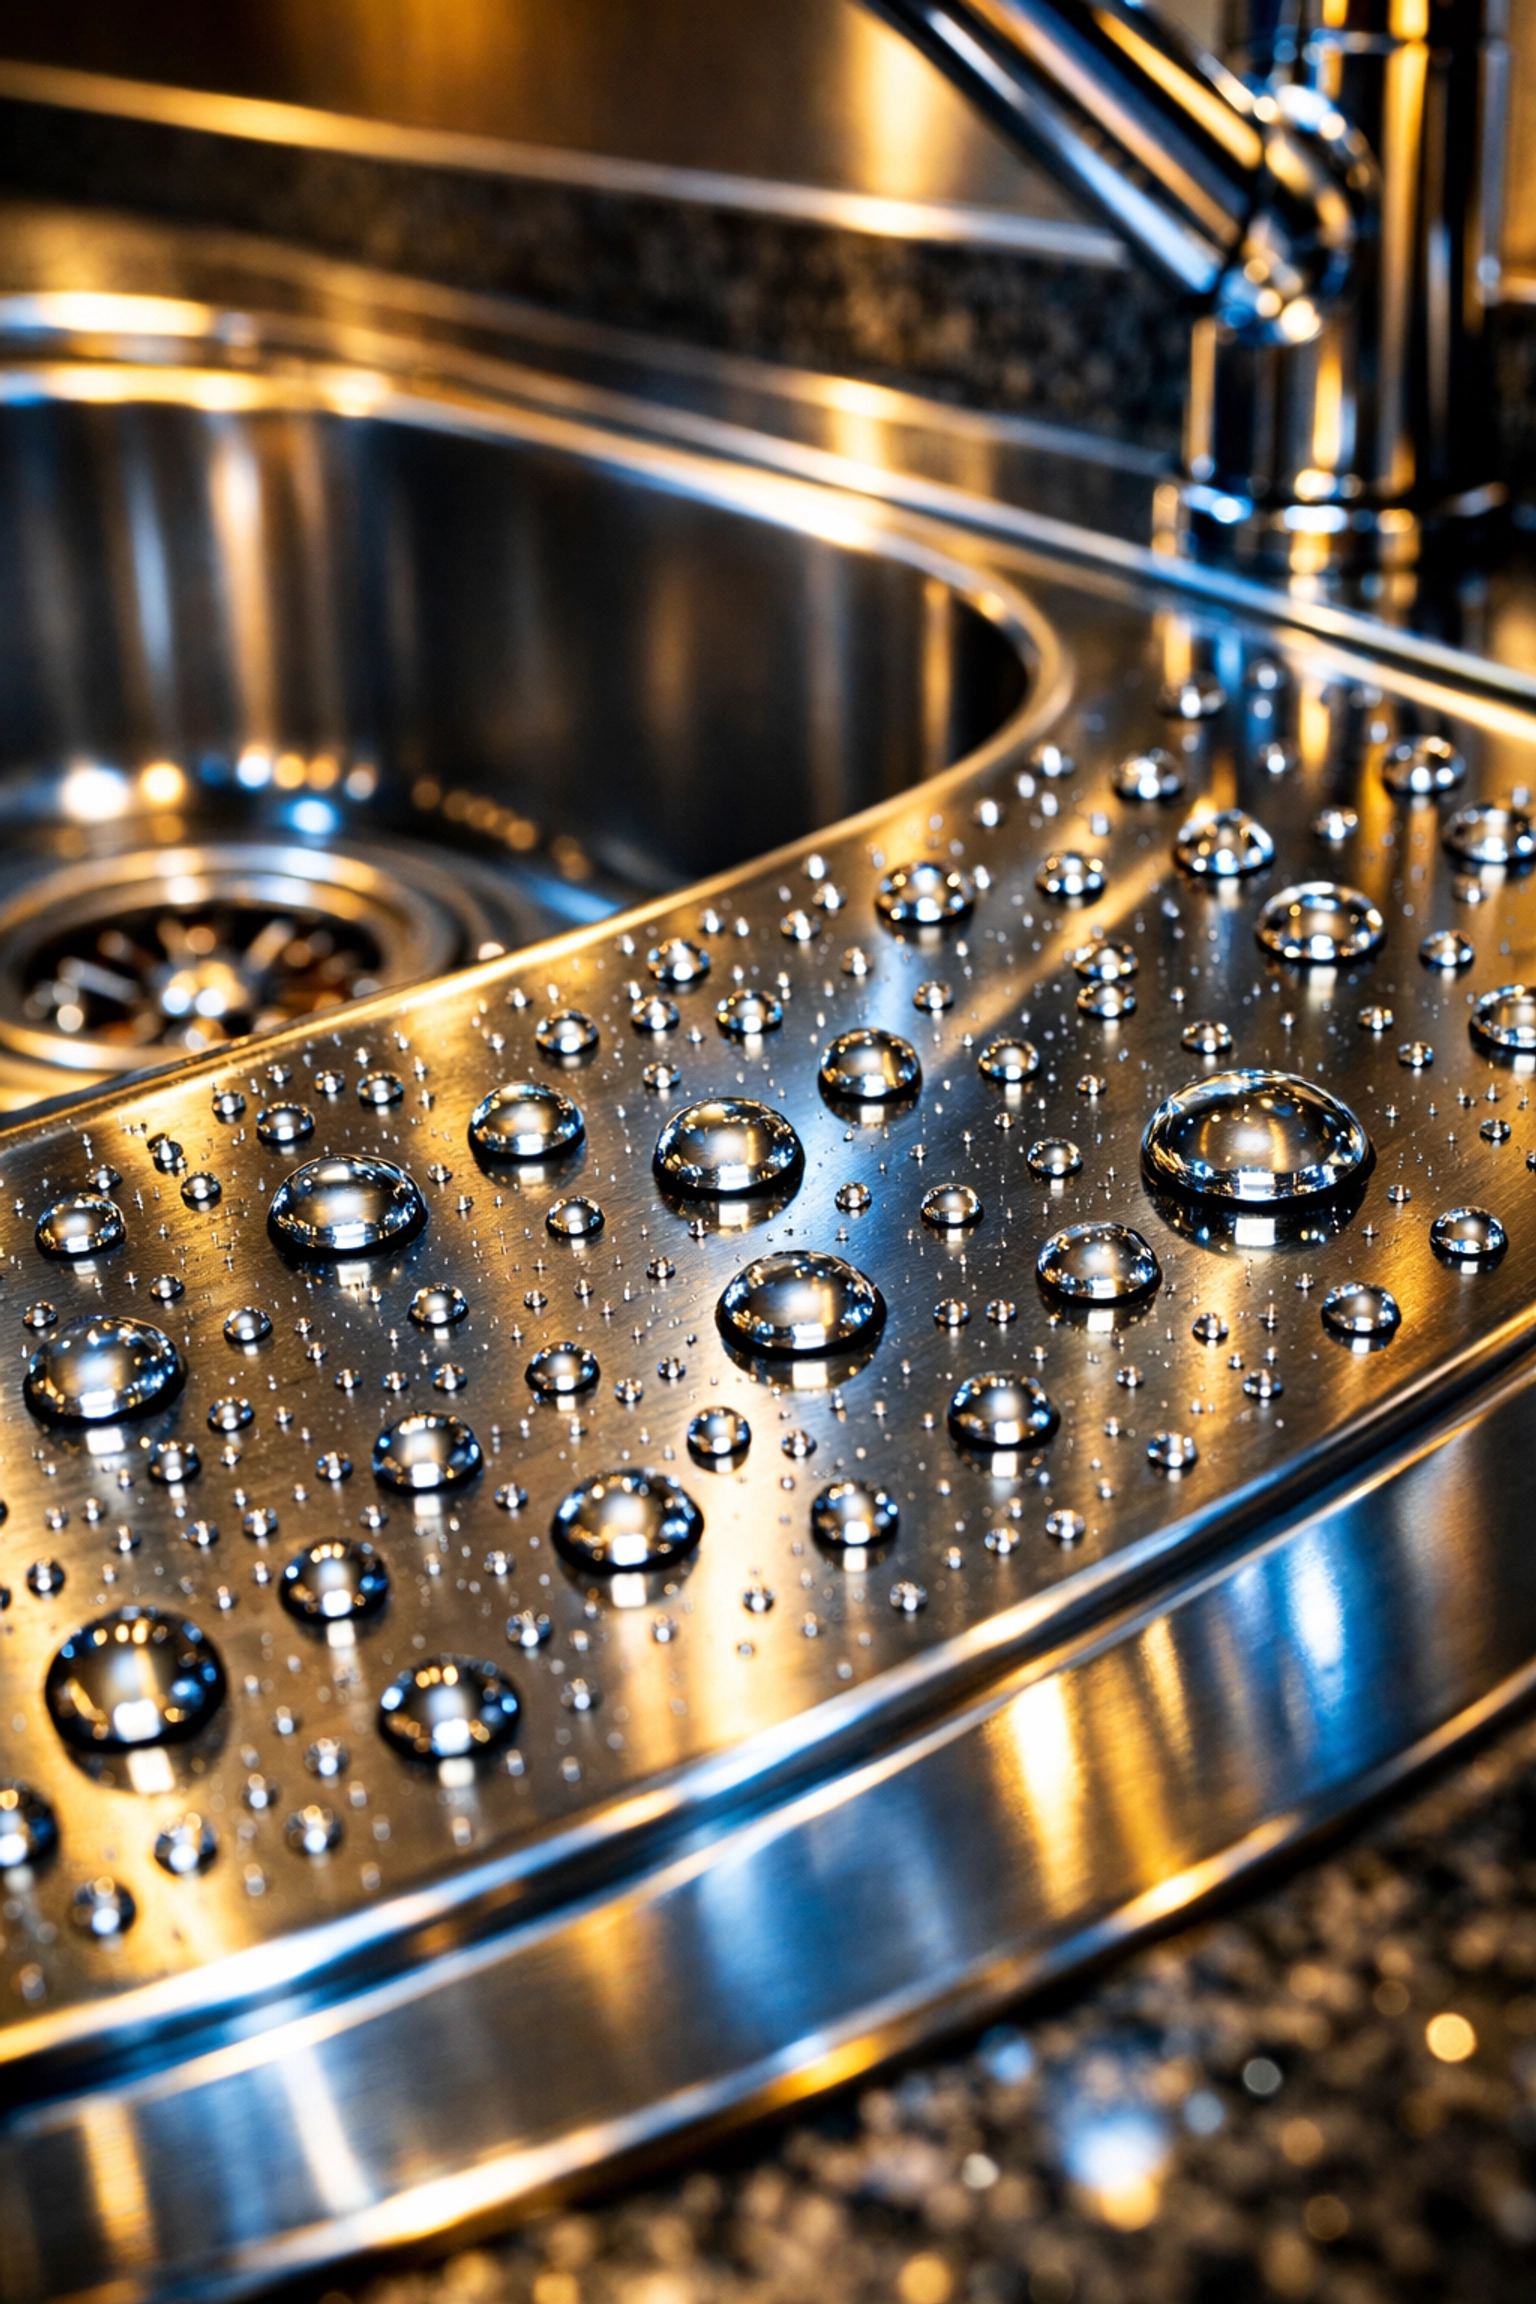
Apply a small amount of soap to your wet sponge and work it into a lather. Start from the top of the faucet and work your way down into the basin. This removes the initial layer of grease and fingerprints left by the installation team. Rinse thoroughly with warm water. If you see water "beading" in certain spots, there’s likely still some oil or silicone residue that needs more attention.
Phase 3: The Power of Steam
If you really want to ensure your new sink is 99.9% germ-free without using harsh bleaches, steam is your best friend. At The Cleaning Ninjas, we love steam cleaning because it’s incredibly effective at breaking up plumber’s grease and adhesive residue.
Hold the steam nozzle close to the drain opening and the overflow hole (in bathroom sinks). The heat will loosen any gunk trapped in the immediate pipes and sanitize the surfaces instantly. Move the nozzle around the base of the faucet to blast out any hidden dust that settled into the tight crevices during construction. Finish by running hot water to flush away everything the steam loosened.
Phase 4: Tackling the Drain with Eco-Friendly Chemistry
New plumbing shouldn't smell, but sometimes the installation process can leave behind a metallic or "industrial" scent. Plus, you want to make sure the traps are clear of any sediment.
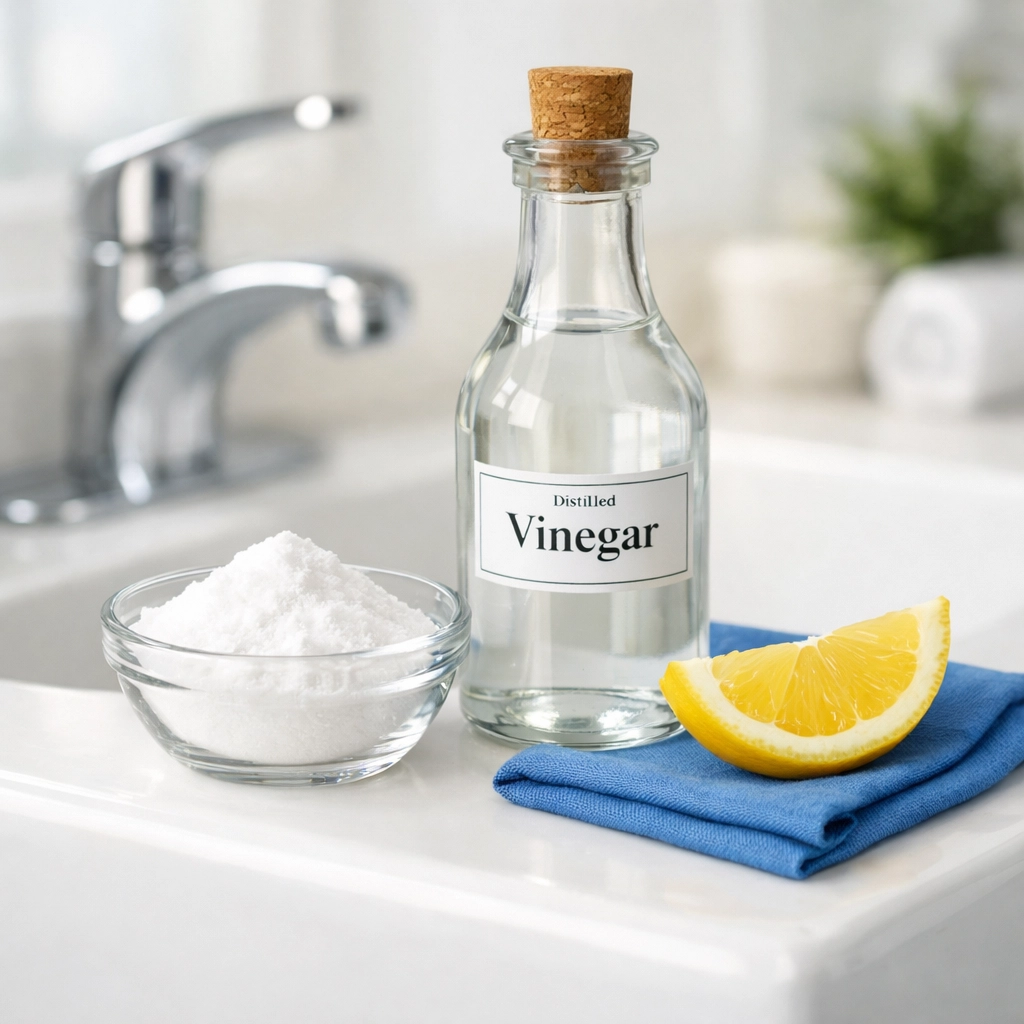
Forget the toxic, caustic drain cleaners. They are bad for the environment and can actually damage some types of new piping if used incorrectly. Instead, use the classic Ninja duo: Baking Soda and Vinegar.
- The Pour: Pour about half a cup of baking soda directly into the drain.
- The Fizz: Follow it with one cup of white distilled vinegar. You’ll hear that satisfying fizzing sound: that’s the chemical reaction working to break down residues.
- The Wait: Let it sit for 10 to 15 minutes.
- The Flush: Boil a kettle of water and carefully pour it down the drain. This flushes the pipes and leaves the area smelling fresh.
Phase 5: Deep Cleaning the Basin Surface
If your sink still looks a little dull or has "shadows" from where tools were sitting, it’s time for a deeper scrub.
For Stainless Steel:
Stainless steel is durable but shows every water spot. To get that showroom shine, sprinkle baking soda over the damp surface. Use a soft cloth to scrub with the grain of the metal. Baking soda is a very mild abrasive, so it will lift stains without scratching. Rinse and dry immediately with a microfiber cloth.
For Porcelain or Ceramic:
If you have a beautiful new white farm sink or a porcelain bathroom basin, you might notice gray scuff marks from metal tools. A paste made of baking soda and a little bit of lemon juice works wonders here. The acidity of the lemon helps break down metal marks, while the baking soda lifts them away.
Phase 6: The "Ninja Shine" Polishing Secret
Once the sink is clean, you want it to stay that way. Our cleaning services often include a final polish that makes the water bead off and prevents new dust from sticking.
For an eco-friendly polish, put a few drops of olive oil or lemon oil on a dry microfiber cloth. Buff the sink surface (especially stainless steel) until it gleams. This creates a natural barrier against water spots and fingerprints. A little goes a long way: you don't want a greasy sink, just a glowing one!
Don't Forget the Hardware
The faucet is the crown jewel of your new sink. Plumbers have to handle these parts extensively during installation.
- Remove Aerators: Sometimes construction debris gets caught in the aerator (the little mesh screen at the tip of the faucet). Unscrew it by hand, rinse out any pebbles or grit, and screw it back on. Your water pressure will thank you!
- Microfiber Buffing: Use a dry microfiber cloth to buff the chrome, nickel, or brass finishes. If there are stubborn water spots, a 50/50 mix of water and vinegar on a cloth will snap them right off.
When to Call in the Pros
Post-construction cleaning is an exhausting task. Between the sinks, the floors, the windows, and the air ducts, it can feel like the cleaning never ends. If you’ve just finished a major remodel and find yourself overwhelmed by the "fine dust" that has settled in every corner of your home, The Cleaning Ninjas are here to help.
Our team is trained in the specific needs of post-construction cleaning. We don't just "wipe down" surfaces; we restore them to their intended beauty so you can finally enjoy your investment. You can learn more about us and our commitment to eco-friendly, high-standard cleaning on our website.
Quick Maintenance Tips for New Sinks
Now that your sink is pristine, here are three quick tips to keep it that way:
- Dry it Out: After the last use of the night, give the sink a quick wipe with a dry cloth. This prevents minerals in the water from building up and creating "cloudy" spots.
- Avoid Steel Wool: Never use steel wool or harsh scouring pads on new sinks. They create micro-scratches that eventually trap dirt and make the sink harder to clean.
- Weekly Refresh: Keep a spray bottle of 50/50 vinegar and water under the sink for a quick, eco-friendly daily spritz.
Cleaning up after the plumbers is the final hurdle to enjoying your new kitchen or bath. By following these steps, you ensure that your fixtures are not only clean but protected for years to come. For more professional advice, feel free to browse our blog for more "Ninja Tips" on keeping your home in top shape!


