Category: House Cleaning
You’ve finally done it. The renovation is over, the contractors have packed up their gear, and you’re standing in your brand-new kitchen or looking through your newly installed windows. It should be a moment of pure bliss, but then you see it: the blue film. Or maybe it’s clear, or white, or that weird stretchy green stuff.
That protective film was a lifesaver during construction, shielding your expensive stainless steel appliances and pristine glass from scratches, dust, and stray paint splatters. But now, it’s the only thing standing between you and that "magazine-ready" look. If you’ve ever tried to pull it off only to have it snap into a hundred tiny pieces or leave behind a layer of sticky grey gunk, you know that "easy peel" is often a lie.
At The Cleaning Ninjas Inc, we handle post-construction cleaning every single day. We’ve unmasked thousands of appliances, and we’ve learned that there is a definite "ninja way" to handle these films without losing your mind or scratching your new surfaces.
Why Is That Film So Stubborn?
Before we dive into the techniques, it helps to understand the enemy. These films are typically made of polyethylene with a pressure-sensitive adhesive. They are designed to stay on through shipping and installation, but they aren't meant to live there forever.
The biggest enemy of protective film is time and temperature. If the film sits on a window in the hot sun for three months, the adhesive "bakes" onto the surface. Similarly, if the film stays on an appliance for a year while a project stalls, the plastic can become brittle. When you pull it, the plastic breaks, but the glue stays behind.
Phase 1: The Pre-Peel Prep
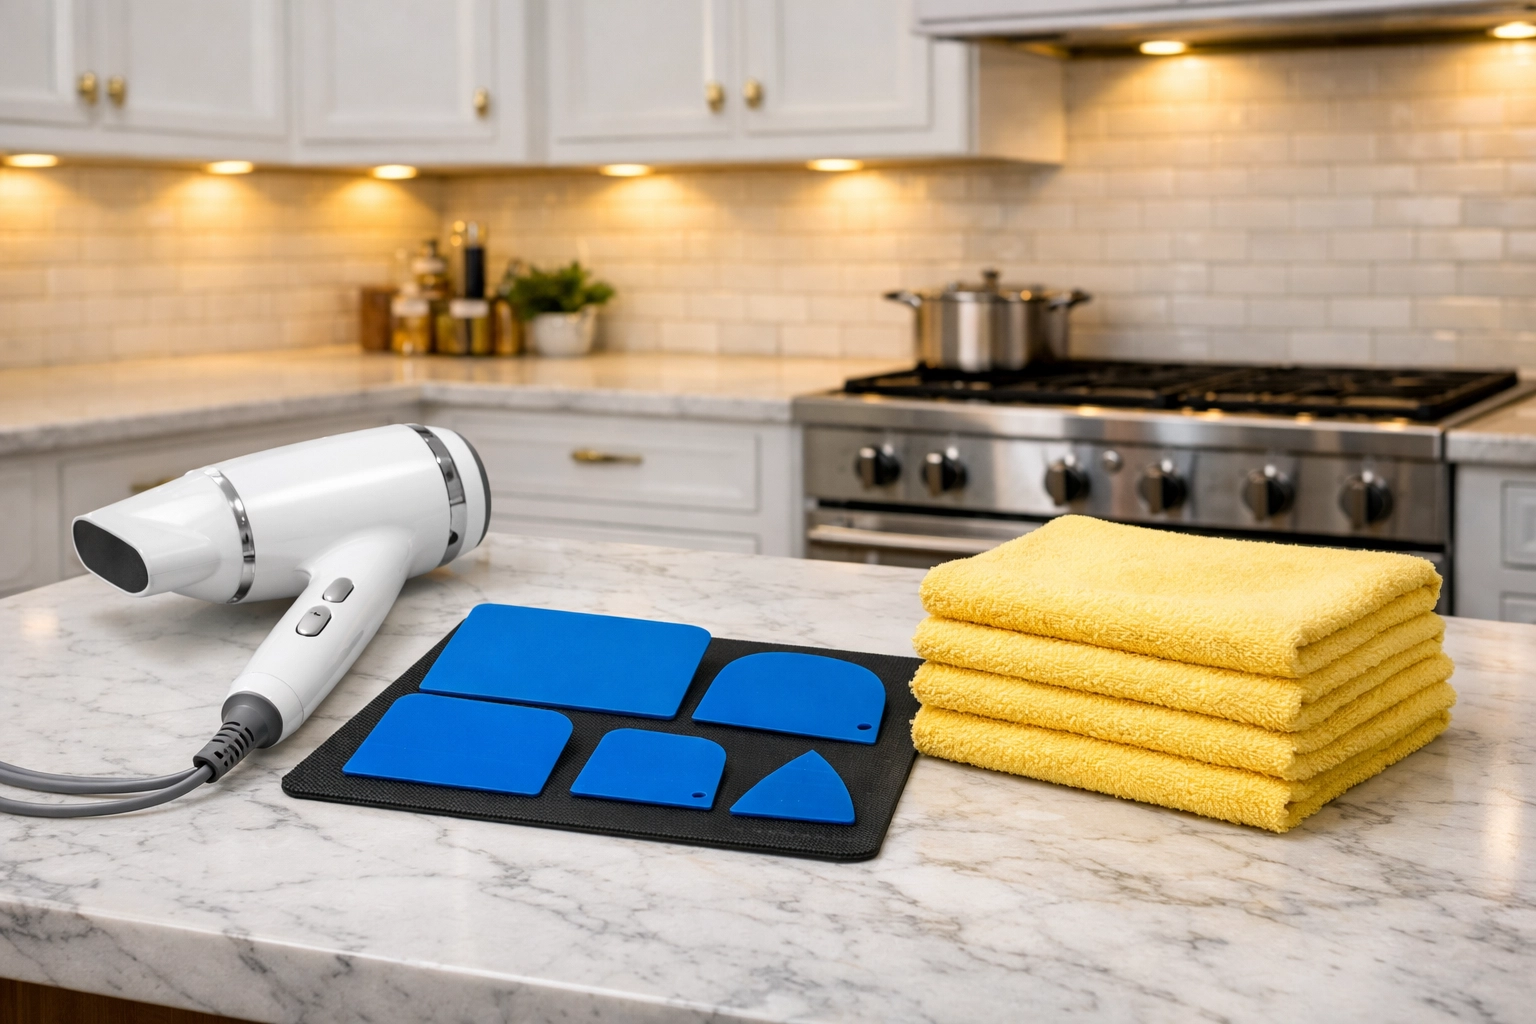
Don't just walk up and start ripping like you're opening a birthday present. You need a strategy. First, gather your tools:
- A Hair Dryer or Heat Gun: This is the most important tool in your kit.
- Plastic Scrapers: Never, ever use metal blades on stainless steel or PVC frames. A plastic putty knife or even an old credit card works wonders.
- Microfiber Cloths: To catch the residue without scratching.
- Rubbing Alcohol or Specialized Adhesive Remover: For the aftermath.
The Secret Weapon: Heat
If the film feels stiff or doesn't want to come up in one continuous sheet, it’s time to bring the heat. Heat softens the adhesive, making it more pliable and much more likely to stick to the plastic rather than the appliance.
- Warm it up: Set your hair dryer to a medium-high setting. Hold it about 6 inches away from a corner of the film.
- Wait for the "Give": Move the dryer back and forth for about 30 to 60 seconds. You’ll notice the film starts to look slightly rippled or softer.
- The Corner Start: Use your fingernail or a plastic scraper to gently lift a corner while the area is still warm.
Phase 2: The Perfect Peel Technique
There is actually a "right" way to pull. Most people pull the film straight up (at a 90-degree angle to the surface). This is a mistake. Pulling straight up creates a lot of tension and is the most likely way to snap the film or leave the glue behind.
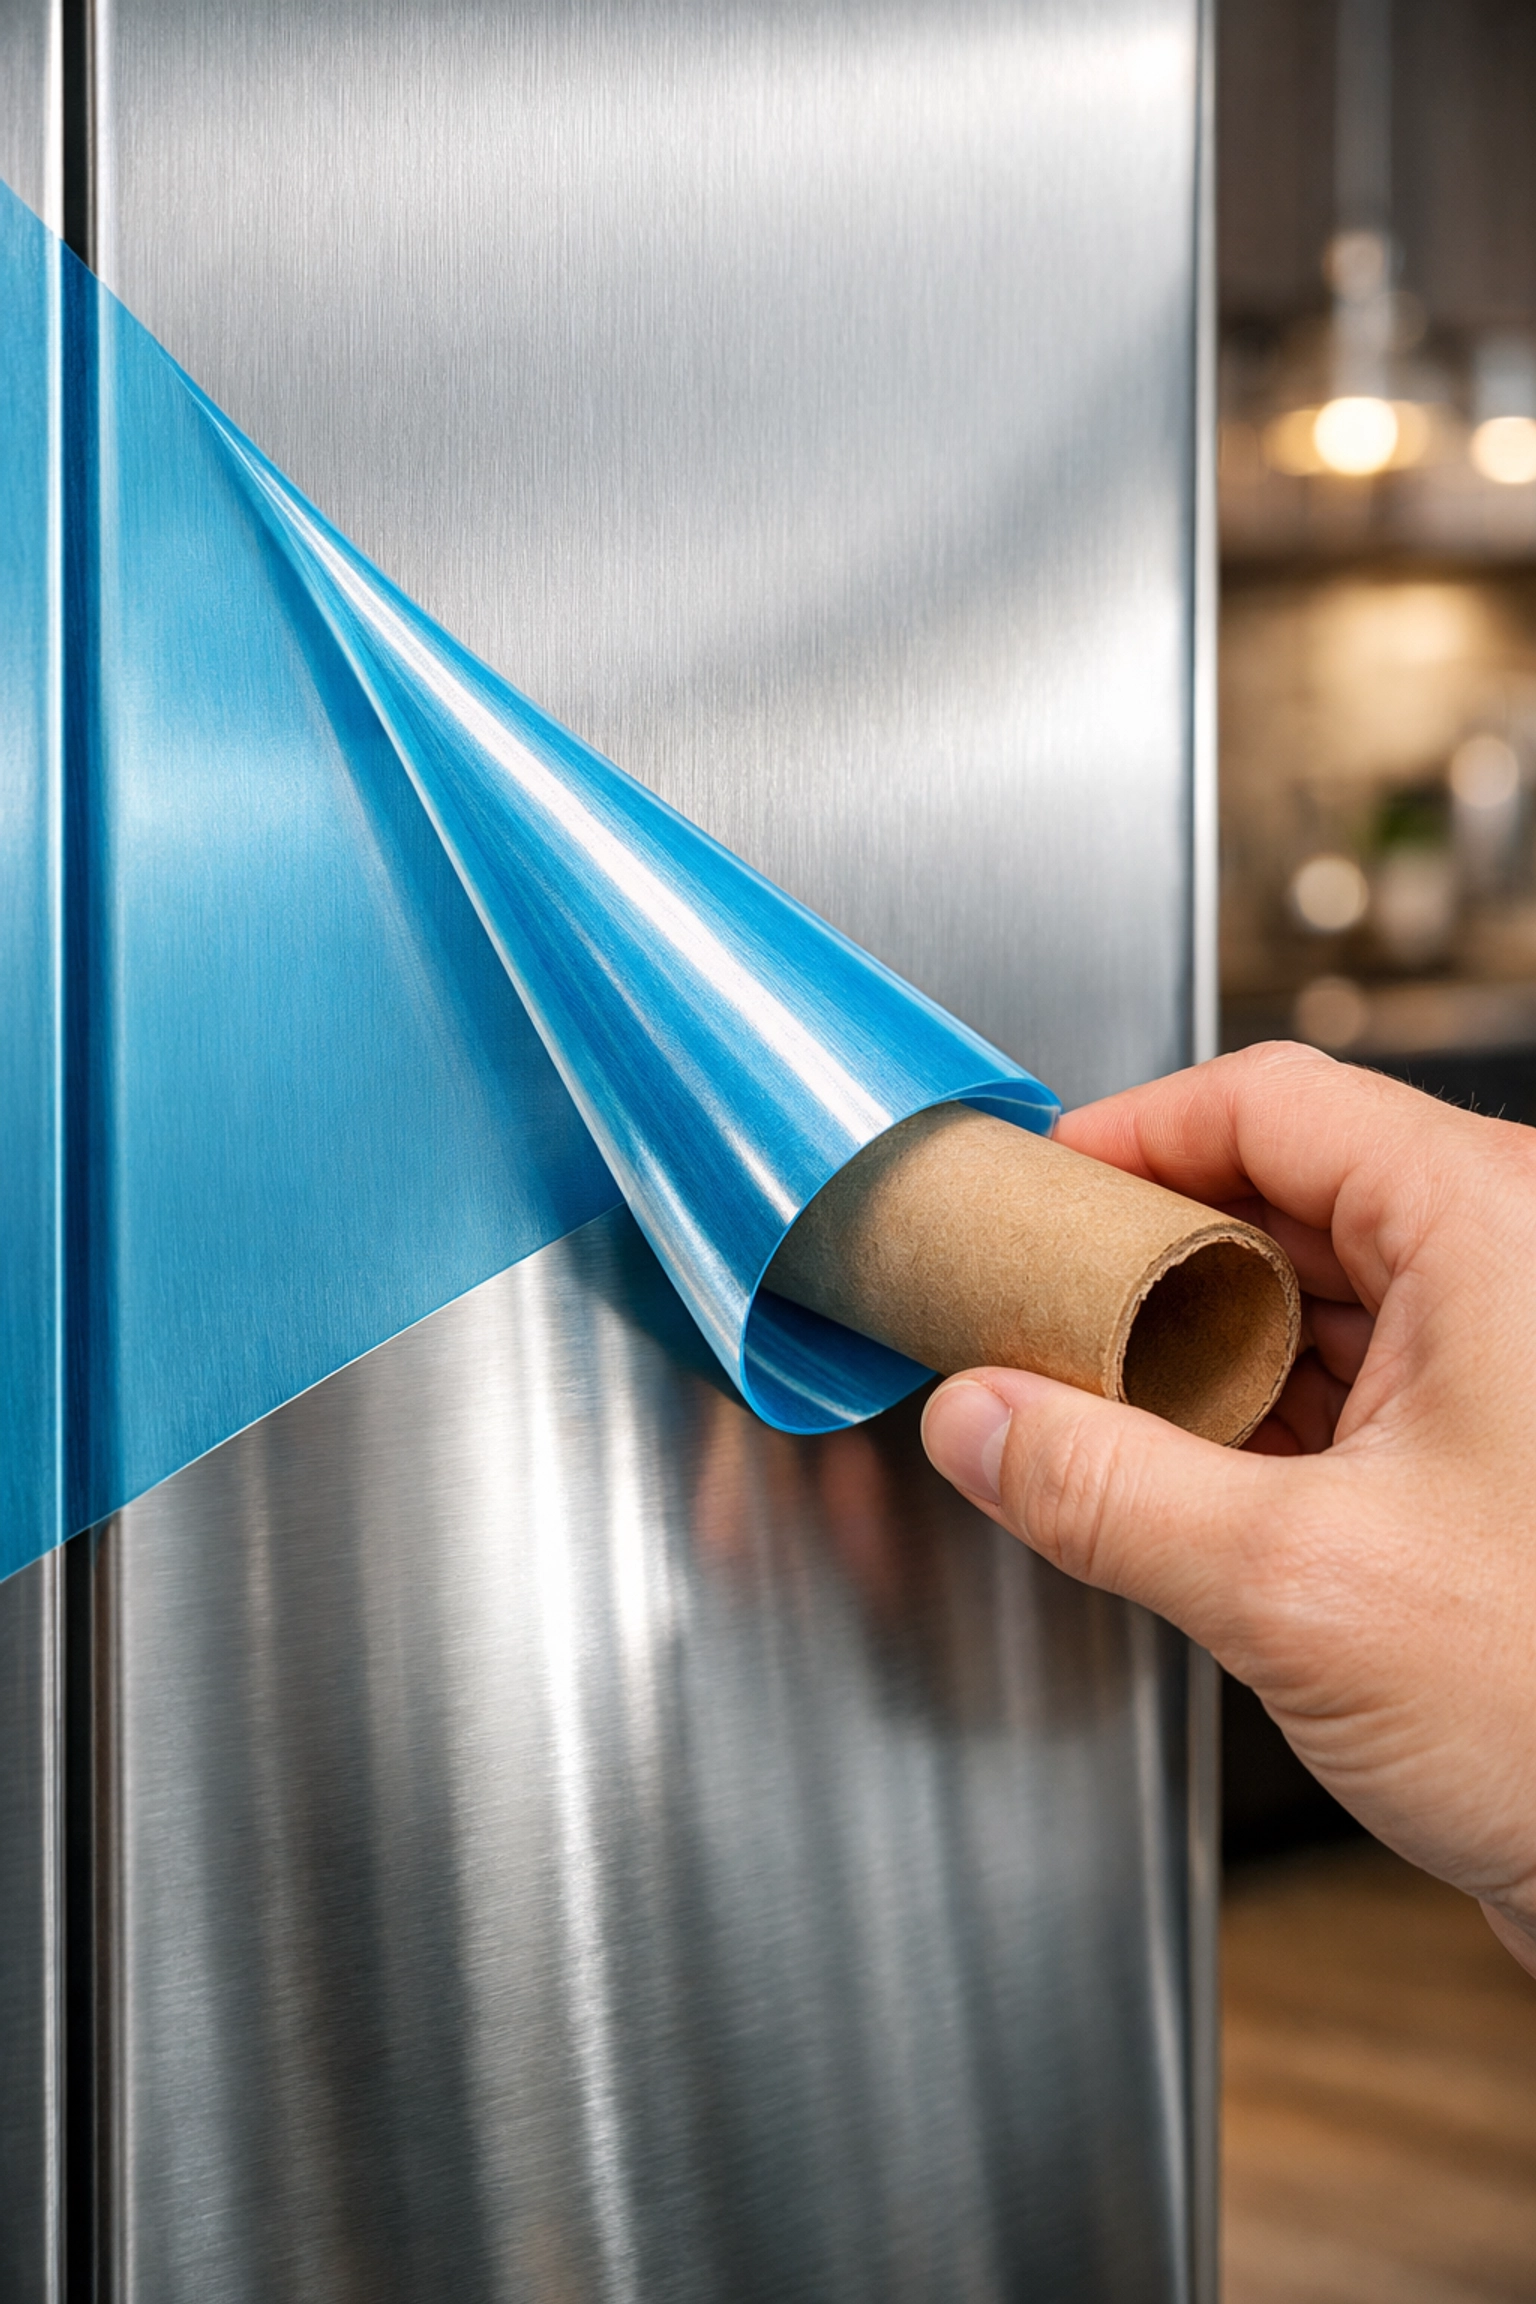
Instead, try the 180-degree pull. Fold the corner back over itself and pull parallel to the surface. This "rolls" the adhesive off rather than "yanking" it.
Ninja Pro Tip: The Cylinder Trick
If you have a large flat area, like a refrigerator door or a large window, find a cardboard tube (like an empty paper towel roll or a poster tube). Tape the edge of the film to the tube and slowly roll the tube across the surface. This provides even tension across the entire width of the film, preventing those annoying diagonal tears.
Phase 3: Attacking the Sticky Residue
Sometimes, despite your best efforts, the film leaves behind a cloudy, sticky residue. This is common in post-construction cleaning, especially if the materials were stored in a warehouse before delivery.
Here is how to handle the "gunk" based on the surface:
1. Stainless Steel
Stainless steel is beautiful but temperamental. If you use the wrong chemical, you can streak it forever.
- The Oil Method: Surprisingly, vegetable oil or mineral oil can break down adhesive. Rub a little on the sticky spot, let it sit for 10 minutes, and wipe with a microfiber cloth.
- Rubbing Alcohol: If oil doesn't work, 70% isopropyl alcohol usually does the trick. Always rub in the direction of the "grain" of the steel.
2. Windows and Glass
Glass is tougher than steel but shows every smudge.
- Soapy Water: Sometimes a simple mix of Dawn dish soap and warm water is enough to lubricate the adhesive so it can be pushed off with a plastic scraper.
- The Eraser Trick: For small spots of glue, a standard white pencil eraser can often "ball up" the adhesive so you can just flick it away.
3. PVC Window Frames
Be careful here! Harsh solvents like acetone can actually melt or discolor PVC.
- Nail Polish Remover (Non-Acetone): This is usually safe, but always test a small, hidden spot first.
- Hand Cream: Believe it or not, the surfactants in many hand creams are great at penetrating adhesive. Smear some on, wait, and wipe.
What Not To Do (The "Ninja No-No's")
We’ve seen some horror stories at The Cleaning Ninjas Inc, and most of them involve people getting frustrated and reaching for the wrong tools.
- No Razor Blades on Steel: You might think you have a steady hand, but one slip leaves a permanent silver scratch that no amount of polishing will fix.
- No Steel Wool: This will destroy the finish of your appliances instantly.
- Don't Wait: If you see film, pull it. The longer it stays on after the "heavy" construction is done, the harder it is to remove. UV rays are the catalyst that turns temporary film into a permanent mess.
When the Film is "Sun-Baked"
If you’re moving into a flip or a home that sat vacant for a while, you might find film that is literally fused to the window frames. It won't peel; it just flakes off in tiny, microscopic bits.
In this scenario, you need to saturate the film. We often use a specialized adhesive solvent (like Goo Gone or a professional-grade citrus solvent). You apply it, cover it with plastic wrap to keep it from evaporating, and let it sit for an hour. This softens the entire layer of plastic and glue, allowing you to slowly scrape it away with a plastic tool. It’s tedious, but it saves the surface.
Let the Ninjas Handle the Heavy Lifting
Post-construction cleaning is about more than just dusting. It’s about the fine details: removing the film from the inside of the dishwasher, getting the stickers off the window panes, and ensuring that your new home actually feels new.
If you’ve just finished a big project and the thought of peeling miles of blue plastic makes you want to go back to bed, give us a call. At The Cleaning Ninjas Inc, we have the tools, the patience, and the expertise to make your home shine from top to bottom. You can learn more about us and our commitment to detail, or check out our full range of cleaning services to see how we can help you cross that finish line.

Summary Checklist for a Clean Peel:
| Step | Action | Why? |
|---|---|---|
| 1 | Heat | Softens the bond. |
| 2 | Plastic Scraper | Lifts the edge without scratching. |
| 3 | 180-Degree Pull | Reduces tension and prevents snapping. |
| 4 | Solvent Test | Ensures you don't damage the finish. |
| 5 | Microfiber Wipe | Final polish for that Ninja shine. |
Cleaning up after a build is a marathon, not a sprint. Take your time with those films, use the right tools, and soon enough, your home will be the masterpiece you envisioned! For more professional advice, keep an eye on our cleaning tips blog.