

You did it. The contractors have finally packed up their tools, the plastic sheeting has been pulled down, and your beautiful Lunenburg home renovation is officially complete. Whether it was a total kitchen overhaul or a fresh new master suite, that feeling of seeing your vision come to life is unbeatable.
But then, you take a closer look. There is a fine, chalky film on your new granite countertops. There’s a strange "construction smell" lingering in the air. And despite the contractors’ best efforts to sweep up, there is dust: so much dust: in places you didn’t even know existed.
Post-renovation cleaning is a completely different beast than your standard Saturday morning tidy-up. Construction dust is invasive, heavy, and can even be a health hazard if not handled correctly. At The Cleaning Ninjas Inc, we’ve seen it all, and we’re here to help you navigate the transition from "construction zone" to "dream home."
Why Construction Dust is a Different Kind of Monster
If you’ve lived through a renovation in Lunenburg, you know that dust doesn’t stay in the room where the work happened. It travels through vents, under doors, and hitches a ride on your clothes.
Construction dust is often made up of drywall particles, silica, sawdust, and even microscopic metal shavings. Unlike regular house dust, it’s abrasive. If you just grab a dry cloth and start wiping your new hardwood floors or custom cabinetry, you risk scratching the very surfaces you just spent thousands of dollars to install.
This is why a systematic approach is non-negotiable. You can’t just "wing it" when it comes to post-construction cleaning.
Phase 1: The Rough Clean
Before you can get to the "sparkle" phase, you have to deal with the big stuff. If you’re doing this yourself, start by removing any remaining debris. Even if the crew did a "broom clean," you’ll likely find stray nails, bits of caulking, and wood scraps hiding in corners.
- Remove Trash: Get all the large items out of the way.
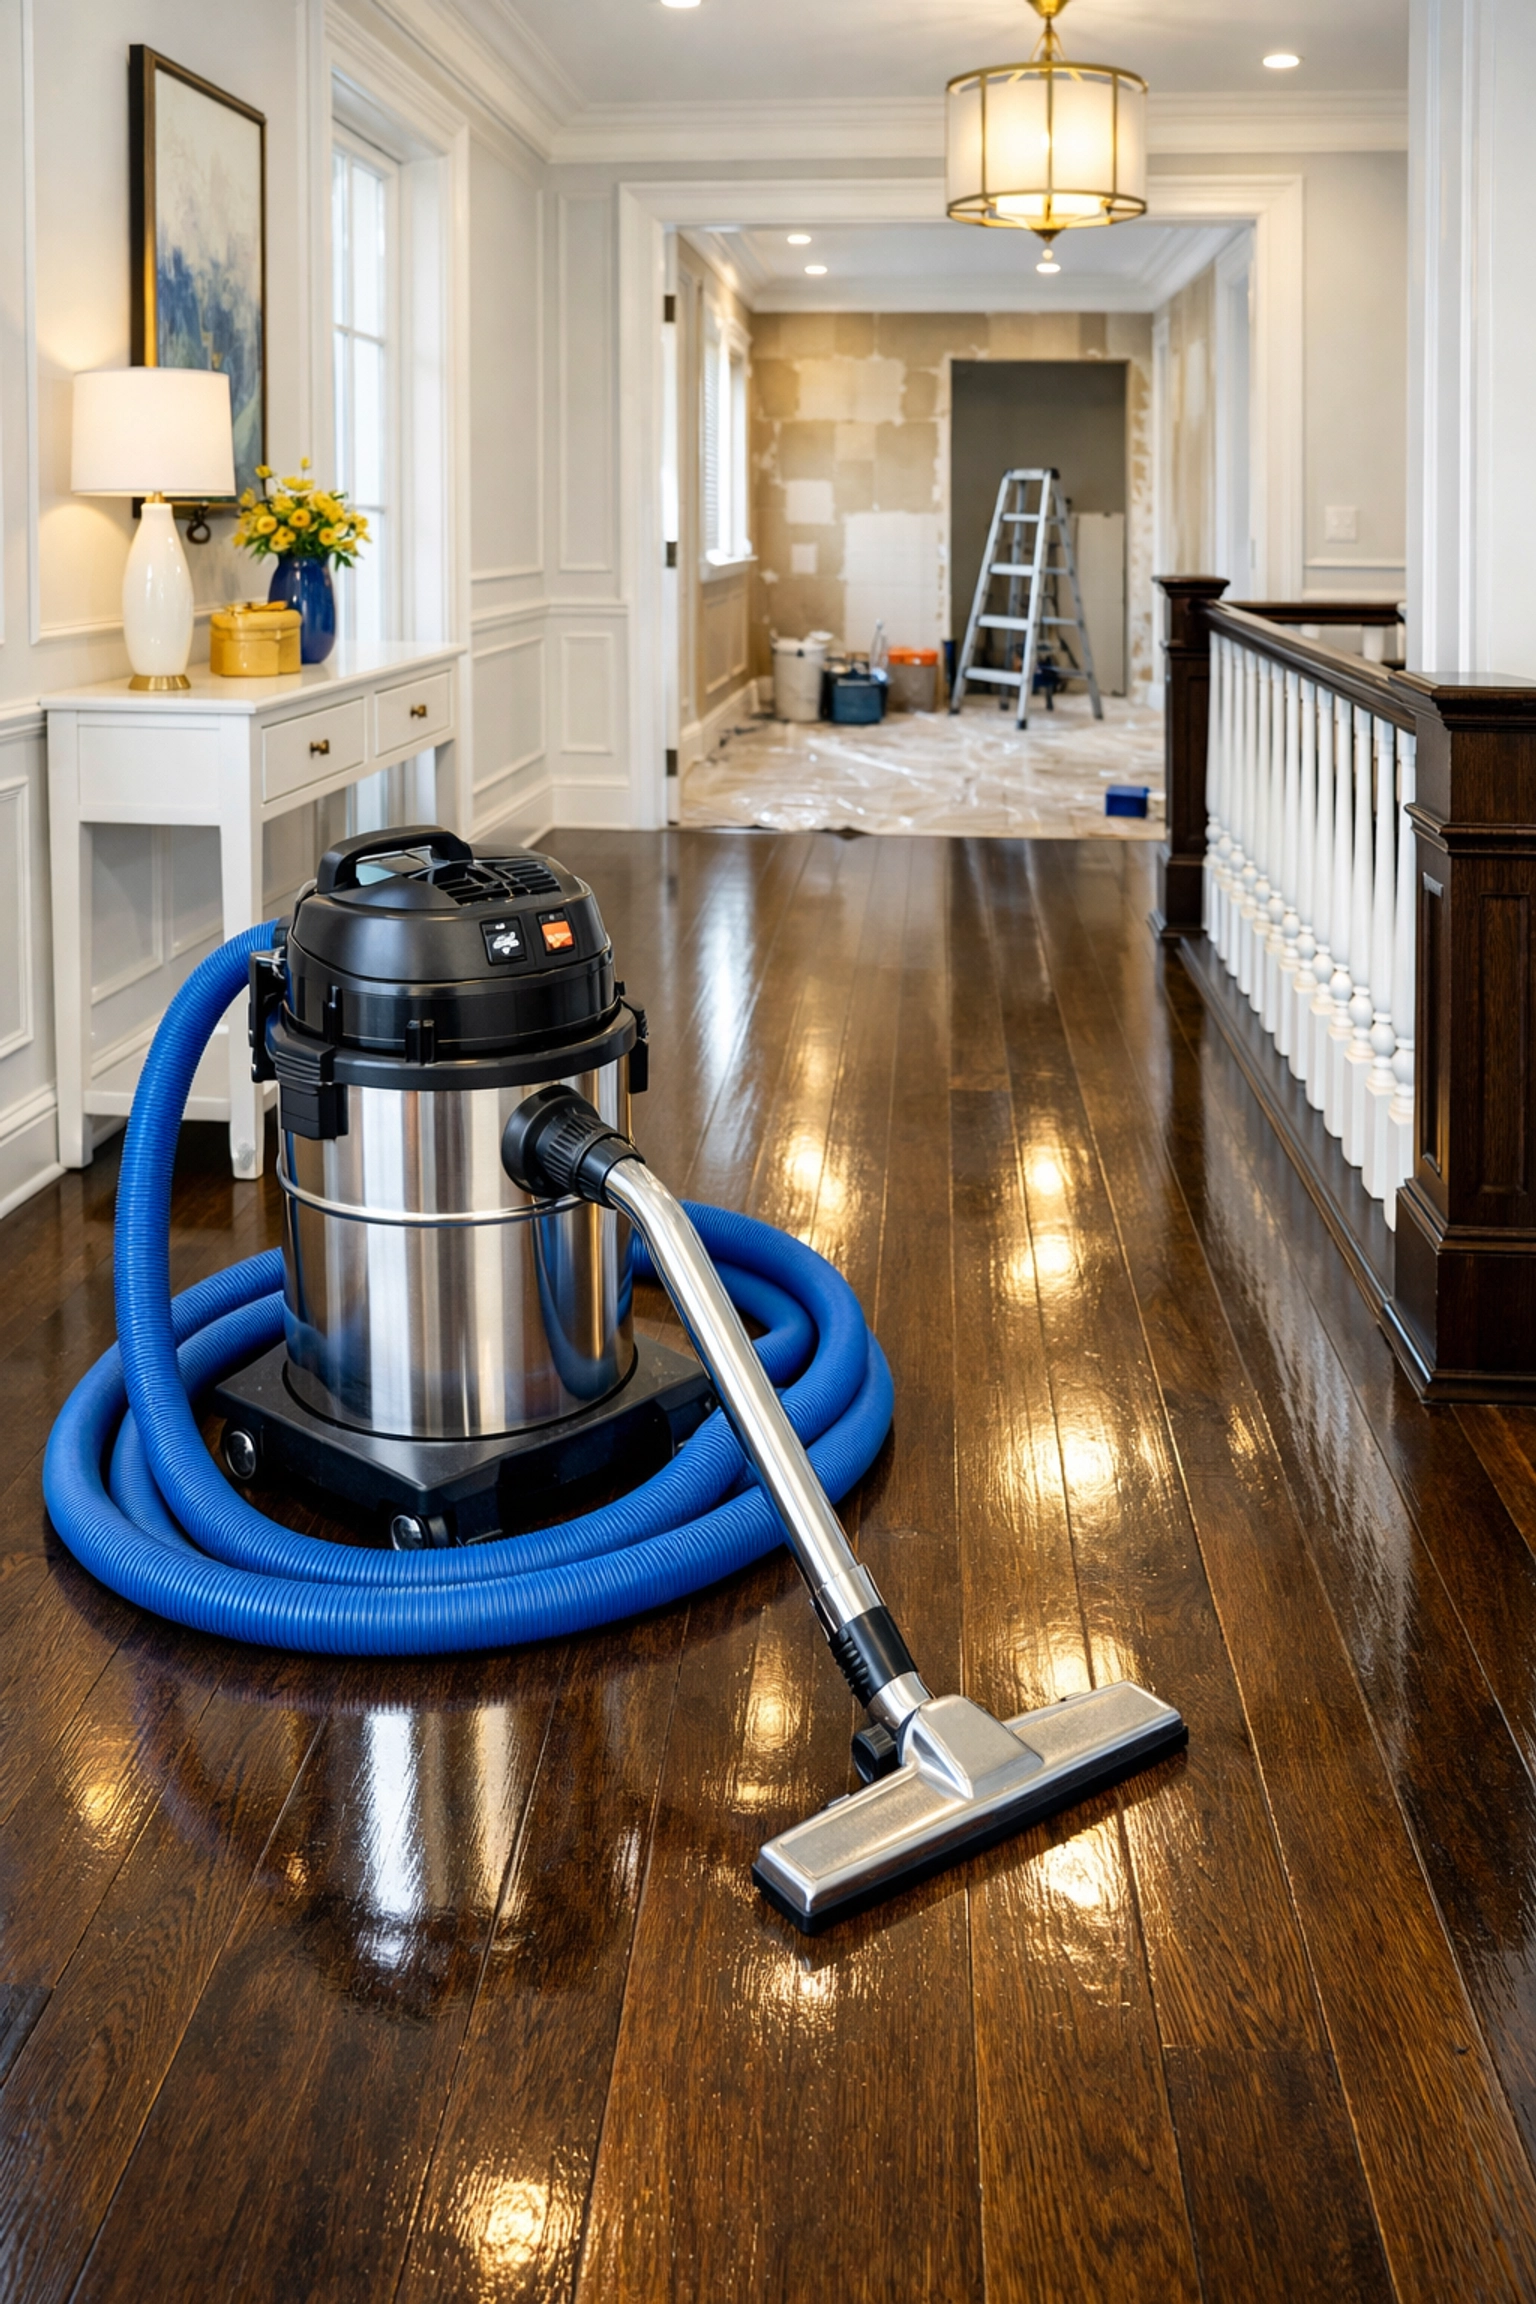
- The First Pass: Use a heavy-duty shop vac (not your regular household vacuum!) to get the bulk of the dust from the floors and windowsills.
- Check the Vents: This is the most important step in the early phase. Construction dust loves to settle in your HVAC system. If you turn on your heat or AC before cleaning the vents, you’re just circulating that debris back into your clean air.
Phase 2: The Deep Dive (Top-to-Bottom)
Once the "rough" stuff is gone, it’s time for the real work. The "Ninja Way" is always to work from the top down. Why? Because gravity is a thing. If you clean your floors first and then wipe down your ceiling fans, you’re going to have to clean those floors all over again.
Ceilings and Walls
Yes, you have to clean your walls. Drywall dust clings to vertical surfaces like a magnet. Use a vacuum with a brush attachment to gently go over the walls, starting at the ceiling. For stubborn spots, a slightly damp microfiber cloth works wonders. Be careful with fresh paint, though: give it at least 24 to 48 hours to fully cure before you start wiping it down with moisture.
Light Fixtures and Fans
Dust loves to settle on the tops of ceiling fan blades and inside recessed lighting canisters. Use a damp cloth to capture the dust rather than a feather duster, which just moves the problem around.
The Internal Connection
As you’re working through your home, remember that keeping up with a regular schedule is the best way to prevent this kind of buildup from happening again. If you're feeling overwhelmed by the sheer scale of the project, check out our guide to home cleaning services in Lunenburg to see how we can take the load off your shoulders.
Phase 3: The Kitchen and Bathroom Detail
These are the two most common areas for renovations in Lunenburg, and they also happen to be the hardest to clean.
In the Kitchen:
- Cabinets: Open every single drawer and cupboard. Vacuum the insides and then wipe them down with a damp cloth. Don't forget the tops of the cabinets!
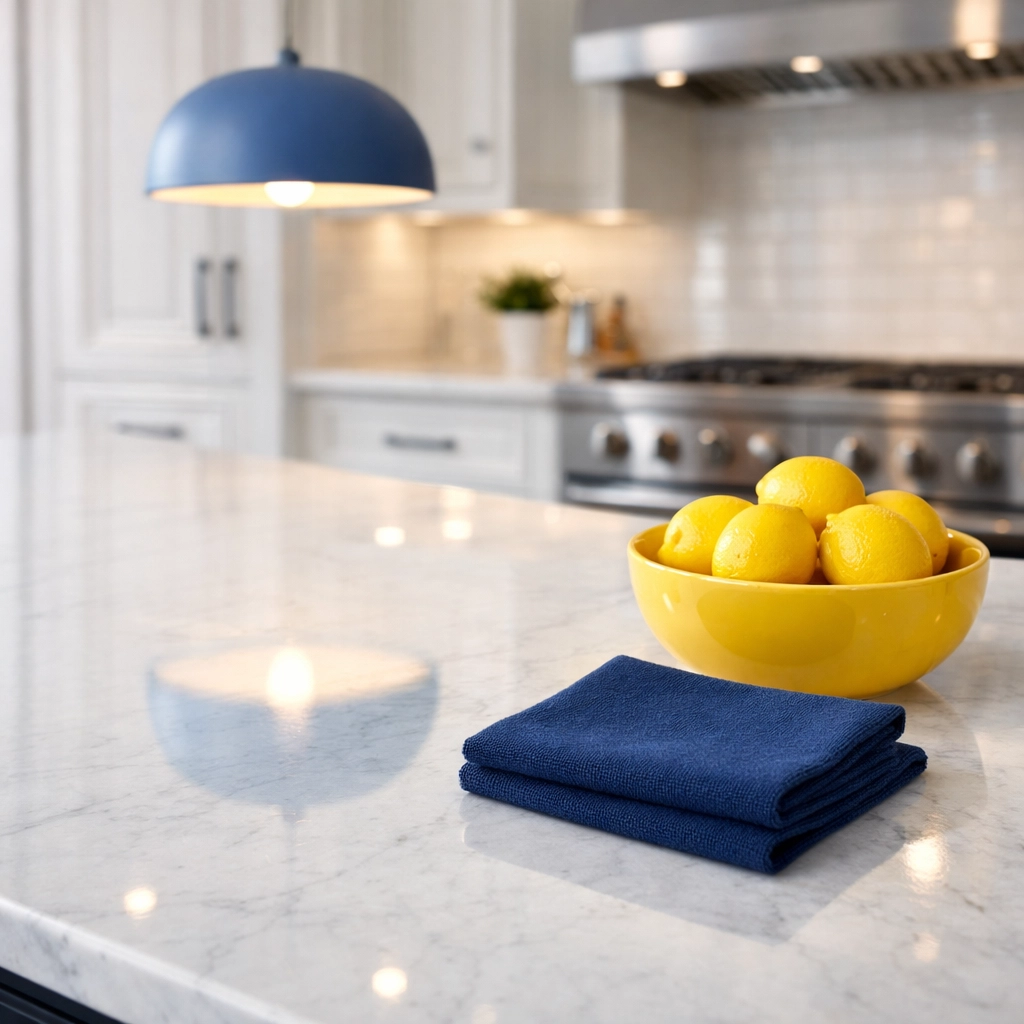
- Appliances: Pull out the fridge and oven if possible. Dust settles behind and under everything. If you have new stainless steel, use a dedicated cleaner to remove the oily residue left behind by installers’ hands.
- The Sink: Construction residue can dull a new sink. A deep scrub will bring back that "just-installed" shine.
In the Bathroom:
- Grout Haze: If you just had new tile installed, you might notice a white, milky film on the surface. This is grout haze. It requires a specific cleaner or a vinegar-and-water solution to remove without damaging the new grout lines.
- The Bathtub: Before you take that first celebratory soak, give the tub a thorough scrubbing. For more tips, read our guide on how to clean a bathtub properly after construction.
- Fixtures: Polish the chrome or matte black finishes to remove fingerprints and dust.
The Secret Weapon: HEPA Filtration
When we tackle a post-renovation job at The Cleaning Ninjas Inc, we don’t use standard vacuums. We use HEPA-filtered equipment. A HEPA filter is designed to trap 99.97% of particles as small as 0.3 microns.
Standard vacuums often have "blowback," where the finest dust particles are sucked in and then shot right back out the exhaust. In a post-renovation environment, this creates a never-ending cycle of dust. By using HEPA filtration, we ensure that once the dust enters our machines, it stays there. This is a huge factor in improving your indoor air quality and getting rid of that "renovation cough."
Don’t Forget the "Hidden" Spots
There are several areas that homeowners often overlook during a post-renovation cleanup:
- Door Frames and Trim: The narrow ledge on top of door frames is a massive dust collector.
- Inside the Closets: Even if you kept the closet doors shut, dust finds a way. Wipe down the shelves and the hanging rods.
- Window Tracks: Open your windows and look at the tracks. You’ll likely find a thick layer of grit that can eventually interfere with the window's operation.
- Switch Plates and Outlets: Carefully wipe down the covers of your light switches and outlets.
Safety First: Protecting Yourself
Cleaning up after a renovation isn't just dirty; it can be tough on your body. If you’re tackling this yourself, make sure you have the right gear:
- N95 Mask: Don't breathe in that drywall dust.
- Gloves: Protect your hands from cleaning chemicals and sharp debris.
- Eye Protection: Especially when cleaning ceilings or fans.
When to Call the Pros
Let’s be honest: after months of living with contractors, noise, and chaos, the last thing you want to do is spend your entire weekend scrubbing baseboards. You’ve already done the hard part of planning and surviving the renovation.
Hiring a professional cleaning service in Massachusetts ensures that the job is done right the first time. We have the industrial-grade tools and the "ninja" techniques to hunt down every last speck of dust. We follow a strict checklist to make sure nothing is missed, from the vents to the kickplates.

Enjoying Your New Space
The goal of post-renovation cleaning is to turn a "project" back into a "home." Once the dust is gone and the air is clear, you can finally put your furniture back, hang your art, and actually enjoy the investment you’ve made.
If you're in Lunenburg and want to skip the stress of the final cleanup, we’re here to help. You can explore our services to see exactly how we can make your new renovation shine.
Whether you’ve just added a new room or updated your entire house, congratulations! You’ve survived the renovation. Now, let us help you survive the cleanup.
Final Checklist for Lunenburg Homeowners:
- Change all HVAC filters immediately.
- Vacuum and wipe down all walls (top to bottom).
- Clean inside all cabinets and drawers.
- Wipe down light fixtures and ceiling fans.
- Scrub all hard flooring and use a HEPA vacuum on carpets.
- Clean window tracks and sills.
- Sanitize all "high-touch" surfaces like doorknobs and switches.
If that list looks a little too long, give us a shout. We'll bring the equipment, the expertise, and the "ninja" energy to get your home back to normal in no time!


