

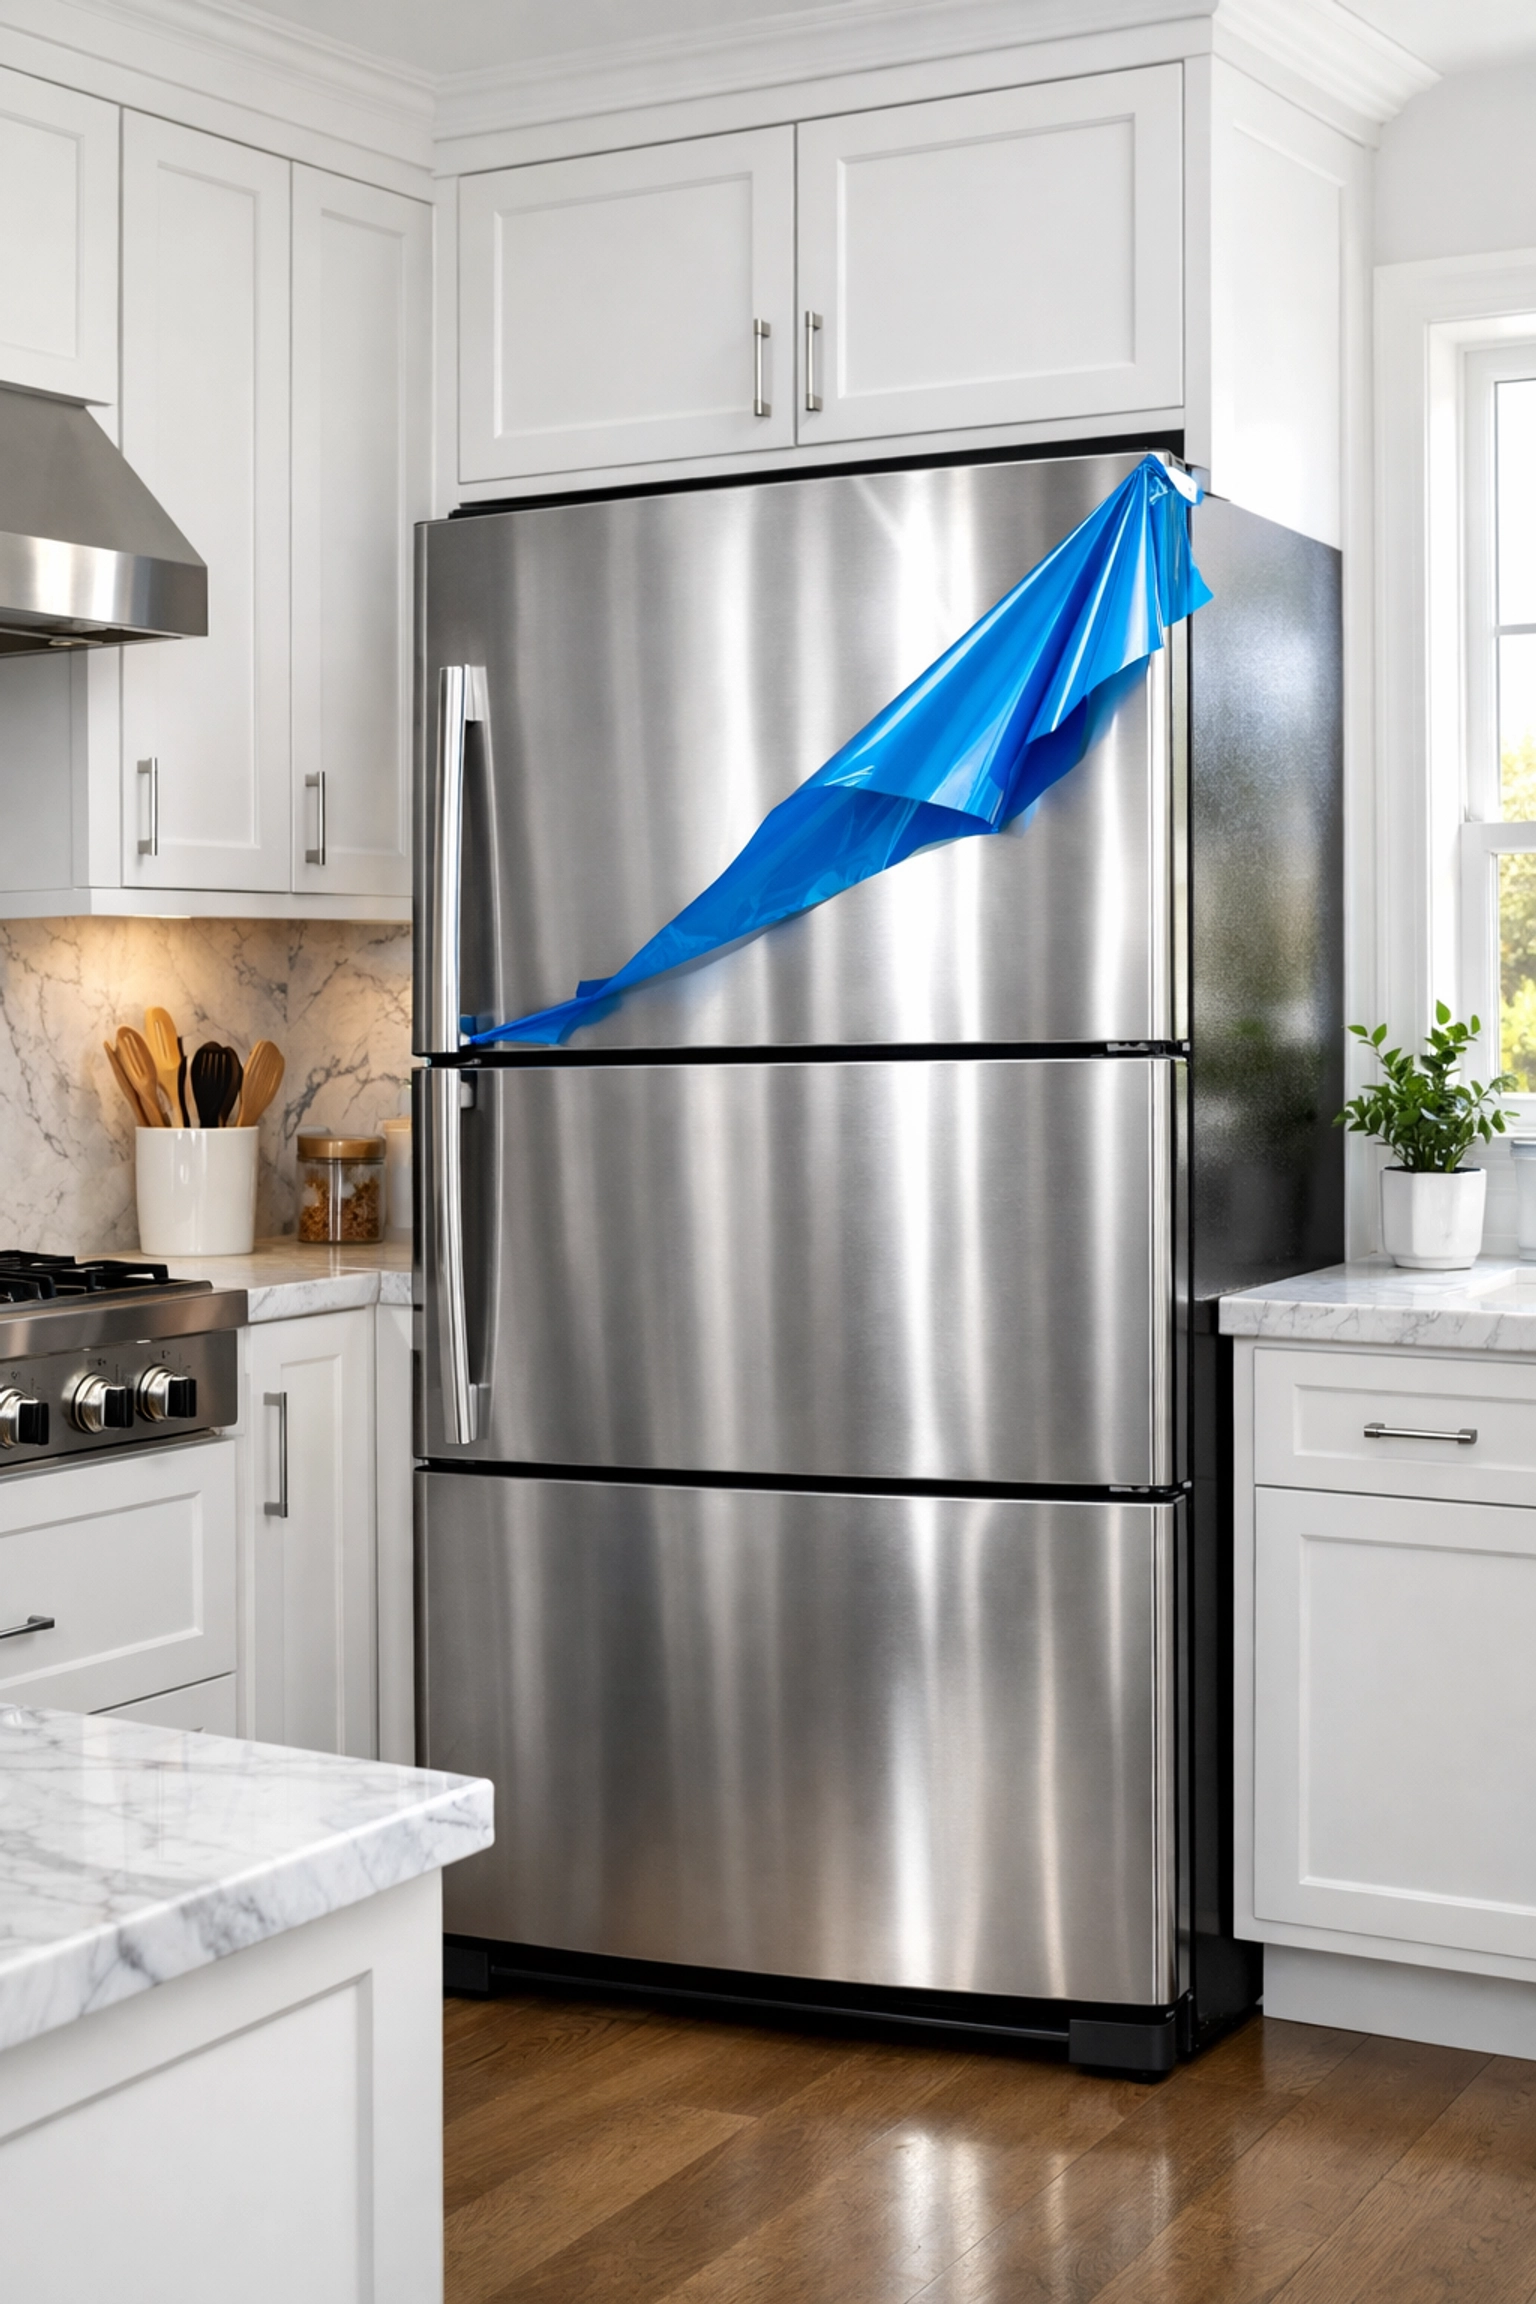
There is nothing quite like the feeling of a freshly completed home renovation or the arrival of a brand-new, high-end appliance. Everything is shiny, the air smells like "new house," and you’re ready to finally enjoy your space. But then, you see it. That ubiquitous, bright blue or stubborn clear plastic film clinging to every square inch of your new dishwasher, refrigerator, or window frames.
At first, you think, "Oh, this will be satisfying!" You grab a corner, give it a tug, and… snap. The plastic tears into a tiny sliver. You try again, and this time the plastic comes off, but it leaves behind a cloudy, tacky, finger-print-magnet layer of adhesive. Suddenly, your "new" appliance looks like it’s been covered in syrup.
Here at The Cleaning Ninjas Inc, we deal with this daily during our post-construction cleaning projects. We’ve seen miles of protective film, and we’ve perfected the art of removing it without damaging the surface underneath or losing our minds. If you’re staring down a kitchen full of blue-wrapped steel, grab a cup of coffee and read on. We’re going to show you how to peel like a pro.
Why Is That Film So Hard to Remove?
Before we get into the "how," let's talk about the "why." These films are designed to protect delicate surfaces from scratches during manufacturing, shipping, and installation. However, they aren't meant to stay on forever.
If an appliance sits in a warehouse for a year, or if your new windows are installed and then sit in the hot sun for three weeks while the rest of the construction finishes, the adhesive undergoes a chemical change. Heat and UV rays "bake" the glue into the finish. This is why a job that should take five minutes ends up taking two hours.
Step 1: The "Ninja Peel" Technique
The way you pull the film matters just as much as what you use to help it along. Most people's instinct is to pull the film straight up and away from the surface (at a 90-degree angle). This is actually the fastest way to ensure the adhesive stays stuck to the appliance instead of the plastic.
Instead, try the Shallow Angle Peel. Start at a corner, if you can’t get a grip with your fingernails, use a pair of tweezers or a plastic putty knife (never metal!) to lift the very edge. Once you have a grip, pull the film back over itself at a very sharp angle, almost parallel to the surface.
Slow and steady wins this race. If you rip it quickly, you’re more likely to leave residue behind. If you have a large flat area, like a refrigerator door, try using a cardboard tube (like an empty paper towel roll). Wrap the edge of the film around the tube and roll it slowly down the surface. This keeps the tension even and prevents those annoying tears.
Step 2: Add a Little Heat
If the film is being particularly stubborn or brittle, it’s time to bring in the heat. Heat softens the adhesive, making it more pliable and much more likely to stay attached to the film rather than the metal.
You don’t need an industrial heat gun for this, in fact, a heat gun can actually be dangerous if you aren't careful, as it can melt the plastic onto the finish or damage electronic components. A standard hair dryer is usually all you need.
Set the hair dryer to a medium heat setting and wave it over a small section of the film for about 15-20 seconds. You want it warm to the touch, not scorching. While the area is still warm, use your shallow-angle peel technique. You’ll be amazed at how much easier the plastic gives way.
Step 3: Dealing with the Sticky Aftermath (The Green Way)
So, the plastic is gone, but the surface feels like a giant piece of flypaper. Don't panic, and please, don't reach for the heavy-duty paint thinners or abrasive scrubby sponges. You can get that residue off using items you probably already have in your pantry.
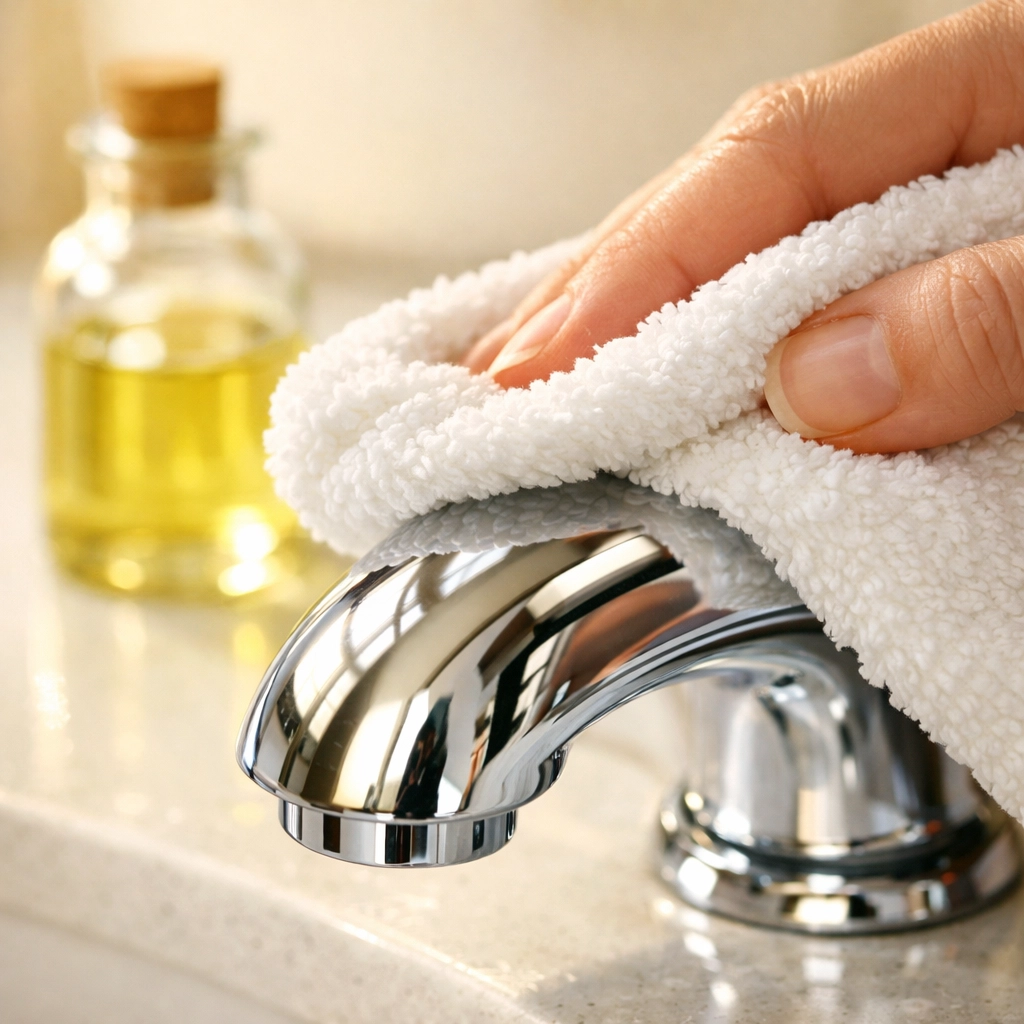
The Magic of Oil
Adhesive is generally oil-soluble. This means that "green" options like olive oil, coconut oil, or even vegetable oil work incredibly well.
- Dab a bit of oil onto a clean microfiber cloth.
- Rub it onto the sticky residue in a circular motion.
- Let it sit for about 5 to 10 minutes. The oil will break down the bond of the glue.
- Wipe away with a fresh cloth, then follow up with a little dish soap and water to remove the oil.
The "Face Cream" Hack
Believe it or not, common hand cream or face cream is a fantastic adhesive remover. These creams contain surfactants and oils that penetrate the glue. It's a gentle way to clean delicate finishes without the risk of discoloration.
The Vinegar and Water Solution
For lighter residue, a simple 50/50 mix of white vinegar and water can do the trick. The acidity in the vinegar helps break down the sticky stuff without damaging stainless steel or glass. This is one of our favorite cleaning tips because it’s cheap, effective, and totally non-toxic.
Step 4: For the "Extra Stubborn" Spots
Sometimes, you encounter a spot that refuses to budge. This usually happens in the corners or around the handles of appliances.
Isopropyl Alcohol (Rubbing Alcohol): This is safe for most stainless steel and glass surfaces. It evaporates quickly and is excellent at dissolving synthetic adhesives. Just be sure to test a small, inconspicuous area first to ensure it doesn't affect the finish.
The Eraser Method: If you have small "pills" of glue left behind, a standard white pencil eraser can sometimes roll them right off the surface. Just be sure to wipe away the eraser dust afterward so it doesn't settle into the tracks of your new appliances.
What NOT to Do
When you’re frustrated, it’s easy to make a mistake that could permanently mar your brand-new home features. Avoid these at all costs:
- No Razor Blades: It’s tempting to scrape off a sticker with a razor, especially on windows. However, many modern windows have special coatings that can be scratched by metal. On stainless steel, a razor blade is a one-way ticket to a permanent scratch mark.
- No Steel Wool: Even the "fine" stuff can dull the finish of polished metal or plastic.
- No "Goo" Removers on Plastic: Some heavy-duty commercial adhesive removers contain chemicals that can melt or "cloud" certain types of plastic. If you must use a commercial product, read the label carefully to ensure it's safe for the specific material you're cleaning.

Specific Surfaces: A Quick Guide
- Stainless Steel: Always rub in the direction of the "grain." Even when you're just applying oil or vinegar, following the grain ensures that you don't create swirl marks.
- Windows/Glass: You can be a bit more firm here, but be wary of the frames. If the film is on the vinyl or aluminum frame, avoid harsh solvents that could strip the color.
- Acrylic/High-Gloss Cabinets: These are the most delicate. Stick strictly to the hair dryer and mild soapy water or very light oil. Never use alcohol or vinegar on high-gloss acrylic as it can cause "crazing" (tiny cracks).
The Ninja Standard: Why Post-Construction Cleaning is Different
If you’ve just finished a build, removing these films is just the tip of the iceberg. Post-construction dust: that fine, white powder from drywall: gets into every nook and cranny. It settles on the sticky residue left by the protective films, creating a gritty paste that can be even harder to remove.
That’s why our team at The Cleaning Ninjas Inc focuses on a top-down approach. We remove the films, neutralize the adhesives, and then perform a deep cleaning to ensure no construction dust remains to scratch your new surfaces. You can learn more about our philosophy on our About Us page.
Wrapping Up
Removing protective film doesn't have to be a nightmare. With a little bit of heat, the right peeling angle, and some common household oils, you can reveal the beauty of your new home without the sticky mess.
If you find yourself overwhelmed by the sheer volume of "new house" cleaning: or if the thought of peeling plastic off 20 windows makes you want to go back to bed: don't hesitate to reach out. We’re here to help you cross that finish line so you can actually start living in your new space.
For more professional hacks and tricks to keep your home looking its best, check out the rest of our blog. Happy peeling!

