

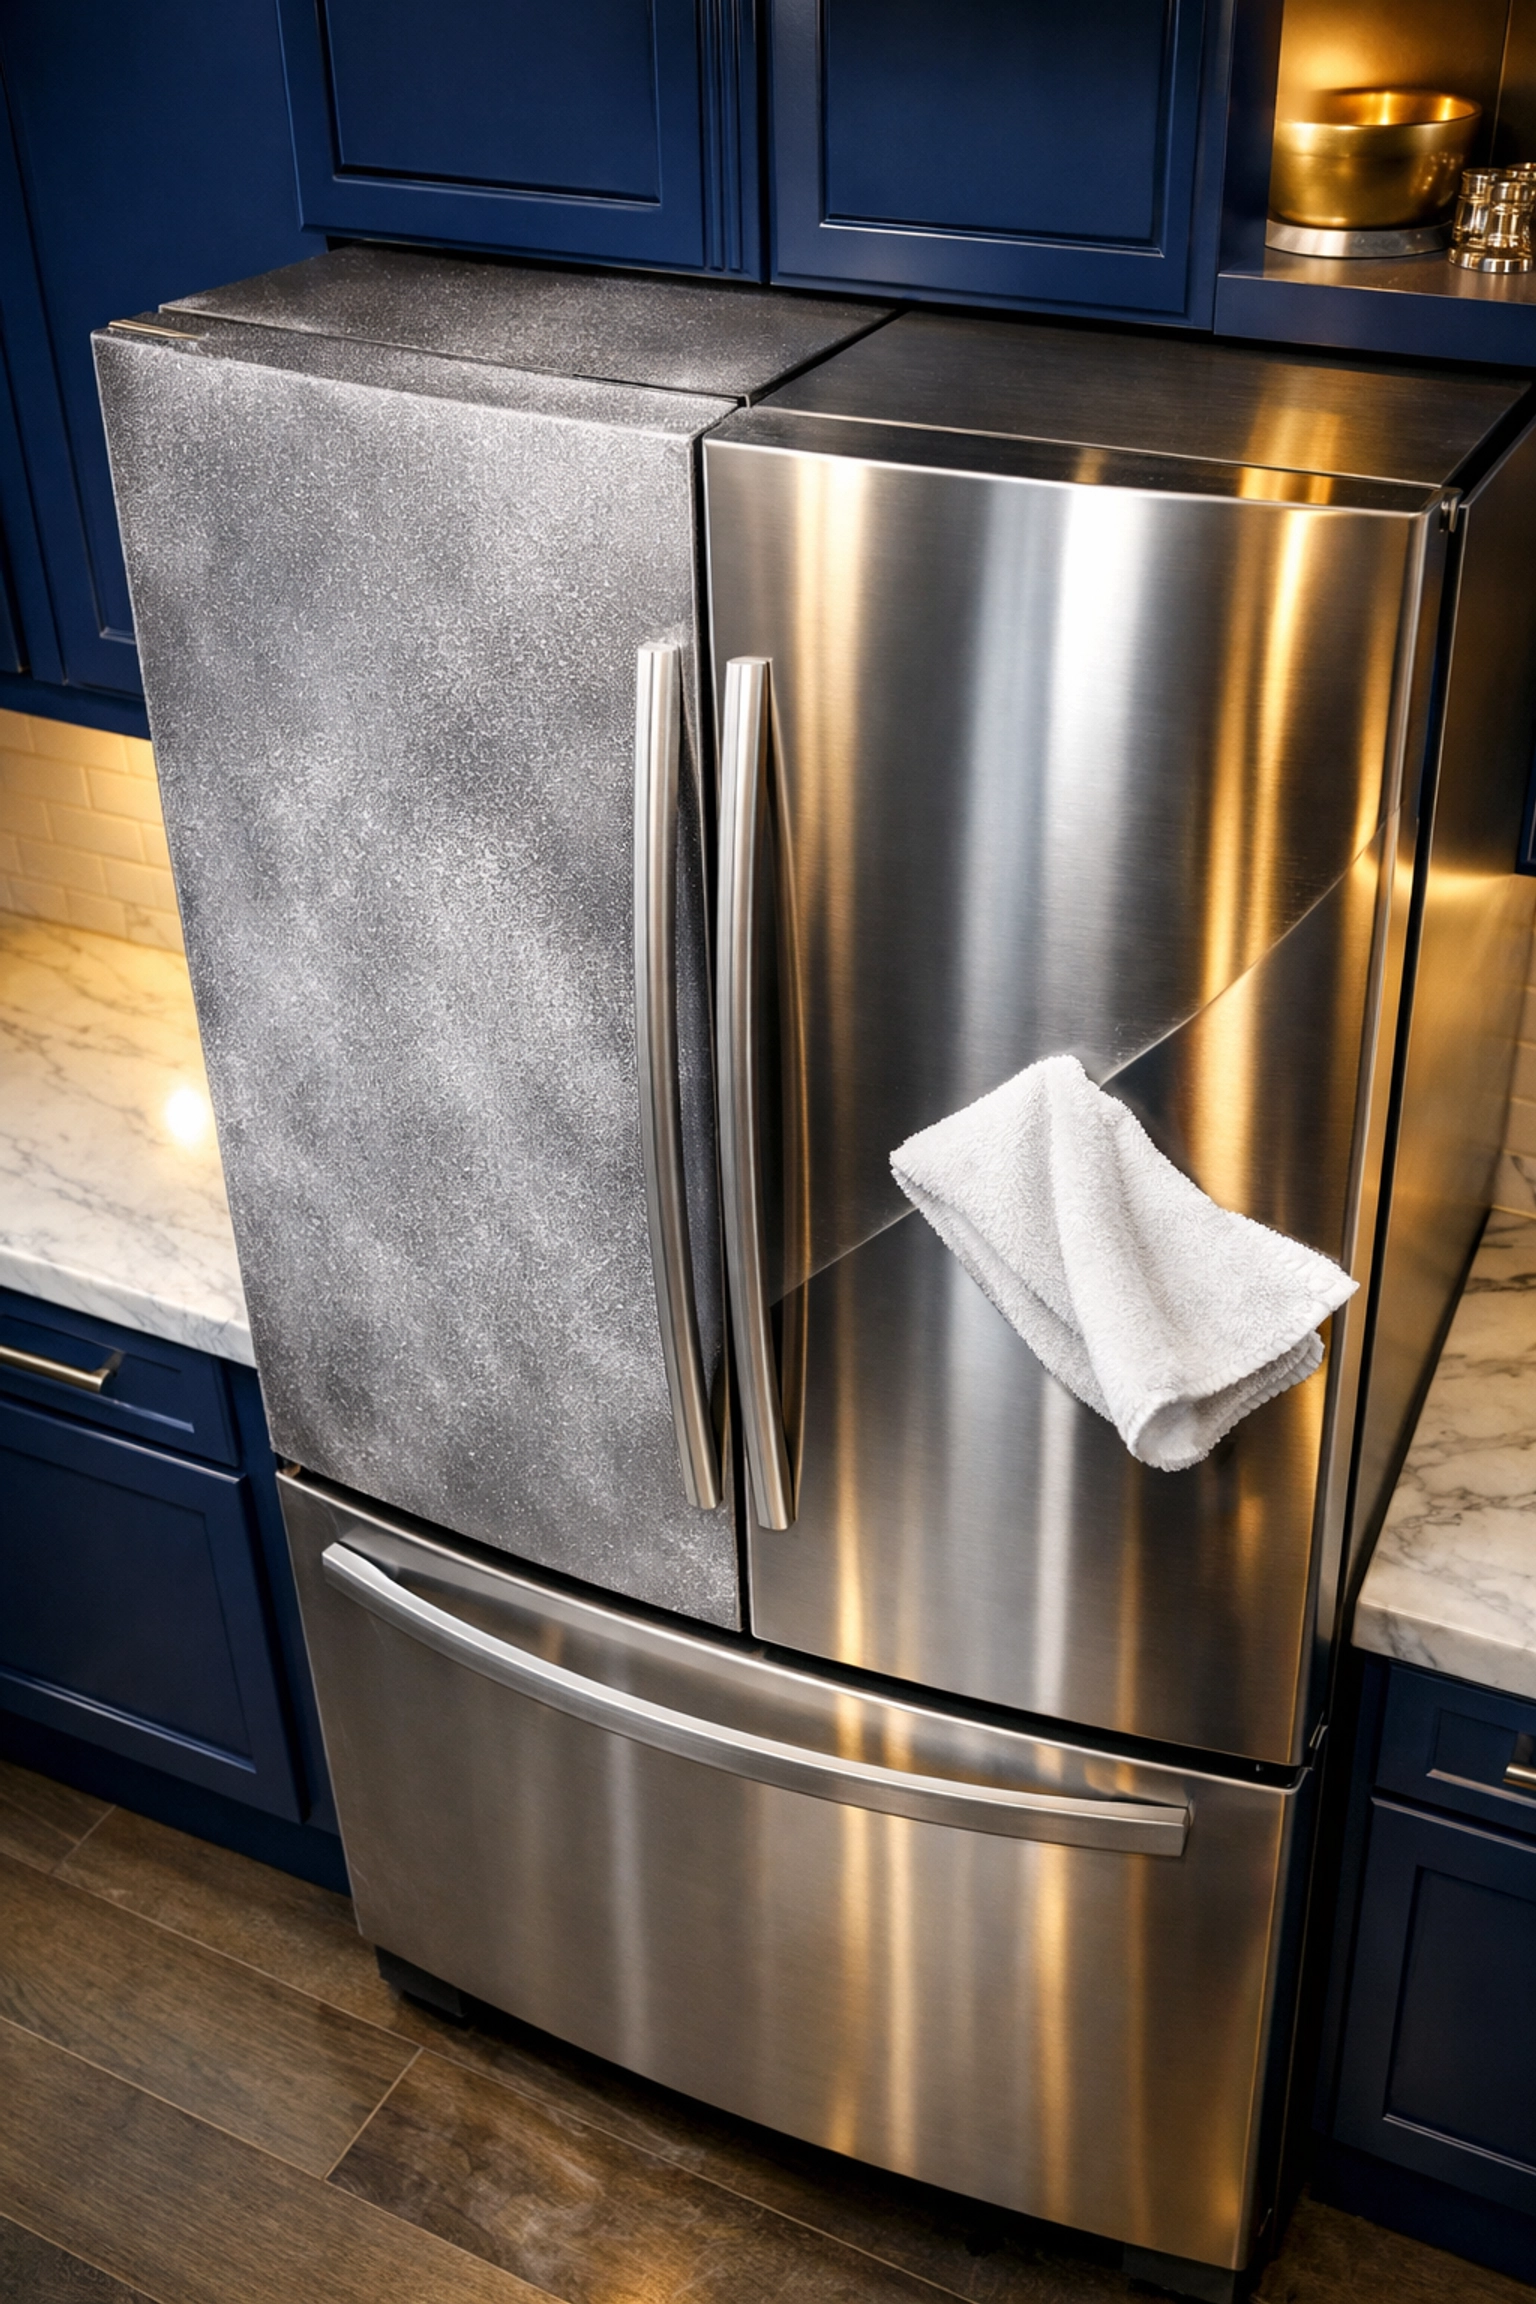
You’ve finally reached the finish line. The contractors have packed up their tools, the sawdust has (mostly) settled, and those beautiful, high-end stainless steel appliances are finally in place. There is nothing quite like the sleek, modern glow of a brand-new kitchen. But then, you catch a glimpse of them in the afternoon light: fingerprints, adhesive residue from the protective film, and a fine layer of construction dust that makes your brand-new fridge look twenty years old.
Your first instinct might be to grab a bottle of heavy-duty cleaner and a scrub brush to get that shine back. Stop right there! At The Cleaning Ninjas Inc, we’ve seen too many "heartbreak scratches" on pristine surfaces because of over-eager cleaning. Post-construction cleaning is a specialized beast, and stainless steel is one of the most sensitive players on the field.
In this guide, we’re going to walk you through how to polish your new stainless steel appliances to a mirror finish using green, safe products: and most importantly, without leaving a single scratch behind.
Why New Stainless Steel is Different
When appliances are fresh out of the box, their finish is at its most vulnerable. During the manufacturing process, stainless steel is polished to a specific "grit" or grain. In a post-construction environment, the air is filled with microscopic particulates like drywall dust and silica. If you wipe a dry cloth across that dust, you are essentially using sandpaper on your new stove.
Furthermore, many new appliances come with a protective plastic film that can leave behind a stubborn, sticky residue. If you try to scrape this off with a fingernail or a plastic scraper, you risk marring the finish before you’ve even cooked your first meal.
The "Ninja" Toolkit: Green and Safe
We believe in keeping your home healthy, which is why we prioritize eco-friendly solutions. You don't need harsh aerosols or petroleum-based polishes to get a professional result. Here is what you’ll need for a scratch-free finish:
- High-Quality Microfiber Cloths: Not all microfibers are created equal. Look for high-density, "plush" microfiber towels. These are designed to lift and trap dust rather than pushing it across the surface.
- Distilled Water: Tap water contains minerals (like calcium and magnesium) that can leave white spots or streaks on stainless steel.
- Mild Dish Soap: A pH-neutral soap is perfect for breaking down construction oils and fingerprints.
- White Vinegar or Club Soda: Excellent for cutting through grease and removing light mineral deposits.
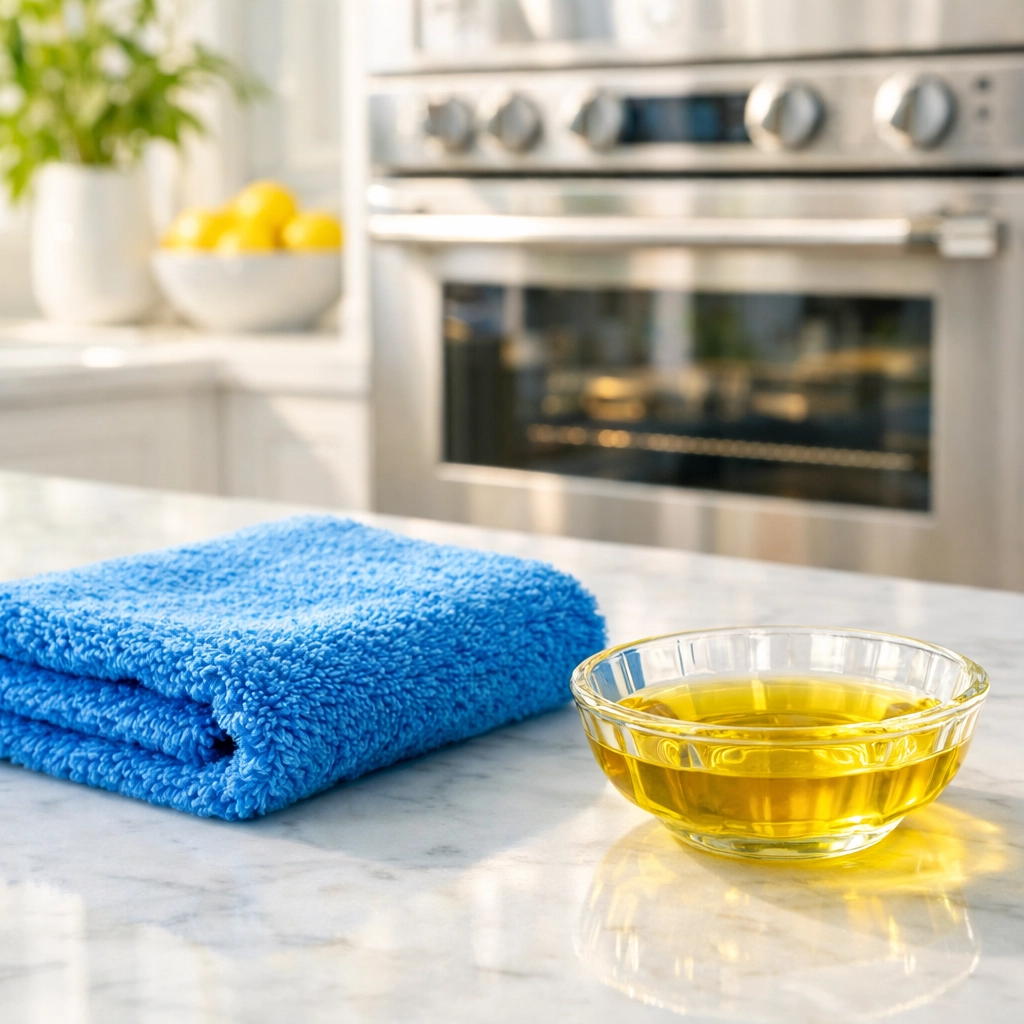
- Extra Virgin Olive Oil or Coconut Oil: Believe it or not, these are some of the best natural "polishes" for adding a protective, fingerprint-resistant shine.
- A Soft Sponge: Only use the soft side; never the abrasive "scrubby" side.
To learn more about our commitment to safe cleaning practices, feel free to check out our About Us page.
Step 1: The Essential Pre-Clean
Before you even think about polishing, you must remove every speck of construction debris. Polishing a dirty surface is the fastest way to cause permanent scratches.
Start by mixing a few drops of mild dish soap into a spray bottle filled with distilled water. Lightly mist the surface of the appliance. Using a clean, damp microfiber cloth, gently wipe the surface. Don’t apply pressure yet: just let the cloth and the soapy water lift the dust away.
If you encounter sticky residue from the shipping tape, don't pick at it! Dampen a corner of your cloth with a bit of olive oil or a dedicated eco-friendly adhesive remover and let it sit on the spot for a minute. The oil will break down the adhesive, allowing it to slide right off.
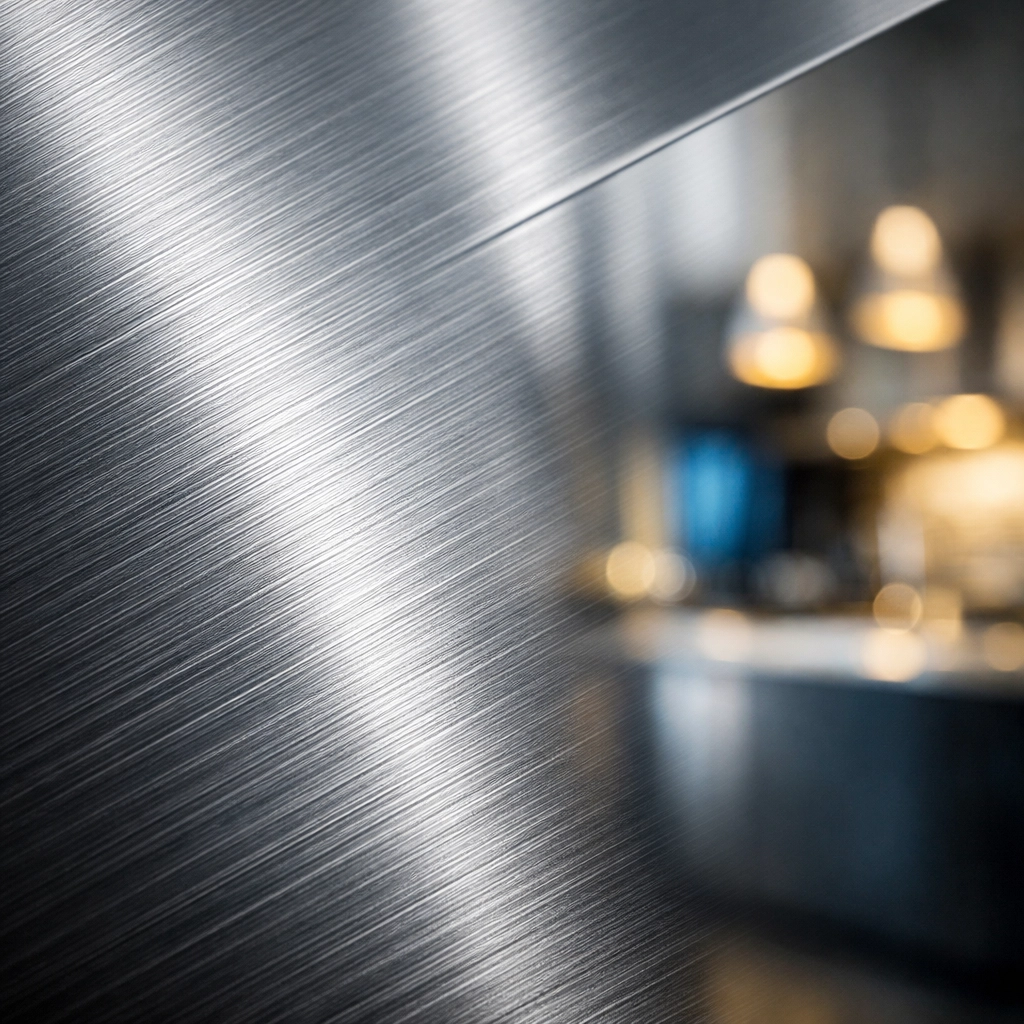
Step 2: Finding the "Grain"
This is the most important rule of stainless steel maintenance. Just like wood, stainless steel has a grain: a direction in which the metal was brushed during manufacturing. It will either be horizontal or vertical.
Before you go any further, look very closely at your appliance. Do you see tiny lines running left-to-right or up-and-down? Once you identify the direction, you must only wipe and polish in that direction. Wiping against the grain or in circular motions can create "swirl marks" that are nearly impossible to remove without professional refinishing.
Step 3: Deep Cleaning with Vinegar
Once the surface dust is gone, it’s time to tackle the tougher stuff. If your appliances have fingerprints or "rainbow" heat stains, white vinegar is your best friend.
Spray a light mist of vinegar (or a 50/50 vinegar and water mix) directly onto the metal. Using your microfiber cloth, wipe firmly following the grain. Vinegar is mildly acidic, which helps strip away any remaining oils or factory coatings that might be dulling the shine. If you’re worried about the smell, don’t be: it dissipates in minutes, leaving nothing but a clean surface behind.
Step 4: The Green Polish
Now for the magic part. While commercial stainless steel polishes often contain "distillates" (fancy talk for petroleum products), you can achieve a superior shine using items from your pantry.
Take a fresh, dry microfiber cloth and put a tiny drop (about the size of a dime) of olive oil or coconut oil on it. A little goes a very long way!
Starting at the top of the appliance, buff the oil into the metal, always following the grain. The oil fills in the microscopic "pores" of the steel, which not only gives it a deep, lustrous glow but also creates a barrier that makes future fingerprints much easier to wipe away.
Step 5: The Final Buff
After you’ve applied your natural polish, the appliance might look a bit greasy. This is where the "Ninja" technique comes in. Take a completely dry, clean microfiber cloth and do one final pass over the entire surface.
This final buffing stage removes any excess oil and ensures a streak-free finish. You want the metal to feel smooth and dry to the touch, not oily. If you see streaks, it usually means you used too much oil or your cloth is saturated. Switch to a fresh cloth and keep buffing until it shines like a mirror.
What to Absolutely Avoid
When you're dealing with new, expensive appliances, the "don'ts" are just as important as the "dos." To keep your kitchen looking like a showroom, steer clear of these common mistakes:
- Steel Wool and Brushes: Even the "fine" ones will ruin the finish of a modern appliance.
- Bleach and Ammonia: These can cause "pitting" or discoloration on stainless steel over time.
- Paper Towels: Surprisingly, paper towels can be abrasive. They are made of wood pulp, after all! Stick to microfiber.
- Glass Cleaners: While they make things shiny, many contain chemicals that can eventually streak or blue the steel.
- Circular Buffing: We can't stress this enough: never go in circles!
Pro Tips for Post-Construction Cleanup
If you are dealing with a whole house full of new appliances after a major renovation, the task can feel overwhelming. Construction dust has a way of reappearing even after you think you’ve cleaned it all.
At The Cleaning Ninjas Inc, we recommend cleaning your stainless steel last. If you clean the fridge and then someone sweeps the floor nearby, that dust will head straight for your freshly oiled surfaces.
If the job feels too big, or if you're worried about damaging your investment, our team specializes in the detailed touch required for new homes. You can explore our full range of Our Services to see how we handle the heavy lifting of post-construction debris.

Maintaining the Shine
Once you’ve achieved that perfect, scratch-free polish, maintenance is easy. For daily touch-ups, a quick wipe with a damp microfiber cloth (distilled water only!) is usually all you need to remove fresh fingerprints. Every few weeks, you can re-apply a tiny bit of oil to maintain the protective barrier.
Cleaning doesn't have to be a battle against grime and chemicals. With the right technique and a bit of patience, you can keep your new stainless steel looking brand new for years to come. For more expert advice on keeping your home in tip-top shape, stay tuned to our blog.
Happy polishing, and enjoy your beautiful new space! If you ever need a hand getting your home "Ninja clean," don't hesitate to reach out to us at The Cleaning Ninjas Inc. We’re here to make your post-construction transition as smooth as a freshly polished fridge.


