

There is nothing quite like the feeling of a finished home renovation or moving into a brand-new space. You stand in your kitchen or bathroom, admiring the sparkling porcelain of the sink, the sleek finish of the new toilet, and the brushed steel of your high-end appliances. But then, you see them: the stickers.
Manufacturers love stickers. They put them everywhere, UPC codes, energy efficiency ratings, brand logos, and "remove after installation" warnings. While these labels are necessary for the supply chain, they can be a total nightmare for homeowners. You try to peel one off, only for it to tear down the middle, leaving behind a gummy, gray, dust-attracting rectangle of adhesive residue.
If you’ve ever spent an afternoon fruitlessly scrubbing at a sticky patch on a brand-new bathtub, you know the frustration. At The Cleaning Ninjas Inc, we see this all the time during our post-construction cleaning jobs. Removing this residue without scratching your expensive new fixtures is an art form, and today, we’re sharing our "ninja" secrets for getting it done safely and effectively using green methods.
The Golden Rule: Do No Harm
Before we dive into the "how-to," let’s talk about the "how-not-to." The biggest mistake people make when facing a stubborn sticker is grabbing a metal putty knife, a razor blade, or a green abrasive scouring pad.
New fixtures, especially acrylic tubs, chrome faucets, and stainless steel appliances, have delicate finishes. Even a "non-scratch" pad can leave micro-abrasions that dull the shine over time. Metal scrapers are even worse; one slip and you’ve got a permanent gouge in your brand-new investment.
Our philosophy is simple: use the gentlest method first. If that doesn't work, move up the ladder of intensity, but always prioritize the integrity of the surface.
Method 1: The Power of Heat
The adhesive used on most labels is a thermoplastic. This means it softens when it gets warm. Before you reach for any liquids or chemicals, reach for your hairdryer.
How to do it:
- Set your hairdryer to a medium or high heat setting.
- Hold it about 6 inches away from the sticker and move it back and forth for about 30 to 60 seconds.
- Once the sticker feels warm to the touch, try to peel up a corner with your fingernail or a plastic card (like an old credit card).
- As you peel, keep the heat directed at the "junction" where the sticker meets the fixture.
This method is incredibly effective for large labels on fiberglass tubs or the sides of new appliances. Because it uses no moisture or chemicals, it’s the ultimate "green" cleaning tip.
Method 2: The Kitchen Cabinet Remedy (Oils)
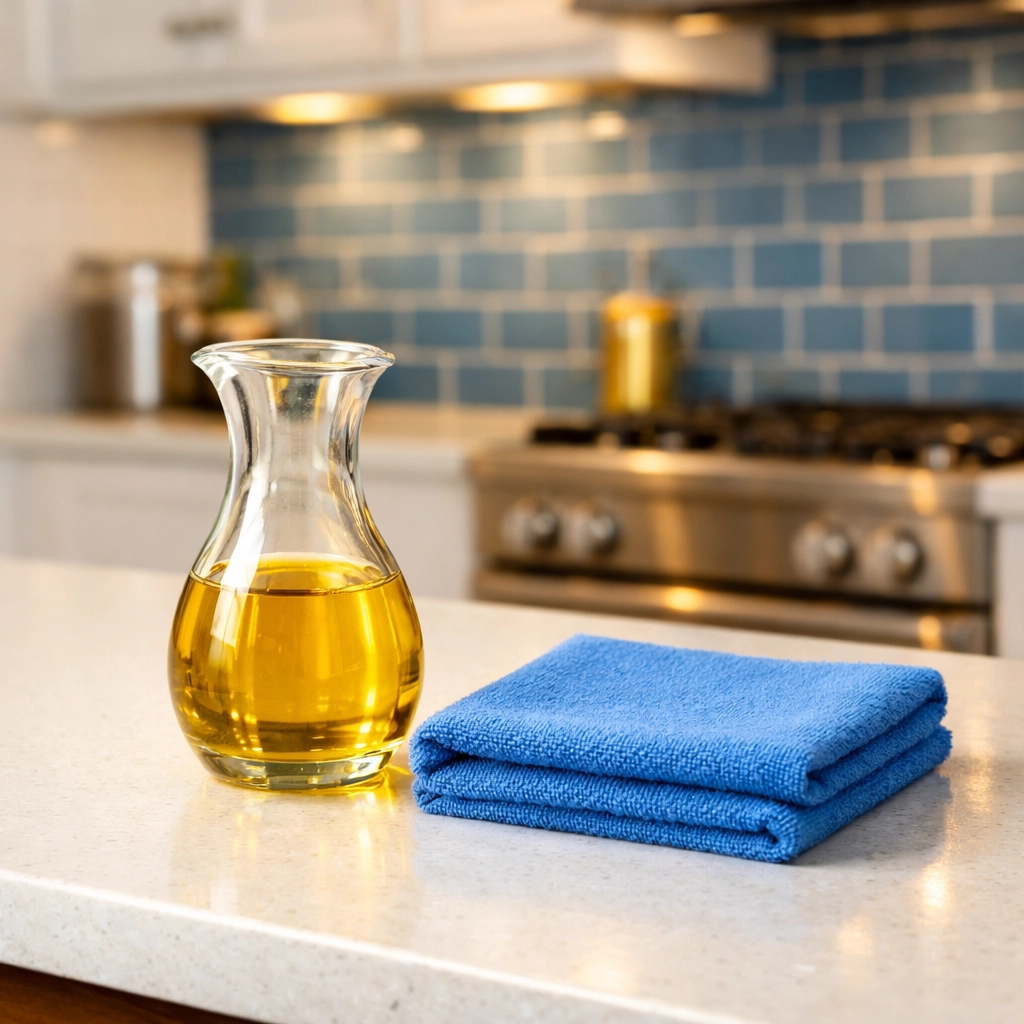
If the sticker is gone but that tacky, sticky film remains, you need a solvent. But "solvent" doesn't have to mean harsh fumes. In the world of chemistry, "like dissolves like." Since many adhesives are oil-based, common household oils can break them down perfectly.
Which oils to use:
- Olive oil
- Coconut oil
- Vegetable or Canola oil
- Even Mayonnaise (it’s mostly oil and vinegar!)
The Process:
- Dab a small amount of oil onto a soft microfiber cloth or a paper towel.
- Rub the oil into the adhesive residue.
- Let it sit for 5 to 10 minutes. This "dwell time" is crucial; it allows the oil to penetrate the bond between the glue and the surface.
- Use a plastic scraper or a clean cloth to wipe away the softened gunk.
- Follow up with a bit of dish soap and warm water to remove the oily film.
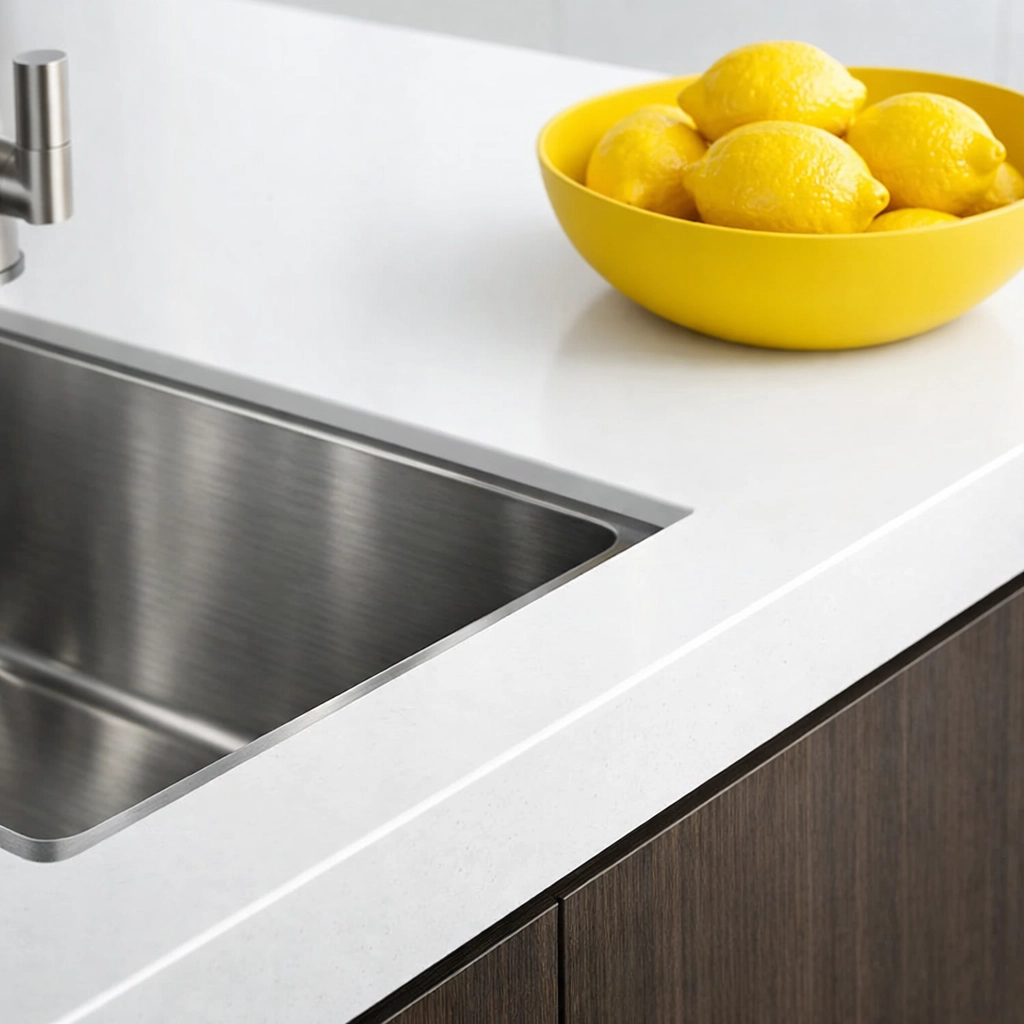
This is our favorite method for new kitchen sinks and porcelain toilets. It’s completely non-toxic and leaves the surface looking refreshed.
Method 3: Rubbing Alcohol and Vinegar
For surfaces that might be sensitive to oils (or if you just don't want to deal with the greasy cleanup), isopropyl alcohol (rubbing alcohol) is a fantastic alternative. It’s a mild solvent that evaporates quickly and is generally safe for metal and glass.
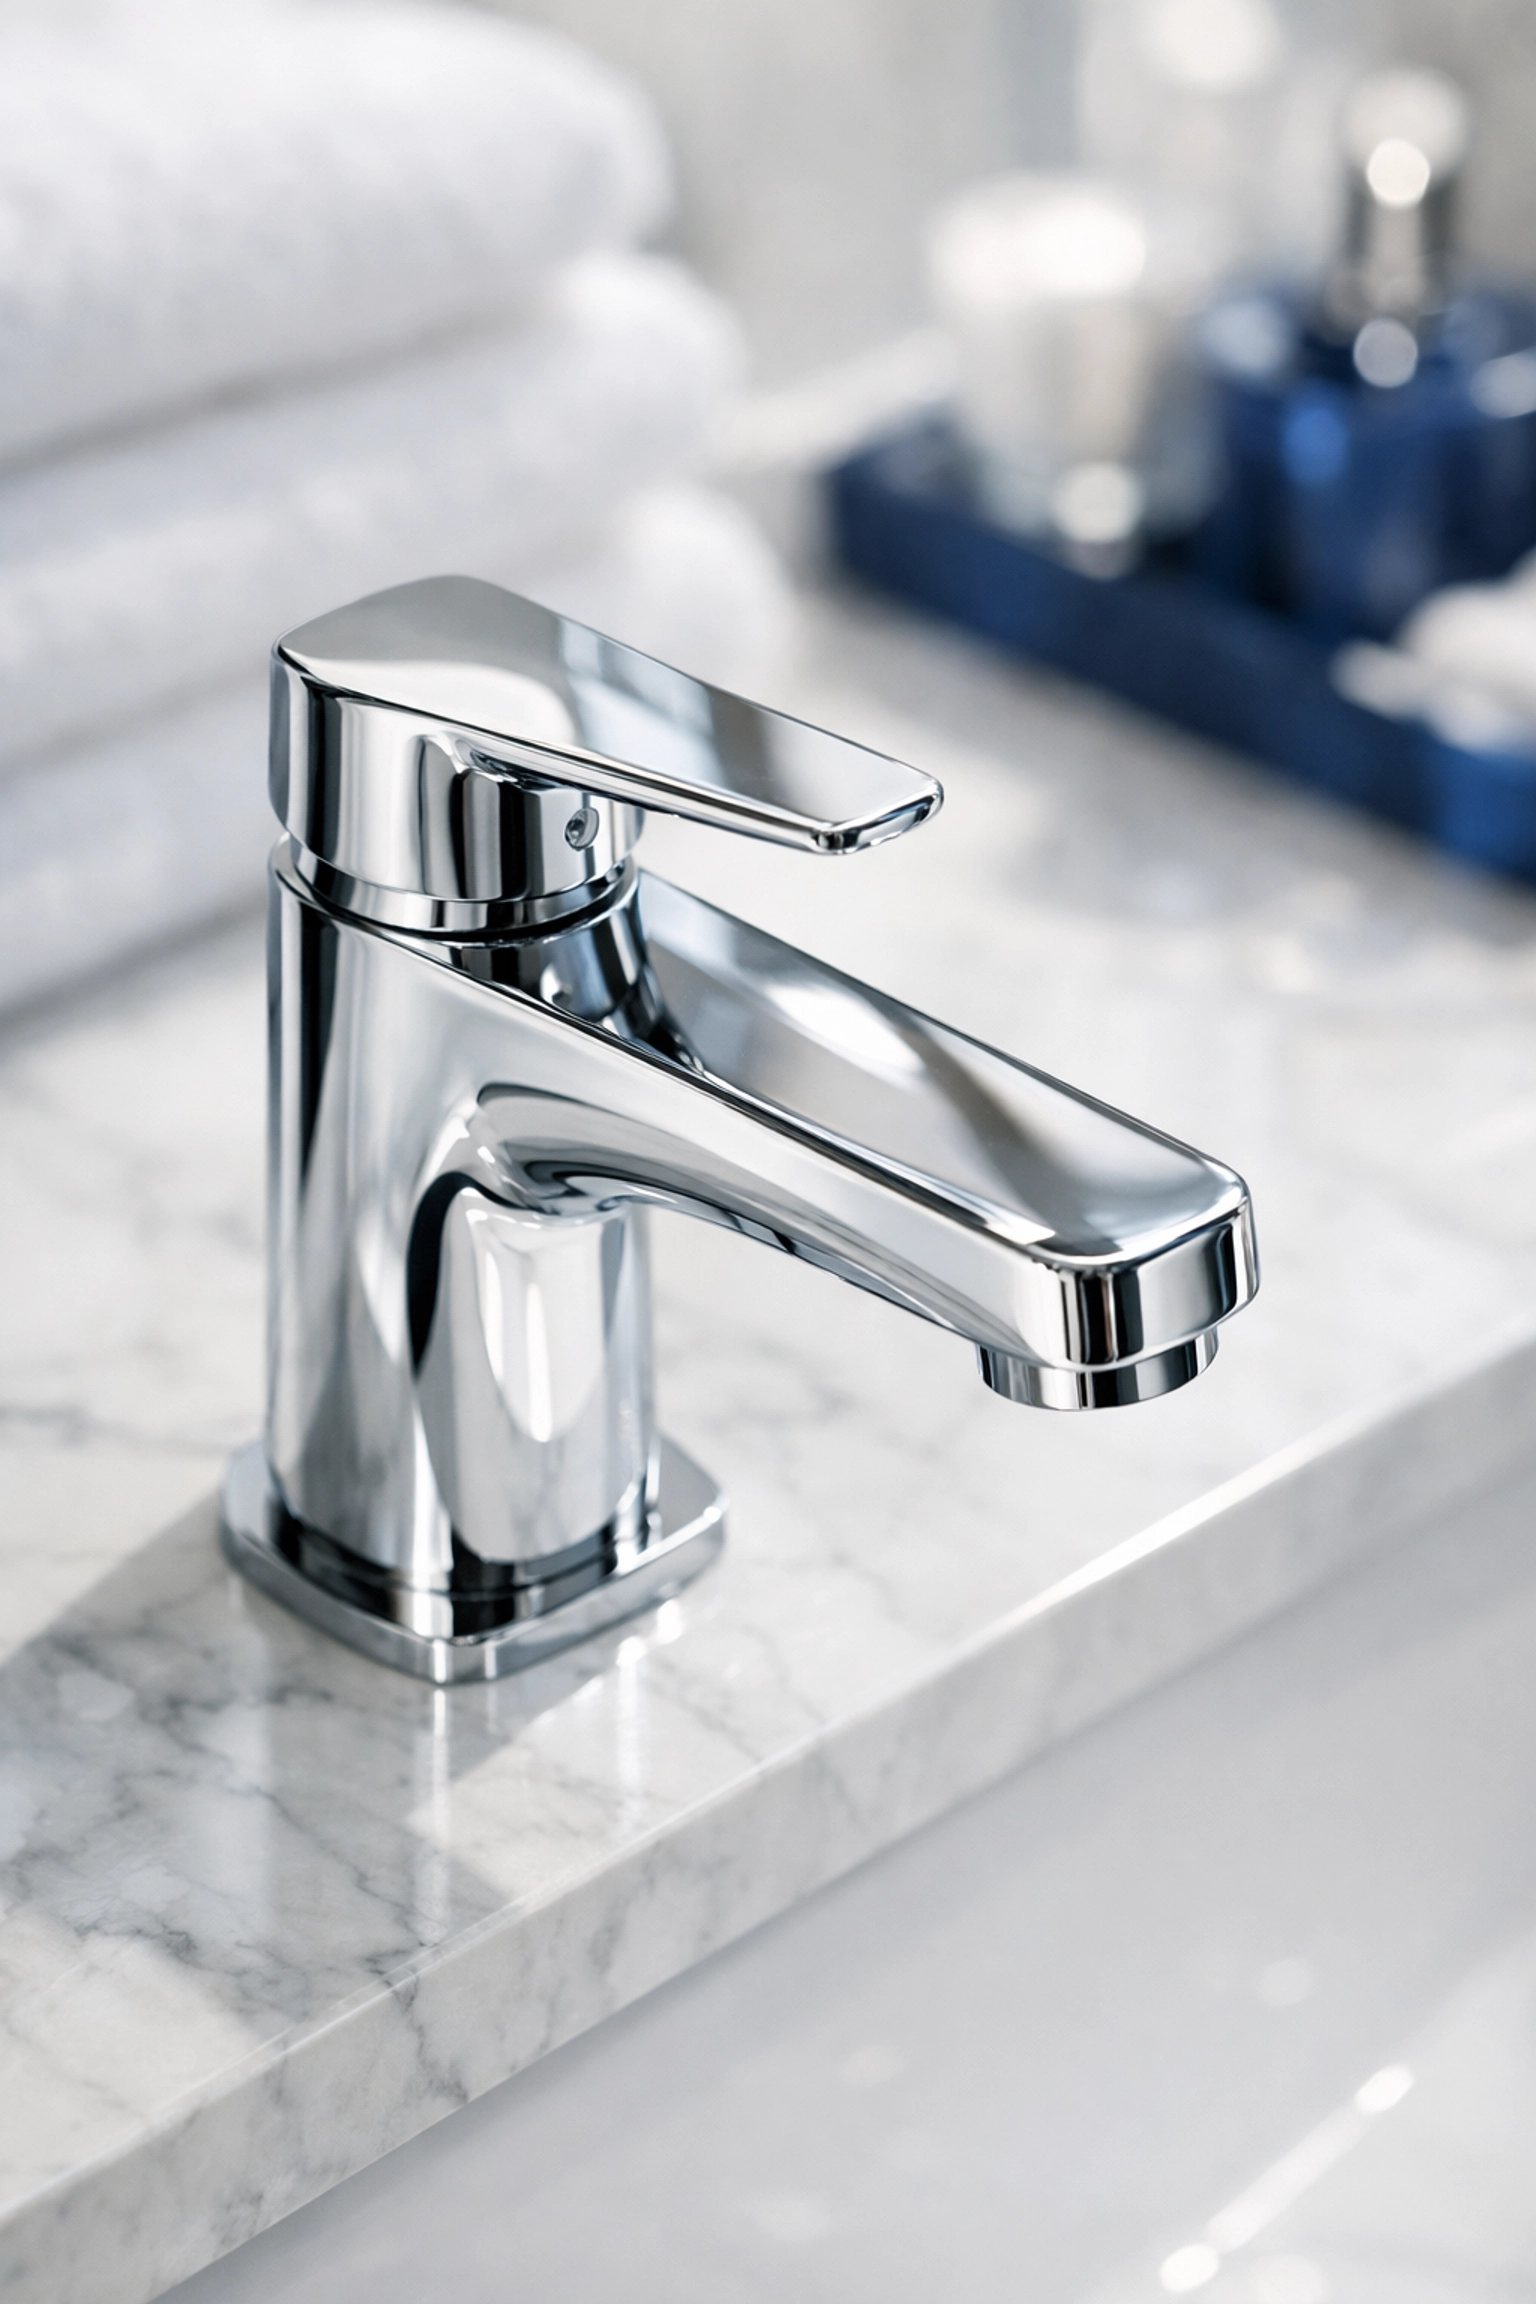
For Stainless Steel and Chrome:
Apply rubbing alcohol to a cotton ball and press it against the residue for a minute. The alcohol breaks down the "tack" of the glue. Wipe clean with a microfiber cloth. This is particularly great for those tiny, stubborn circular stickers found on faucet handles.
For Glass and Ceramic:
White vinegar is a staple in our cleaning tips. While it’s not as strong an adhesive remover as oil or alcohol, its acidity can help break down the paper backing of a sticker that’s been stuck on for too long. Soak a rag in warm vinegar, lay it over the sticker for 15 minutes, and then watch it slide right off.
Specific Tips for Different Fixtures
Not all fixtures are created equal. Depending on what you're cleaning, you might need to tweak your approach.
1. Stainless Steel Appliances
Stainless steel has a "grain." Always rub in the direction of the grain, even when removing adhesive. If you rub against the grain, you might create a "cloudy" patch that is visible when the light hits it. Stick to oils or specialized stainless steel cleaners for these.
2. Acrylic and Fiberglass Tubs
These are the most easily scratched surfaces in a home. Never use acetone (nail polish remover) on these, as it can actually melt the plastic. Stick to the heat method or a very mild dish soap soak.
3. Porcelain Toilets and Sinks
Porcelain is tough, but the "glaze" can be scratched by heavy abrasives. If you’re dealing with a sticker inside the bowl (yes, it happens!), try to empty the water first so your solvent doesn't just get diluted.
The Post-Construction "Gunk Sandwich"
If you’ve just finished a renovation, the adhesive residue isn't just glue: it’s glue mixed with drywall dust, sawdust, and footprints. This creates a "gunk sandwich" that can be surprisingly abrasive.
Before you start rubbing any adhesive, use a vacuum with a brush attachment or a very wet cloth to remove the loose dust. If you start rubbing the adhesive while it’s covered in grit, you’re essentially using sandpaper on your new fixtures.
This is why professional office cleaning and residential post-construction crews are so meticulous. We treat the dust removal as a separate step from the detail cleaning to ensure your surfaces remain pristine.
When to Call in the Ninjas
We know that after a big project, the last thing you want to do is spend your weekend on your hands and knees with a hairdryer and a bottle of olive oil. Sometimes, the sheer volume of stickers, tape residue from floor protectors, and construction dust is overwhelming.
That’s where we come in. At The Cleaning Ninjas Inc, we specialize in taking a space from "construction zone" to "move-in ready." We have the tools, the eco-friendly products, and the patience to ensure every inch of your new home shines without a single scratch or sticky spot left behind.
Whether you need a one-time deep clean after a remodel or you’re looking for weekly house cleaning to keep that new-home feeling alive, our team is ready to help.

Summary Checklist for Sticker Success:
- Test first: Always test your cleaning agent (even the green ones) on a small, hidden area.
- Be patient: Let the oils or heat do the work. If you find yourself scrubbing hard, stop and apply more "dwell time."
- Plastic is your friend: Keep an old credit card or a plastic putty knife in your cleaning kit.
- Finish clean: Always wash away your "solvent" (oil, alcohol, or vinegar) with a gentle dish soap and water to prevent any long-term reactions with the fixture’s finish.
Removing stickers might be a small task, but doing it right makes a huge difference in the final look of your home. You’ve worked hard for those new fixtures: treat them with the Ninja-level care they deserve!
For more tips on keeping your home in tip-top shape, check out our blog or learn more about us and how we can make your life a whole lot cleaner.


