

So, the plumbers have finally left! Whether you just had a brand-new undermount sink installed as part of a kitchen remodel or you finally got that annoying leaky trap fixed under the bathroom vanity, there is a certain sense of relief when the tools are packed away. But then you look down.
While plumbers are wizards with pipes and water pressure, they aren't always known for leaving your fixtures in "showroom" condition. You might see mysterious white smears of plaster, sticky globs of silicone sealant, dark metallic shavings, or just a general layer of gritty dust.
At The Cleaning Ninjas Inc, we see this all the time during our post-construction cleaning jobs. Cleaning up after tradespeople requires a specific touch. You want to get rid of the industrial-strength debris without scratching those beautiful new finishes. Here is our professional guide to deep cleaning your sinks after the plumbers finish their work.
The Post-Plumbing Mess: What Are You Actually Looking At?
Before you grab a sponge and start scrubbing, it helps to know what you’re trying to remove. Plumbing work involves a lot of materials that don’t just "wipe away" with a damp paper towel.
- Silicone Caulk and Plumber's Putty: This is the most common culprit. It’s used to seal the sink to the countertop or the drain to the basin. It’s sticky, waterproof, and smears easily if you touch it while it’s wet.
- Plaster and Drywall Dust: If they had to cut into the wall to reach pipes, your sink is likely coated in a fine, abrasive white powder.
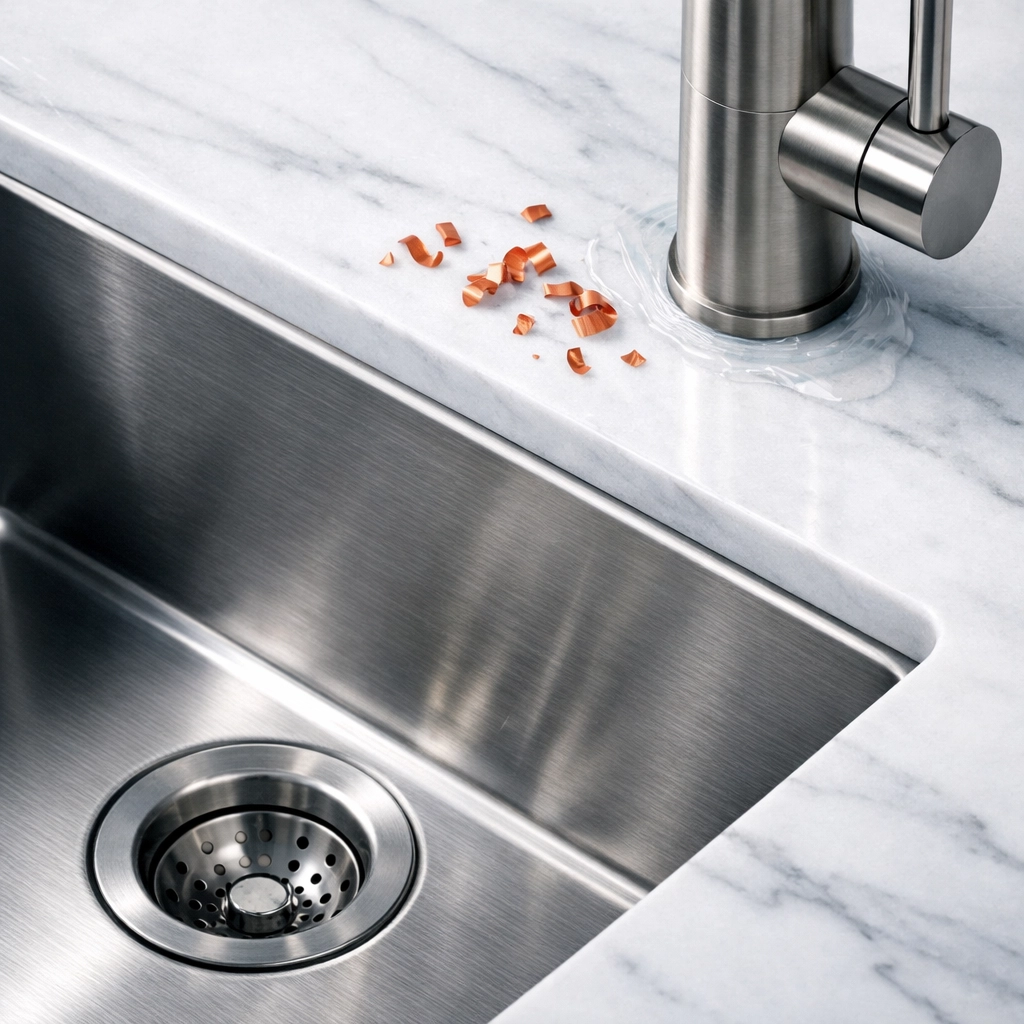
- Metal Shavings and PVC Burrs: When pipes are cut to size, tiny bits of copper, galvanized steel, or plastic (PVC) fall everywhere. These can be sharp and can actually "pit" or scratch a stainless steel or porcelain surface if dragged across it.
- Grease and Oils: Plumbers use lubricants and thread sealants that can leave a rainbow-slick film or dark fingerprints on your shiny new hardware.
Tools of the Ninja Trade: Your Eco-Friendly Cleanup Kit
At The Cleaning Ninjas, we are big fans of keeping things eco-friendly. You don't need harsh industrial acids to clean a sink, even after construction. In fact, heavy chemicals can often damage the finish on high-end faucets. Here is what you should gather:
- Microfiber Cloths: These are essential. They trap dust rather than just pushing it around.
- Baking Soda: The ultimate mild abrasive. It provides "scrub power" without scratching.
- White Vinegar: Perfect for cutting through grease and dissolving mineral deposits.
- Eco-Friendly Dish Soap: A good degreaser for those oily fingerprints.
- Plastic Scraper or an Old Credit Card: Never use a metal putty knife! Plastic is firm enough to pop off dried silicone but soft enough not to gouge the sink.
- Rubbing Alcohol (Isopropyl): The secret weapon for silicone residue.
- Soft-Bristled Toothbrush: For getting into the nooks and crannies around the faucet base.
Step 1: The Initial Debris Removal (Don't Scrub Yet!)
The biggest mistake people make is grabbing a sponge and immediately scrubbing. If there are metal shavings or plaster dust in the sink, scrubbing will act like sandpaper and ruin the finish of your new fixture.
Instead, start by using a vacuum with a soft brush attachment to suck up as much loose debris as possible. If you don't have a vacuum handy, use a very wet microfiber cloth to "lift" the debris away. Rinse the cloth frequently in a separate bucket so you aren't redepositing grit back onto the sink.
Once the loose grit is gone, give the sink a thorough rinse with lukewarm water. This helps clear out the fine dust that the vacuum might have missed.
Step 2: Conquering Silicone and Putty
If you find a blob of silicone on the side of the basin, don't panic. If it's still wet, try to lift it straight up with a paper towel: don't wipe side-to-side, or you’ll create a massive smear.
If it’s already dry (which it usually is by the time the plumber leaves), use your plastic scraper or an old credit card. Gently get under the edge of the silicone and "pop" it off the surface. Most of the time, it will peel away in one piece.
For the stubborn, sticky residue left behind, dampen a corner of a microfiber cloth with rubbing alcohol. Rub the spot gently. The alcohol breaks down the stickiness of the silicone, making it easy to roll away with your finger or a cloth. This is much safer for your sink than using harsh solvents.
Step 3: The Deep Scrub (Ninja Style)
Now that the "big stuff" is gone, it’s time to get that sink shining.
- Wet the surface: Get the whole sink basin damp.
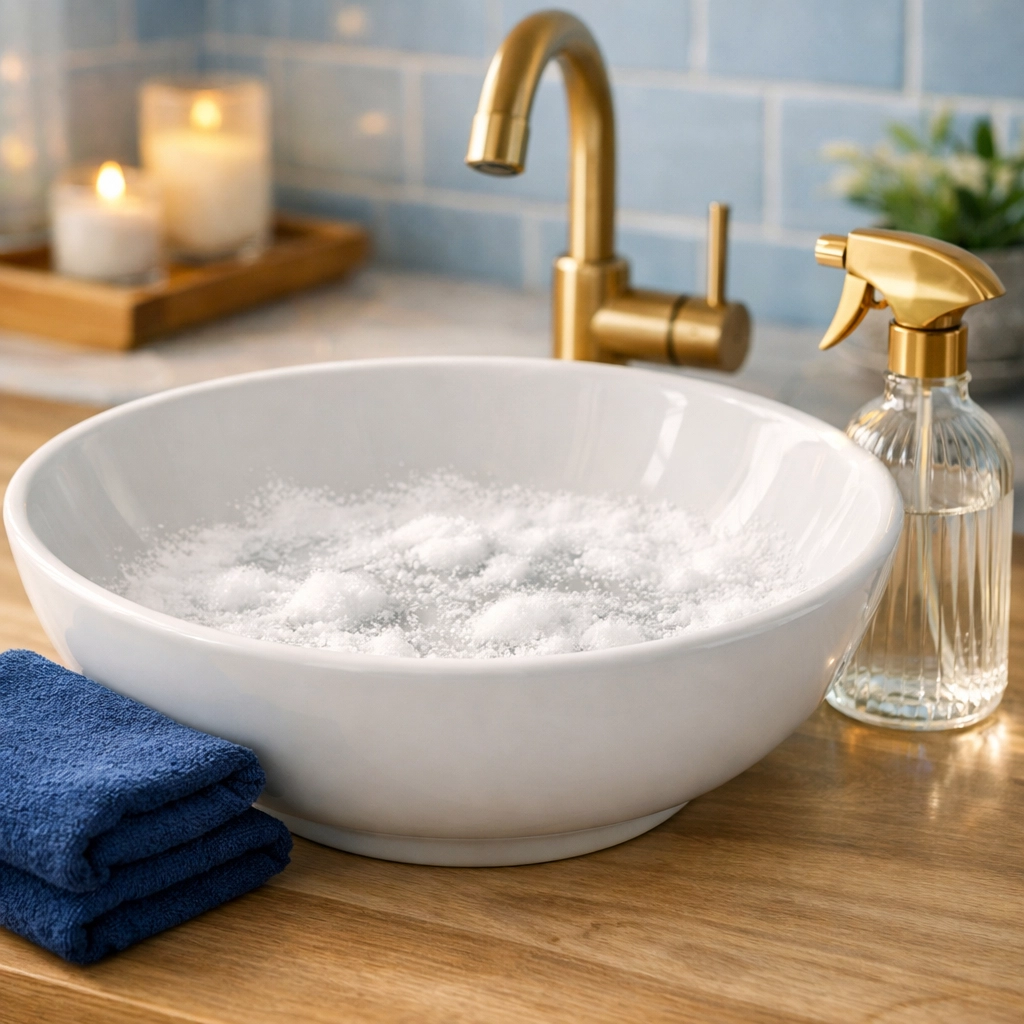
- Apply Baking Soda: Sprinkle a generous amount of baking soda all over the sink. It should look like a light dusting of snow.
- The Vinegar Reaction: Spritz a little white vinegar over the baking soda. It will fizz and bubble. This reaction helps lift any remaining oils and deep-seated grime to the surface.
- Scrub Gently: Using a damp microfiber cloth or a non-scratch sponge, scrub in circular motions. For stainless steel, try to scrub in the direction of the "grain" or the brushed finish.
- Detail Work: Use your soft toothbrush dipped in a paste of baking soda and water to clean around the drain flange and the base of the faucet. This is where plumbers often leave the most "putty" residue.
Step 4: Revitalizing the Hardware
Faucets are the jewelry of the kitchen or bathroom. To make them sparkle:
- Mix a solution of 50/50 water and white vinegar in a spray bottle.
- Spray the faucet and handles.
- Let it sit for a minute (but don't let it dry).
- Wipe clean with a dry microfiber cloth.
- Pro Tip: For a truly professional finish, use a completely dry, clean microfiber cloth to "buff" the chrome or stainless steel after cleaning. This removes water spots and gives it that high-end shine.
Step 5: Flushing the Drains
Even if the plumber just installed the pipes, they might have dropped small amounts of debris down the drain during the process. To ensure everything is flowing perfectly and to remove any lingering chemical smells from sealants:
- Boil a kettle of water.
- Pour half a cup of baking soda down the drain.
- Follow it with half a cup of vinegar.
- Wait 10 minutes while it fizzes.
- Flush it all down with the boiling water.
This "Ninja Flush" clears out any minor construction residue and keeps your new plumbing smelling fresh.

Material-Specific Warnings
While the steps above work for most sinks, keep these specific tips in mind:
- Stainless Steel: Never use steel wool or harsh abrasive pads. They will leave tiny scratches that eventually rust. Stick to microfiber and baking soda.
- Porcelain or Ceramic: Be very careful with heavy pots or tools. Porcelain can chip if a plumber's wrench is dropped. If you see a "metal mark" (a grey streak from a tool), a paste of baking soda usually lifts it right off.
- Composite/Granite Sinks: These are more porous than they look. Avoid using straight vinegar for long periods as the acid can dull the finish. Rinse thoroughly after cleaning.
- Matte Black Fixtures: These are trendy but delicate! Avoid any abrasives (even baking soda) on the faucet itself. Use only warm soapy water and a very soft cloth to avoid "polishing" the matte finish into a weird semi-gloss.
Why a Professional Post-Construction Clean is Worth It
If you’ve just finished a major renovation, the sink is likely just the tip of the iceberg. Dust from construction has a way of getting into every drawer, onto every ceiling fan blade, and inside every cabinet.
While you can certainly tackle the sink yourself using Jean Correa's tips above, cleaning an entire home after construction is a massive undertaking. That’s where we come in! At The Cleaning Ninjas Inc, we specialize in the meticulous detail work required to turn a construction site back into a home.
We know how to handle high-end materials, how to remove fine silica dust safely, and how to make sure your new investment looks exactly the way you envisioned it. If you're feeling overwhelmed by the mess left behind by your contractors, feel free to learn more about us and how we can help.
Final Thoughts
A new or newly repaired sink is a great upgrade to your home. Don't let the plumber's leftover mess dampen your excitement. With a little bit of baking soda, some vinegar, and a gentle "Ninja" touch, you can have your fixtures sparkling in no time.
Remember: the key is to be gentle. If you treat your finishes with respect and avoid scratchy tools, your sink will look brand new for years to come. Happy cleaning!


