

So, you’ve finally finished that big home renovation. The hammers have stopped swinging, the contractors have packed up their vans, and you’re standing in the middle of your dream kitchen or that newly finished basement. It looks amazing, right? But then, you take a deep breath, and: cough: you realize the air is about 40% drywall dust.
If you’ve ever been through a construction project, you know that "construction clean" is a whole different beast compared to your standard Saturday morning tidy-up. Construction dust is fine, it’s invasive, and it has a magical ability to reappear five minutes after you think you’ve wiped it away.
At The Cleaning Ninjas Inc, we deal with this stuff every day. We’ve seen beautiful homes covered in a fine white film that seems to defy the laws of physics. Over the years, we’ve perfected a strategy that saves time, saves your sanity, and: most importantly: actually gets the job done. We call it the "Top-Down" Method.
If you’re ready to reclaim your home from the dust clouds, grab a microfiber cloth, and let’s dive into why gravity is your best friend (and your worst enemy) during a post-construction clean.
The Science of Settling: Why "Top-Down" is the Only Way
Think about how dust works for a second. It’s light, it’s airy, and it’s constantly looking for a place to land. When you’re dealing with post-construction debris, you aren't just dealing with skin cells and pet dander. You’re dealing with pulverized drywall, sawdust, and masonry particles. These particles are incredibly fine.
If you start by cleaning your floors because they look the dirtiest, you’re setting yourself up for heartbreak. As soon as you move to the countertops, the dust from those counters will drift down onto your freshly mopped floor. When you reach up to clean the ceiling fan, a literal snowstorm of dust will coat everything you just spent two hours scrubbing.
The "Top-Down" method is exactly what it sounds like: you start at the absolute highest point in the room and work your way to the floor. By doing this, you’re working with gravity. Any dust you displace from the ceiling or the tops of the cabinets will fall onto surfaces you haven't cleaned yet. It’s the most efficient way to ensure you aren't cleaning the same spot twice.

Gear Up: The Ninja’s Toolkit
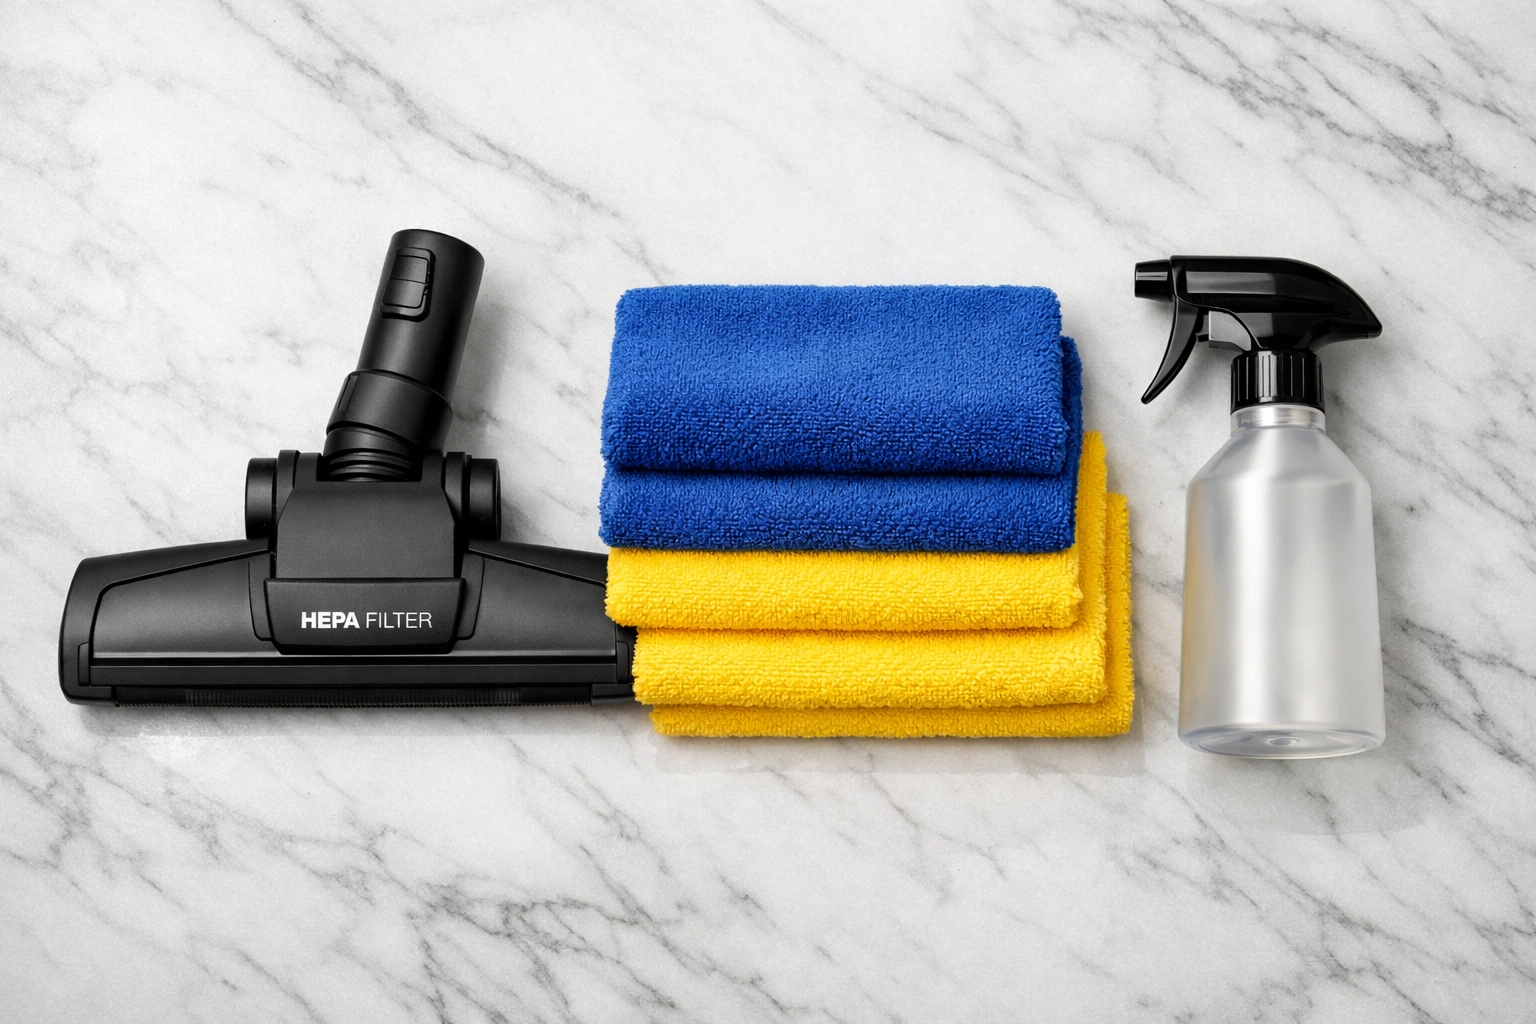
Before we get into the steps, you need the right tools. If you go into a post-construction battle with a feather duster and an old t-shirt, the dust is going to win. Here is what we recommend:
- HEPA-Filter Vacuum: This is non-negotiable. Standard vacuums often just blow the fine construction dust right back out the exhaust. A HEPA filter captures those microscopic particles.
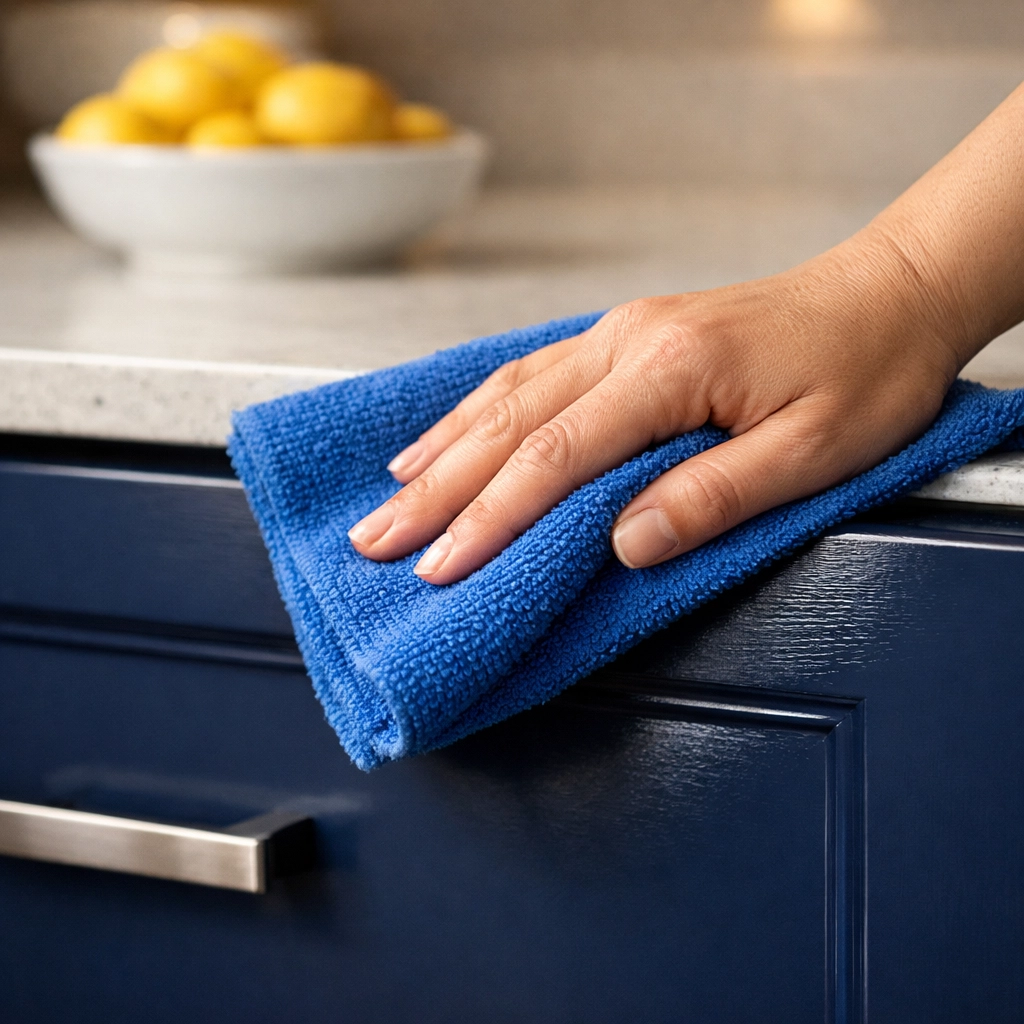
- Microfiber Cloths (and lots of them): Microfiber is designed to grab dust rather than just push it around. You’ll want a big stack so you can swap for a fresh one as soon as one gets loaded with grit.
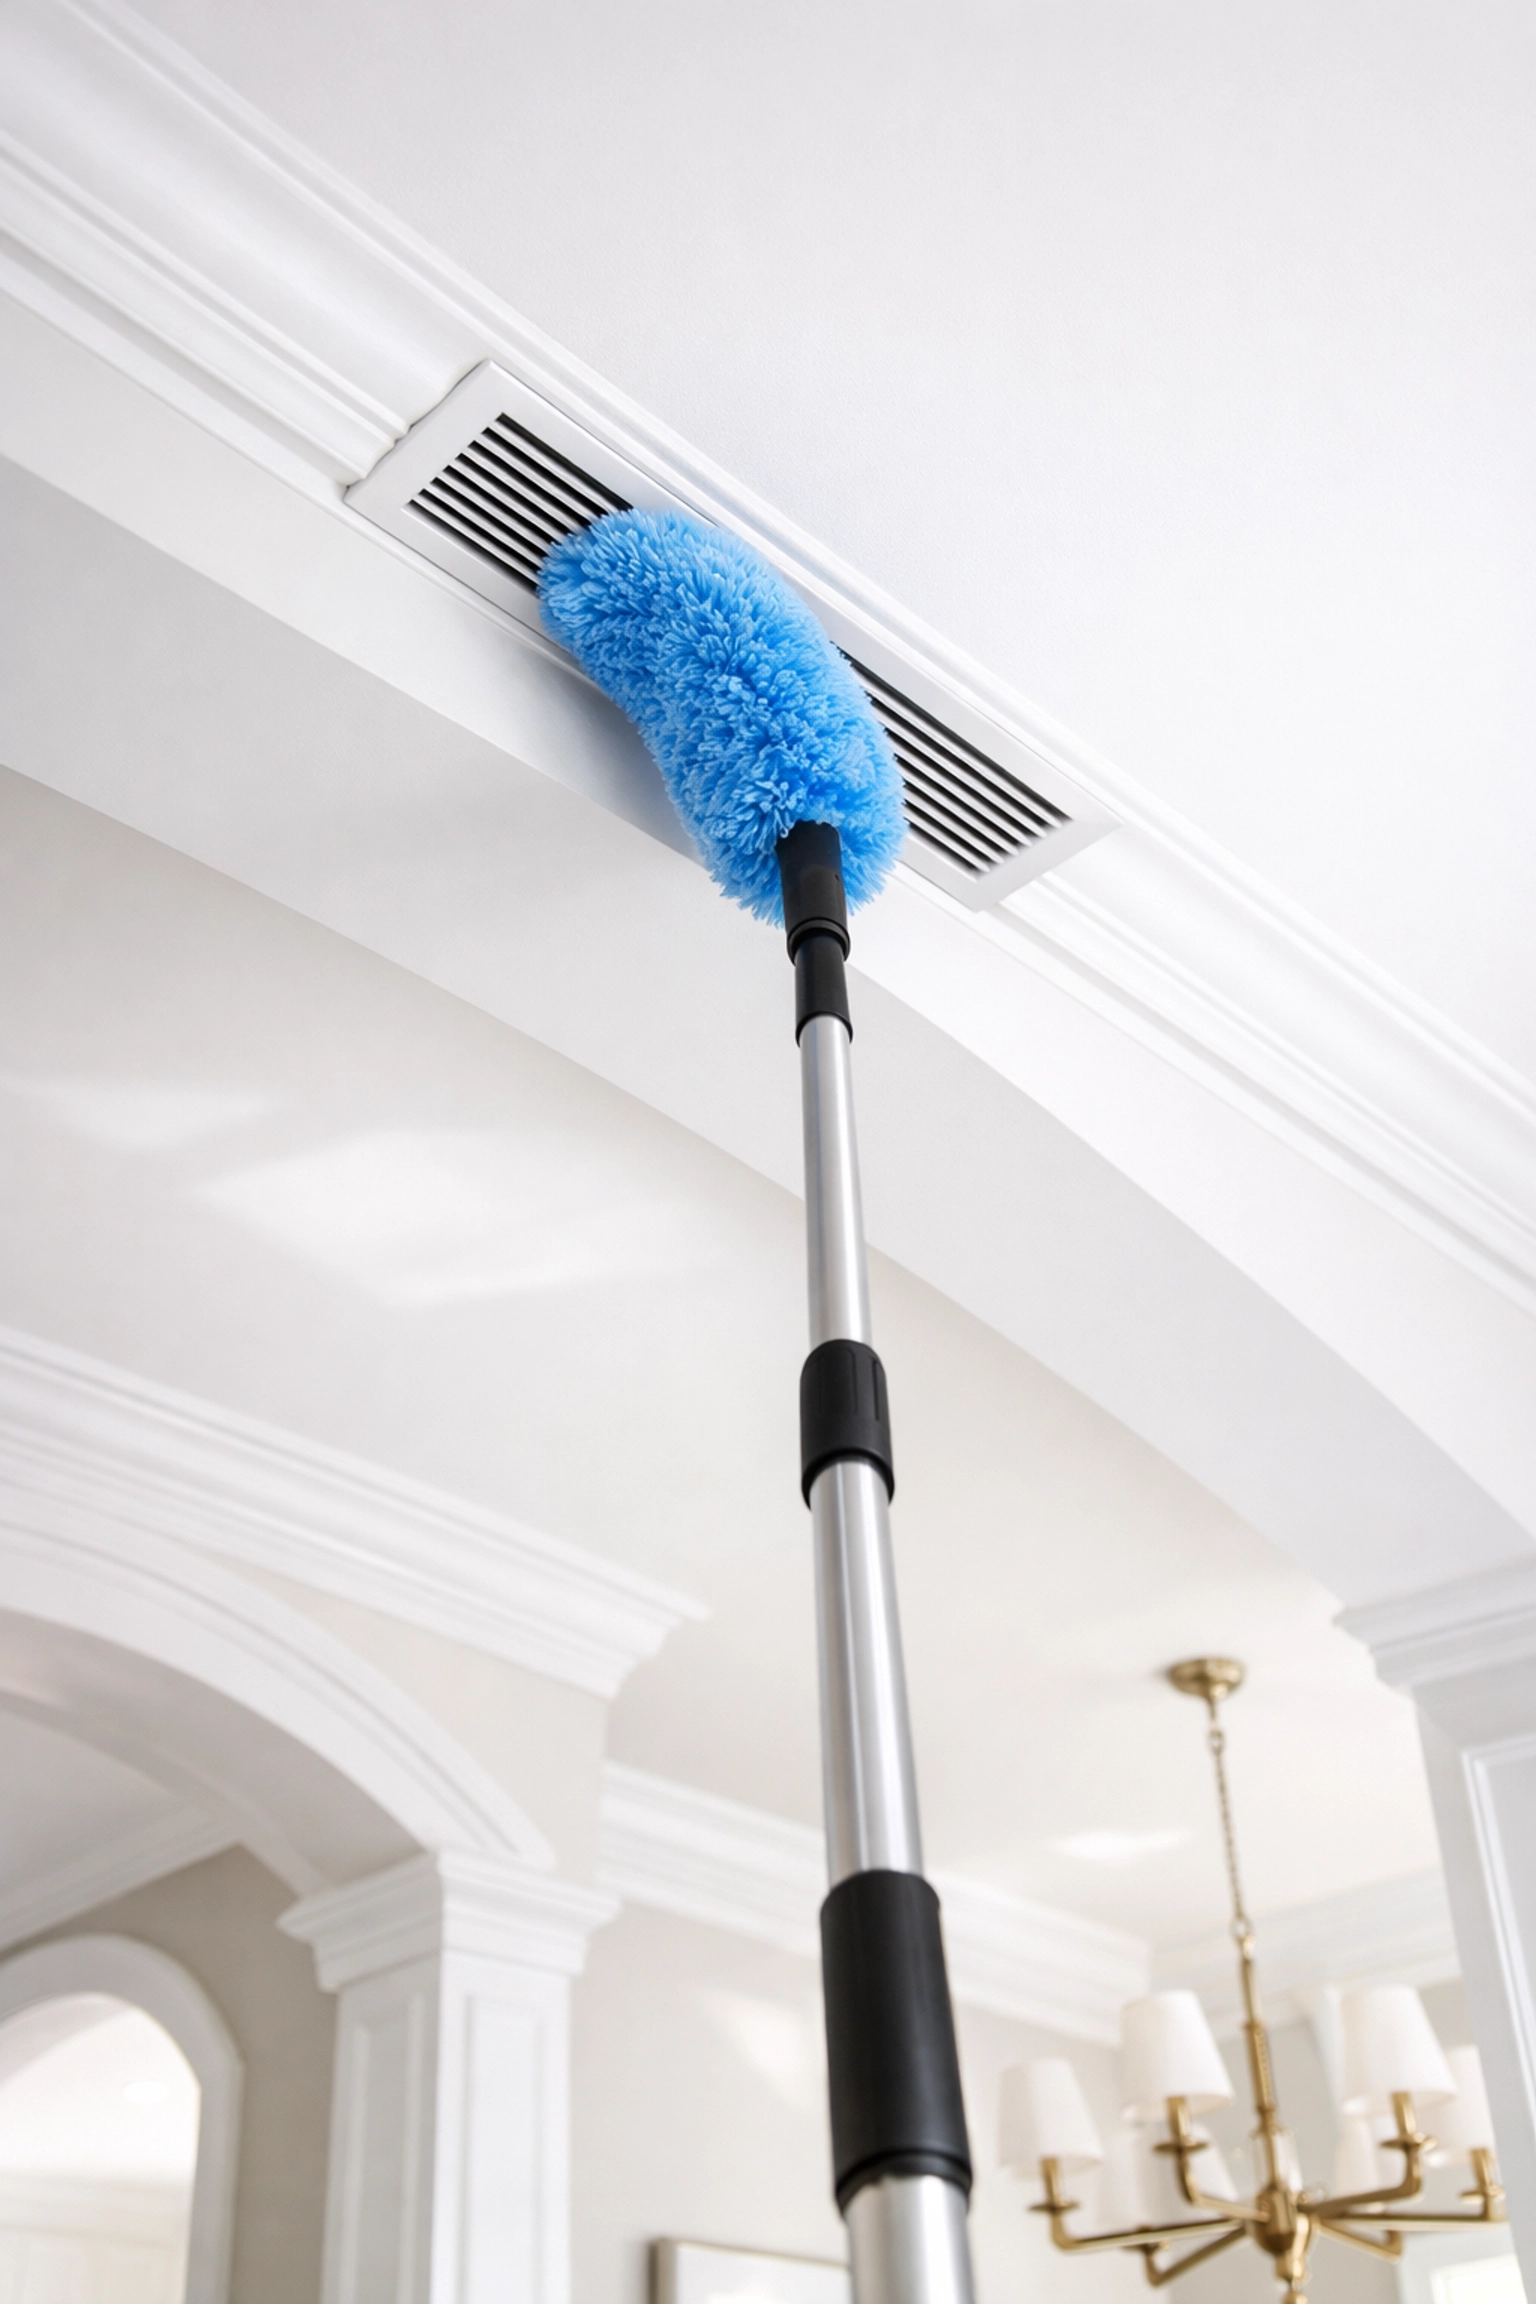
- Extendable Dusters: For those high corners and ceiling fans.
- Two Buckets: One for your cleaning solution and one for rinsing your cloths. Keeping your "wash" water clean is key to avoiding streaks.
- Damp, not Wet: When wiping down walls and surfaces, your cloth should be slightly damp. If it’s too wet, you’ll just turn the dust into mud, which is a much bigger mess to deal with.
If this sounds like a lot of work (and honestly, it is!), you can always check out our services to see how we can take the heavy lifting off your plate.
Step 1: The High Ground (Ceilings and Fixtures)
The first phase of the Top-Down method involves looking up. Way up.
Start by vacuuming the ceiling itself if it’s a material that allows for it. Then, move to the corners where the walls meet the ceiling. Even if you don't see cobwebs, construction dust clings to these corners.
Next, focus on:
- Ceiling Fans: Dust the tops of the blades first.
- Light Fixtures: Construction dust loves to settle inside glass globes and on top of recessed lighting rims.
- Air Vents: This is a big one. If you don't clean the vents, the first time you turn on your AC, you’ll be treated to a fresh coating of dust across the entire room. Remove the vent covers, vacuum them, and wipe them down.
Step 2: Walls, Trim, and Window Frames
Now that the ceiling is clear, the dust has moved down to the vertical surfaces. Walls are often overlooked, but they hold a massive amount of static-charged dust.
Using a damp microfiber mop or a hand-held cloth, wipe the walls from top to bottom. Don't press too hard: you don't want to damage the new paint.
While you're at it, pay special attention to:
- Door Frames and Moldings: The thin ledge on top of a door frame is a prime real estate for sawdust.
- Window Tracks: Open the windows and vacuum out the tracks. Construction gunk often gets trapped here and can prevent your windows from closing properly.
- Switch Plates and Outlets: Wipe these down carefully. Dust loves to settle on those tiny horizontal edges.
Step 3: The Mid-Level (Cabinets and Counters)
This is usually where people want to start, but since we’re being smart Ninjas, we waited.
If you have new kitchen cabinets, you need to clean inside and out. Open every drawer and every cupboard. Even if they were closed during construction, that fine dust finds a way in. Vacuum the inside of the drawers first using a brush attachment, then follow up with a damp cloth.
For countertops:
- Dry Dust First: Use a dry microfiber cloth to sweep the bulk of the dust into a container or onto the floor (which we haven't cleaned yet!).
- Damp Wipe: Follow up with a surface-appropriate cleaner to get that final shine.
Step 4: Baseboards and Hardware
We’re getting closer to the finish line. Before you touch the floor, you have to hit the baseboards. Baseboards are the "dust shelves" of the home. They catch everything that fell during Steps 1 through 3.
Get down on your knees (or use a specialized baseboard tool) and wipe them clean. This is also the time to polish any hardware like door handles, cabinet pulls, and hinges. Construction dust is often abrasive, so removing it from moving parts like hinges will actually help your hardware last longer.
Step 5: The Final Floor Blitz
Finally, we’ve reached the bottom. At this point, the majority of the dust in the room is sitting on your floor.
- The Big Sweep/Vacuum: Use your HEPA vacuum to get the heavy lifting done. Go slowly. If you move too fast, the exhaust from the vacuum might kick up any remaining fine particles.
- The Mop: Once the visible dust is gone, it’s time to mop. Use the two-bucket method here. You’ll be surprised at how quickly your rinse water turns grey. Change your water often!
- Repeat: For post-construction, you almost always need to mop twice. The first pass gets the grime; the second pass gets the streaks.
Why Efficiency Matters
You might be thinking, "Jean, does it really matter if I do the walls before the counters?"
The short answer is: only if you value your time! Post-construction cleaning is exhausting. It's physical, it's repetitive, and it can be discouraging when you see dust resettling. By following the "Top-Down" method, you minimize the "reset" factor. You ensure that every movement you make is moving the project toward completion rather than just moving dirt from one spot to another.
Efficiency isn't just about speed; it's about doing the job right the first time. At The Cleaning Ninjas Inc, we pride ourselves on being thorough. We know that a clean home is a healthy home, especially after a renovation where drywall dust and sawdust can irritate your lungs. You can learn more about us and our commitment to making your space shine.
A Ninja Pro-Tip: Change Your Air Filters
After you’ve completed your top-to-bottom clean, there is one last "hidden" step. Change your HVAC air filters. During a renovation, your heating and cooling system acts like a giant vacuum, pulling all that construction dust into the ductwork and the filter.
If you leave the old filter in, you’re essentially circulating dust back into your clean house every time the furnace kicks on. Put in a fresh filter, and maybe even consider getting your ducts professionally cleaned if the renovation was particularly dusty.
When to Call in the Experts
Let’s be real: cleaning up after a renovation is a massive undertaking. Sometimes, after weeks or months of living in a construction zone, you just don't have the energy left to scrub every inch of your home from the ceiling down.
That’s where we come in. Our team at The Cleaning Ninjas Inc has the professional-grade HEPA vacuums, the specialized techniques, and the "ninja" focus required to handle even the worst post-construction messes. We treat your home with the care it deserves, ensuring that when we leave, the only thing you’re left with is the beauty of your new renovation.
Whether you're tackling the dust yourself using our Top-Down method or you're looking for a professional touch, remember: gravity is the key. Start high, finish low, and don't forget to breathe (preferably through a mask until you’re finished!).
Ready to see your home truly sparkle? Give us a shout and let’s get those Ninjas to work!


