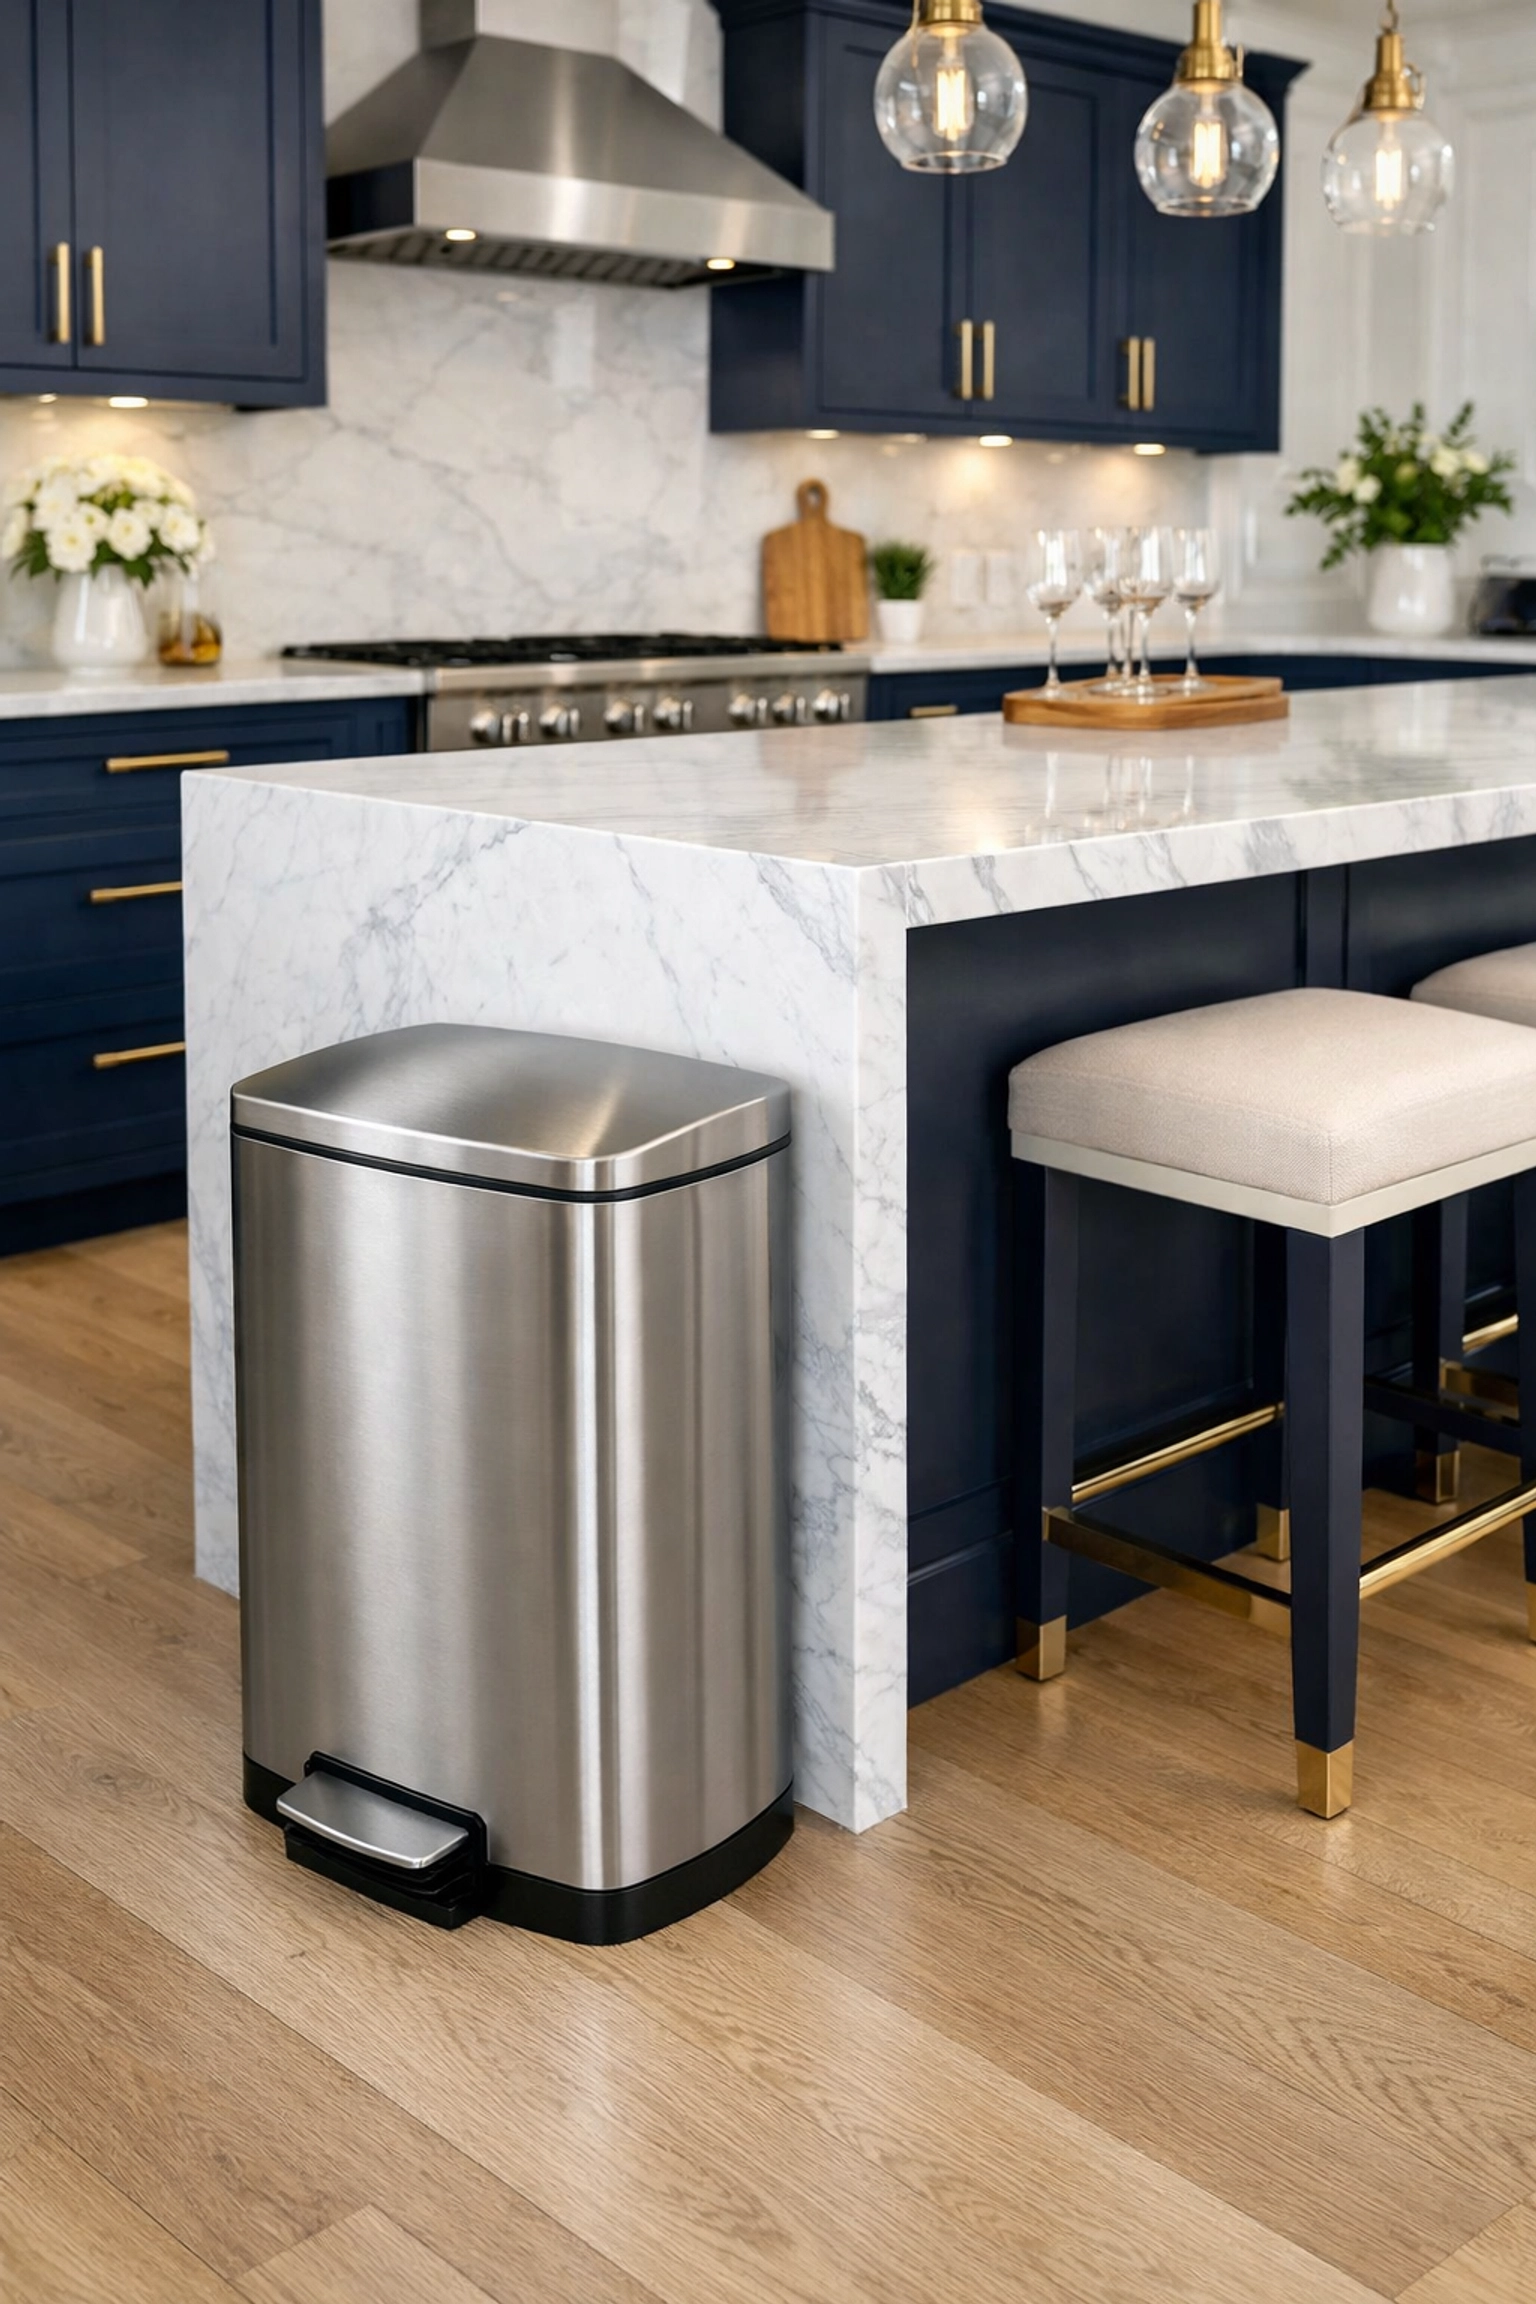
Let’s be honest for a second: the trash can is usually the most neglected item in the house. We interact with it dozens of times a day, tossing in everything from coffee grounds to leftover takeout, yet we rarely give it the TLC it deserves. We wait until that "mystery smell" starts wafting through the kitchen before we even think about cleaning the actual bin. But here at The Cleaning Ninjas Inc, we believe that a truly clean home starts with the details, especially the ones that hold our waste!
A smelly trash can doesn't just ruin the vibe of your beautiful kitchen; it can also be a breeding ground for bacteria like E. coli and Salmonella, not to mention an open invitation for fruit flies and other unwanted pests. Whether you’re a fan of weekly house cleaning or you prefer a bi weekly house cleaning schedule, keeping your bins fresh is a Ninja-level move that makes a world of difference in your home’s air quality.
In this guide, we’re going to walk you through the eco-friendly way to deodorize and sanitize your trash cans, from the quick daily refreshes to the deep-down "Ninja Scrub."
Why Your Trash Can Smells (Even With a Bag)
You might be thinking, "Hey, I use high-quality bags with drawstrings! Why does my bin still smell?" The truth is, bags aren't invincible. Tiny punctures happen, liquids leak out, and condensation can build up between the bag and the plastic of the bin. Over time, these small spills create a sticky residue at the bottom of the can that rots and creates those lingering odors.
Plastic bins are especially prone to odors because plastic is porous. It can actually absorb smells over time. That’s why a surface-level wipe isn’t always enough. You need to get into the pores of the material to neutralize the source of the stink.
The Quick Ninja Refresh: For When You’re Short on Time
We get it: life moves fast. Sometimes you don't have an hour to drag the trash can out to the driveway. If you’ve got guests coming over or you just noticed a faint whiff of something funky, here is the Ninja-approved quick fix.
- The Antibacterial Spray-Down: Grab an eco-friendly antibacterial spray (or a mix of water and a few drops of tea tree oil). Once you take the old bag out, give the interior a quick, generous misting. Focus on the bottom and the corners where liquids usually settle.
- The Wipe-Away: Use a microfiber cloth to wipe down the rim and the lid. These are the spots we touch the most, and they often collect grime that we don't even see.
- Air It Out: Leave the lid open for five minutes to let the spray dry completely before putting in a new bag. Trapping moisture under a new bag is a recipe for mold growth!
If you want to stay on top of things between your bi weekly house cleaning visits, this 2-minute routine is a lifesaver.
The Deep Clean Protocol: Step-by-Step
About once a month (or more often if you have a busy household with kids and pets), your trash can needs a "spa day." This is how we do it the eco-friendly way.
Step 1: Empty and Rinse
Take your bin outside or into a large bathtub. Give it a good rinse with a hose or a high-pressure showerhead. This removes any loose debris, crumbs, or that weird sticky stuff at the bottom. If you’re doing this outside, try to do it on a sunny day: UV rays are actually a natural disinfectant!
Step 2: The Ninja Fizz (Baking Soda & Vinegar)
This is our favorite eco-friendly trick. Sprinkle about half a cup of baking soda into the bottom of the damp bin. Then, spray it with white vinegar. You’ll get that satisfying fizzing action. This isn’t just for show; the chemical reaction helps lift stubborn grime and neutralizes acidic odors (like those from rotting food). Let it sit for about 10 minutes.

Step 3: Scrub-a-Dub-Dub
Grab a long-handled scrub brush (one you’ve dedicated specifically to trash cans: don't mix this up with your dish brush!). Scrub the inside, the outside, and especially the base. If you have a foot pedal bin, don’t forget to scrub the mechanism and the underside of the lid.
Step 4: Sanitize with Essential Oils
Instead of using harsh bleach that can wear down plastic and irritate your lungs, use nature’s power. Mix a gallon of warm water with a squirt of dish soap and 10-15 drops of essential oils like lemon, eucalyptus, or peppermint. These aren't just for scent; many essential oils have natural antimicrobial properties. Give the bin one final scrub with this mixture.
Step 5: The Final Rinse and Dry
Rinse everything thoroughly with clean water. Now, here is the most important part: Dry it completely. Use an old towel or let it sit upside down in the sun. Putting a bag into a damp bin is the number one cause of "trash can funk" returning within 24 hours.
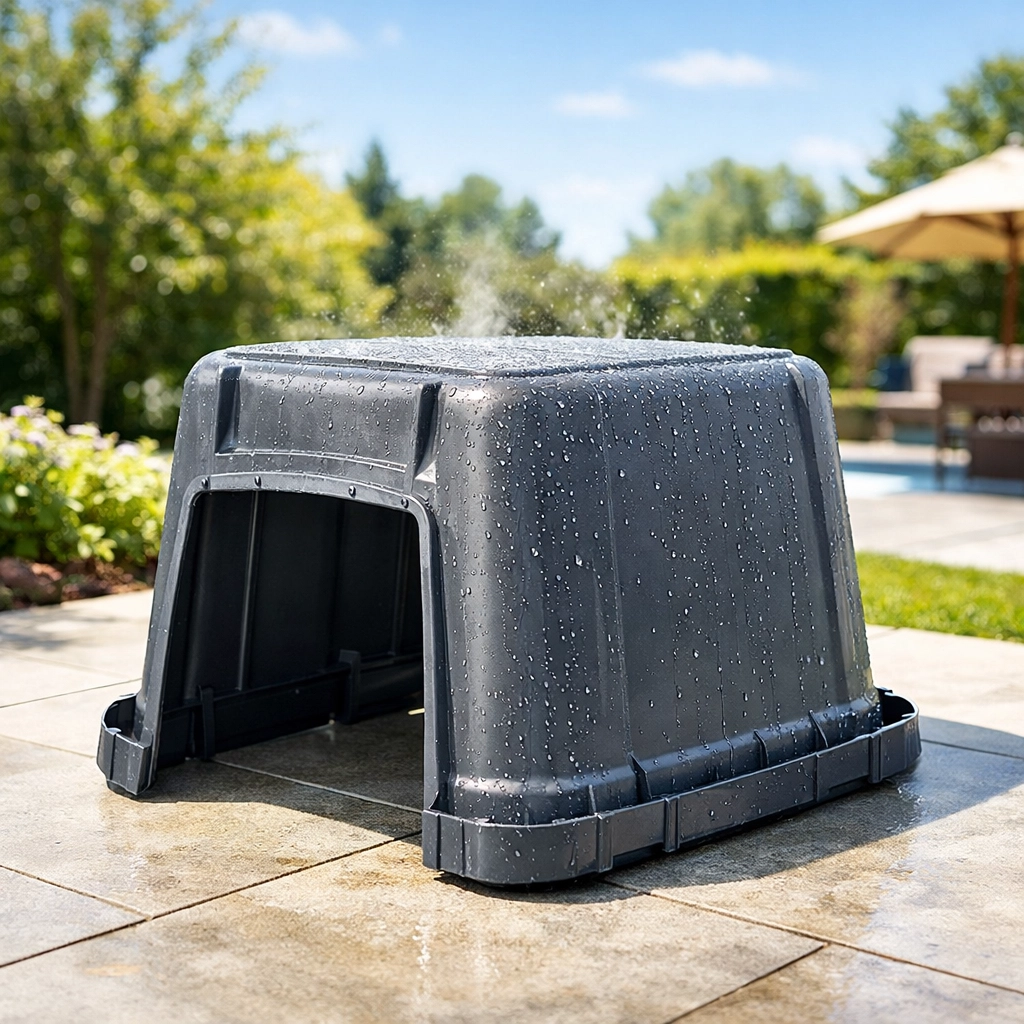
Don't Forget the Outdoor Bins!
Our indoor bins get all the attention, but the outdoor wheelie bins are the real heavy hitters. They sit in the sun, baking all that waste, which can lead to some pretty intense odors and even pest problems.
A great Ninja tip for outdoor bins is to drill a few small holes in the bottom (if your local waste management allows it). This allows for better airflow and lets water drain out if you leave the lid open during a rainstorm to give it a natural rinse.
When cleaning outdoor bins, you can be a bit more aggressive. Use a high-pressure nozzle on your garden hose to blast away any residue. If you find yourself dreading this chore, remember that keeping these bins clean is a huge part of pest control. Raccoons and flies are much less interested in a bin that doesn't smell like a buffet.
Ongoing Odor Prevention: Ninja Secrets
Once your bin is sparkling clean and sanitized, you want to keep it that way. Here are a few "pro" moves to extend that freshness:
- The Newspaper Trick: Place a few sheets of old newspaper or a piece of cardboard at the bottom of the bin before putting the bag in. This acts as a "leak catcher" for any drips that might escape the bag.
- Baking Soda Bottoms: Sprinkle a thin layer of dry baking soda at the very bottom of the can (under the bag). It will act as a constant odor absorber.
- Cotton Ball Diffusers: If you want your kitchen to smell amazing, soak a cotton ball in your favorite essential oil (lavender or citrus works great) and drop it into the bottom of the bin. It provides a subtle, fresh scent every time you open the lid.
- The Double Bag: If you’re throwing away something particularly "aromatic" (like seafood scraps or onion peels), double-bag that specific item before throwing it in the main bin.

Integrating Bin Care into Your Routine
Consistency is the secret to a home that always feels fresh. If you have a weekly house cleaning routine, make "the quick wipe" part of your trash day. If you prefer bi weekly house cleaning, that's a great interval to do the baking soda and vinegar soak.
At The Cleaning Ninjas Inc, we know that life gets busy. Sometimes you just want to come home to a house that smells like lemons instead of last night's dinner. That’s why our team is here to handle the heavy lifting. While we’re tackling the floors and dusting the baseboards, you can rest easy knowing the big picture is covered. You can learn more about us and how we bring our "Ninja" precision to every home we visit.
A Fresh Start for Your Kitchen
Deodorizing and sanitizing your trash cans might not be the most glamorous job, but the impact it has on your home environment is huge. There is a certain peace of mind that comes with knowing even your "dirtiest" spots are clean and sanitized.
If you’re looking for more ways to level up your home maintenance, check out our other blog posts for more Ninja tips and tricks. And if you’re ready to let the pros handle the scrubbing, take a look at our services to see how we can help you reclaim your time and enjoy a spotless home.
Happy cleaning, Ninjas! Keep those bins fresh and your spirits high!