There’s nothing quite like that first sip of coffee in the morning. Whether you’re a "don’t talk to me until I’ve had my caffeine" person or you just enjoy the ritual of a warm mug between your hands, your coffee maker is likely one of the hardest-working appliances in your kitchen. But here’s a secret from the pros at The Cleaning Ninjas Inc.: if your coffee is starting to taste a little bitter, or if your machine is making strange groaning noises like it’s auditioning for a horror movie, it’s probably time for a deep descale.
Most of us are pretty good about the daily stuff. We rinse the carafe, we toss the grounds, and maybe we wipe down the outside so it looks pretty on the counter. But the real "gunk" isn't where you can see it. It’s hiding deep inside the internal tubes and heating elements of your machine. In this guide, we’re going to show you how to descale your coffee maker using eco-friendly methods that keep your morning brew tasting fresh and your machine running like a champ.
What Exactly is Descaling?
Before we jump into the "how," let’s talk about the "why." You might be thinking, "I clean my coffee pot every day, why do I need to descale it?"
There is a big difference between cleaning and descaling. Cleaning is what you do to get rid of coffee oils, stains, and splashes. Descaling is about removing mineral buildup. If you live in an area with "hard water," your tap water is full of minerals like calcium and magnesium. Every time you brew a pot, tiny amounts of these minerals stay behind. Over time, they harden and turn into "scale."
Think of scale like a clogged artery for your coffee maker. It slows down the water flow, forces the machine to work harder (and hotter), and eventually, it can even cause the machine to stop working entirely. Plus, that buildup can harbor bacteria and mold, which is definitely not the "extra flavor" you want in your latte.
Why We Choose Eco-Friendly Solutions
At The Cleaning Ninjas Inc., we’re big fans of keeping things green. While there are plenty of commercial descaling agents on the market, many of them contain harsh chemicals that we’d rather keep away from our drinking water.
The hero of today’s tip? Plain old white vinegar. It’s acidic enough to dissolve those tough mineral deposits but safe enough to use around your family and pets. It’s also incredibly affordable. When we perform weekly house cleaning for our clients, we love seeing natural solutions in the pantry because we know they get the job done without the "chemical" smell.
The Step-by-Step Ninja Descaling Guide
Ready to get started? Grab your white vinegar and let’s get to work. This process works for most standard drip coffee makers, but we’ll touch on single-serve machines like Keurigs in a bit.
1. Clear the Deck
First things first, make sure your coffee maker is completely empty. Remove any old filters, discard used coffee grounds, and give the carafe a quick rinse. If your machine has a built-in water filter (like the charcoal ones found in many premium models), remove that too. You don't want the vinegar to soak into the filter.
2. Mix Your Ninja Solution
Create a mixture of equal parts white vinegar and water. For a standard 12-cup pot, you’ll want about 6 cups of vinegar and 6 cups of fresh water. If your machine has particularly heavy buildup (maybe it hasn't been descaled since the last leap year?), you can increase the ratio to two parts vinegar and one part water.
3. Start the Cycle
Pour the solution into the water reservoir and hit the "Brew" button. Keep a close eye on it. Once the carafe is about half-full, turn the machine off.
4. The Big Soak
This is the most important part! Let the machine sit for at least 30 minutes (up to an hour if it's really crusty). This gives the vinegar time to break down the calcified minerals inside the heating element and the internal tubing. This is a great time to tackle other quick tasks, like wiping down your baseboards or checking your weekly house cleaning checklist.
5. Finish the Brew
After the soak is over, turn the machine back on and let the rest of the vinegar solution run through.
6. The Triple Rinse
Now, you definitely don’t want your next cup of coffee to taste like a salad. Empty the carafe of the hot vinegar water. Fill the reservoir with fresh, clean water and run a full brew cycle. Repeat this process at least two or three times. If you can still smell vinegar, keep rinsing!
Signs Your Coffee Maker is Crying for Help
Not sure if it’s time to descale? Your machine will usually tell you if you know what to look for. If you’re already on a schedule for bi weekly house cleaning, you might want to add a coffee maker check-up to your routine. Watch out for these red flags:
- The Snail’s Pace: If your 5-minute brew is now taking 15 minutes, scale is likely blocking the pipes.
- The Loud Gurgle: Excessive steaming or loud, angry-sounding pops during the brew cycle mean the water is struggling to get through the system.
- The "White Stuff": If you see white, chalky residue around the spray head or inside the reservoir, that’s a clear sign of mineral buildup.
- The "Off" Taste: If your coffee tastes unusually bitter or metallic, even with fresh beans, it’s time to descale.
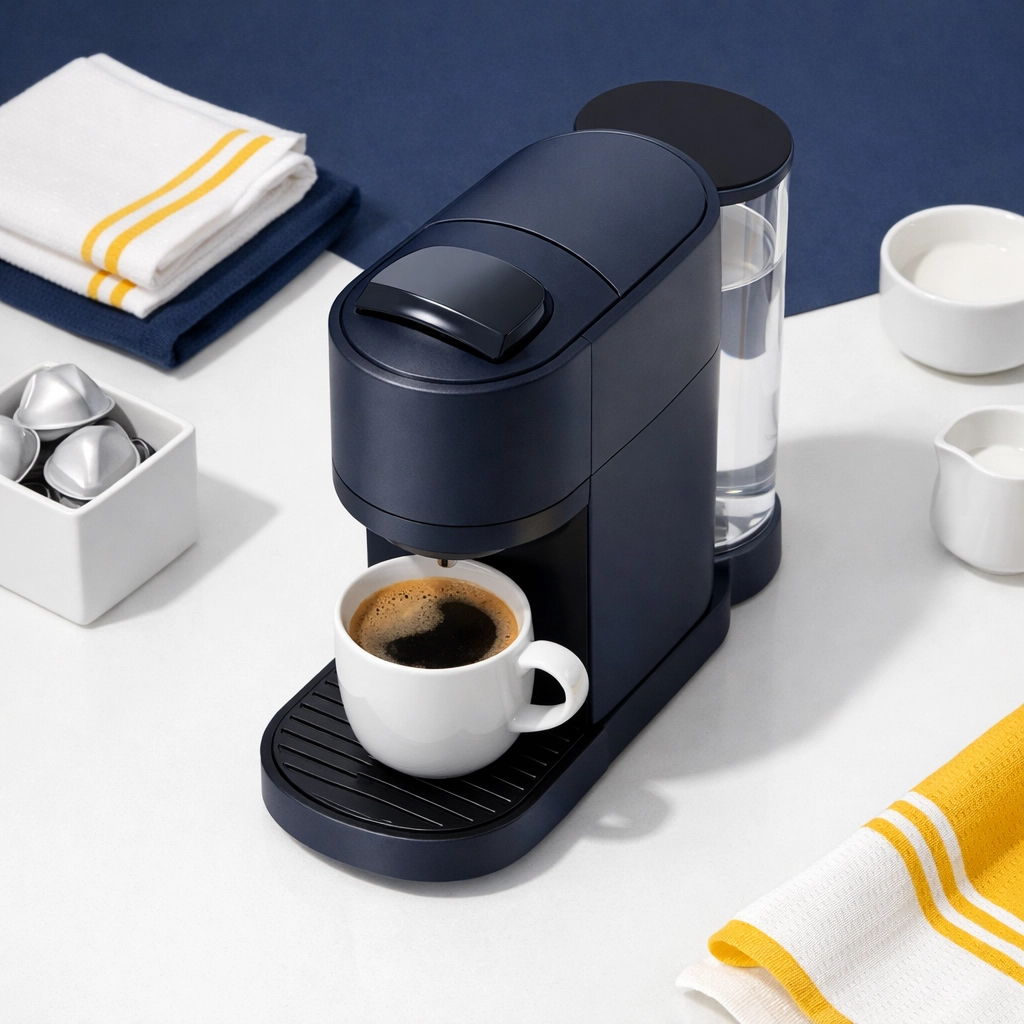
Special Tips for Single-Serve Machines (Keurig/Nespresso)
Single-serve machines are a bit more sensitive than drip machines. While vinegar works, many manufacturers recommend using their specific descaling solutions to protect the warranty. However, if you're out of warranty or prefer the eco-friendly route, the process is similar:
- Fill the reservoir with the vinegar/water mix.
- Run the "large cup" cycle repeatedly (without a pod!) until the reservoir is empty.
- Let it sit for 30 minutes.
- Run at least two full reservoirs of clean water through the machine to rinse.
Integrating Maintenance into Your Routine
Life is busy, and we get it. Between work, family, and trying to find five minutes of peace, maintaining your appliances can feel like a chore. That’s why we recommend building these habits into your regular home maintenance schedule.
If you have bi weekly house cleaning services with a professional team like ours, you’re already ahead of the game because the exterior of your kitchen stays sparkling. But remember, internal maintenance is a "homeowner task" that keeps your expensive gadgets lasting longer. We recommend descaling once a month if you use your machine every day. If you only brew on the weekends, once every three months should do the trick.
Why Cleanliness Matters for Your Health
It's not just about the taste or the machine's lifespan; it’s about your health! Coffee makers are warm, damp environments: the perfect breeding ground for bacteria, yeast, and even mold. A study by NSF International actually found that the coffee reservoir is one of the germiest places in the average kitchen, often containing more bacteria than a toilet seat! Regular descaling and cleaning aren't just for the coffee snobs; they're for anyone who wants a healthy home environment.
Final Thoughts from the Ninjas
At The Cleaning Ninjas Inc., we believe that a clean home is a happy home, and that includes every little nook and cranny: even the inside of your coffee maker. Taking 45 minutes once a month to descale your machine will save you money on replacements and ensure that your morning starts on the right note.
If the rest of your kitchen (or your whole house!) needs a little extra love, we’re here to help. Whether you need a deep dive into the grime or regular weekly house cleaning to keep things manageable, our team of professionals is ready to swoop in with ninja-like precision.
Check out about us to see how we can make your life easier and your home cleaner. Now, go grab some fresh water and treat that coffee maker to a spa day. You'll thank us tomorrow morning!