

Let’s be real for a second: when was the last time you actually looked at the underside of your kitchen cabinets? If you’re like most of us, the answer is probably "never" or "only when I dropped a spoon and had to crawl on the floor to find it."
At The Cleaning Ninjas Inc, we spend a lot of time thinking about the spots people miss. It’s kind of our thing. While you’re busy wiping down the counters and making sure the cabinet doors look shiny and streak-free, there is a whole hidden world of gunk living just out of sight. Whether it’s dried pasta sauce splashes, a layer of sticky grease from your morning bacon, or just a thick coat of "mystery dust," the underside of your cabinets is a prime real estate for grime.
In this edition of The Cleaning Ninjas Tip, we’re going to dive deep (or rather, look up high) into the best ways to tackle this forgotten zone. It’s not just about aesthetics; keeping these areas clean prevents long-term damage to your cabinetry and keeps your kitchen smelling fresh.
The Science of Under-Cabinet Gunk
Before we get into the "how," let's talk about the "why." You might think, How does it even get dirty under there?
It’s all about the physics of the kitchen. When you boil a pot of water for pasta or steam some veggies, that hot moisture rises. It hits the cool surface of the underside of your cabinets and condenses. Over time, that moisture can soften the finish of your wood or create a damp environment where dust loves to settle.
Then, there’s the grease factor. If your cabinets are anywhere near your stove, every time you sauté or fry, tiny particles of oil become airborne. They travel upward and stick to the first horizontal surface they hit: which is usually the bottom of your upper cabinets. Once that grease layer is there, it acts like a magnet for every piece of dust, pet hair, and lint floating in the air. Before you know it, you have a sticky, fuzzy mess that feels impossible to remove.
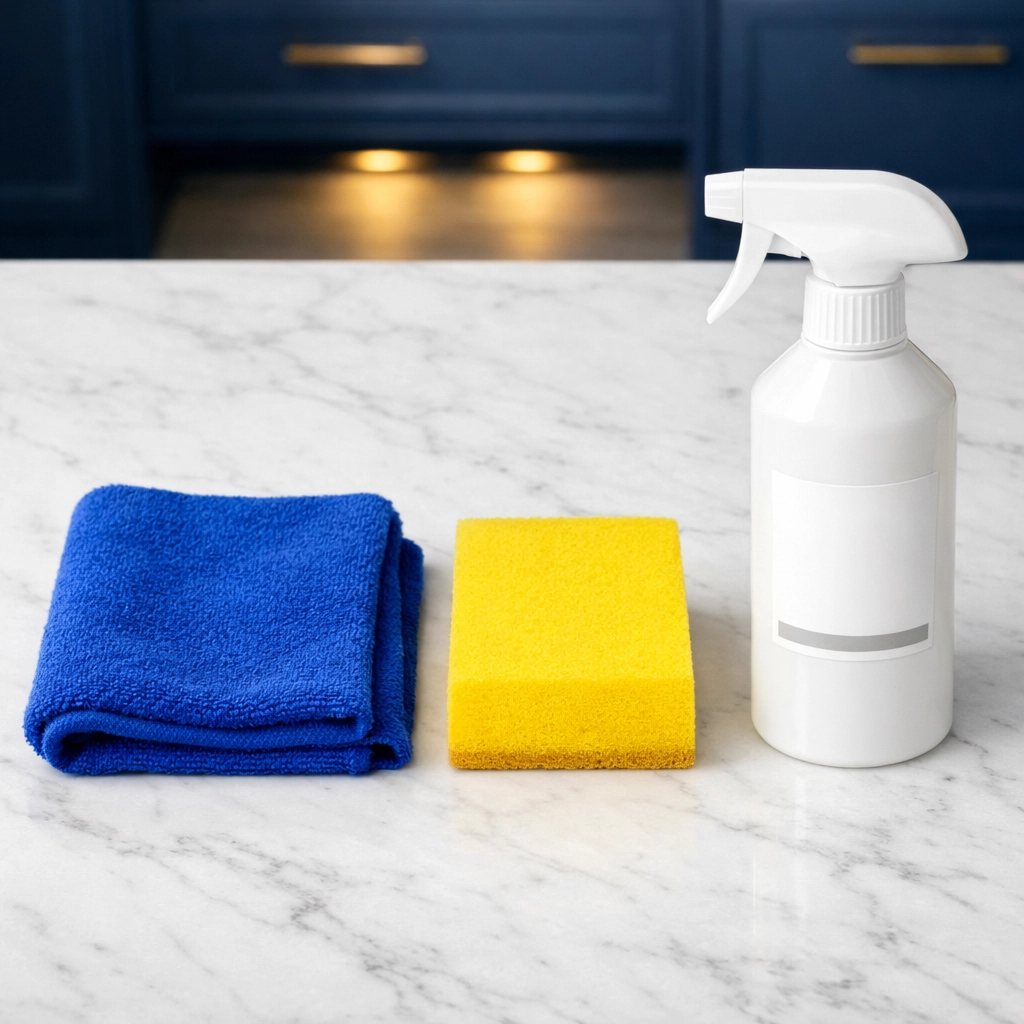
The Ninja Toolkit: What You’ll Need
You don’t need an arsenal of heavy chemicals to get this job done. In fact, we prefer a more streamlined approach that focuses on efficiency. Here is what we recommend having on hand:
- A Swiffer with a Heavy-Duty Cloth: This is your best friend for the first pass. The long handle means you won't have to crane your neck as much, and the textured cloths are great at grabbing loose debris.
- Mr. Clean Magic Eraser (Kitchen Version): Specifically the blue one! These are slightly more textured and designed to cut through kitchen-specific messes without being too abrasive on your paint or stain.
- Microfiber Cloths: You’ll want a few of these: one for wet wiping and one for drying.
- A Mild Degreaser or Warm Soapy Water: If the grease is particularly thick, a drop of Dawn dish soap in warm water works wonders.
- A Step Stool: Don't strain yourself. Getting at eye level with the underside of the cabinet makes the job much easier.
Step 1: The Great Dust-Off
You might be tempted to jump straight in with a wet sponge, but that is a rookie mistake! If you apply moisture to a thick layer of dust, all you’re doing is creating "mud." It becomes much harder to remove and tends to smear into the corners.
Instead, take your Swiffer or a dry microfiber cloth and do a thorough pass of the entire underside area. Don’t just hit the flat bottom; make sure you get into the lip where the cabinet frame meets the wall. This is where the "dust bunnies of doom" like to hide.
If you’re using a Swiffer, the heavy-duty cloths are excellent because they can reach into the little grooves of the wood. Work from one end of the kitchen to the other. You might be surprised (and a little horrified) at how much gray fuzz comes down. That’s okay: better on the Swiffer than in your food!
Step 2: Dealing with the Sticky Stuff
Now that the loose debris is gone, it’s time to tackle the stains and the "sticky" feel. This is where the Magic Eraser shines.
Dampen your Magic Eraser with warm water. You don’t want it dripping wet: just moist enough to activate the foam. Start in one corner and work in small, circular motions. The Magic Eraser is a micro-abrasive, which means it acts like extremely fine sandpaper to lift off stuck-on food splashes and grease without scratching the finish of your cabinets.
Ninja Tip: If you have dark-stained wood or high-gloss painted cabinets, always do a small "test spot" in an inconspicuous corner first. While Magic Erasers are generally safe, you want to make sure they won't dull the sheen of your specific finish.
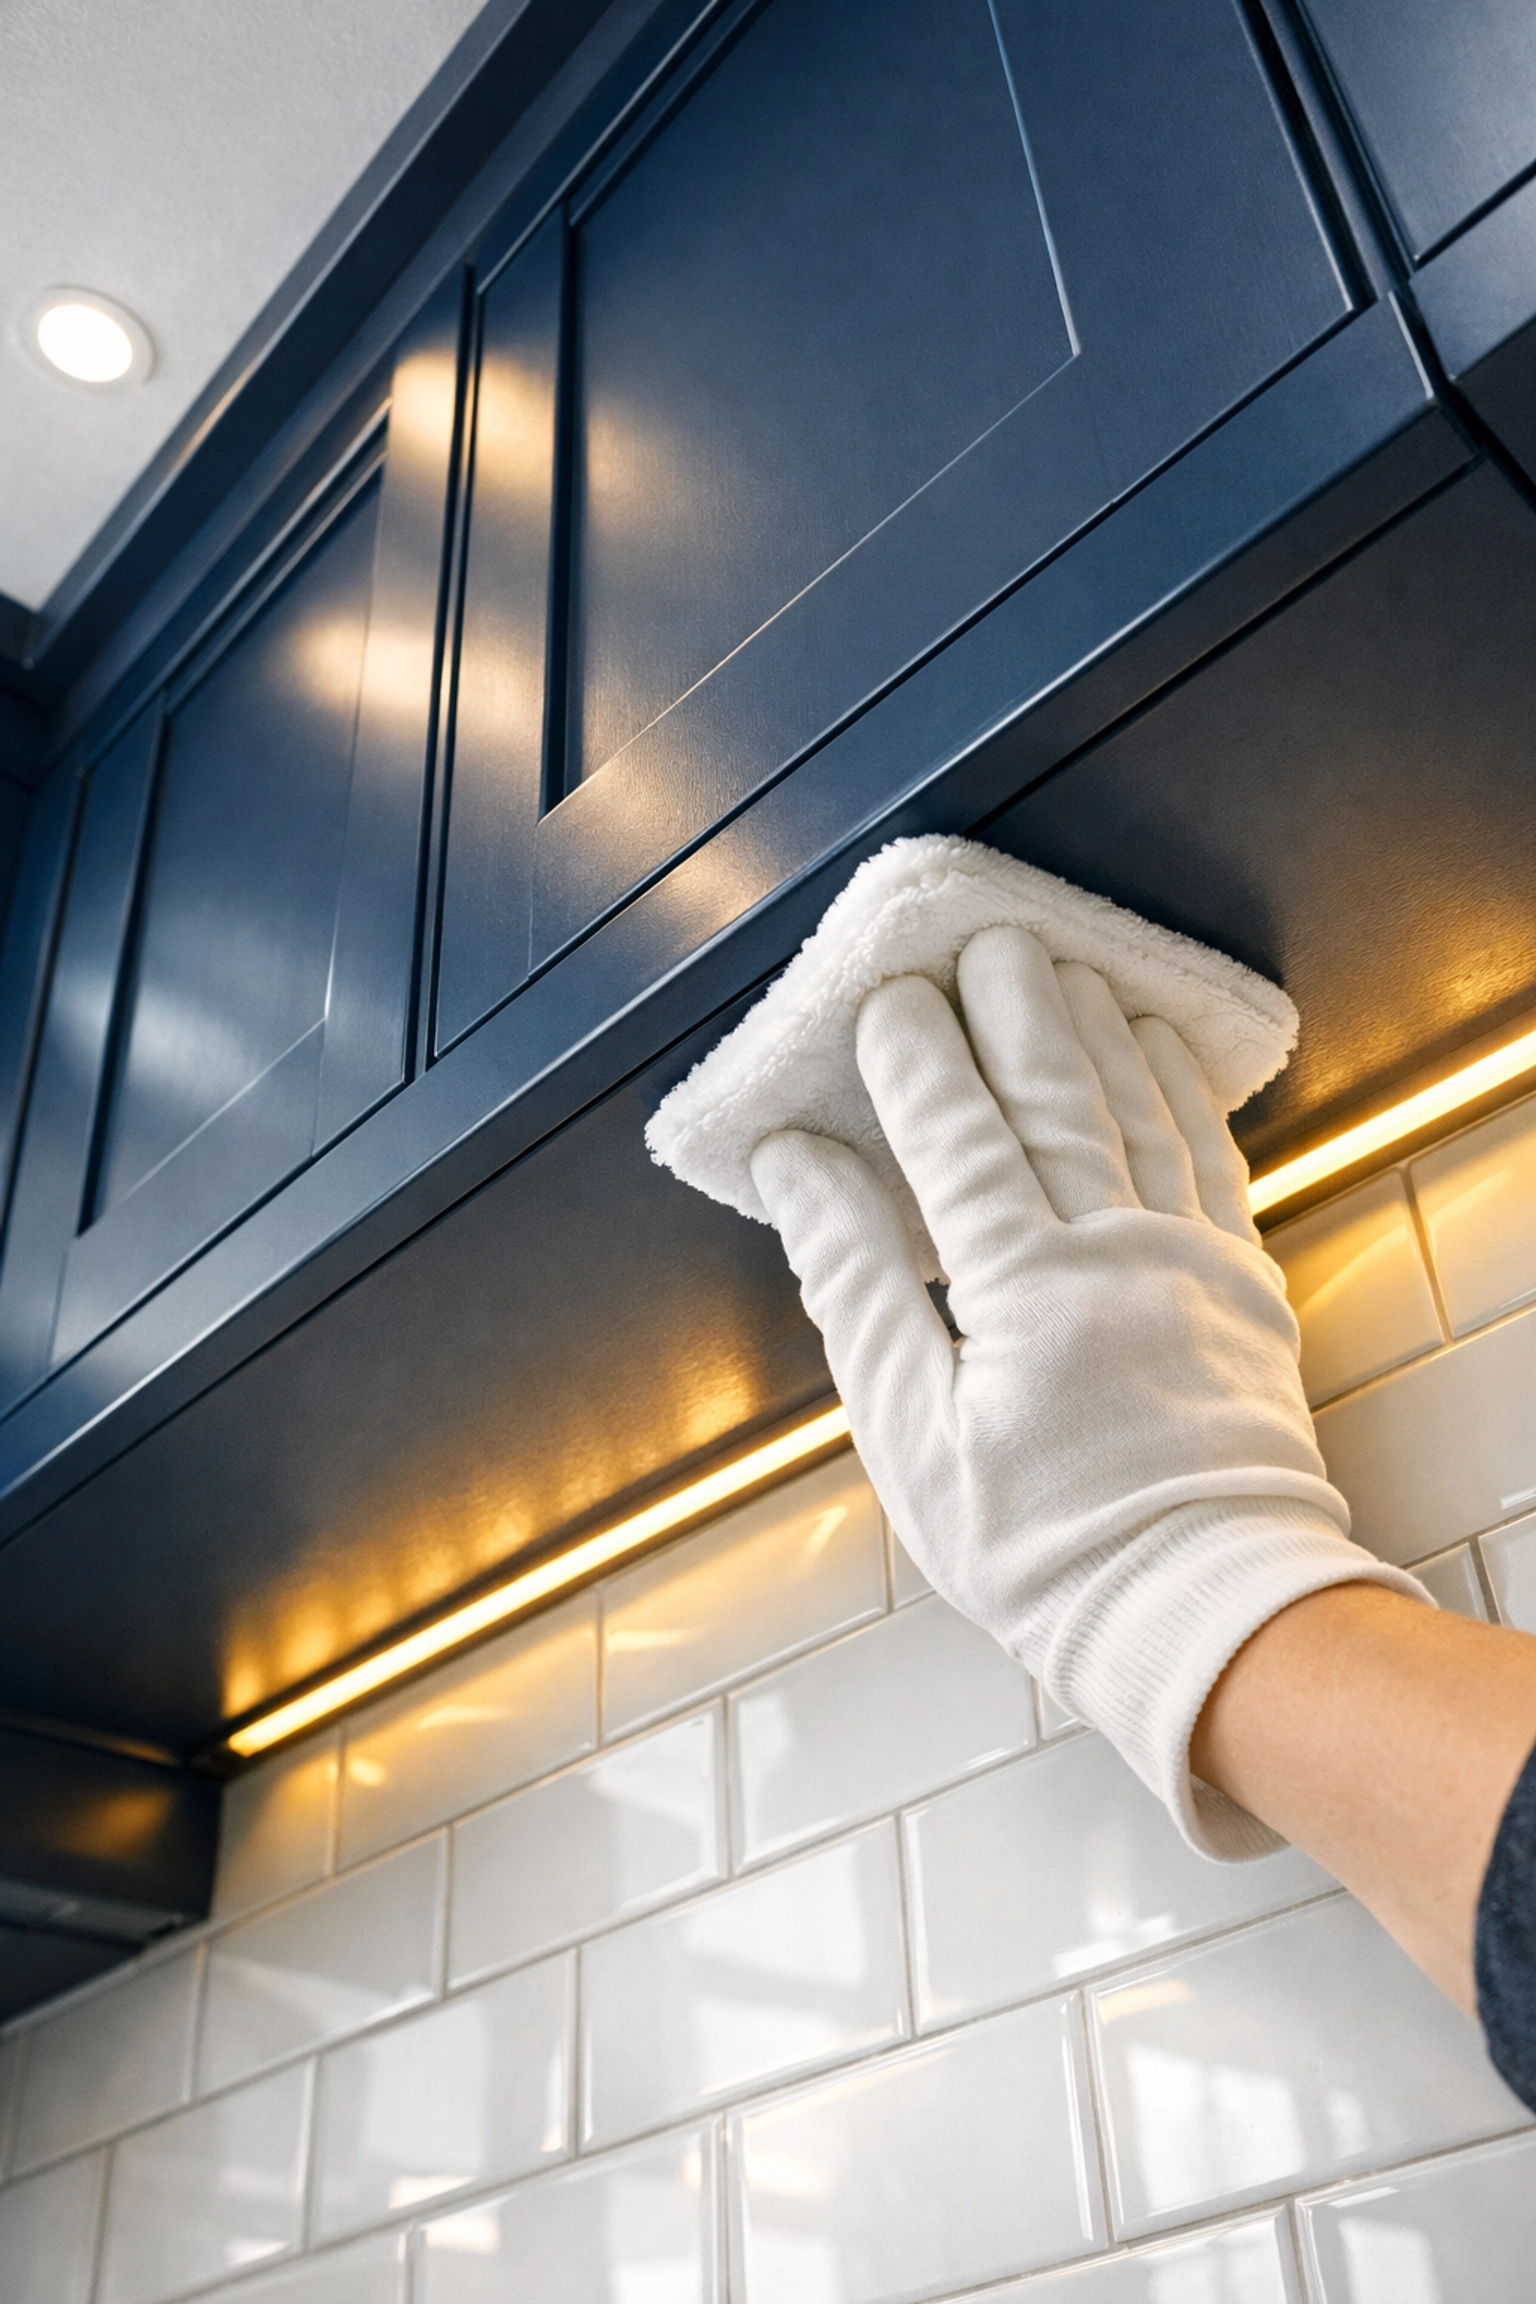
As you work, look up! You might need to sit on the floor or a low stool to really see the spots you’re hitting. Pay extra attention to the areas directly above your toaster, coffee maker, or crockpot. These are high-traffic zones for steam and splatters.
Step 3: The Heavy Grease Protocol
If your cabinets are right next to the range hood, you might find that a Magic Eraser isn't quite enough for the thick, yellowed grease buildup. In this case, you need to bring in the reinforcements.
Mix a few drops of a grease-cutting dish soap into a bowl of warm water. Dip a microfiber cloth into the solution, wring it out well, and hold it against the greasy spot for about 30 seconds. This helps soften the oil. Afterward, give it a firm scrub. For the really stubborn "petrified" grease, you can use a plastic scraper (or even an old credit card) to gently lift the buildup before wiping it clean.
Remember: Never use steel wool or harsh scouring pads. These will strip the finish right off your cabinets, leaving you with a much bigger problem than a little grease.
Step 4: The Final Polish and Dry
One of the most important steps in cleaning any wood surface is the drying process. Leftover moisture is the enemy of cabinetry. It can cause wood to swell, paint to peel, or even lead to mold growth in dark, unventilated corners.
Once you’ve finished scrubbing, take a fresh, dry microfiber cloth and wipe down every inch you just cleaned. You want the surface to feel smooth and dry to the touch. This also gives you a chance to check your work. If the cloth "drags" or catches on a spot, it means there is still some residue left behind that needs another quick pass.

Why This Matters for Your Home Maintenance
Cleaning the underside of your cabinets isn't just about being a "neat freak." It's about protecting one of the most expensive investments in your home. Kitchen cabinets are pricey, and the undersides are often the most vulnerable because they are exposed to the harshest elements of cooking.
By keeping this area clean, you are:
- Preventing Finish Failure: Grease and steam can eventually eat through the protective clear coat on your cabinets.
- Improving Air Quality: Removing old grease and dust means fewer odors lingering in your kitchen.
- Pest Prevention: Believe it or not, tiny food splatters under cabinets can attract ants or other pests. A clean kitchen is a pest-free kitchen!
When to Call the Pros
We get it: cleaning the underside of cabinets is a literal pain in the neck. It requires a lot of reaching, looking up, and detail work that most people just don't have the time (or the desire) for.
That’s where we come in. At The Cleaning Ninjas Inc, we don't just "surface clean." We look for the hidden spots, the forgotten corners, and the undersides of things. Whether you need a one-time deep clean to get your kitchen back to baseline or you want regular maintenance so you never have to think about grease buildup again, we’ve got your back.
You can learn more about us and our philosophy of "ninja-level" cleanliness, or check out our services to see how we can help you reclaim your free time.
Final Thoughts: The Ninja Mindset
Cleaning doesn't have to be a daunting, all-day event. Sometimes, it’s just about picking one small, "invisible" area and giving it a little love. Next time you’re waiting for the coffee to brew, grab a cloth and wipe down the underside of the cabinet right above the machine. You’ll be surprised at how much better you feel knowing that your kitchen is clean from top to bottom: even the parts you can’t see!
For more professional hacks and home maintenance advice, feel free to browse the rest of our blog. We’re always adding new tips to help you keep your home a sanctuary without the stress.
Happy cleaning, and remember: if the grime is getting the best of you, the Ninjas are only a phone call away!


