

Let’s be honest: nobody wakes up on a Saturday morning excited to scrub grout. It’s one of those "hidden" chores that we tend to ignore until the light hits the kitchen floor just right, and suddenly, you realize those once-pristine lines have turned a suspicious shade of "mystery grey."
At The Cleaning Ninjas Inc, we’ve seen it all. From mud tracked in by enthusiastic puppies to spilled spaghetti sauce that decided to make itself a permanent home in your bathroom floor. Grout is notoriously difficult because it’s porous: essentially acting like a tiny, long sponge that runs between your beautiful tiles. Standard mopping often just pushes dirty water into those lines, making the problem worse over time.
But don't panic! You don't need a jackhammer or an expensive renovation to get that "brand new" look back. Today’s Cleaning Ninjas Tip is all about a secret weapon we swear by: Oxygen Bleach. It’s effective, it’s eco-friendly, and most importantly, it actually works without making your house smell like a public swimming pool.
What Exactly is Oxygen Bleach?
Before we dive into the "how-to," let’s clear up a common misconception. When most people hear the word "bleach," they immediately think of the harsh, smelly liquid in the big white jug (Chlorine Bleach). Oxygen bleach is a totally different animal.
Commonly found in powder form (like OxiClean or generic sodium percarbonate), oxygen bleach is made from natural soda ash and hydrogen peroxide. When you mix it with water, it releases a massive amount of oxygen. Those tiny bubbles work their way into the pores of your grout, lifting out stains, bacteria, and grime from the inside out.
Why Oxygen Bleach Beats Chlorine Every Time
In the world of cleaning, we like to work smarter, not harder. Here is why the Ninjas choose oxygen bleach for grout over the traditional stuff:
- Color Safety: Chlorine bleach can actually strip the pigment out of colored grout, leaving it patchy and weird. Oxygen bleach is "color-safe," meaning it attacks the dirt, not the color of your floor.
- No Toxic Fumes: We love a clean home, but we also love being able to breathe. Oxygen bleach is virtually odorless and non-toxic. You won’t have to open every window in the house just to survive the cleaning process.
- Eco-Friendly: Because it breaks down into water, oxygen, and soda ash, it’s much kinder to the planet and safer to use around pets and kids.
- Long-Term Grout Health: Harsh acids or strong chlorine can actually weaken grout over time, leading to cracking or crumbling. Oxygen bleach is gentle on the structure of the grout while being tough on the surface stains.
The Ninja Toolkit: What You’ll Need
Before you start, gather your supplies. Having everything ready means you can knock this out quickly and get back to your weekend.
- Oxygen Bleach Powder: Look for high-quality sodium percarbonate.
- Warm Water: Warmth helps the powder dissolve and activates the oxygen faster.
- A Mixing Container: A small bucket or a large bowl works great.
- A Nylon Scrub Brush: A dedicated grout brush is best, but an old firm toothbrush or a stiff dish brush will do in a pinch. Avoid metal bristles, as they can scratch your tiles!
- A Clean Mop and Bucket: For the final rinse.
- Microfiber Cloths: For wiping up excess water and drying.
Step-by-Step: The Grout Transformation
Ready to see some magic? Follow these steps to get your floors looking ninja-clean.
1. Prep the Area
Clear the floor of any rugs, furniture, or debris. Give the floor a quick sweep or vacuum to remove loose dust. You don’t want to be mixing dust with your cleaning solution to create "grout mud."
2. Mix Your Solution
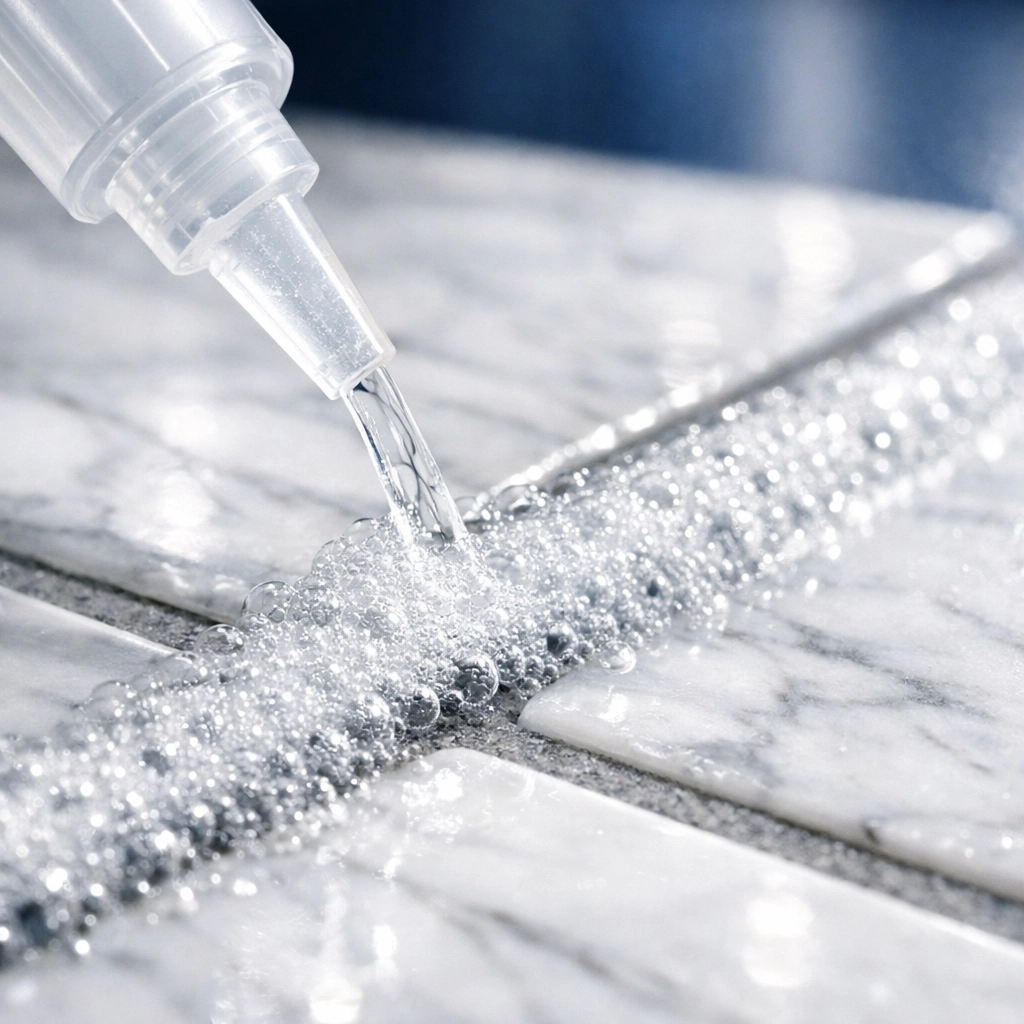
In your container, mix about 2 tablespoons of oxygen bleach powder into 2 cups of warm water. Stir it well until the powder is mostly dissolved. You’ll notice it might start to fizz a little bit: that’s the oxygen doing its thing! Always mix a fresh batch right before you use it, as the "active" oxygen power dissipates after about six hours.
3. The "Ninja Test"
Before you go wild on the whole floor, pick a small, inconspicuous corner (like behind a door or under a cabinet) and apply a little solution. Let it sit for a few minutes and wipe it away. This ensures your specific tile and grout play nice with the cleaner.
4. Apply and Soak (The Most Important Step!)
Pour the solution directly onto the grout lines. You want them to be fully saturated. Now, here is the secret: Let it sit.
Most people start scrubbing immediately, but the real power of oxygen bleach happens in the waiting. Let the solution dwell on the grout for at least 10 to 15 minutes. For really stubborn stains, you can even go up to 30 minutes. If the solution starts to dry out, just add a little more.
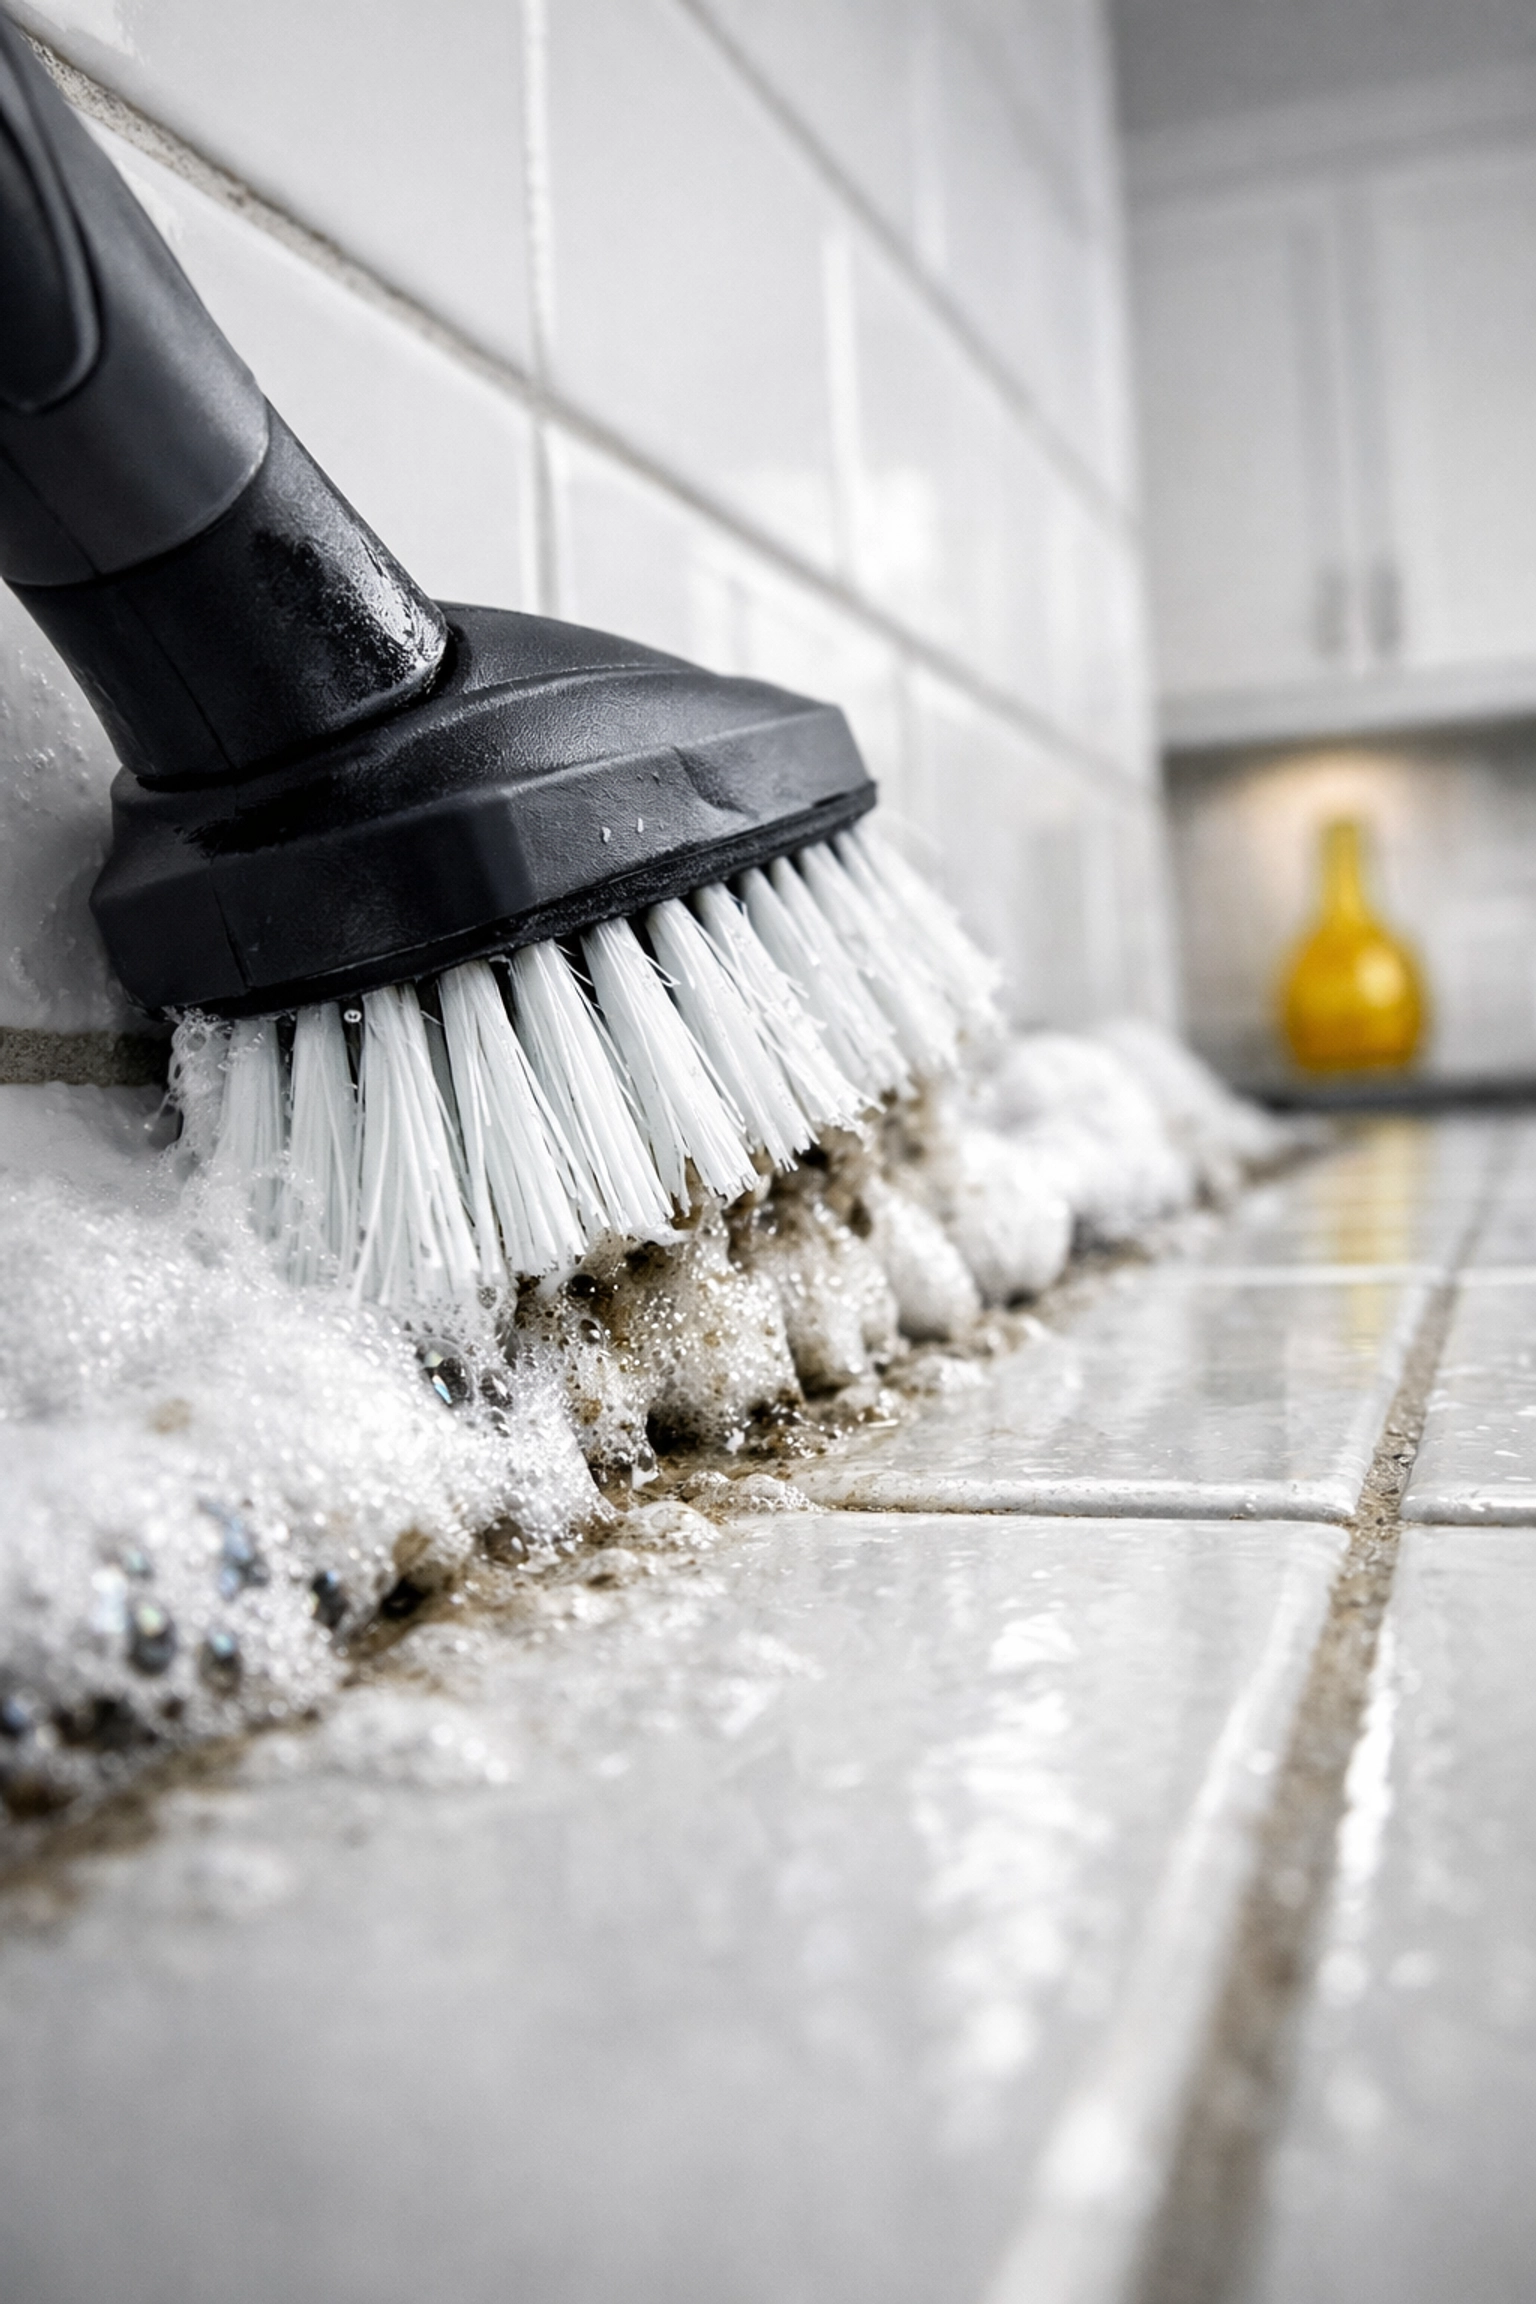
5. The Scrub Down
After the solution has had time to lift the dirt, take your nylon brush and scrub the grout lines. You’ll find that the dirt comes up much easier than if you were using plain soap. Use a back-and-forth motion, paying extra attention to high-traffic areas or corners where grime likes to hide.
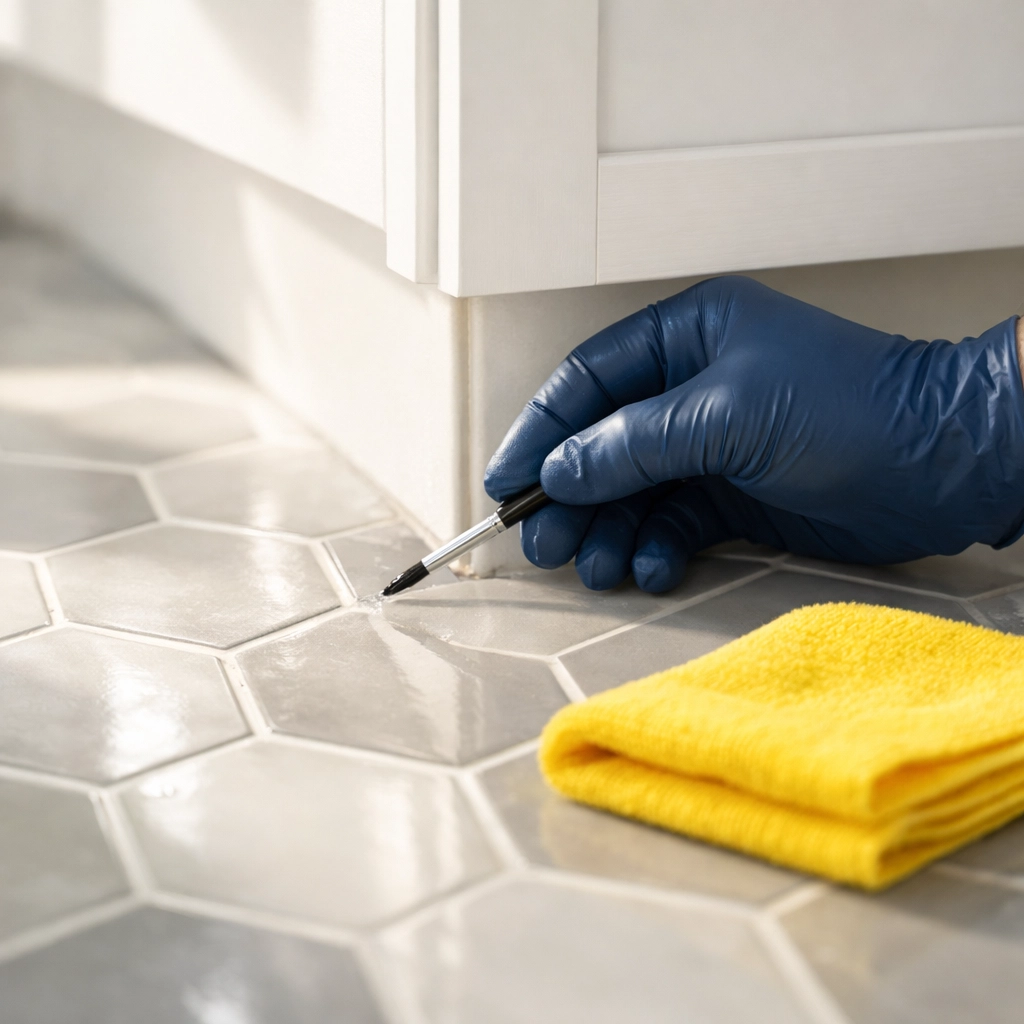
6. Dealing with "Boss Level" Stains
If you have a spot that just won't budge, try making a paste. Mix a tiny bit of water with the oxygen bleach powder until it’s the consistency of toothpaste. Apply it directly to the stain, let it sit for 20 minutes, and then scrub. It’s like a targeted ninja strike for stubborn spots!
7. Rinse and Dry
Once you’ve finished scrubbing, mop the area with clean, plain water. You want to make sure you’ve removed all the soda ash residue, or the floor might feel a bit "chalky" once it dries. Use a clean towel or microfiber cloth to dry the area. Drying it manually prevents any remaining dirty water from settling back into the grout pores.
Pro-Tips for a Better Clean
- Work in Sections: Don't try to do the whole kitchen at once. Work in 4×4 foot sections so the solution doesn't dry out before you have a chance to scrub it.
- Change Your Rinse Water: If your rinse water looks like chocolate milk, it’s time to dump it and get fresh water. Rinsing with dirty water defeats the purpose!
- Ventilation: Even though there are no toxic fumes, it’s always a good idea to have a little airflow to help the floor dry faster.
How to Keep Your Grout Sparkling
Once you’ve put in the work to get those lines clean, you’ll want to keep them that way. Here are a few ways to maintain that "just-cleaned" look:
- Seal Your Grout: Once the grout is perfectly clean and completely dry (wait at least 24 hours), apply a high-quality grout sealer. This creates a barrier that prevents liquids and dirt from soaking in.
- Stop Dirt at the Door: Use doormats at every entrance to catch dirt before it ever hits your tile.
- Ditch the Dirty Mop: Traditional string mops often just move dirt around. Consider using a microfiber flat mop, which actually picks up and holds onto the grime.

When to Call the Professionals
We know that life gets busy. Sometimes the "honey-do" list is three miles long, and the idea of spending your Saturday on your hands and knees scrubbing grout feels like a nightmare. Or perhaps your grout is so far gone that consumer-grade products just aren't cutting it.
That’s where we come in! At The Cleaning Ninjas Inc, we have professional-grade equipment and techniques to restore your floors to their former glory without you having to lift a finger. Whether you need a deep one-time clean or a regular maintenance schedule to keep your home pristine, we’ve got your back.
You can learn more about us and our commitment to providing a top-tier clean for every client. If you’re ready to reclaim your weekend and let the experts handle the grime, check out our services to see how we can help.
Final Thoughts
Cleaning grout doesn't have to be a miserable chore involving harsh chemicals and endless frustration. By using oxygen bleach, you’re choosing a method that is safe for your home, safe for your family, and incredibly effective.
So, grab a container of oxygen bleach, put on your favorite podcast, and give your floors the ninja treatment they deserve. You’ll be amazed at how much brighter and cleaner your whole room looks when the grout is finally sparkling!
Stay clean, Ninjas!

