

Let’s be honest for a second, when was the last time you actually cleaned your keyboard? If you’re like most of us, your keyboard is probably the unsung hero of your daily grind. It’s there for the 9-to-5 emails, the late-night gaming sessions, and those quick "desk lunches" where a few crumbs of your sandwich inevitably go missing between the "S" and "D" keys.
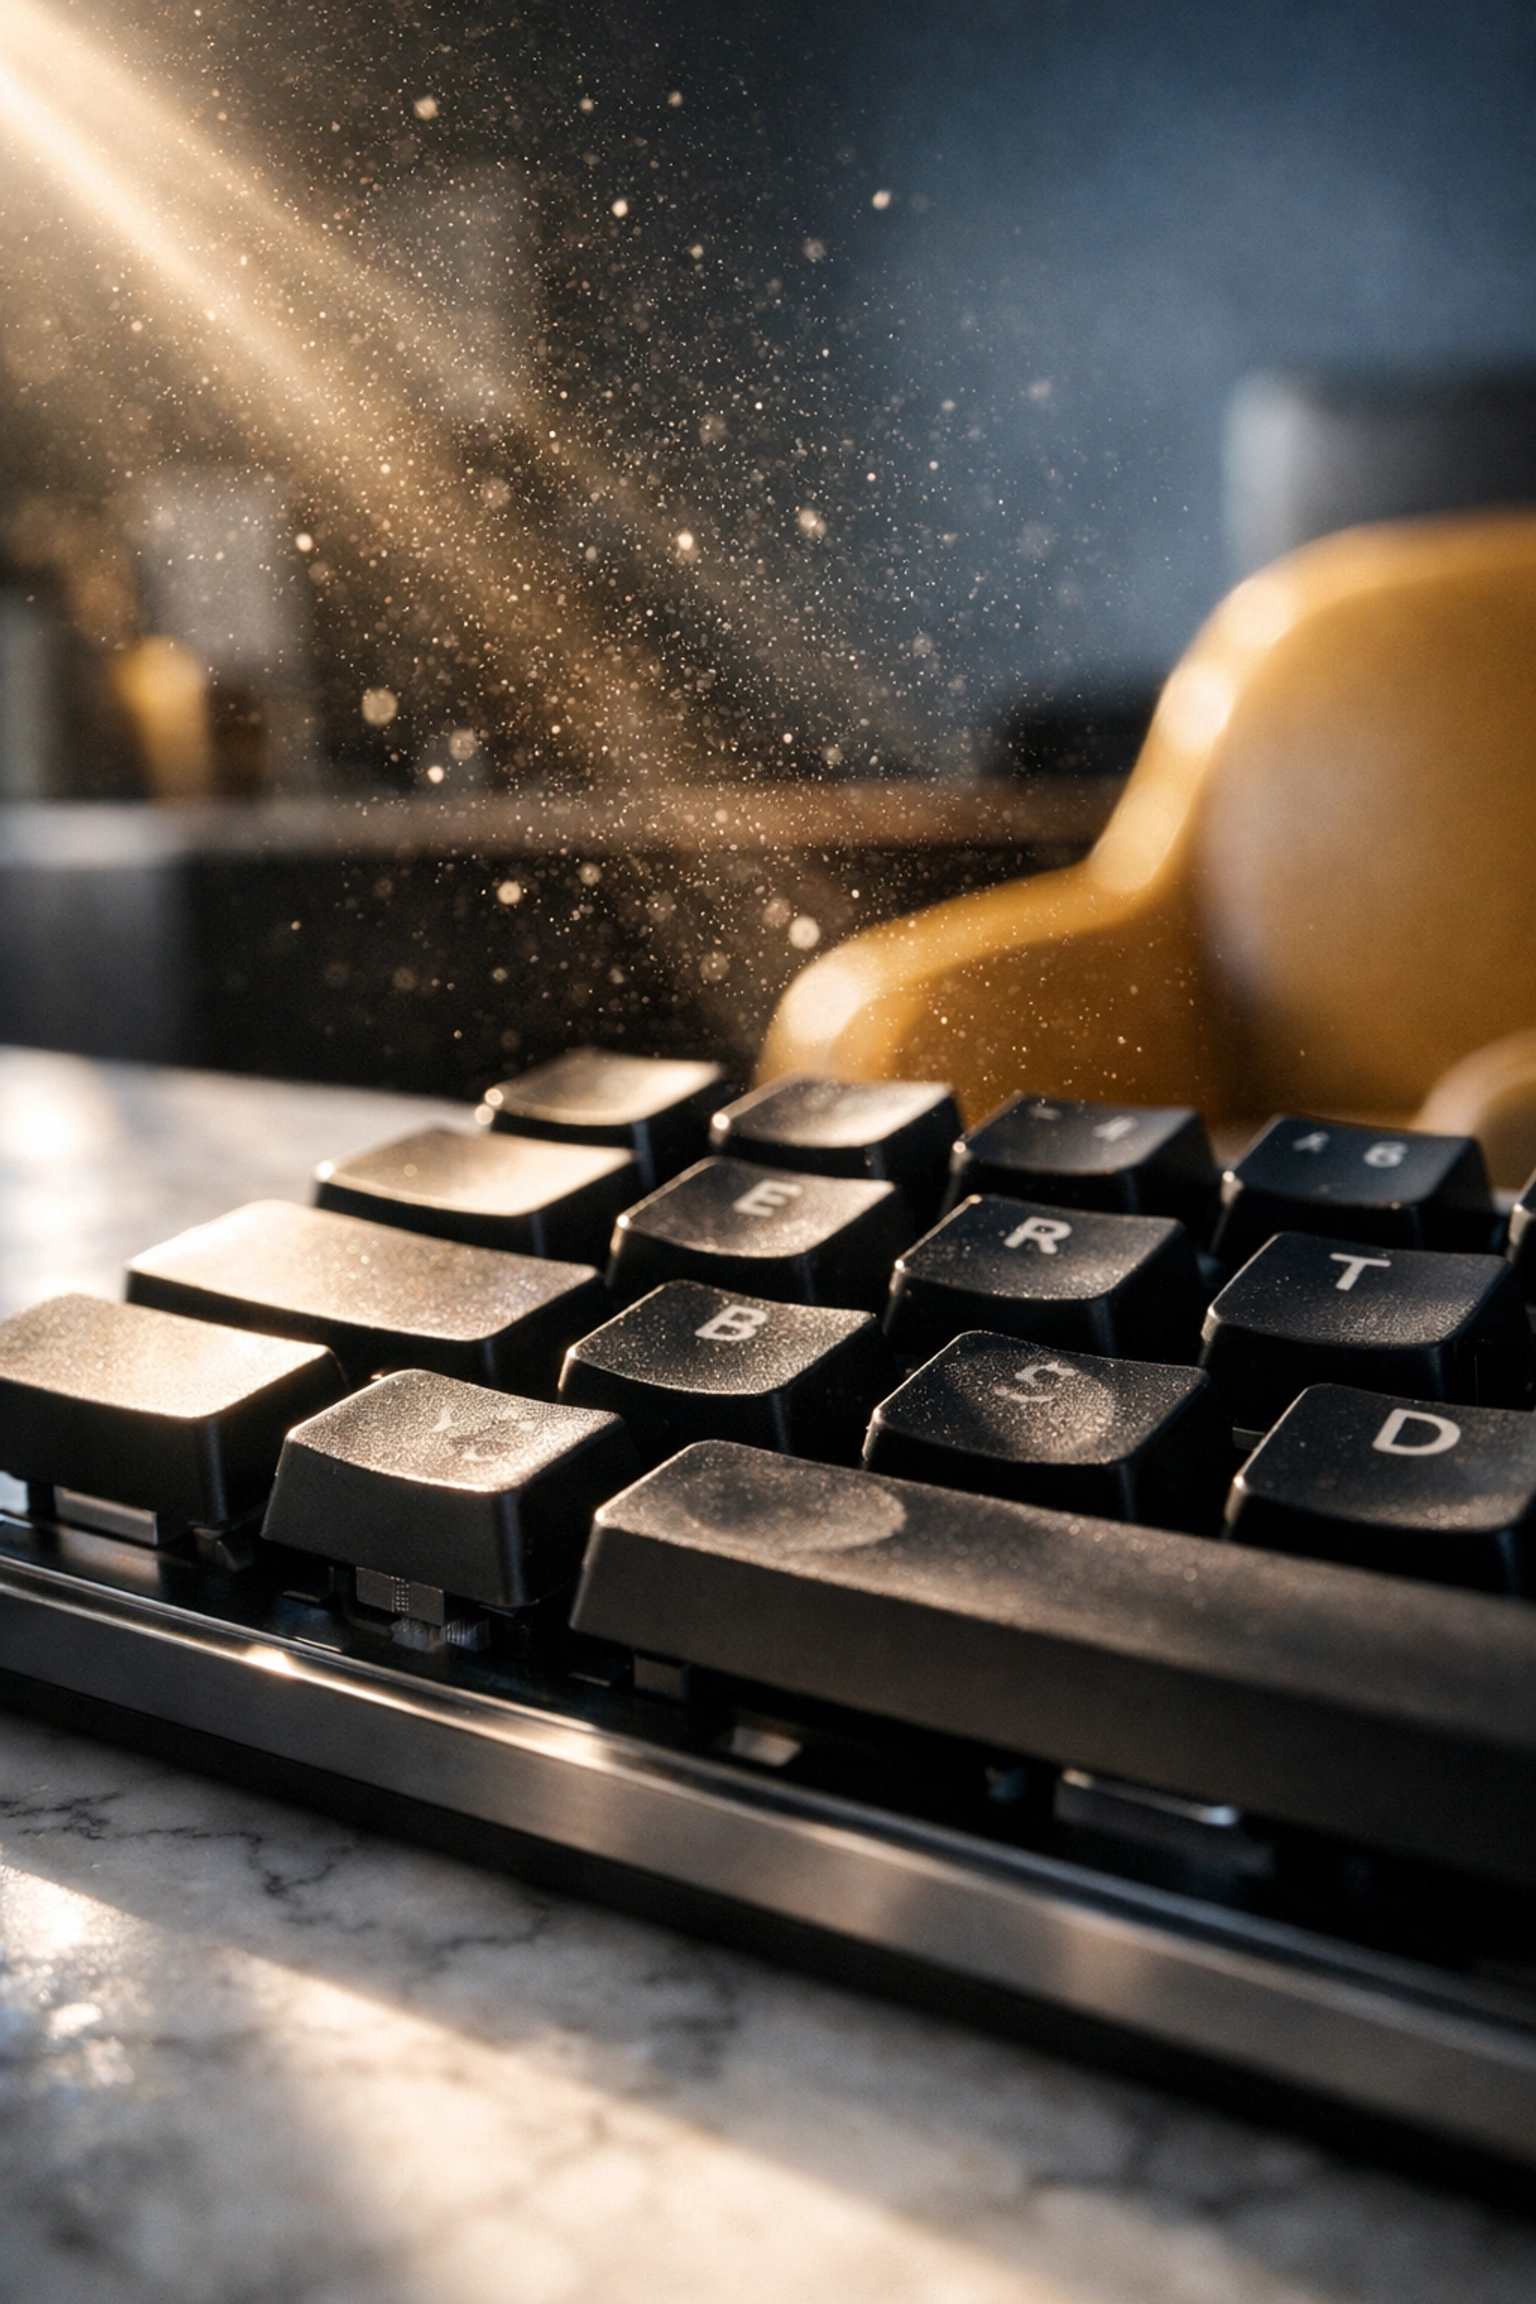
But here’s the reality check: your keyboard is likely one of the germiest things you touch all day. At The Cleaning Ninjas Inc, we’re all about the details that keep your space healthy, and your tech is no exception. Research has shown that a standard office keyboard can harbor up to 400 times more bacteria than a toilet seat. Gross, right? It’s not just dust and crumbs; keyboards are magnets for multiresistant germs like MRSA.
Since we’re all spending so much time at our desks these days, we’ve put together the ultimate guide on how to sanitize your keyboard safely without frying the electronics. Let’s dive into the grime-fighting steps!
Why Your Keyboard is a Bacteria Hotspot
Before we get into the "how," let’s talk about the "why." Think about everything your hands touch in a day, door handles, your phone, gas station pumps, the office coffee pot. Then, you sit down and start typing.
Every time you hit a key, you’re transferring skin oils, sweat, and whatever germs you picked up earlier. Those oils act like a glue, trapping dust, pet hair, and food particles. This creates a cozy little ecosystem where bacteria thrive. Because keyboards have so many nooks and crannies, standard quick wipes often miss the deep-seated junk living underneath the keys.
If you’re sharing a computer or working in a hot-desking environment, the risk of cross-contamination skyrockets. That’s why a deep sanitize isn’t just about aesthetics; it’s about your health.
Step 1: The Safety Lockdown
Before you even think about grabbing a cleaning cloth, you need to power down. Water and electricity are famously bad roommates.
- For Wired Keyboards: Unplug the USB cable from your computer.
- For Laptops: Shut the laptop down completely and unplug the charging cable. If your laptop has a removable battery, pop that out too.
- For Wireless/Bluetooth Keyboards: Turn the device off and remove the batteries.
Working on a powered-on device isn't just a risk to the hardware; you also don't want to accidentally send a gibberish email to your boss while you’re scrubbing the "Enter" key!
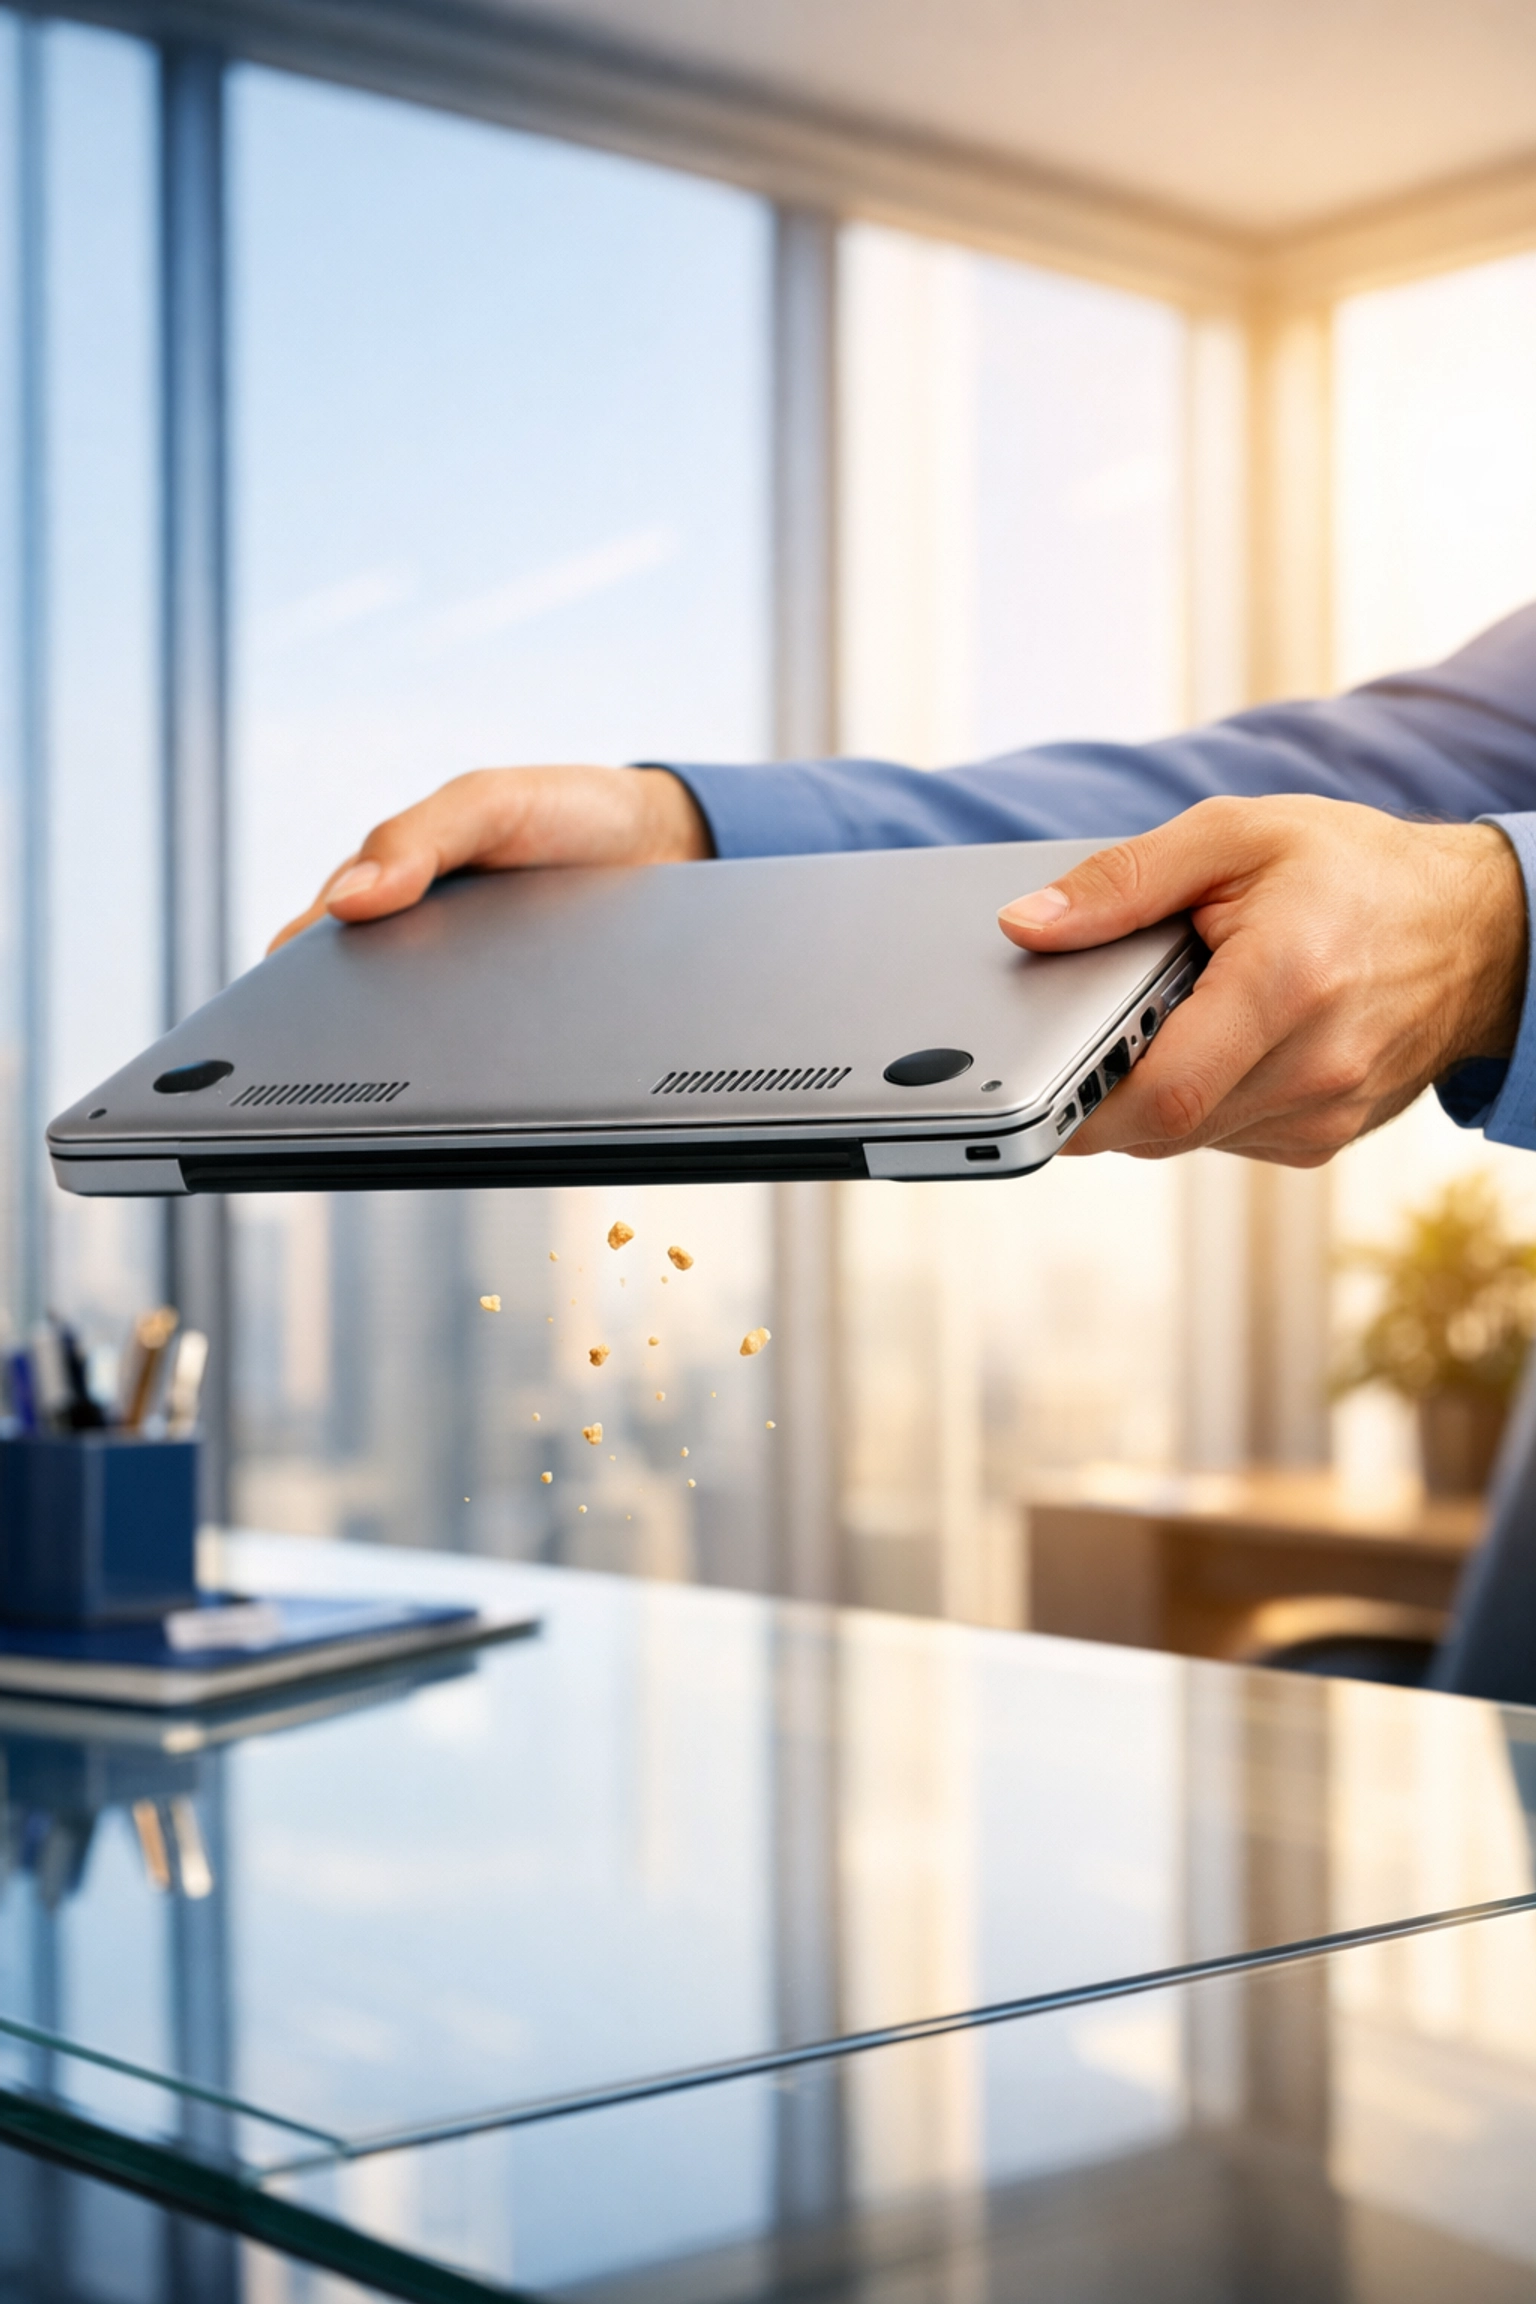
Step 2: The Mechanical Shake-Down
The first step in any good cleaning job is removing the "big stuff." You’d be surprised what falls out of a keyboard when you give it a little gravity-assisted help.
Take your keyboard (or laptop) over a trash can. Flip it upside down and give it some very gentle taps and shakes. You’ll probably see a flurry of crumbs, dust bunnies, and maybe that lost staple from 2023.
Ninja Tip: If you have a can of compressed air, this is the time to use it. Hold the keyboard at an angle and spray the air in short bursts between the rows. Pro Tip: Never shake the compressed air can, and don't hold it upside down, or you might spray freezing liquid onto your delicate electronics.
Step 3: Your Grime-Fighting Kit
You don’t need a chemistry lab to clean your keyboard, but you do need the right supplies. Using the wrong chemicals can actually melt the plastic or rub the letters right off your keys.
What to use:
- 70% Isopropyl Alcohol: This is the gold standard. It kills germs effectively and evaporates almost instantly, which reduces the risk of moisture damage.
- Lint-Free Microfiber Cloths: These won't leave behind fuzzy bits that get stuck under the keys.
- Cotton Swabs (Q-tips): Essential for reaching the sides of the keys and the tight spaces in between.
- A Flashlight: To inspect your work and make sure no crumbs are hiding in the shadows.
What to avoid:
- Bleach or Ammonia: Way too harsh for plastic.
- Abrasive Scrubs: These will scratch your keys and make them look dull.
- Water (on its own): It doesn't disinfect well and takes too long to dry, increasing the risk of a short circuit.
- Spraying Directly: Never, ever spray a liquid directly onto your keyboard.
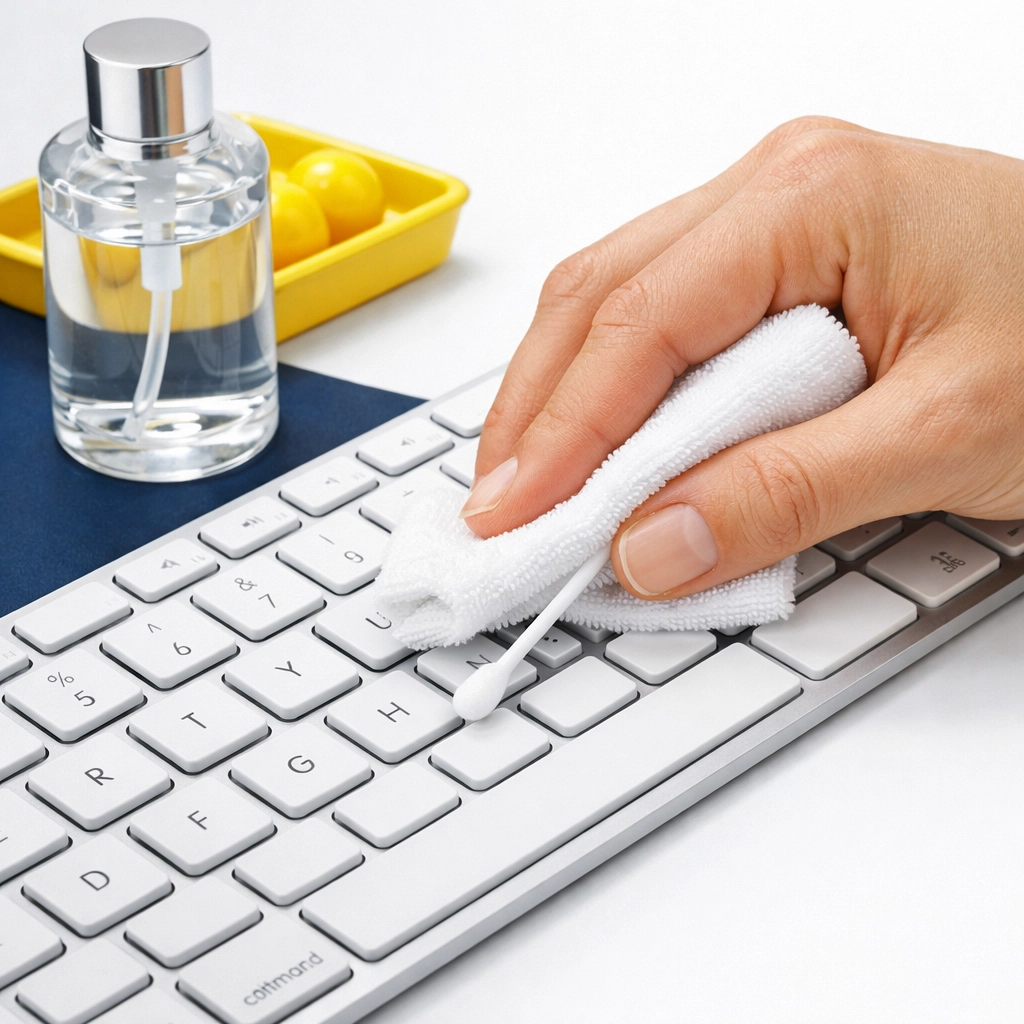
Step 4: Sanitizing the Surface
Now for the main event. Dampen your microfiber cloth with the isopropyl alcohol. The keyword here is damp, not dripping. You want enough alcohol to kill germs, but not so much that it pools and drips into the internal circuitry.
Wipe down the tops of all the keys. Pay special attention to the "high-traffic" areas: the spacebar, the enter key, and the WASD keys if you’re a gamer. These are usually the areas with the most visible "shine" (which is actually a mix of worn plastic and finger oils).
After the tops are done, use your cotton swabs. Dip a swab in the alcohol and run it along the sides of each key and the channels between them. Replace the swab as soon as it looks grey or dirty.
Step 5: Don’t Forget the "Backstage"
While the keys get all the attention, the rest of the keyboard needs love too. Wipe down the frame of the keyboard, the underside, and even the cable if it’s a wired model. Cables are notorious for collecting sticky dust that regular dusting doesn't touch.
If you’re cleaning a laptop, be extra careful around the trackpad. Use a very lightly dampened cloth and avoid getting any moisture in the seams around the click buttons.
Step 6: The Waiting Game
This is the most important step: Let it dry completely.
Even though isopropyl alcohol evaporates quickly, moisture can still get trapped in the tight spaces under the keycaps. We recommend waiting at least 10 to 15 minutes before plugging it back in or turning it on. If you really went deep with the cleaning, give it half an hour. It’s a great time to go grab a coffee or check out some of our other cleaning tips.
How to Keep it Clean (The Ninja Way)
Now that your keyboard is sparkling and germ-free, how do you keep it that way?
- The "No-Food" Zone: We know it’s hard, but try to keep snacks away from your workspace. If you must eat at your desk, push your keyboard back or cover it.
- Wash Your Hands: It sounds simple, but washing your hands before you start work drastically reduces the amount of oil and bacteria you transfer to your tech.
- The Daily Wipe: Keep a pack of electronics-safe disinfectant wipes in your desk drawer. A quick 10-second wipe at the end of every day prevents the "grime-glue" from ever forming.
- Use a Cover: If you work in a dusty environment, a silicone keyboard cover can be a lifesaver. You can peel it off and wash it with soap and water whenever it gets dirty.

When to Call in the Pros
Cleaning your tech is a great Saturday morning project, but when it comes to the rest of your home or office, you might want a little more backup. At The Cleaning Ninjas Inc, we pride ourselves on being the experts in professional, friendly cleaning services. Whether it’s a deep dive into your living room or keeping your office space pristine, we’ve got the tools and the "ninja" skills to get it done.
If you want to learn more about who we are, feel free to head over to our About Us page. And if you’re ready to see what a professional touch can do for your space, check out our services.
Your keyboard is your connection to the digital world: keep it clean, keep it safe, and keep on typing! Stay tuned for more tips from The Cleaning Ninjas Inc to keep every corner of your life as fresh as your "F5" key.
Happy cleaning!
