

Hey there, kitchen warriors! If you’ve ever looked up while flipping a pancake and realized the underside of your range hood looks like it’s been through a deep-fryer battle, don't worry, you’re not alone. Here at The Cleaning Ninjas Inc, we see it all the time. That sticky, yellow-brown film is the calling card of a hardworking kitchen, but it’s also something that can seriously slow down your home’s air filtration and even become a fire hazard if left too long.
When you’re juggling a busy life, things like the range hood filter often fall to the bottom of the to-do list. Whether you’re a fan of a consistent weekly house cleaning routine or you prefer the rhythm of a bi weekly house cleaning schedule, the range hood is one of those "hidden" spots that truly defines a deep-clean feel. Today, we’re pulling back the curtain on one of our favorite "Ninja Tips": The Range Hood Degreaser Trick.
Why Your Range Hood Filter is the Unsung Hero
Before we get into the "how," let's talk about the "why." Your range hood is designed to pull smoke, steam, and, most importantly, airborne grease out of your kitchen while you cook. The filter is the frontline defense. Its job is to catch that grease before it makes its way into your ductwork.
When that filter gets clogged, a few things happen:
- Your fan has to work harder: This leads to a noisier kitchen and a shorter lifespan for your expensive appliances.
- Lingering smells: That salmon you cooked on Tuesday? If the filter is full, the smell is going to hang around until Saturday.
- Air Quality: A blocked filter means smoke and particulates stay in your air rather than being vented out.
Maintaining this isn't just about aesthetics; it's about the health of your home. In fact, if you want to dive deeper into how regular maintenance affects your environment, check out our post on how weekly house cleaning matters.
The Ninja Degreaser Trick: What You’ll Need
You don’t need harsh, industrial chemicals that make your eyes water to get a professional result. In true Ninja fashion, we use smart combinations of common household items to achieve maximum impact with minimum effort.
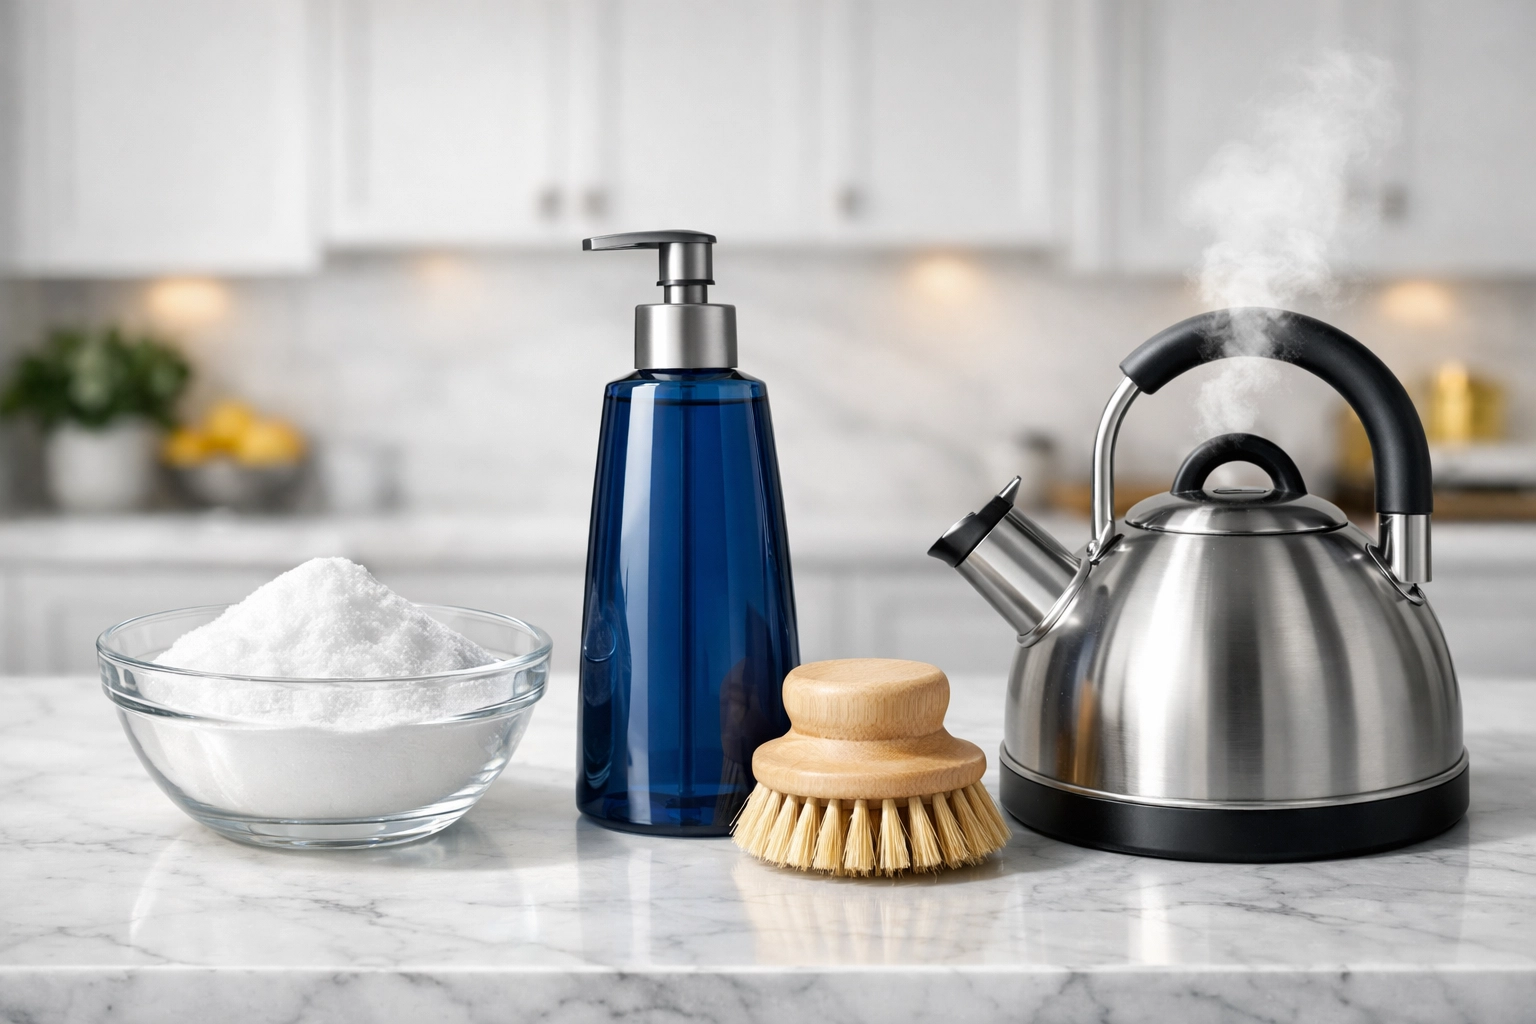
Your Battle Kit:
- Boiling Water: The hotter, the better.
- Baking Soda: About 1/4 cup.
- Degreasing Dish Soap: We highly recommend a high-quality brand like Dawn.
- A Non-Abrasive Scrub Brush: To protect the mesh.
- Paper Towels: For the final dry-down.
Step 1: The Tactical Extraction
First things first: turn off your stove and make sure the range hood fan and lights are completely cool to the touch. Most filters are held in by a small metal loop or a plastic tab. You usually just need to push the tab back or slide the filter toward the rear of the hood to pop it out.
Ninja Pro-Tip: If the filter is really stuck, it’s probably because the grease has acted like glue. Don't force it! A quick spray of a standard kitchen degreaser around the edges can help loosen that "seal" so it slides out without bending the frame.
Step 2: Setting the Trap (The Sink Setup)
While your kettle is boiling, prepare your sink. You want to make sure your sink is clean first, you don't want to be fighting old food particles while you’re trying to degrease!
Plug the drain and squirt a generous amount of degreasing dish soap into the basin. Once the water has reached a rolling boil, carefully pour it into the sink. You want enough water to completely submerge the filters. If you have a double sink, you might only need to fill one side.
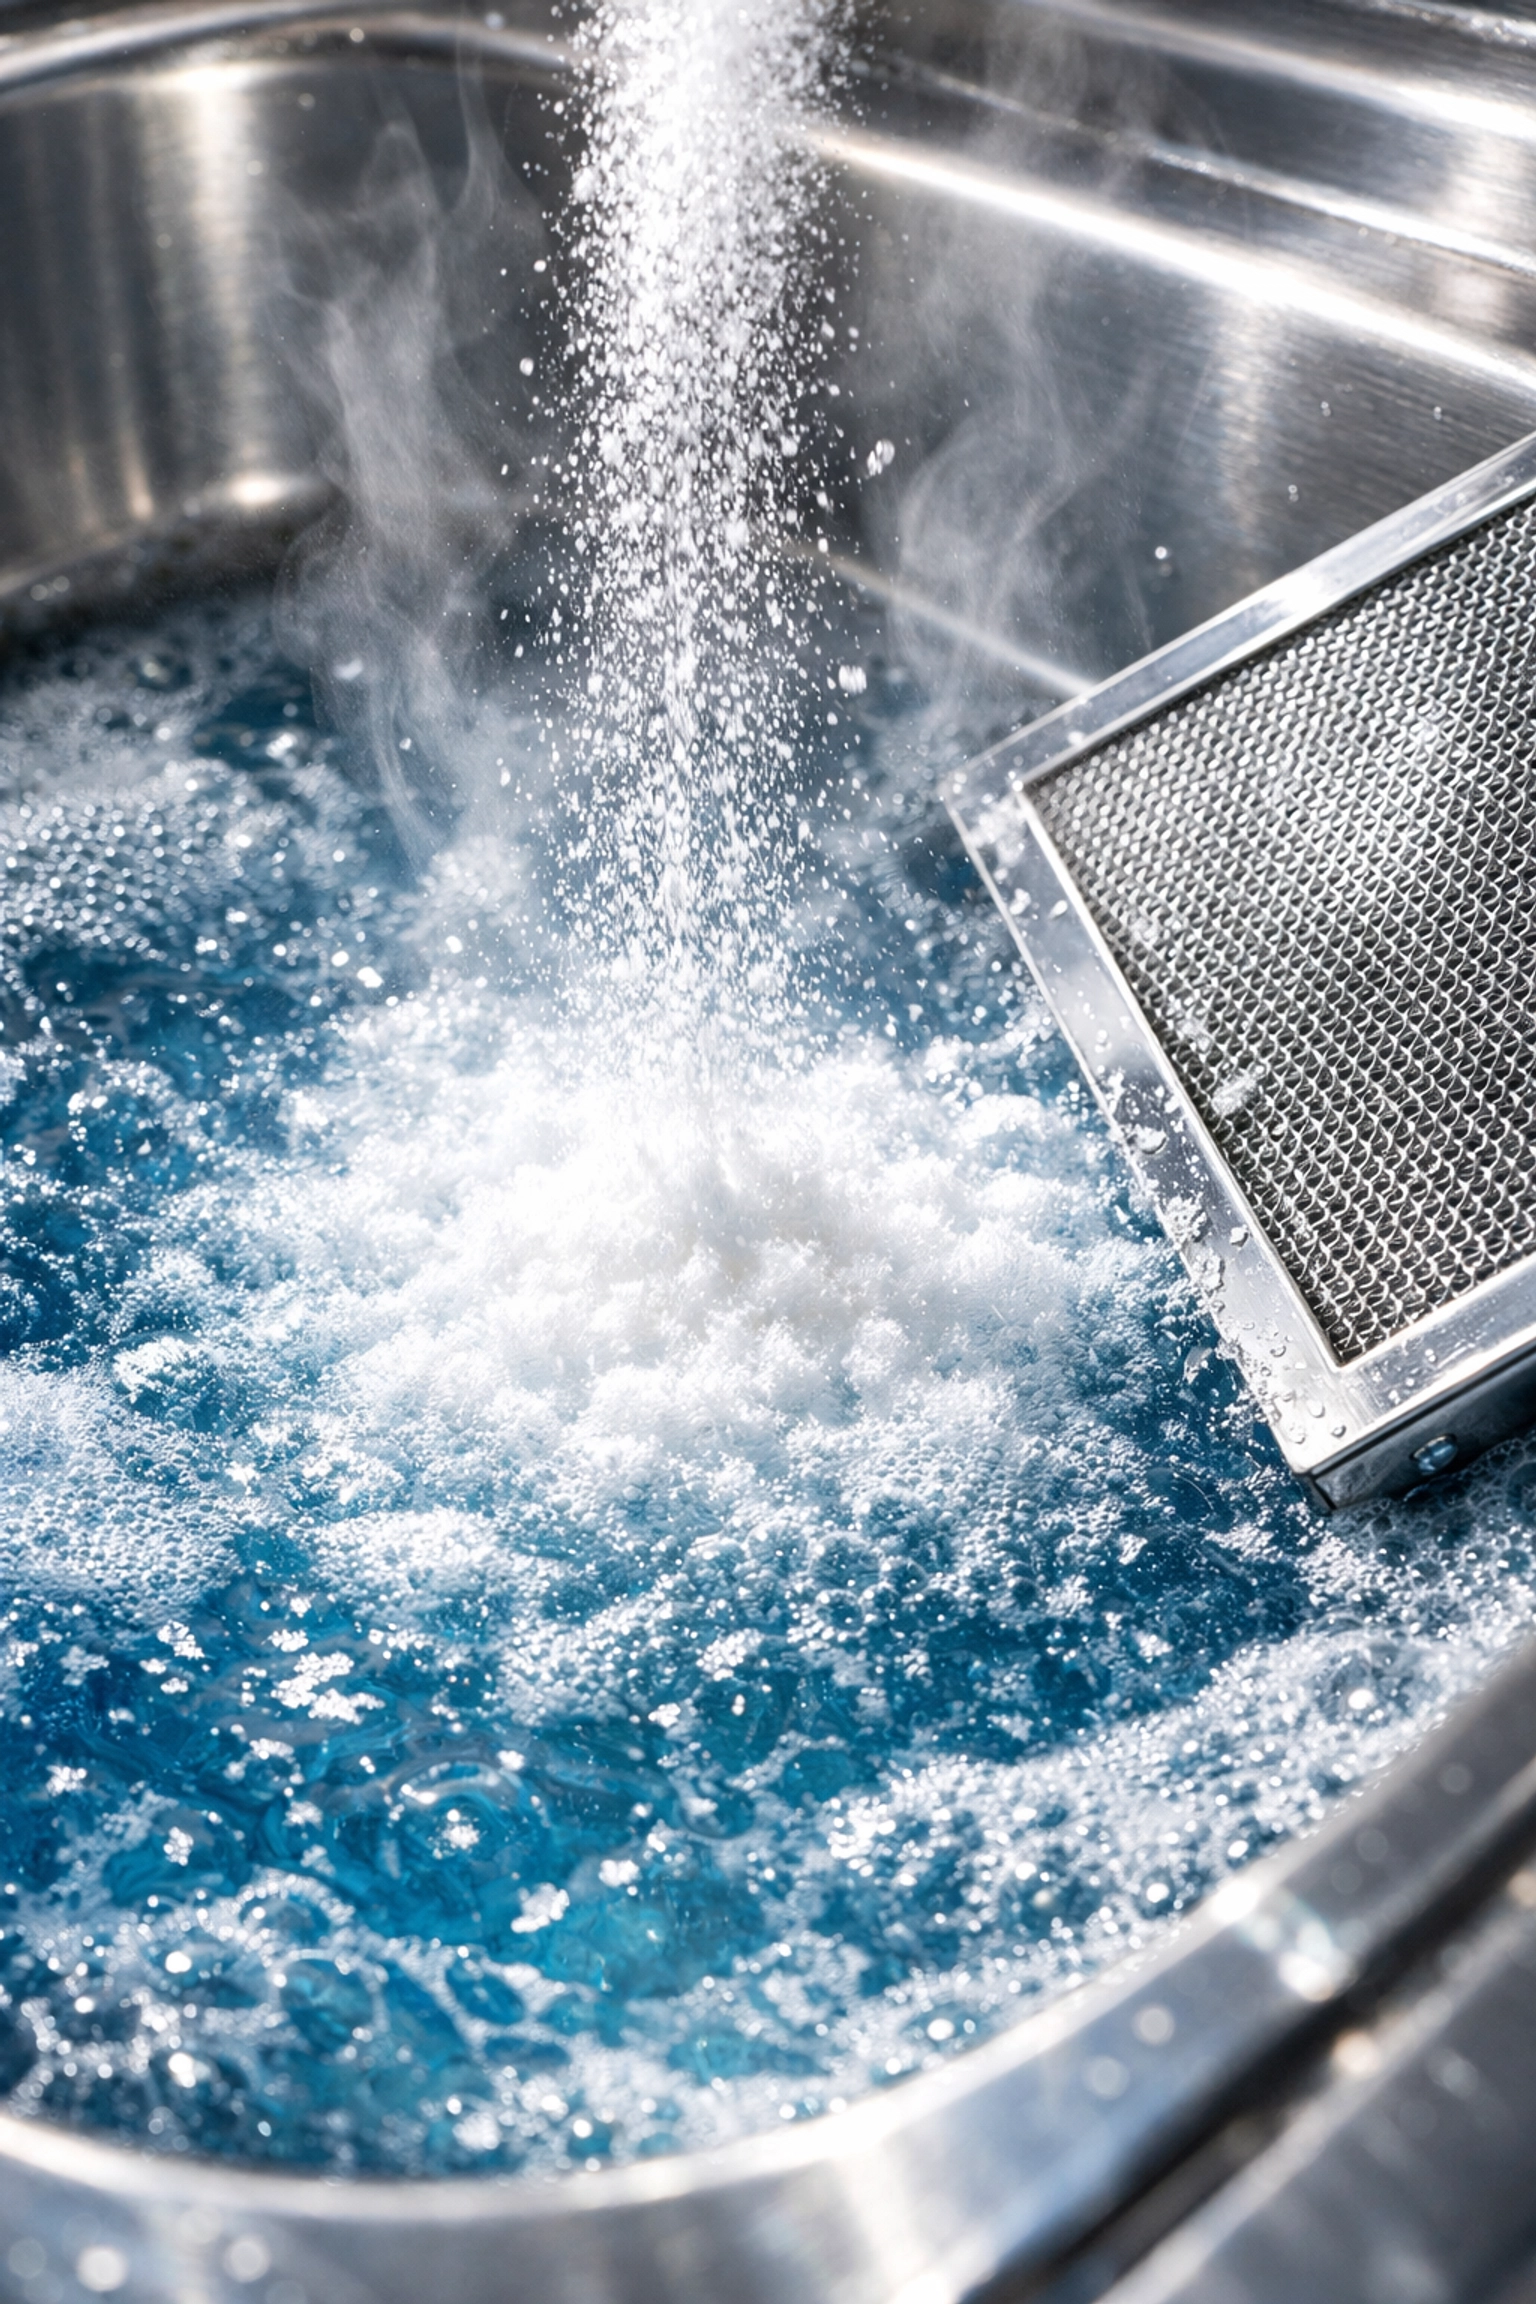
Step 3: The Secret Ingredient
Once the soapy water is ready, it’s time for the "Ninja Sparkle." Slowly pour 1/4 cup of baking soda into the hot, soapy water.
Warning: It will fizz! This is the chemical reaction we want. The combination of the boiling heat, the surfactants in the soap, and the abrasive/alkaline nature of the baking soda starts breaking down the molecular bonds of the grease immediately.
Step 4: The Deep Soak
Slide your filters into the bubbling mixture. Ensure they are fully submerged. Now, here is the hardest part of the whole process: Wait.
You need to let the solution do the heavy lifting. Give it at least 10 to 15 minutes. If your filters haven't been cleaned in a year (hey, no judgment here!), you might want to let them sit for 20-30 minutes. You’ll actually see the water start to turn a murky brown as the grease lifts off the metal mesh and floats to the surface.
Step 5: The Scrub Down
After the soak, the grease should be soft and gummy rather than hard and sticky. Use your non-abrasive brush to gently scrub the mesh. Start from the edges and work your way toward the center.
If there are particularly stubborn spots, apply a drop of straight dish soap directly to your brush and work it in. Because the water was boiling, it might still be quite hot, so you may want to use tongs to flip the filter or wear some sturdy cleaning gloves to protect your hands.
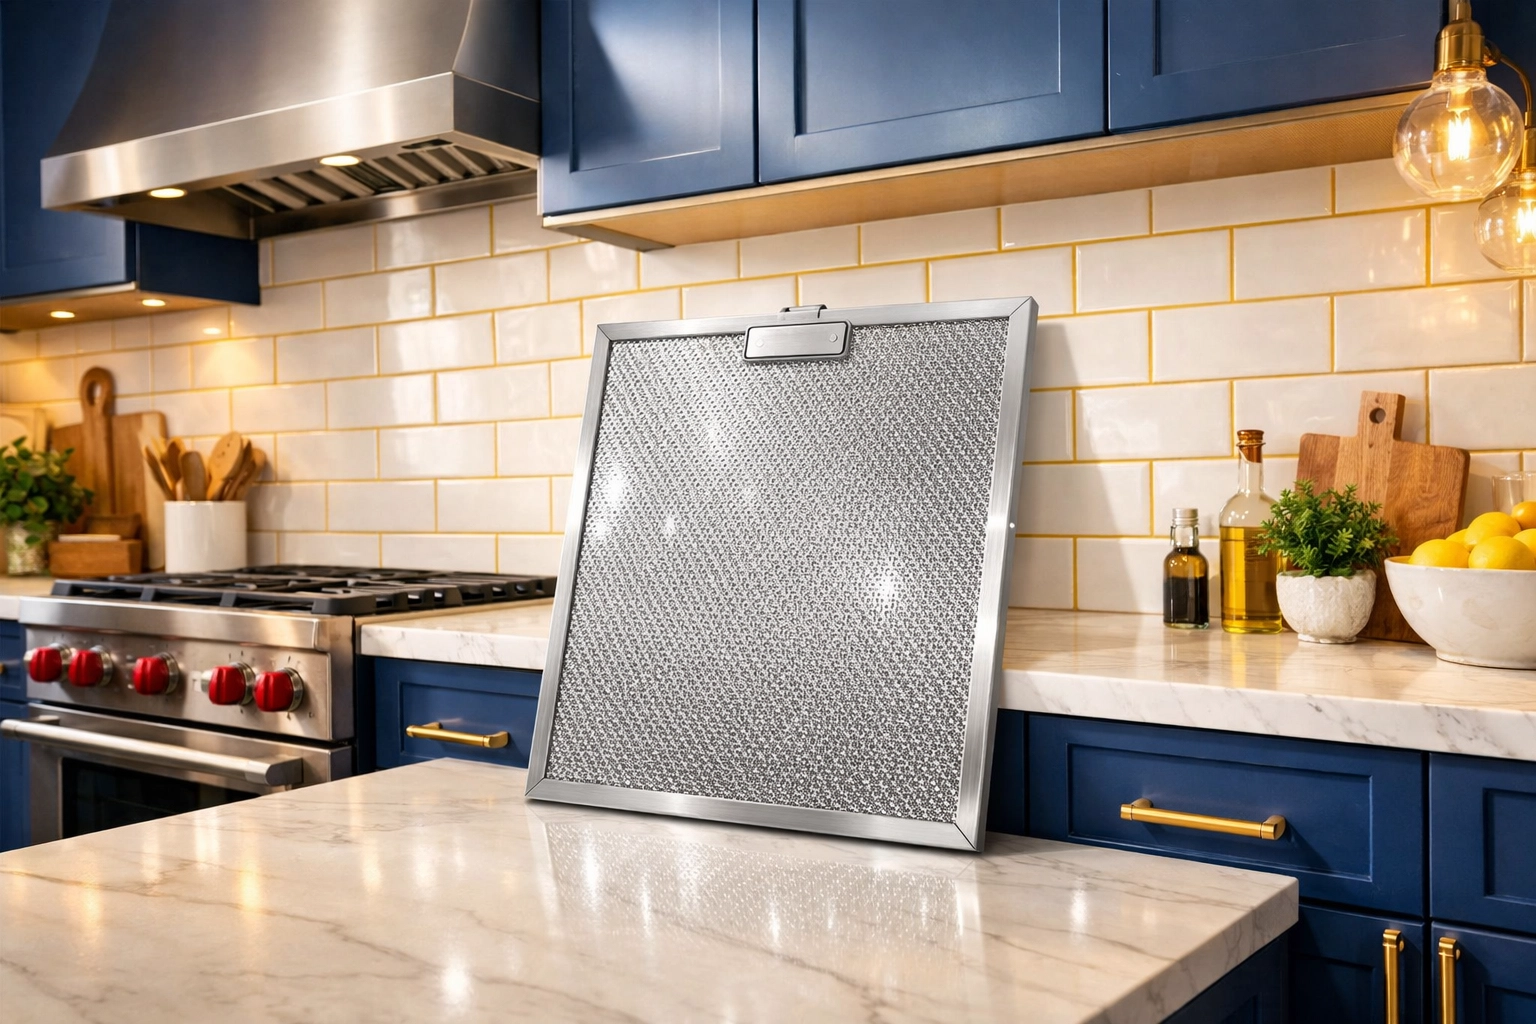
Step 6: Rinse and Victory
Once the mesh looks bright and silver again, rinse the filters thoroughly under a stream of hot tap water. Make sure all the soap and baking soda residue is gone.
Shake them out over the sink to remove excess water, and then lay them on paper towels to air dry completely. Never reinstall a wet filter; moisture trapped in the ductwork can lead to mold issues over time.
Integrating This into Your Cleaning Routine
We often get asked by our clients in Massachusetts whether this should be a part of a weekly house cleaning or if it can wait for a bi weekly house cleaning visit.
The answer depends on how much you cook!
- The Daily Chef: If you’re searing steaks and frying bacon every day, we recommend a quick soak once a month.
- The Weekend Warrior: If you mostly use the microwave or order in during the week, once every three months is usually plenty.
If you’re trying to decide which schedule fits your lifestyle better, take a look at our guide on weekly vs bi weekly house cleaning service. It breaks down the benefits of each to help you stay on top of those "Ninja" tasks without feeling overwhelmed.
When to Call in the Professionals
We get it, life moves fast. Between work, family, and trying to find a spare moment for yourself, deep-cleaning a range hood filter is probably the last thing you want to do on a Saturday morning.
That’s where we come in. At The Cleaning Ninjas Inc, we specialize in the details that make a home feel truly refreshed. Whether it's a one-time deep clean or a recurring bi weekly house cleaning to keep your kitchen in top shape, our team is trained to handle the grime you’d rather not touch.
Our professional cleaning services cover everything from the baseboards to the ceiling fans (and yes, we definitely check those range hood filters!). We pride ourselves on being the most reliable cleaning service in Massachusetts, ensuring that your home isn't just clean on the surface, but "Ninja Clean" at its core.
Final Thoughts
Cleaning your range hood filter might seem like a small task, but the results are immediate. You’ll notice a quieter fan, a fresher-smelling kitchen, and a brighter cooking area. Plus, there is something incredibly satisfying about seeing that silver mesh shine like new again!
If you’re ready to reclaim your weekends and leave the degreasing to us, learn more about us and see how we can transform your home.
Stay clean, stay stealthy, and happy cooking!
Want more Ninja Tips? Browse our full blog for more hacks on keeping your home pristine with ease!


