There is nothing quite like the flicker of a candle to set the mood.
Whether you’re winding down after a long day of work, hosting a dinner party, or just trying to hide the fact that you haven't done the dishes in three days, candles are the ultimate vibe-setters. But then it happens. A rogue breeze, a slightly tilted holder, or a clumsy reach for the remote, and suddenly you have a glob of hardened, pigmented wax stuck to your beautiful mahogany coffee table or your pristine granite countertop.
At The Cleaning Ninjas Inc, we’ve seen it all. From "lava lamp" accidents to birthday cake blowouts gone wrong, wax drips are one of those household nuisances that seem impossible to fix without making a bigger mess. You pick at it with your fingernail, and it just smears. You try to wipe it with a wet rag, and now you have a waxy rag and a shiny smudge on your table.
Don't panic! You don't need a blowtorch or a chisel to fix this. To truly handle wax like a ninja, you need to master the art of "Wax On, Wax Off." In this guide, we’re going to show you how to use temperature contrast: hot and cold: to banish those drips for good.
The Ninja Philosophy: Work Smarter, Not Harder
In the world of professional cleaning, we have a saying: let the science do the work. Candle wax is a thermoplastic, which is just a fancy way of saying it changes its physical state based on temperature. When it’s hot, it’s a liquid. When it’s cold, it’s a brittle solid.
If you are currently on a weekly house cleaning schedule with us, you might have noticed our team catching these little drips before they become permanent fixtures of your home decor. But if you’re tackling a spill mid-week, you need to know which temperature to use and when.

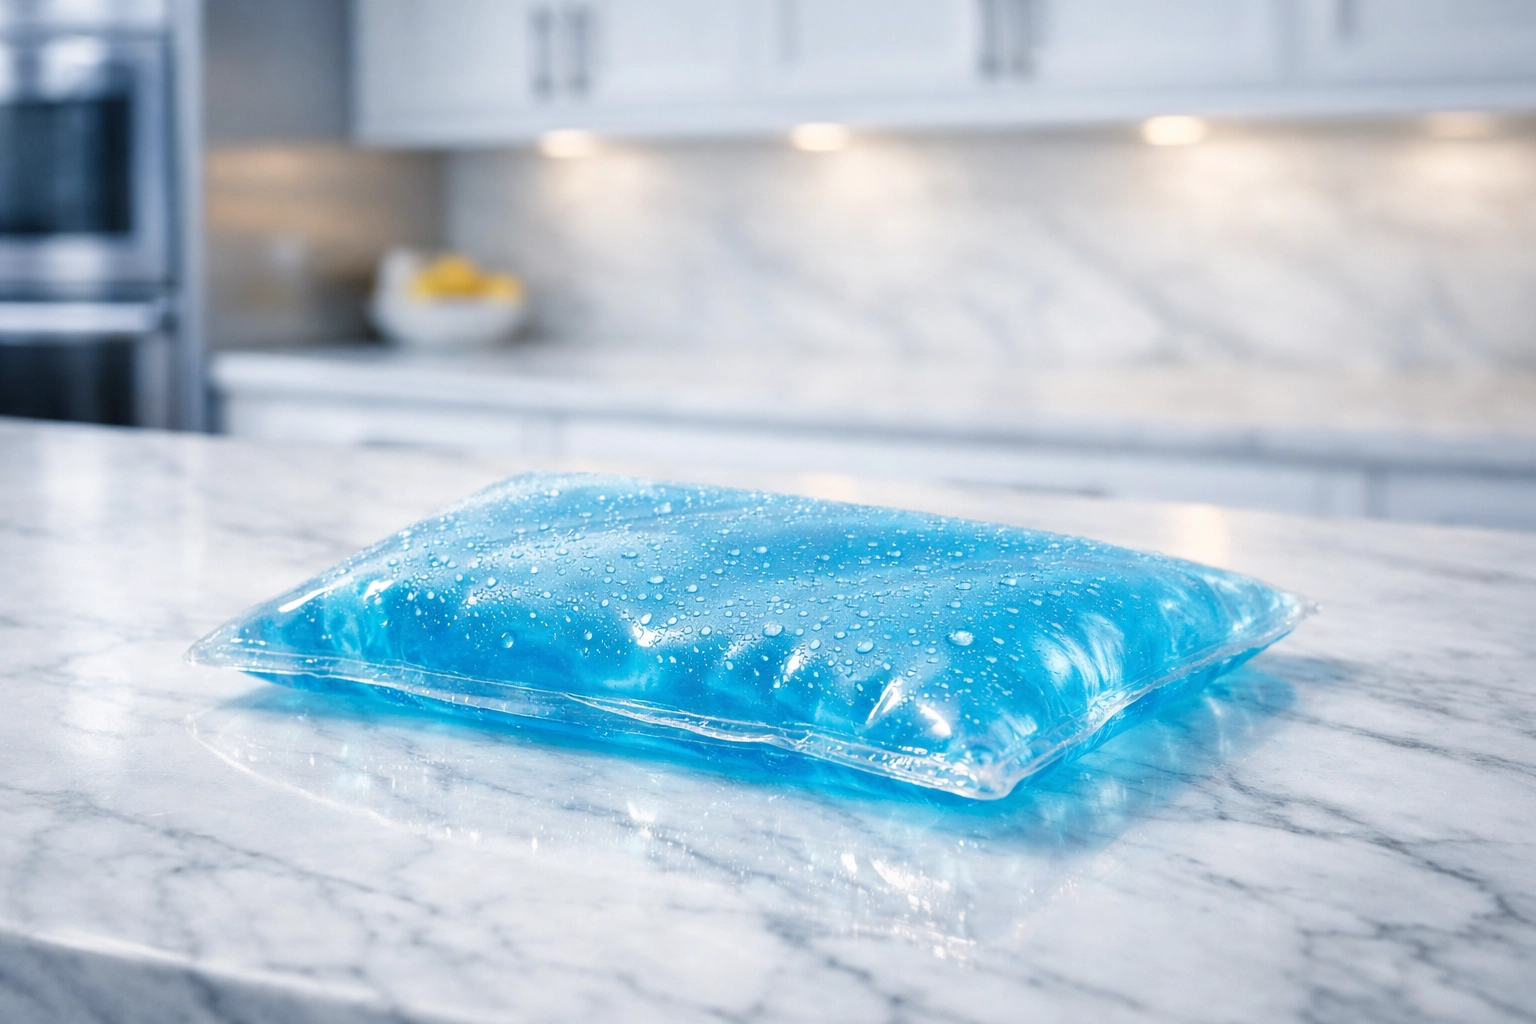
Method 1: The Big Chill (The Ice Pack Hack)
The "Cold Approach" is the safest way to handle wax on hard, non-porous surfaces. This includes things like glass tabletops, stainless steel appliances, glazed ceramics, and sealed wood. The goal here is to make the wax so cold that it loses its grip on the surface.
The Step-by-Step:
- Grab an Ice Pack: Wrap a few ice cubes in a thin towel or use a gel ice pack.
- Apply Pressure: Place the ice directly onto the wax drip. Let it sit there for about 15 to 20 minutes. You want that wax to get "bone-chillingly" cold.
- The Snap Test: Once the wax turns a dull, opaque white and feels hard to the touch, it’s ready.
- The Gentle Pop: Use a plastic scraper, a credit card, or even a sturdy plastic spatula. Never use a metal knife! Metal will scratch your finishes faster than a ninja disappears into a smoke cloud. Gently slide the plastic edge under the corner of the wax. If you’ve frozen it enough, the whole piece should "pop" off in one satisfying chunk.
This method is great for those who have a bi weekly house cleaning routine. It’s a quick fix that keeps your home looking sharp between professional visits.
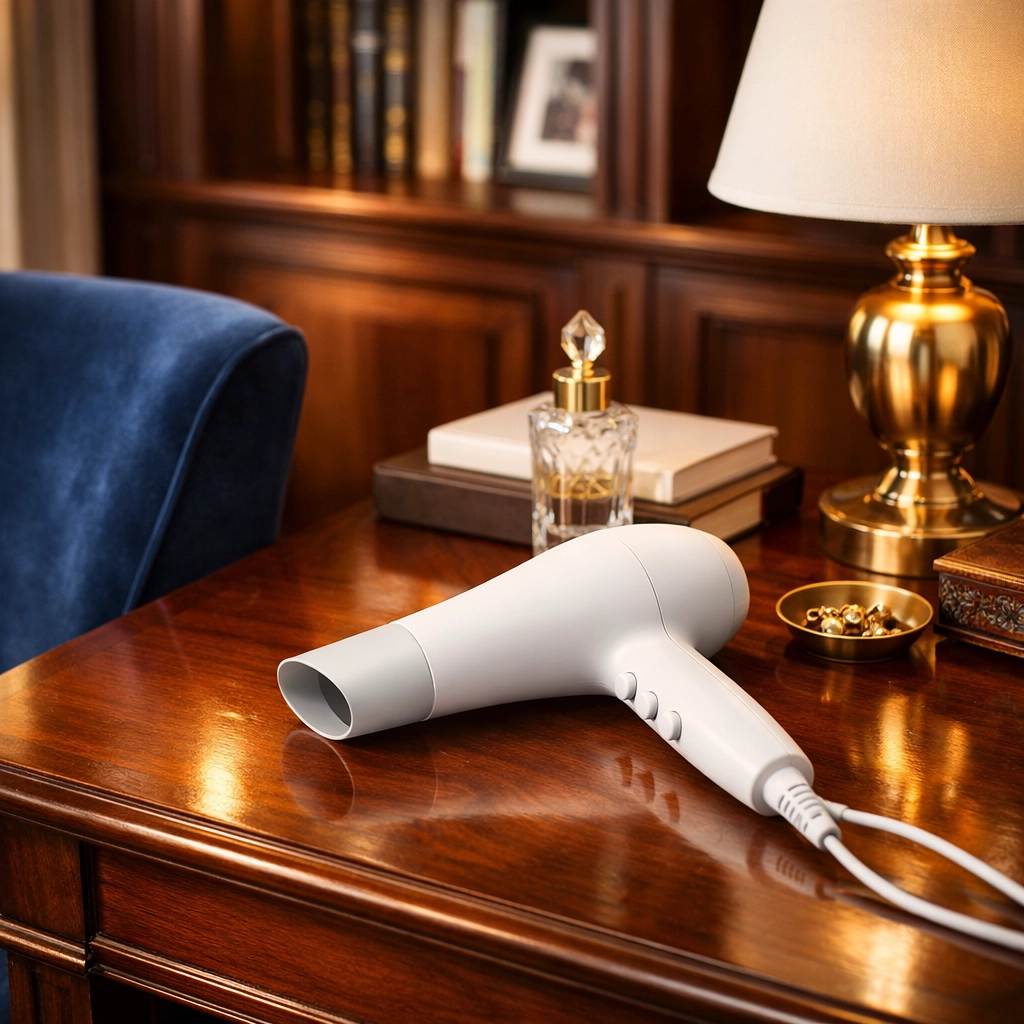
Method 2: The Heat Wave (The Hairdryer Trick)
Sometimes, the cold method isn't the best fit: especially if the wax is spread thin or stuck in a textured area. This is where we turn up the heat.
The Step-by-Step:
- Low and Slow: Grab your hairdryer and set it to the lowest heat setting. You don't want to blast the wax; you want to coax it into melting.
- Distance is Key: Hold the dryer about 6 inches away from the drip. As the wax begins to soften and look shiny, it’s becoming a liquid again.
- The Blotting Technique: Take a soft microfiber cloth or a thick paper towel. As soon as the wax liquefies, blot it up. Do not rub! Rubbing just pushes the wax deeper into the surface or spreads the oil.
- Repeat: Continue heating and blotting until the bulk of the wax is gone.
This method works beautifully on durable surfaces, but be careful with delicate plastics or antique finishes that might react poorly to heat.
Dealing with the "Shadow" (Removing Residue)
Even after the wax is gone, you might notice a greasy "shadow" or a faint ring where the spill was. This is caused by the oils and dyes used in the candle.
To get that surface back to its original glory, you’ll need a mild solvent.
- For Wood: Use a dedicated wood cleaner or a tiny bit of mineral spirits on a soft cloth.
- For Glass or Stone: Isopropyl alcohol (rubbing alcohol) works wonders. It cuts right through the waxy film without leaving streaks.
Always remember to test a small, hidden area first! We want your furniture to shine, not to lose its finish. If you’re ever unsure about a specific surface, that’s exactly what our About Us page is for: to show you that we have the expertise to handle even the most delicate materials in your home.
Why Consistency Matters: Weekly vs. Bi-Weekly Cleaning
We often get asked, "How often should I really be cleaning?" The truth is, wax drips are a perfect example of why our services are so valuable.
When you have a weekly house cleaning plan, wax spills never have time to "cure." They don't have time to bond with the dust in the air or get pressed into the wood by a stack of books. Our ninjas catch these spots during their regular rounds, ensuring your home stays in a "guest-ready" state at all times.
On the other hand, a bi weekly house cleaning schedule is a fantastic "reset" button for your home. It’s great for busy professionals who can handle the day-to-day but want that deep-clean feeling every other week. Whether you choose weekly or bi-weekly, the key is consistency. A clean home isn't just about aesthetics; it's about preserving the value of your furniture and your sanity.
Professional Tips for Candle Lovers
To avoid needing these ninja moves in the future, here are a few pro-tips from the field:
- Trim the Wick: Keep wicks trimmed to 1/4 inch. Long wicks cause flickering, which leads to uneven melting and "leaking" over the side of the candle.
- Draft-Free Zones: Don't place candles near vents, windows, or fans. A steady flame stays contained.
- Use a Coaster: This seems obvious, but putting a decorative plate or coaster under your candles can save your surfaces from accidental overflows.
Let the Ninjas Handle the Heavy Lifting
At The Cleaning Ninjas Inc, we believe your home should be your sanctuary, not another item on your to-do list. While we love sharing these "Ninja Tips" for DIY fixes, we know that life gets busy.
Between work, family, and trying to find five minutes of peace, cleaning often falls to the bottom of the pile. That’s where we come in. From professional office cleaning to comprehensive residential care, we bring the tools, the technique, and the "ninja" focus to every job.
If you’re tired of fighting with wax drips, dust bunnies, and mystery stains, why not give yourself the gift of time? We provide top-tier cleaning services in Massachusetts and are ready to help you reclaim your home.
Whether you need us once a week or once a month, we’re here to make sure your space is spotless. So go ahead, light that candle, relax, and leave the "wax off" part to the experts.

Ready to Experience the Ninja Difference?
Don't wait for a wax disaster to realize you need a hand. Our team is ready to swoop in and save the day. A clean home is a happy home, and a happy home starts with a simple click.
Check out our blog for more tips on keeping your space pristine, or contact us today to set up your first session. Your furniture (and your stress levels) will thank you!