

Let’s be honest: when you’re tackling your chores, window tracks are usually the last thing on your mind. You clean the glass until it’s crystal clear, admire your reflection for a second, and then you look down. There it is. A literal graveyard of dead bugs, dust bunnies, pollen, and that mysterious grey sludge that seems to appear out of nowhere.
Cleaning these narrow, craggy tracks is usually a nightmare. You try to shove a paper towel in there with your finger, but you just end up with a dirty fingernail and a track that’s still 80% filthy. But at The Cleaning Ninjas Inc., we don't believe in "good enough." We believe in precision. That’s why we’re sharing one of our favorite "Ninja Tips" for getting those tracks sparkling without losing your mind.
If you’ve been sticking to a weekly house cleaning routine but skipping the windows, this guide is for you. Here is how to master the "Sponge Hack" and keep your home’s "arteries" flowing smoothly.
Why Window Tracks Matter More Than You Think
You might think, "Who cares? Nobody looks at the tracks anyway." But dirty window tracks aren't just an eyesore; they’re a functional and health hazard.
- Air Quality: Every time you open your window to let in a "fresh" breeze, that air passes over the pile of dust and allergens sitting in the track.
- Window Longevity: Dirt and grit act like sandpaper. Every time you slide the window open, that grit grinds down the rollers and the track itself. Eventually, your window becomes a struggle to open.
- Water Drainage: Most window tracks have tiny "weep holes" designed to let rainwater drain out. If these are clogged with mud, water can back up into your walls, leading to mold and rot.

The Ultimate Ninja Tool: The Custom-Fit Sponge
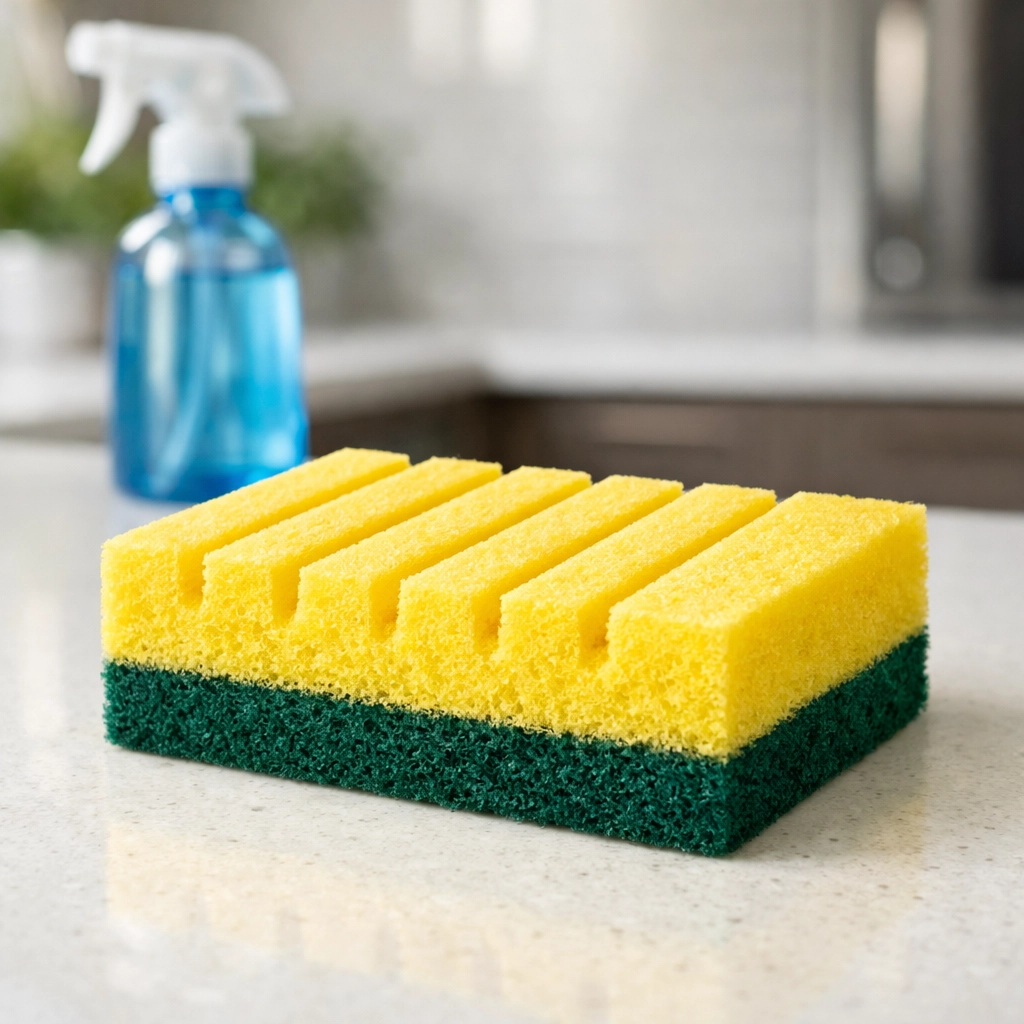
Forget the expensive "track cleaning brushes" you see in late-night infomercials. The best tool for this job is likely sitting under your kitchen sink right now: a standard yellow-and-green scrub sponge.
By customizing the sponge to fit your specific window model, you create a tool that gets into every nook and cranny in a single swipe.
Supplies You’ll Need:
- A fresh scrub sponge (the kind with the abrasive green side).
- A permanent marker.
- A utility knife or box cutter.
- A vacuum with a crevice attachment.
- A spray bottle with a 50/50 mix of water and white vinegar.
Step 1: The Pre-Game Vacuum
Before you even touch a liquid cleaner, you need to get the "dry" stuff out. If you spray cleaner onto a track full of loose dust and hair, you’re just making mud. Use your vacuum’s crevice tool to suck up the big chunks, dead insects, and loose dirt. For the really tight corners, a small paintbrush can help loosen the dust so the vacuum can grab it.
Step 2: Marking the "Map"
Place your sponge horizontally across the window track. Using your permanent marker, draw a line on the side of the sponge wherever there is a raised rail in the track. You’re essentially mapping out the "valleys" and "peaks" of your window frame onto the sponge.

Step 3: The Surgical Cut
Take your utility knife and cut slits into the sponge along the lines you just drew. You want to cut about halfway through the thickness of the sponge. Do not cut all the way through! The goal is to create grooves that allow the sponge to "hug" the rails of the track.
Step 4: The Ninja Swipe
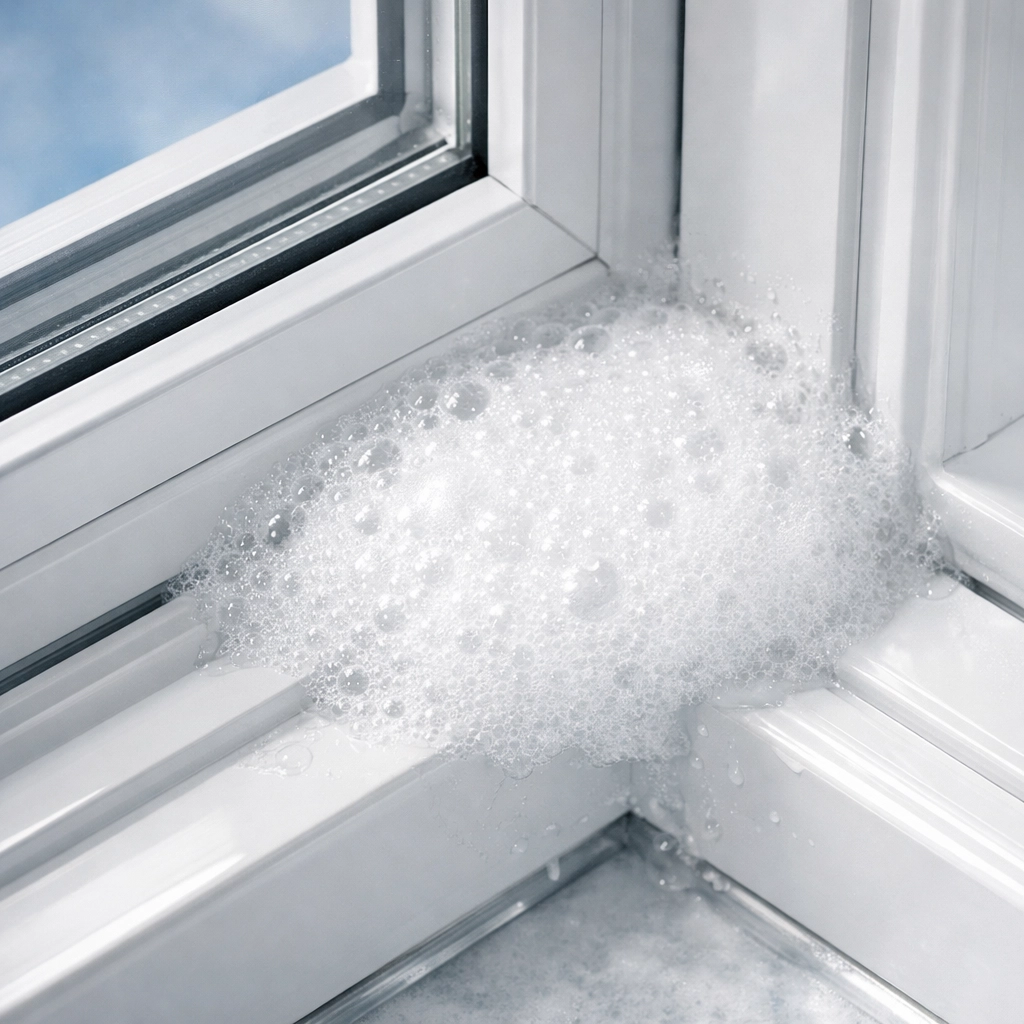
Lightly dampen the sponge with your vinegar solution. You don’t want it dripping wet, just damp enough to grab the dirt. Align the grooves you cut with the rails of the window track and press down. Now, slide the sponge from one end of the track to the other.
Because the sponge is now perfectly contoured to your specific window, it will wipe the tops of the rails and the bottom of the tracks simultaneously. It’s incredibly satisfying to see all that grime get trapped in the sponge in one motion!
Deep Cleaning the "Stubborn" Spots
Sometimes, a simple swipe isn't enough, especially if it’s been a while since your last deep clean. If you’ve skipped your bi weekly house cleaning for a few months, you might encounter some hardened "window crust."
For these areas, sprinkle a little bit of baking soda into the track and then spray it with your vinegar solution. Let it fizz for a minute or two. This chemical reaction helps break up the organic matter. Once the fizzing stops, use an old toothbrush to agitate the area, then go back in with your custom sponge to wipe it all away.
Don't Forget the Weep Holes!
As mentioned earlier, those tiny drainage holes are vital. While you have the sponge out, check to see if they are clear. If they’re plugged, you can use a pipe cleaner or a small piece of wire to gently poke through the debris. Test them by pouring a tiny bit of water into the track; if it disappears quickly and drains outside, you’re in the clear!
Finishing Touch: The Secret Lubricant
Once your tracks are clean and dry, you want to make sure the window slides like it’s on ice. Avoid using WD-40 or oil-based lubricants, as these actually attract dust and will turn your clean tracks into a sticky mess in no time.
Instead, use a silicone-based spray. Spray a small amount onto a clean cloth and wipe it along the tracks. This creates a slick, dry surface that prevents dirt from sticking and makes opening the window effortless.
When to Call in the Ninjas
We get it, life is busy. Between work, family, and trying to find a spare second to relax, spending your Saturday afternoon cutting sponges and scrubbing window tracks might not be on your "fun" list.
Maintaining a home requires consistency. That’s why many of our clients opt for weekly house cleaning to ensure that small tasks like this don't pile up into a massive weekend project. If a weekly visit feels like too much, a bi weekly house cleaning schedule is a fantastic middle ground that keeps the dust at bay and ensures your home stays healthy and breathable.
At The Cleaning Ninjas Inc., we take pride in these little details. We don't just "surface clean"; we look for the hidden grime that others miss. Whether it's the tracks of your sliding glass door or the dust on top of your ceiling fans, we approach every home with a ninja’s focus and a friend’s care.
Final Thoughts on Window Maintenance
Clean windows do more than just improve your view; they change the "feel" of a room. When the sunlight hits a clean window and the tracks are free of debris, the whole space feels lighter and more energized.
If you're ready to reclaim your weekends and leave the "sludge" to the professionals, we’d love to help. You can learn more about our philosophy on our About Us page or dive deeper into the various ways we can transform your space by checking out Our Services.
Remember, a clean home isn't just about appearances, it's about creating a sanctuary where you can truly relax. So, grab a sponge, channel your inner ninja, and get those windows sliding smooth! Or, you know, just give us a call. We’ve already got our sponges ready.
Summary Checklist for Your Next Cleaning Day:
- Vacuum first: Never wet the dust!
- Custom sponge: Mark and cut your sponge for a 100% fit.
- Vinegar & Water: The eco-friendly way to cut through grime.
- Check weep holes: Prevent water damage before it starts.
- Silicone spray: Keep things sliding without the sticky residue.
Happy cleaning, and may your tracks always be grime-free! 🥷✨🧹


