

There is nothing quite like that first Saturday in spring when the temperature finally hits sixty degrees, the birds are chirping, and you decide it is finally time to throw open the windows. You reach for the latch, slide the sash up, and take a deep breath: only to realize that the "fresh" air is passing through a thick, gray layer of dust, pollen, and dead bugs.
At The Cleaning Ninjas Inc, we call this the "Screen Barrier." It is that invisible-until-it-isn’t layer of grime that accumulates on your window screens throughout the winter and fall. While many people remember to wipe down the glass, the screens are often the forgotten heroes of home maintenance. They keep the pests out and let the breeze in, but they also act as a giant air filter for your home. If your screens are dirty, your indoor air quality is taking a hit.
In this edition of our Ninja Tips, we are diving deep into the art of the Window Screen Scrub. We want you to let the fresh air in without the side of dust. It is a simple process, but doing it right requires a gentle touch and a few insider tricks to ensure you don’t end up with bent frames or torn mesh.
Why Your Screens Need a Ninja Level Clean
Think of your window screens as the "mask" your house wears. Over time, that mask gets clogged. Rain brings down atmospheric dust that sticks to the mesh. Pollen seasons coat them in yellow powder. Spiders decide the corners are the perfect place for a high-rise apartment. If you suffer from seasonal allergies, dirty screens are often the culprit for why your "fresh air" makes you sneeze.
Cleaning your screens isn't just about aesthetics; it is about longevity. Dirt and salt (if you live near the coast) can actually corrode certain types of mesh over time. A regular scrub keeps the frames moving easily and the mesh looking transparent rather than foggy.
Step 1: The Great Screen Removal
Before you reach for the hose, you have to get the screens out. This is where most people run into trouble. Window screens can be finicky, and forcing them is a one-way ticket to a hardware store for replacements.
Most modern screens are held in by tension springs, plunger pins, or plastic tabs.
- Tabs: Usually located at the bottom. You pull them inward or upward to lift the screen out of the track.
- Plunger Pins: These are small metal pulls that you retract to release the screen.
- Tension Springs: These are hidden in the top of the frame. You usually have to push the screen upward into the top track to clear the bottom lip.
Ninja Tip: If you are doing the whole house at once, label your screens! It might look like all your windows are the same size, but trust us, they aren't. Use a small piece of painter’s tape and a sharpie to mark "Kitchen Left" or "Master Bedroom South" on the edge of the frame. You’ll thank yourself later when you aren’t playing a giant game of Tetris trying to put them back.

Step 2: Setting Up Your Cleaning Station
Don’t try to clean screens while they are still in the window. You’ll just end up pushing dirt onto the glass you just cleaned, or worse, soaking your interior sills and carpets. Find a flat, clean area outside: a driveway, a patio, or even a patch of clean grass. If you’re in an apartment, the bathtub is your best friend.
You will need:
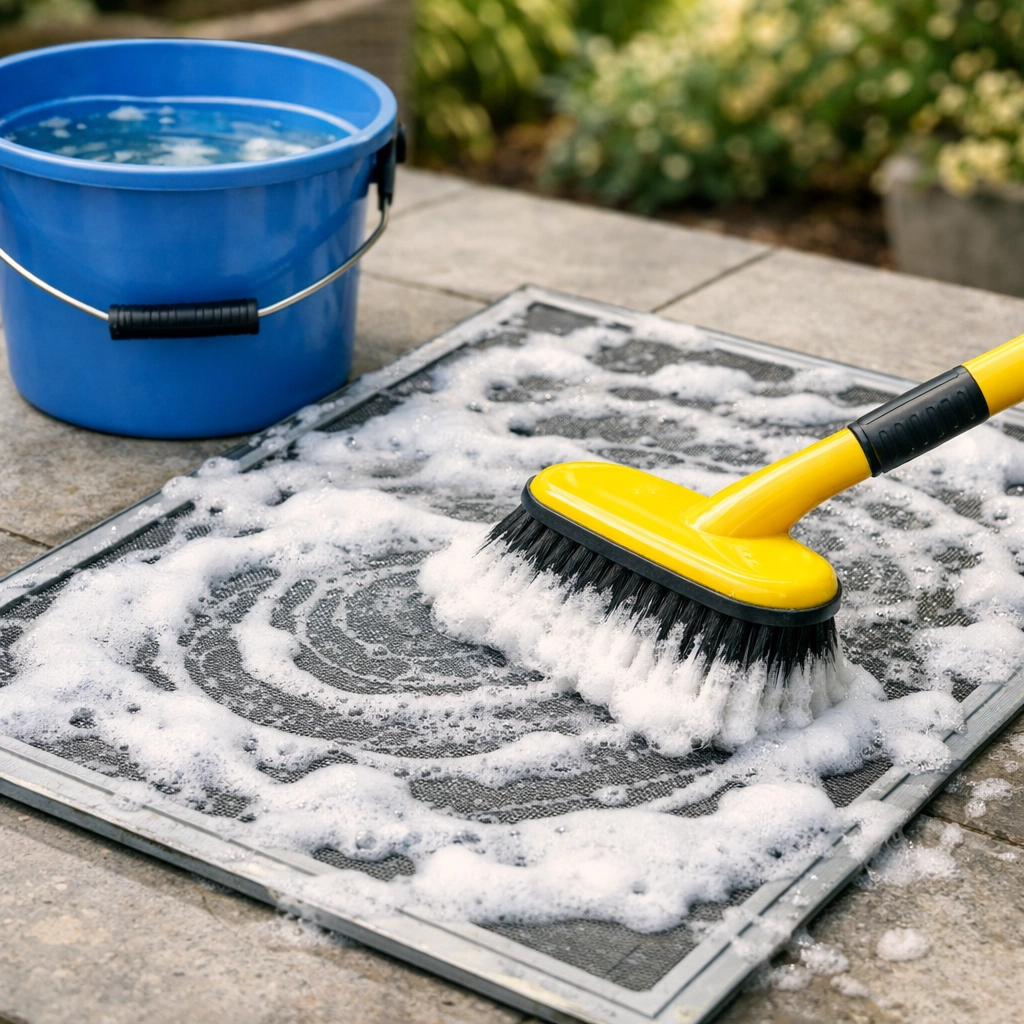
- A soft-bristled brush (a dedicated window brush or even a large, soft paintbrush works).
- A bucket of warm water.
- Cleaning solution (more on that in a second).
- A garden hose with a gentle spray nozzle (avoid pressure washers!).
- Microfiber cloths.
Method 1: The Dawn Power Wash Strategy
If you haven't discovered Dawn Power Wash yet, you are missing out on one of the greatest cleaning inventions of the decade. It is fantastic for screens because the foam clings to the mesh instead of just dripping straight through.
- Dry Brush First: Before getting the screen wet, use a dry brush to flick away loose dust, spider webs, and debris. This prevents the "mud effect" where water turns dust into a thick paste.
- Spray: Lay the screen flat and spray a generous layer of Dawn Power Wash over the entire surface.
- Wait: Let it sit for about 60 seconds. This allows the surfactants to break down oily grime and stuck-on pollen.
- Gentle Scrub: Using your soft brush, use circular motions to work the foam into the mesh. Don't press too hard: you don't want to stretch the screen.
- Rinse: Use a gentle stream of water to rinse from the top down.
Method 2: The Powdered Tide Deep Clean
For screens that haven't been touched in years, you need a little more "oomph." Professional cleaners often swear by powdered Tide. It contains enzymes that are incredibly effective at breaking down organic material like pollen and bird droppings.
- The Mix: Dissolve one teaspoon of powdered Tide in a gallon of hot water. Stir until it is fully dissolved.
- Apply: Dip a microfiber cloth or a soft sponge into the solution.
- The Scrub: Wipe down the mesh on both sides. Pay special attention to the edges of the frame where dirt likes to hide.
- Rinse Thoroughly: Tide is powerful, but it can leave a white residue if not rinsed well. Rinse until the water runs completely clear.
Method 3: The Natural Vinegar Solution
If you prefer to keep things eco-friendly, a 50/50 mixture of white vinegar and water is a classic for a reason. It is great for cutting through mineral deposits if you have hard water or live in an area with lots of rain.
Simply spray the mixture on, let it sit for a few minutes, and use a soft brush to agitate. Vinegar is also a natural disinfectant, which is a nice bonus if your screens have any signs of mildew.
The Importance of the "Gentle" Rule
We cannot stress this enough: Never use a pressure washer on window screens. It is tempting to blast the dirt away, but the high pressure can easily blow the mesh right out of the frame or create permanent "waves" in the screen material.
Similarly, when scrubbing, avoid using metal brushes or abrasive pads. Most screens are made of fiberglass or aluminum coated in vinyl. A stiff brush can strip that coating or fray the fiberglass. Think of it as giving your house a gentle facial, not a heavy-duty exfoliation.
Step 3: Don't Forget the Frames
While the mesh is the main event, the aluminum frames need love too. Dirt and grit can get trapped in the corners, leading to corrosion or making the screen difficult to slide. Use your soapy cloth to wipe down all four sides of the frame. If there is stubborn gunk in the corners, an old toothbrush is the perfect ninja tool to get it out.
Step 4: The Rinse and the Shake
Once you have finished scrubbing, give the screen one final rinse on both sides. Then, pick up the screen and give it a firm (but careful) shake to get the bulk of the water off. If you have a leaf blower, you can use it on a low setting to speed up the process, but air drying is usually the safest bet.
Step 5: Drying and Inspection
Propped up against a wall or a fence in the sun, screens usually dry in about 20 to 30 minutes. This is the perfect time to inspect them for damage.
- Check for holes: If you find small tears, you can actually buy "screen patches" that stick right on.
- Check the spline: This is the rubber cord that holds the mesh in the frame. If it is popping out, you can often push it back in with a flat-head screwdriver or a specialized spline tool.
Wait until they are 100% dry before putting them back. Putting wet screens back into your windows can lead to water spots on the glass or moisture getting trapped in the tracks, which can lead to mold.

Reinstallation: The Finishing Touch
Once your screens are sparkling and dry, it’s time to put them back home. Refer to your painter’s tape labels to make sure everything goes where it belongs. Wipe down the interior window tracks with a damp cloth before you pop the screens back in: there’s no point putting a clean screen into a dirty track!
When the screen clicks into place, give it a little wiggle to make sure it’s secure. Now, open that window and enjoy the breeze. You’ll notice immediately that the air feels cleaner and the view looks sharper.
Maintenance Between Deep Cleans
You don’t have to do the full "remove and scrub" every month. To keep your screens looking great between deep cleans, you can use the upholstery attachment on your vacuum cleaner once a month. Just run it lightly over the inside of the screen to pull out dust and cobwebs before they have a chance to settle in.
Let the Professionals Handle the Grime
We know that life gets busy. Taking out every screen in a two-story house, scrubbing them, and putting them back is a full-day project. If you’d rather spend your weekend doing something you actually enjoy, that’s what we’re here for!
At The Cleaning Ninjas Inc, we pride ourselves on the details that make a house feel like a home. Whether it’s a deep seasonal clean or regular maintenance, our team brings the "Ninja" level of precision to every corner of your space. You can learn more about us and our commitment to quality, or check out our full range of cleaning services to see how we can help you reclaim your free time.
For more helpful guides on keeping your home in tip-top shape, head over to our blog or browse our specific cleaning tips. We are always adding new ways to help you master the art of a clean home.
Now, go ahead: open those windows. You’ve earned that fresh air!


