

Let’s be honest for a second: when was the last time you actually looked at the top of your kitchen cabinets? If you’re like most people, the answer is probably "never" or "only when I dropped a spatula behind the fridge." It’s the ultimate "out of sight, out of mind" zone. But here’s the cold, hard truth: while you’re down there perfecting your countertop organization, a thick, fuzzy layer of dust and kitchen grease is staging a silent takeover just inches from your ceiling.
At The Cleaning Ninjas Inc, we call this the "Dust Bunny Penthouse." It’s where the dust goes to retire, mingle with aerosolized cooking oils, and turn into a sticky, grey sludge that’s surprisingly hard to remove. But don’t worry! High-reach dusting doesn’t have to be a nightmare. We’re going to walk you through the ultimate ninja strategy for cleaning those cabinet tops and, more importantly, how to make sure you never have to "scrub" them again.
Why the Top of the Cabinet is So Gross
In any other room, dust is just… dust. You blow on it, it flies away. But in the kitchen, things are different. Every time you sauté some garlic or fry up some bacon, tiny droplets of oil go airborne. These droplets eventually settle on the highest flat surfaces, your cabinet tops.
Once that sticky film of oil lands, it acts like a magnet for every piece of lint, pet hair, and dust particle floating in the air. Over months or years, this creates a "grime-crete" that won’t just wipe away with a feather duster. It requires a tactical approach.
Safety First: Don’t Pull a Stunt
Before we get into the nitty-gritty, we have to talk about safety. High-reach dusting involves, well, reaching high.
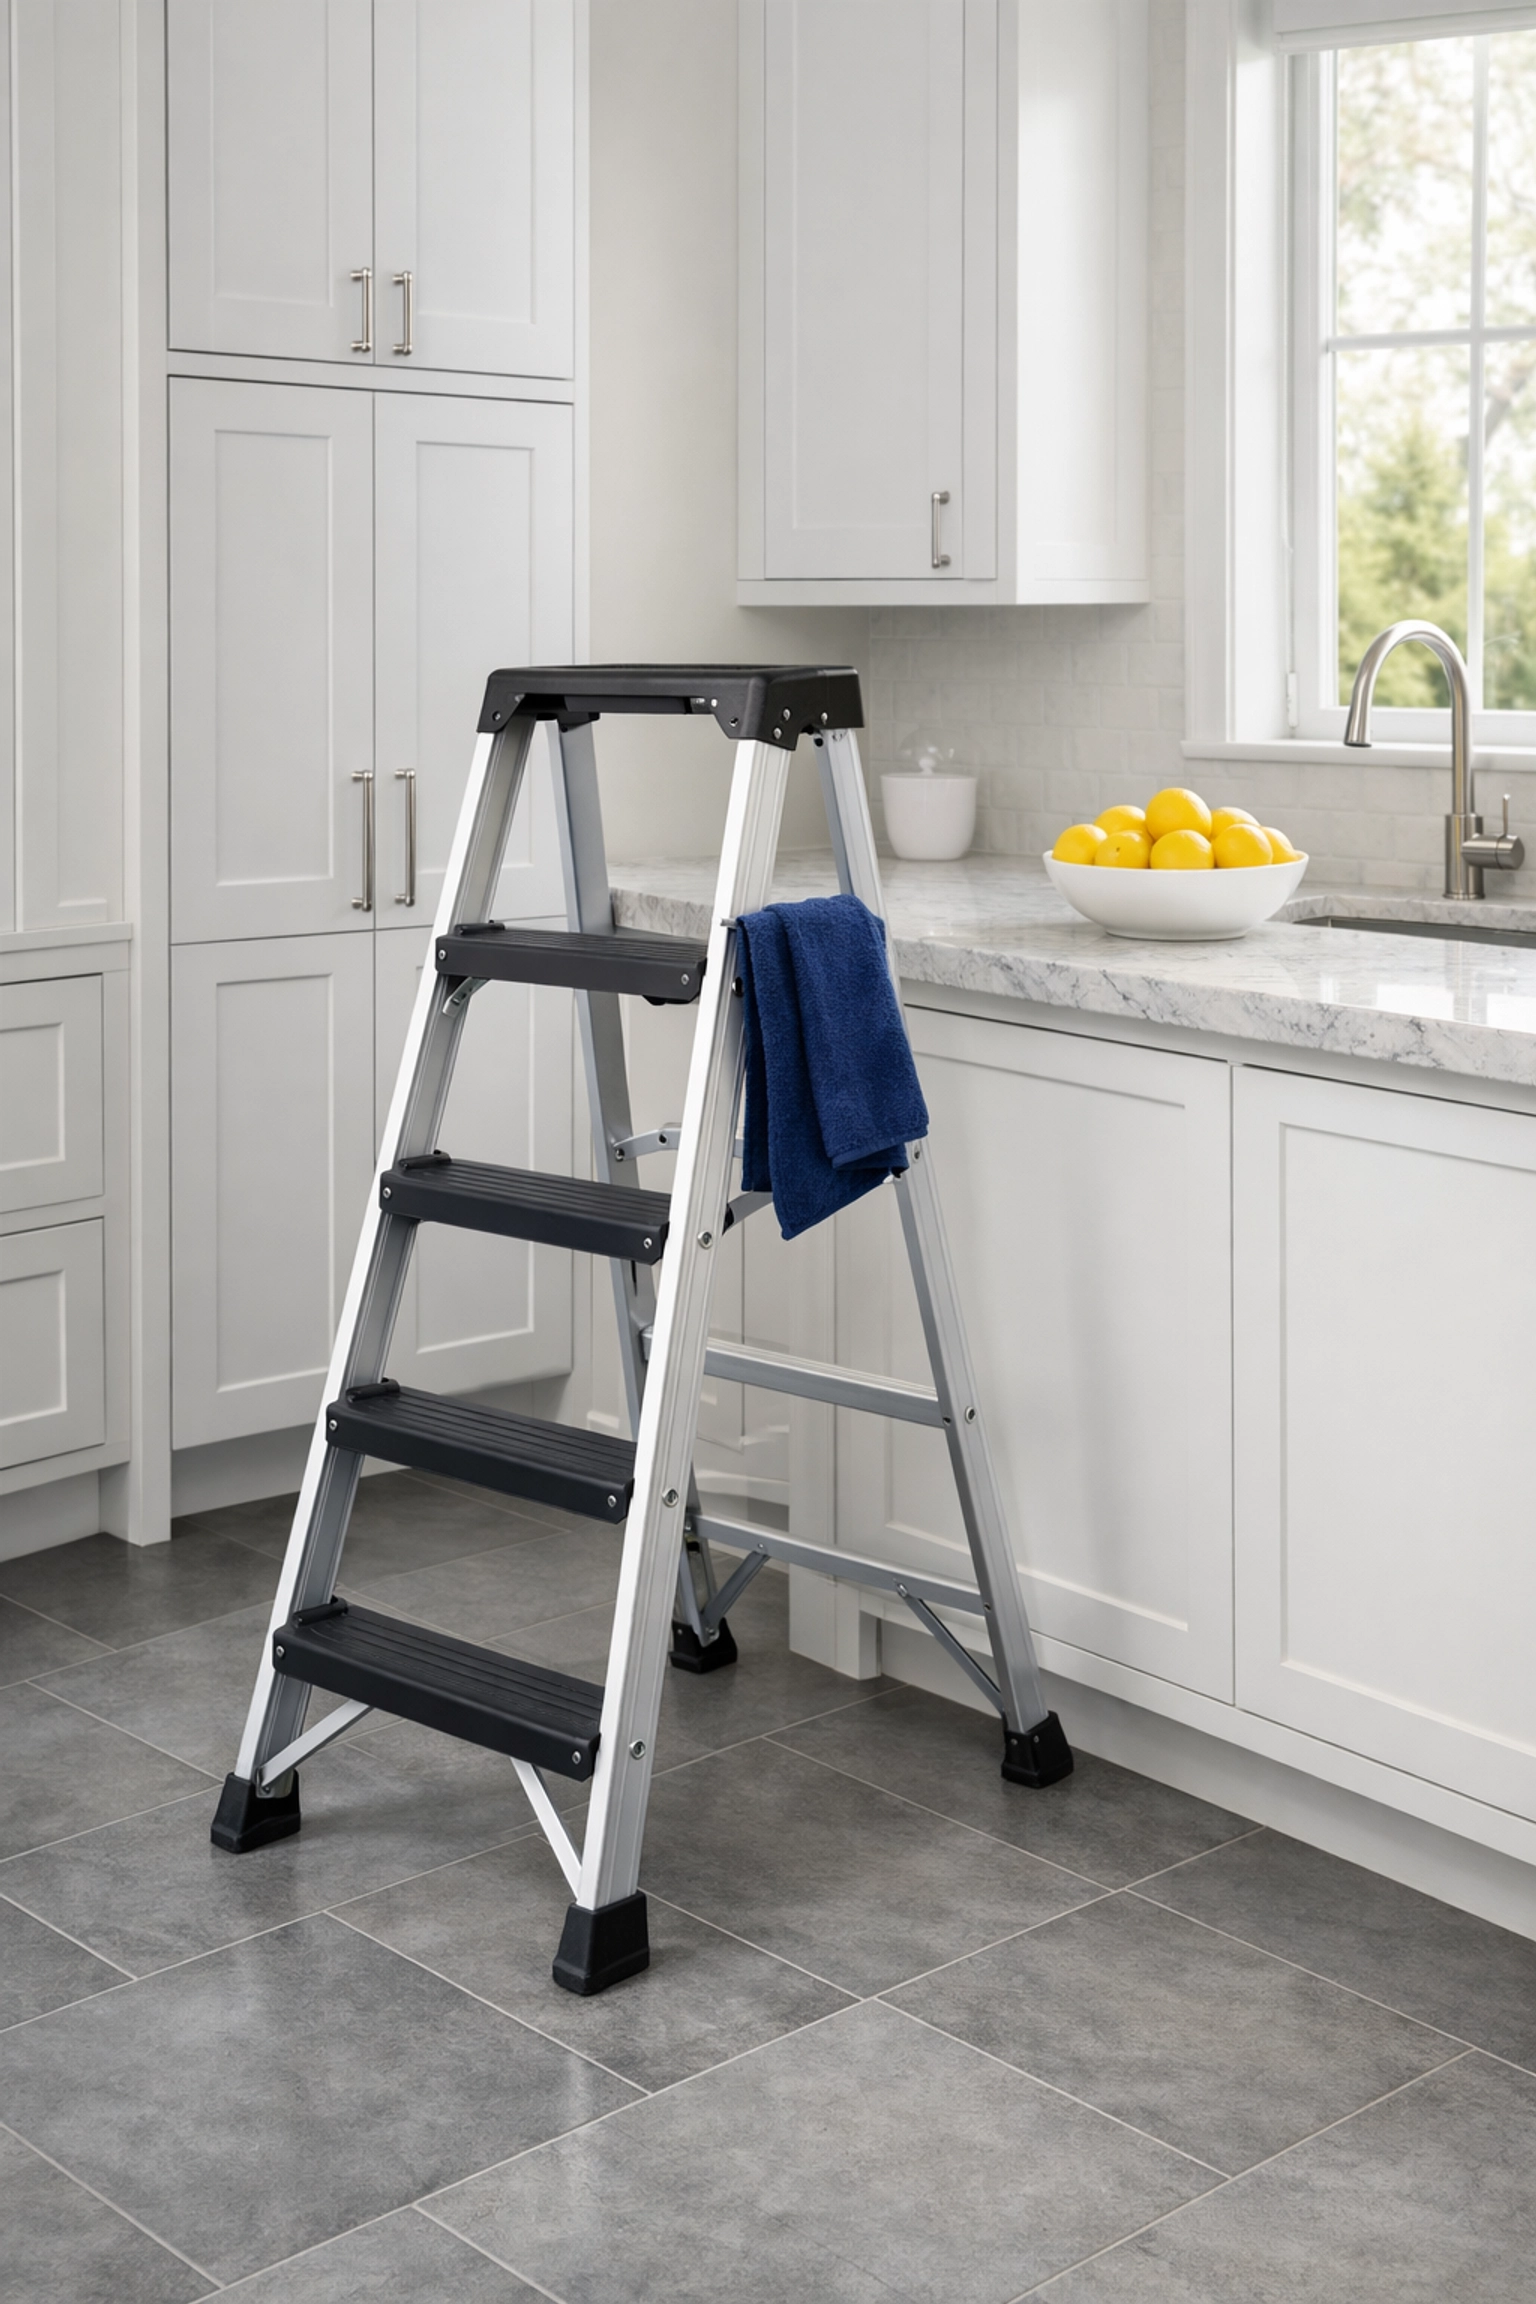
- Skip the Swivel Chair: Never, ever stand on a chair with wheels or a flimsy stool. Use a sturdy step ladder with a locking mechanism.
- Clear the Counters: Before you climb up, clear the dishes and appliances off the counter directly below you. Not only does this give you a better place to set your supplies, but it also prevents "dust rain" from ruining your clean dishes.
- The Buddy System: If you’re feeling a bit wobbly, have someone hold the ladder. It’s better to be safe than to end up as a cautionary tale.
Phase 1: The Initial Recon (Dry Dusting)
The biggest mistake people make is going in with a wet cloth right away. If you put liquid on thick, dry dust, you just create mud. Your first goal is to remove as much loose debris as possible.
We recommend using a vacuum with a long hose and a brush attachment. This is the "Ninja way" because it sucks the dust out of the house rather than just pushing it around. If you don't have a vacuum that reaches that high, an extendable microfiber duster is your next best friend. Microfiber is superior to feathers or wool because the tiny fibers actually grab and hold onto the dust.
Work from back to front. Why? Because you don’t want to lean against the dust you haven't cleaned yet. Slowly pull the duster toward you, then shake it out (or vacuum the head) before going back for another pass.
Phase 2: Breaking Down the "Grime-Crete"
Once the loose stuff is gone, you’ll likely find that sticky residue we talked about. This is where you need a bit of chemistry. You don't need harsh industrial degreasers; a few household staples will do the trick.
- The Soap Method: Mix warm water with a generous squirt of grease-cutting dish soap. Dip a microfiber cloth in the solution, wring it out until it’s just damp, and start scrubbing.
- The Vinegar Power-Up: For tougher buildup, mix a 50/50 solution of white vinegar and warm water. The acidity in the vinegar helps break down the organic bonds in the grease.
- The Baking Soda Paste: If you find a spot that’s truly stubborn, make a paste of baking soda and a little water. Apply it, let it sit for five minutes, and then gently scrub it away.
Pro Tip: Always dry the surface with a fresh towel after cleaning. Leaving moisture on top of wooden cabinets can cause the wood to swell or the finish to peel over time.
The Ninja Secret: The Paper Shield Hack
Now, here is the part that will change your life. Once those cabinet tops are sparkling clean and dry, you are not going to leave them bare. If you do, you’ll be back up on that ladder in three months doing the exact same thing.
Instead, we’re going to install a "sacrificial layer." There are two main ways to do this:
1. The Newspaper Method
This is the classic, budget-friendly hack. Take old newspapers and lay them flat across the top of your cabinets. Make sure they cover the entire surface but stay about half an inch back from the edge so they aren't visible from the floor.
The porous nature of newspaper is actually a benefit here: it absorbs the airborne grease like a sponge. In six months, you don't scrub; you just carefully fold up the greasy newspaper, toss it in the recycling, and lay down fresh sheets. Done in 30 seconds!
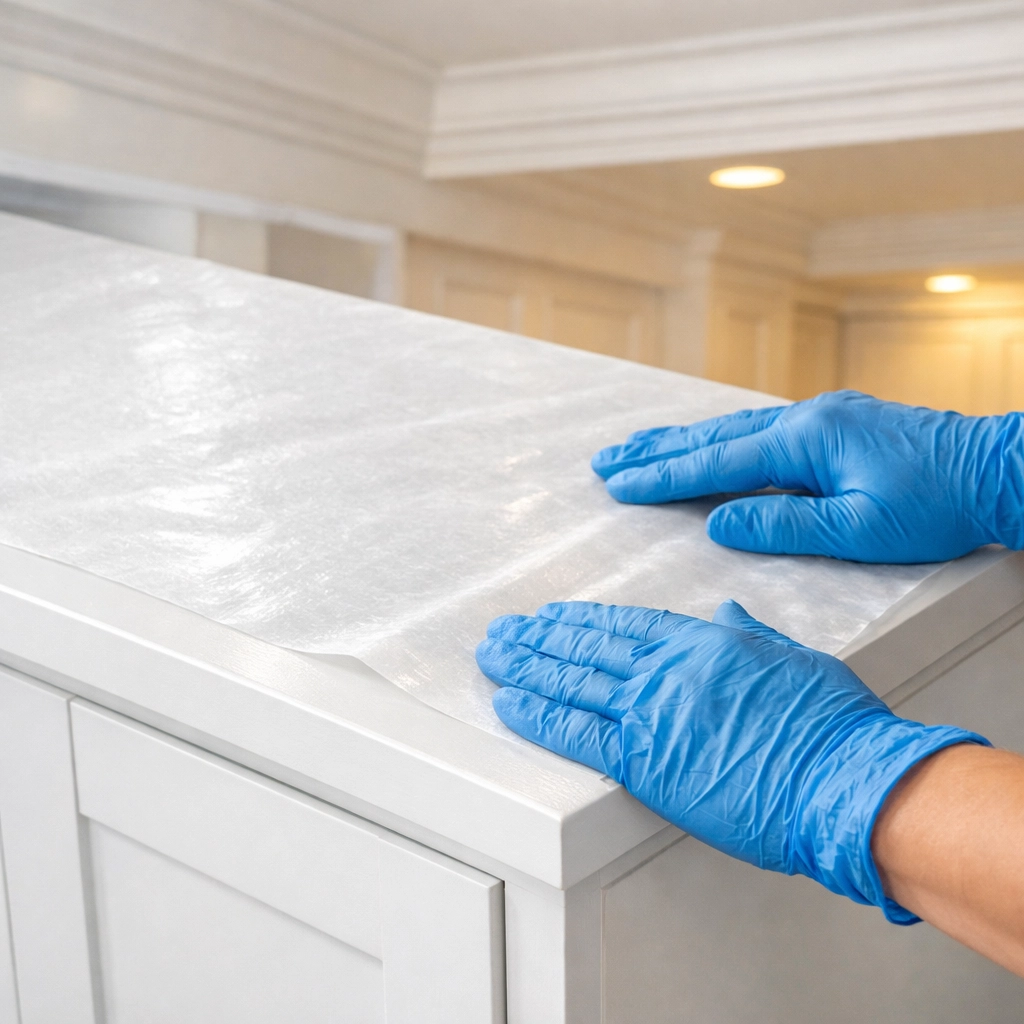
2. The Wax Paper Method
If you want something a bit more modern (and moisture-resistant), use wax paper. Because it’s waxed, the grease won't soak through to the cabinet surface at all. It’s also slightly "tackier," so it won't slide around if there’s a draft. Much like the newspaper, when it gets dirty, you just peel it off and replace it.
Tools That Make High Dusting Easier
If you’re serious about maintaining your home’s air quality and cleanliness, investing in a few specific tools can save your back and your time:
- Extendable Microfiber Duster: Look for one with a pivoting head. This allows you to angle the duster so it stays flat against the top of the cabinet while you stand safely on the floor or a lower step.
- High-Quality Step Stool: A lightweight, three-step aluminum ladder is a game-changer for kitchen maintenance.
- Flashlight: It sounds silly, but take a flashlight up there. Shadows can hide "islands" of grease that you’ll miss otherwise.
Why High-Reach Dusting Matters
You might think, "If I can't see it, why does it matter?" Well, for a few reasons:
- Allergies: Dust is a haven for dust mites. Every time you open or slam a cabinet door, a little puff of that dust can be knocked loose into the air you breathe.
- Pests: Many small insects and even mice love undisturbed, greasy areas. Keeping the "hidden" parts of your kitchen clean makes your home much less attractive to unwanted guests.
- Odors: Old, rancid grease has a smell. If your kitchen always has a faint "fried food" scent even when you haven't cooked, the tops of your cabinets might be the culprit.
When to Call in the Ninjas
We get it: cleaning the tops of cabinets is a literal pain in the neck. It’s awkward, it’s messy, and it requires a level of physical agility that not everyone wants to deal with on a Saturday morning.
If you’d rather spend your weekend doing literally anything else, that’s where The Cleaning Ninjas Inc come in. Our team is trained to handle the high-reach areas that most people skip. From the tops of your kitchen cabinets to those dusty ceiling fan blades and crown molding, we bring the ladders, the microfiber, and the expertise to get it done safely and thoroughly.
You can check out our full range of cleaning services to see how we can help keep your entire home: from floor to ceiling: ninja-clean.
Maintenance Schedule: How Often?
If you use the newspaper or wax paper trick, you really only need to "deep clean" the tops of your cabinets once a year. Every 4 to 6 months, simply swap out the paper. If you prefer to leave them bare, we recommend a quick dry-dusting once a month and a wet-wipe every 3 months to prevent the grease from hardening.

Final Thoughts
High-reach dusting is one of those tasks that provides an incredible sense of "secret" satisfaction. Even if your guests can't see the clean cabinet tops, you know they’re clean. You know there isn't a layer of sticky sludge hanging out above your cereal boxes.
Grab a ladder, some vinegar, and a roll of wax paper this weekend. Your kitchen (and your lungs) will thank you! And remember, if the "Dust Bunny Penthouse" is getting a bit too crowded, the Ninjas are always ready to jump into action. 🥷✨

