

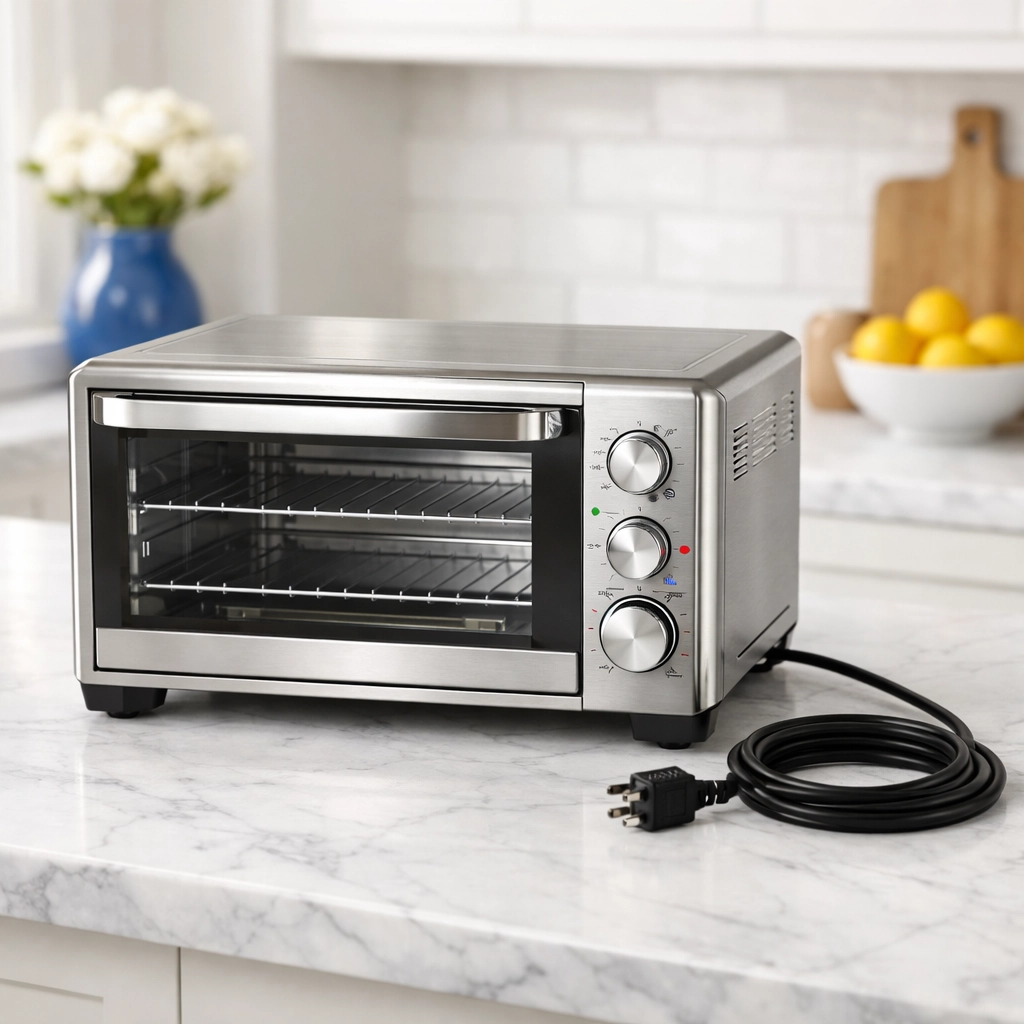
We’ve all been there. You’re making a quick bagel or reheating a slice of pizza, and you notice a faint smell of something burning. You glance at your toaster oven, and through a brown, greasy haze on the glass door, you see a graveyard of crumbs and splatters. Most of us are pretty good about sliding out that crumb tray once every few months and giving it a quick shake over the trash can, but let’s be real: that’s just the tip of the iceberg.
Your toaster oven is one of the hardest-working appliances in your kitchen. It’s a mini-convection oven, a broiler, and a toaster all in one. Because of that versatility, it takes a beating. Grease splatters from cheese, crumbs from crusty bread, and sugar drips from pastries all bake onto the interior surfaces at high temperatures, becoming harder and harder to remove over time.
In this edition of "Ninja Tips," we’re going beyond the crumb tray. We’re going to show you how to give your toaster oven a total tune-up, with a special focus on that stubborn glass door. At The Cleaning Ninjas Inc, we believe that a clean kitchen isn't just about looks: it’s about safety and food quality, too.
Safety First: The Ninja Prep
Before you go grabbing your scrub brush, we have to talk about safety. This is a high-heat electrical appliance, and water and electricity are not friends.
- Unplug it: Never clean your toaster oven while it’s plugged in.
- Let it cool: It sounds obvious, but wait until the unit is completely cool to the touch. Cleaning a hot glass door with cool water is a recipe for a shattered mess.
- Clear the deck: Move the toaster oven to a clear spot on your counter or even to a table where you have plenty of light and room to work.
The Deep Soak: Racks and Trays
The first step in any thorough toaster oven cleaning is to remove everything that isn't bolted down. This usually includes the wire rack, the crumb tray, and any baking pans that came with the unit.
Don't waste your energy scrubbing these while they’re dry. Instead, fill your sink with hot, soapy water. Use a good grease-cutting dish soap. Submerge the racks and trays and let them soak for at least 30 minutes. If you haven’t cleaned them in a year (no judgment!), let them soak for an hour or two. This soaking time does 90% of the work for you, breaking down the carbonized food bits so they slide right off with a soft sponge later.
The Interior Walls: Attacking the Grease
While the trays are soaking, it’s time to look inside. Most modern toaster ovens have a non-stick coating on the interior, but that doesn't mean grease won't stick to them: it just means you have to be careful not to scratch it.
The Golden Rule: Avoid steel wool or harsh metal scrapers. These will ruin the finish of your oven and can even lead to rusting later on.
Instead, create a simple cleaning solution:
- 1 cup of warm water
- A few drops of dish soap
- A splash of white vinegar (optional, but great for cutting through grease)
Dip a soft sponge or a microfiber cloth into the solution, wring it out so it’s damp but not dripping, and start wiping. Start from the top and work your way down. You’ll likely find the "ceiling" of the toaster oven is the greasiest part because of all the splattering.
If you encounter a particularly stubborn, burnt-on spot, don't reach for the knife. Instead, make a paste of baking soda and water. Apply it to the spot, let it sit for 15 minutes, and then wipe it away. The mild abrasiveness of the baking soda will lift the grime without scratching the metal. For more expert advice on tackling different kitchen surfaces, check out our blog.
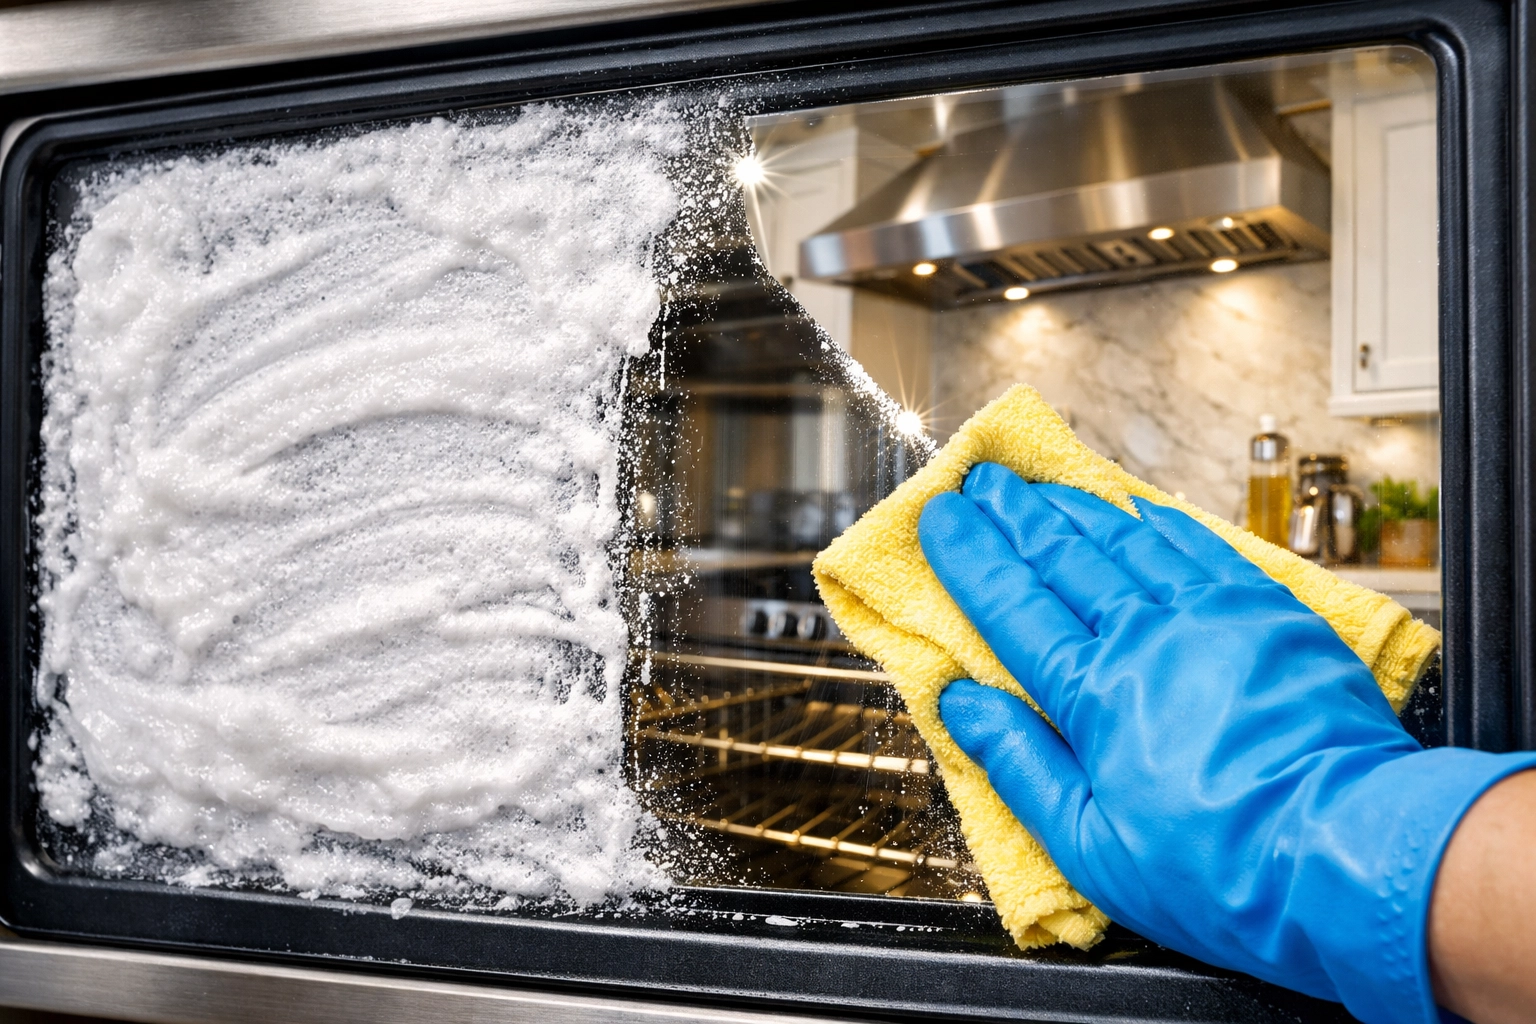
The Star of the Show: How to Clean the Glass Door
The glass door is usually the part that looks the worst. Over time, it develops a brown, cloudy film that seems impossible to remove. Windex or glass cleaner won't touch this: that’s because it’s not just "dirt"; it’s baked-on grease and polymerized oil.
Here is the "Ninja" secret to a crystal-clear glass door:
- The Baking Soda Paste: Mix about 1/2 cup of baking soda with just enough water to make a thick paste (think the consistency of toothpaste).
- The Application: Open the oven door so it’s laying flat. Spread a thick layer of the paste over the inside of the glass. Avoid the metal frame and the gasket (the rubber seal) if your oven has one.
- The Wait: Walk away. Let that paste sit for at least 20 to 30 minutes. If the door is particularly gross, leave it for an hour. The baking soda is working its magic to break the chemical bond of the grease.
- The Scrub: Use a damp sponge (the scrubby side of a non-scratch sponge is fine) to gently work the paste in circular motions. You’ll see the white paste turn brown as it lifts the grease.
- The Wipe: Wipe the glass clean with a damp microfiber cloth. You might need to rinse the cloth a few times to get all the residue off.
- The Finish: For a streak-free shine, give it a final wipe with a 50/50 mixture of water and white vinegar.
Heating Elements: Handle with Extreme Care
This is the part where most people get nervous, and for good reason. The heating elements (those long glass or metal tubes at the top and bottom) are the heart of the machine and are quite fragile.
In a perfect world, you shouldn't have to touch them at all. They are designed to burn off most residue. However, if a piece of cheese has melted directly onto an element, you have to deal with it, or your kitchen will smell like a campfire every time you toast bread.
Pro Tip: Never use cleaning chemicals, soaps, or abrasive pads on heating elements. If there is a large chunk of food on them, wait until they are completely cool and gently nudge it off with a soft cloth or a wooden skewer. If there is a thin layer of grease, a very slightly damp (water only!) cloth can be used to wipe them down, followed immediately by a dry cloth.
The Exterior: Shiny and New
Now that the inside is sparkling, don't forget the outside! The exterior of your toaster oven collects dust, fingerprints, and kitchen grease.
- Stainless Steel: If your oven is stainless steel, use a dedicated stainless steel cleaner or a tiny bit of olive oil on a cloth to buff out prints and keep it shiny.
- Plastic/Painted Metal: A simple wipe with warm soapy water followed by a dry cloth is usually all it takes.
- The Buttons and Knobs: This is where germs live! Use a damp cloth to wipe around the knobs. If your knobs are removable, pull them off and give them a quick wash in the sink.
Putting it All Together
Once everything is clean and: crucially: completely dry, you can reassemble your toaster oven. Slide the crumb tray back in, pop the racks into place, and plug it back in.
We recommend running the toaster oven on high for about 5 minutes while it's empty. This will burn off any tiny bits of cleaning residue or moisture before you put food in it. You might notice a slight "cleaning" smell, but it should dissipate quickly.

Staying Clean: Ninja Maintenance Tips
Now that your toaster oven looks like it just came out of the box, you’ll want to keep it that way. Here are a few quick tips to prevent the "deep clean" from becoming a massive chore:
- The Quick Shake: Make it a habit to empty the crumb tray every Friday. It takes 10 seconds.
- The "No-Drip" Rule: If you’re melting cheese or cooking something juicy, use a small baking tray rather than putting the food directly on the wire rack.
- The Door Wipe: After you use the oven, once it has cooled down, give the glass a quick wipe with a damp cloth. This prevents grease from "baking on" during the next use.
- Professional Help: Sometimes life gets too busy to worry about the crumbs in the toaster. That’s what we’re here for! Explore our services to see how we can keep your entire home: appliances included: in top shape.
Why It Matters
You might wonder if it’s really worth the effort to deep clean a $50 or $100 appliance. The answer is a resounding yes. A clean toaster oven operates more efficiently, heats more evenly, and is much less likely to become a fire hazard. Plus, your food will actually taste better without the lingering aroma of last month's burnt crusts.
At The Cleaning Ninjas Inc, we’re all about the little details that make a big difference in your home. Whether it's a Cleaning Tip for your kitchen or a full-house deep clean, we've got your back.
Now, go enjoy a perfectly toasted, grease-smoke-free bagel. You’ve earned it!


